|
|
|
|
|
 |
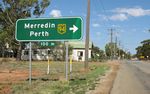
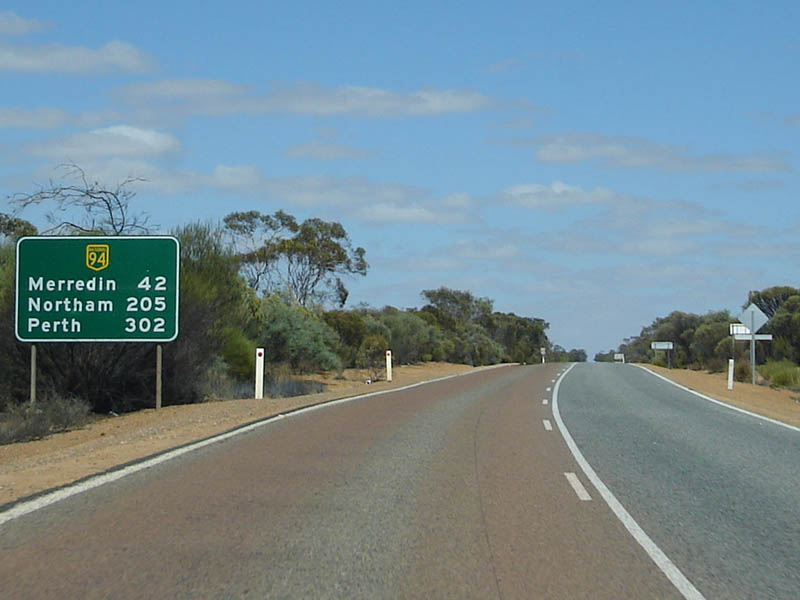
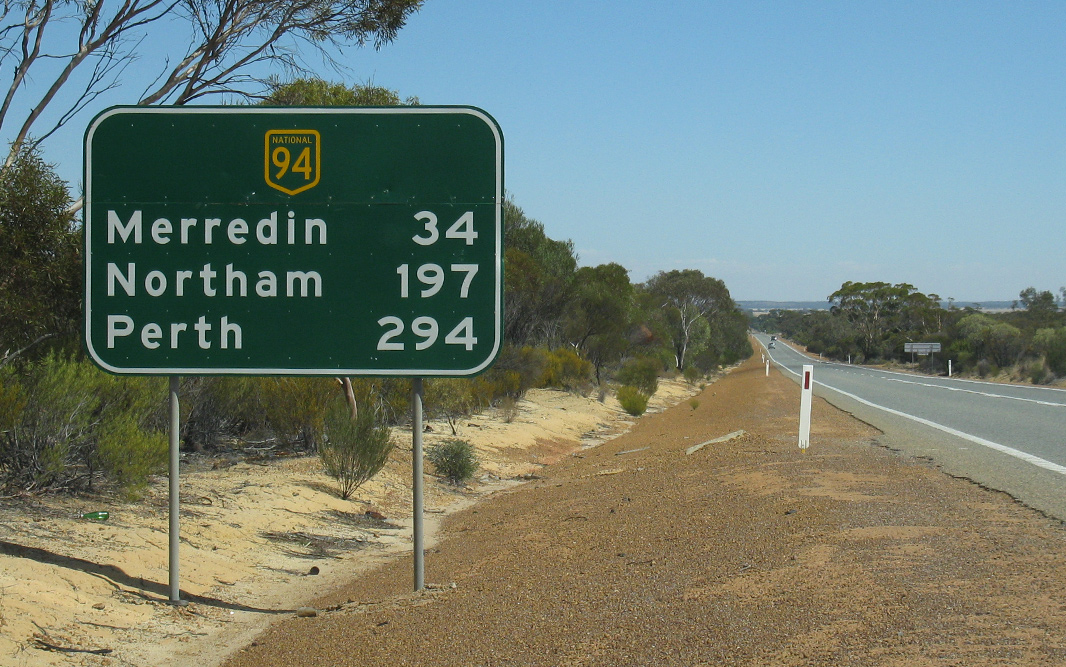
Coolgardie-Esperance Highway, Roe Highway, Great Eastern Highway Bypass & Great Eastern Highway (National Highway 94) - Merredin To Coolgardie |
Statistics:
Route Numbering:

General Information:
National Highway is a major route in WA, directly linking the capital city of Perth with the mining and goldfield regions in the eastern part of the state, such as Kalgoorlie and Norseman, it also connects to National Highway 1, the Eyre Highway, which is the major link, via the Nullarbor Plain between the east and west coasts of Australia.
Outside of Perth, the route is bitumen paved single carriageway roadway. Some overtaking lanes exist along the route between Coolgardie and Perth's outer suburbs. Inside the metropolitan area, the route varies from mutli-lane arterial road to expressway standard.
The National Route 1 multiplex starts at Causeway at Burswood and ends at the intersection of Great Eastern Highway in Guildford. The State Route 3 multiplex starts at Great Eastern Highway, travels along Roe Highway before the multiplex ends at the traffic signals on the corner of Roe Highway and Great Eastern Highway Bypass at Hazelmere.
The highway generally runs parallel with the Mundaring to Kalgoorlie water pipeline, which pipes drinking water drawn from Mundaring Weir near Perth to Kalgoorlie.
History:
Click here for the former alignment between Merredin and Coolgardie
| Coolgardie to Merredin | Merredin to Coolgardie | |||
| Preview: | Description: | Preview: | Description: | |
 |
Services Signage: Standard services ahead sign, this time for Bulla Bulling. Note the additional 'Next Services' sign, common in less populated areas of WA. December 2007. Image © Paul Rands |
 |
Services Sign: Services sign with a missing panel at Burracoppin, April 2018. Image © Paul Rands |
|
 |
Bulla Bulling Welcome Sign: Sign indicating you are now in Bulla Bulling. The unusual logo is associated with the tourist route commemorating the laying of the goldfields water pipeline. December 2007. Image © Paul Rands |
 |
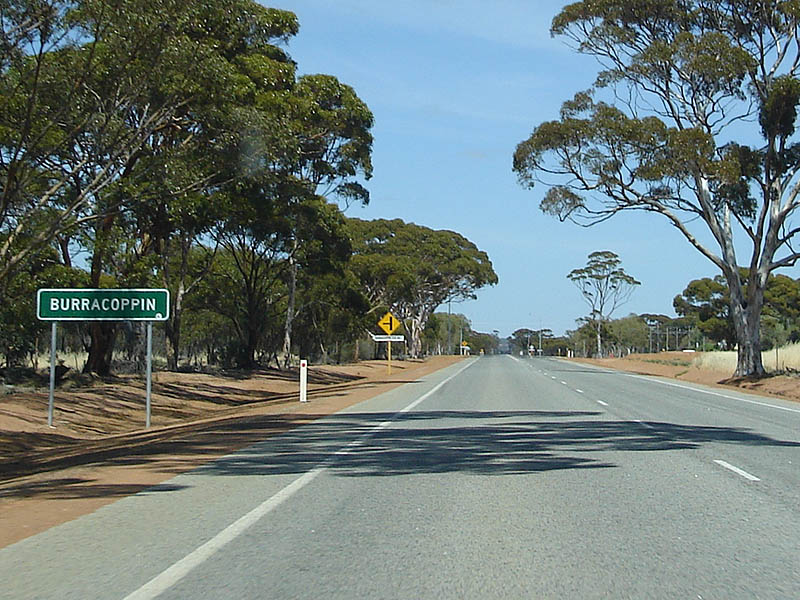
Entering Burracoppin: Great Eastern Hwy (NH94) as it enters the town of Burracoppin, April 2018. Image © Paul Rands |
|
 |
Bulla Bulling: Looking west through Bulla Bulling outside the roadhouse. December 2007. Image © Paul Rands |
 |
Entering Walgoolan: Great Eastern Hwy (NH94) entering the town of Walgoolan, April 2018. Image © Paul Rands |
|
 |
Distance Sign: RD sign as you leave Bulla Bulling. April 2018. Click here for a photo of this location by Paul Rands from December 2007. Image © Paul Rands |
 |
Advance Directional Sign: AD sign at Walgoolan approaching Warralakin Rd, April 2018. Image © Paul Rands |
|
 |
Tourism Sign: Sign detailing local services and tourist destinations in the Yellowdine area. December 2007. Image © Paul Rands |
 |
Intersection Directional Sign: ID sign facing Warralakin Rd at Walgoolan, April 2018. Image © Paul Rands |
|
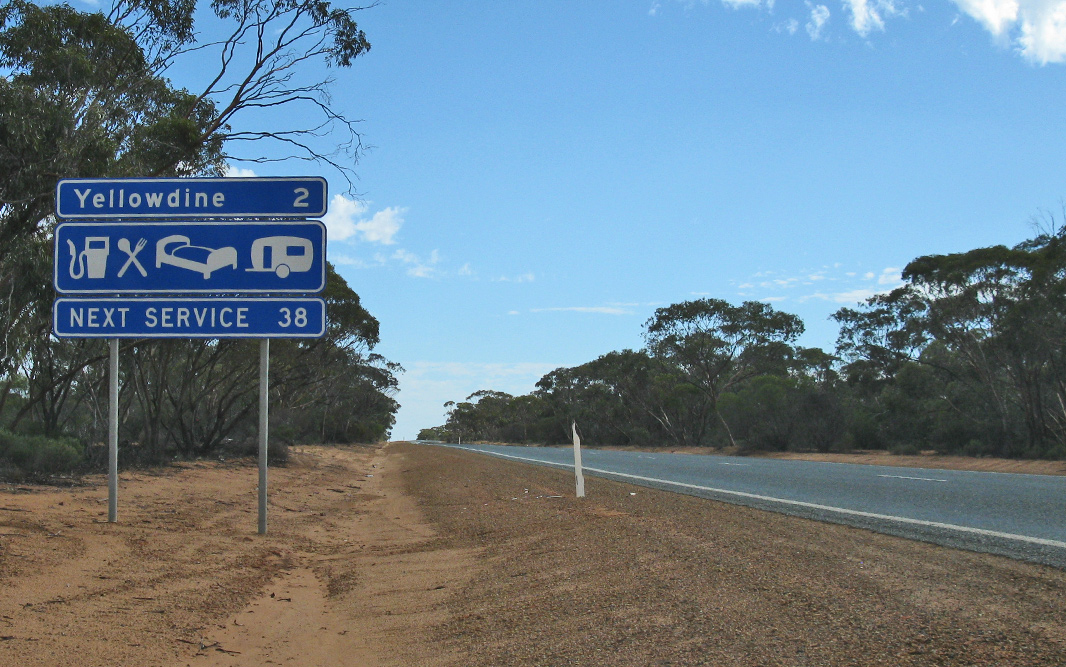 |
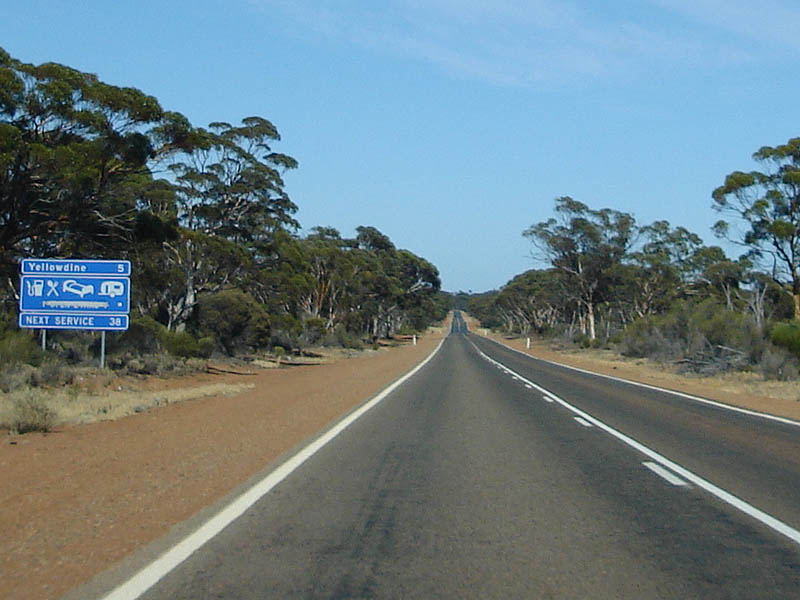
Services Sign: Services signage as you approach the town of Yellowdine. April 2018. Click here for a photo of this location by Paul Rands from December 2007. Image © Paul Rands |
 |
Reassurance Directional Sign: Distance sign at Walgoolan, April 2018. Image © Paul Rands |
|
 |
Entering Yellowdine: Westbound into the town of Yellowdine. December 2007. Image © Paul Rands |
 |
Services Sign: Services sign at Carrabin, April 2018. Image © Paul Rands |
|
 |
Yellowdine: Outside the Yellowdine Roadhouse. December 2007. Image © Paul Rands |
 |
Entering Carrabin: Great Eastern Hwy (NH94) entering the town of Carrabin, April 2018. Image © Paul Rands |
|
 |
Distance Sign: RD sign on the western end of Yellowdine, April 2018. Image © Paul Rands |
 |
Advance Directional Sign: AD sign approaching Carrabin-Westonia Rd at Carrabin, April 2018. Image © Paul Rands |
|
 |
Reassurance Marker: Trailblazer marking the route as NH94 in the Ghooli area. December 2007. Image © Paul Rands |
 |
Carrabin: Great Eastern Hwy (NH94) as it passes through the town of Carrabin, April 2018. Image © Paul Rands |
|
 |
Entering Goolhi: Entering the small village of Goolhi. December 2007. Image © Paul Rands |
 |
Carrabin-Westonia Road: ID sign at the junction with Carrabin-Westonia Rd at Carrabin, April 2018. Image © Paul Rands |
|
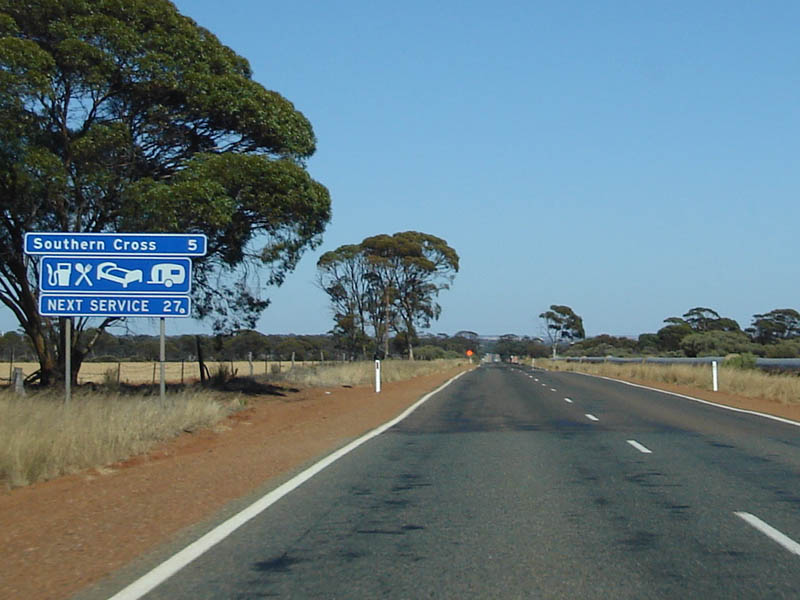 |
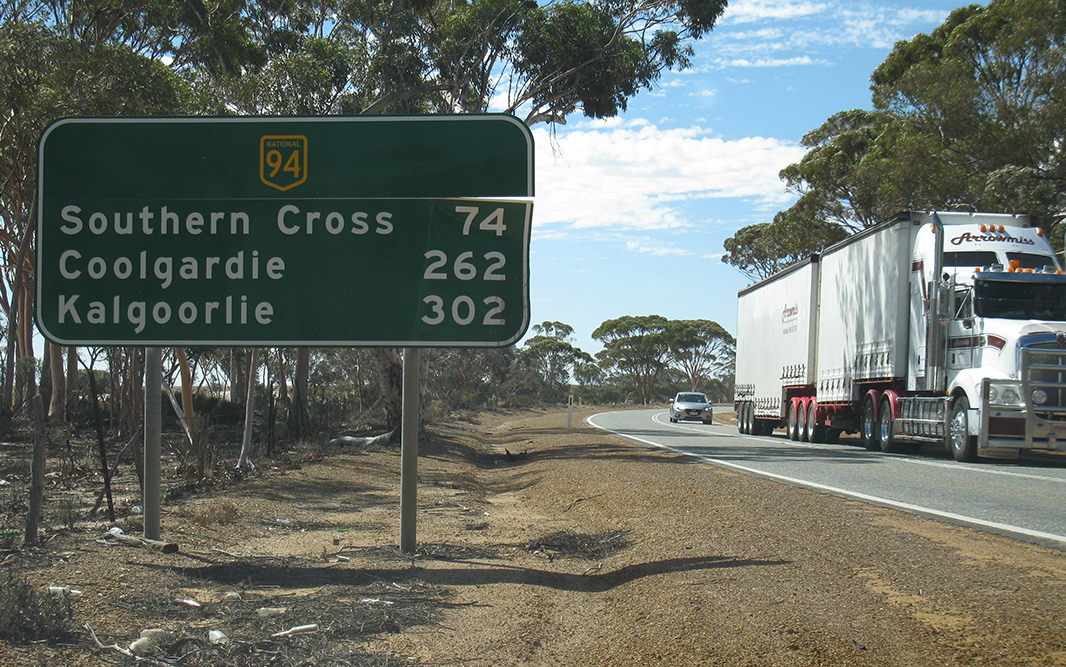
Services Sign: Typical scenery and services sign as you approach the town of Southern Cross. December 2007. Image © Paul Rands |
 |
Carrabin-Westonia Road: ID sign at the junction with Carrabin-Westonia Rd at Carrabin, April 2018. Image © Paul Rands |
|
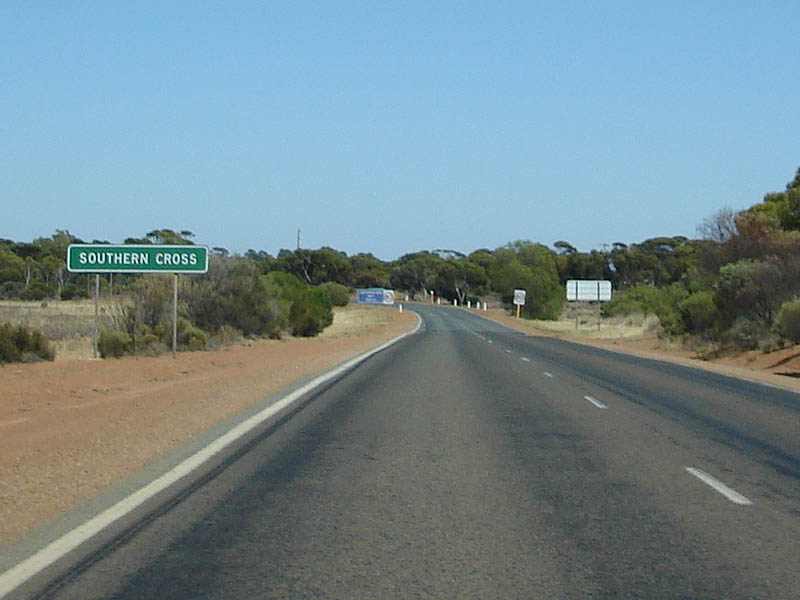 |
Entering Southern Cross: Looking west as the highway curves into the town of Southern Cross. December 2007. Southern Cross is located 357 m above sea level and 368 km east of Perth. Southern Cross's importance is based on its status as the first major gold discovery in the huge Eastern Goldfields region. 4 Image © Paul Rands |
 |
Reassurance Directional Sign: Distance sign at Carrabin, April 2018. Image © Paul Rands |
|
 |
Advance Directional Sign: AD sign for the bypass around Southern Cross. December 2007. Image © Paul Rands |
 |
Eastern Goldfields Railway Line: Great Eastern Hwy (NH94) as it passes under the Eastern Goldfields Ralway Line at Carrabin, April 2018. Image © Paul Rands |
|
 |
Polaris Street Intersection: Looking towards the Polaris Street / Heavy Vehicle Bypass intersection in Southern Cross. December 2007. Image © Paul Rands |
 |
Services Sign: Services sign at Bodallin, April 2018. Image © Paul Rands |
|
 |
Advance Directional Sign: AD sign approaching the intersection with Antares Street and Marvel Loch Road in Southern Cross, April 2018. Image © Paul Rands |
 |
Bodallin: Great Eastern Hwy (NH94) passing through the town of Bodallin, April 2018. Image © Paul Rands |
|
 |
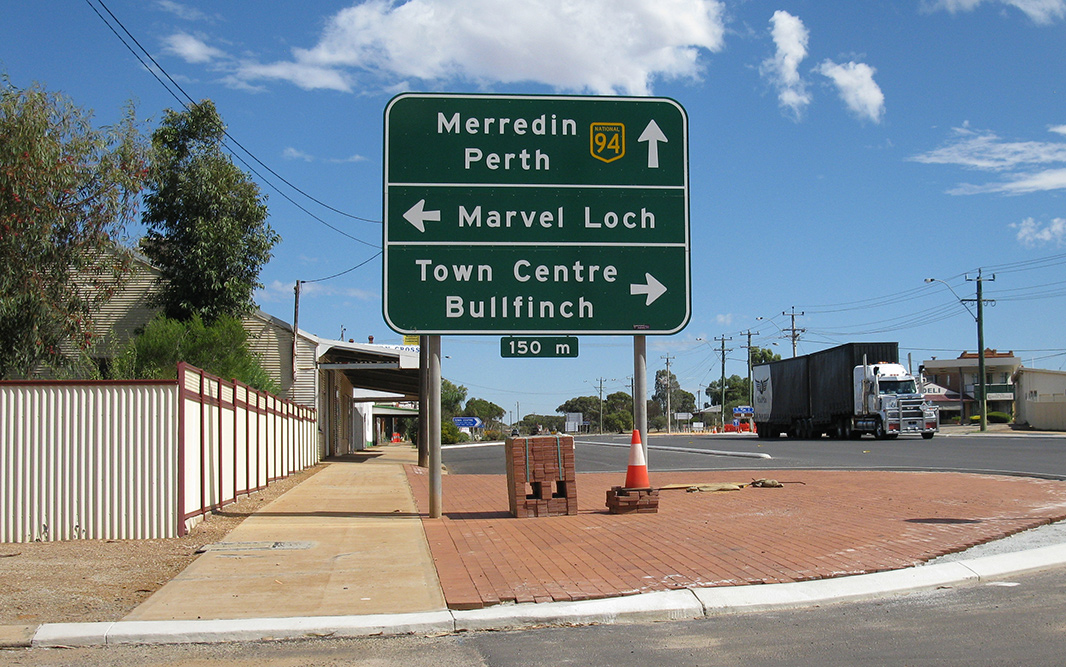
Antares Street & Marvel Loch Road: Great Eastern Hwy (NH94) at the junction with Antares St and Marvel Loch Rd at Southern Cross, April 2018. Image © Paul Rands |
 |
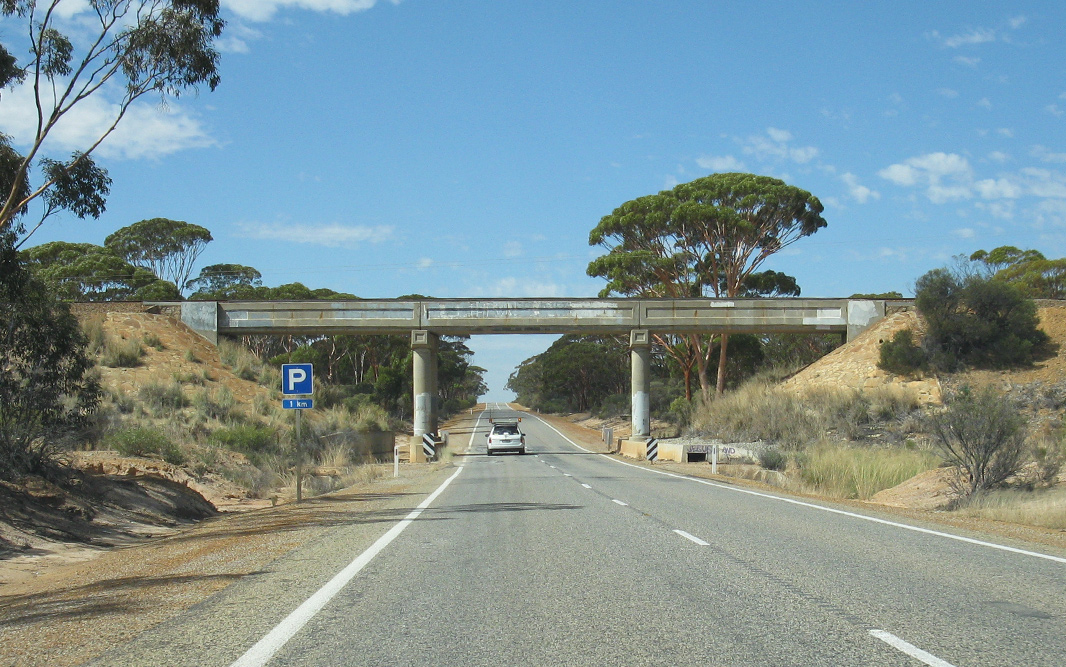
Moorine Rock Bridge: Great Eastern Hwy (NH94) passing over the Eastern Goldfields Railway Line at Moorine Rock, via Moorine Rock Bridge, April 2018. Image © Paul Rands |
|
 |
Antares Street & Marvel Loch Road: Great Eastern Hwy (NH94) at the junction with Antares St and Marvel Loch Rd at Southern Cross, April 2018. Image © Paul Rands |
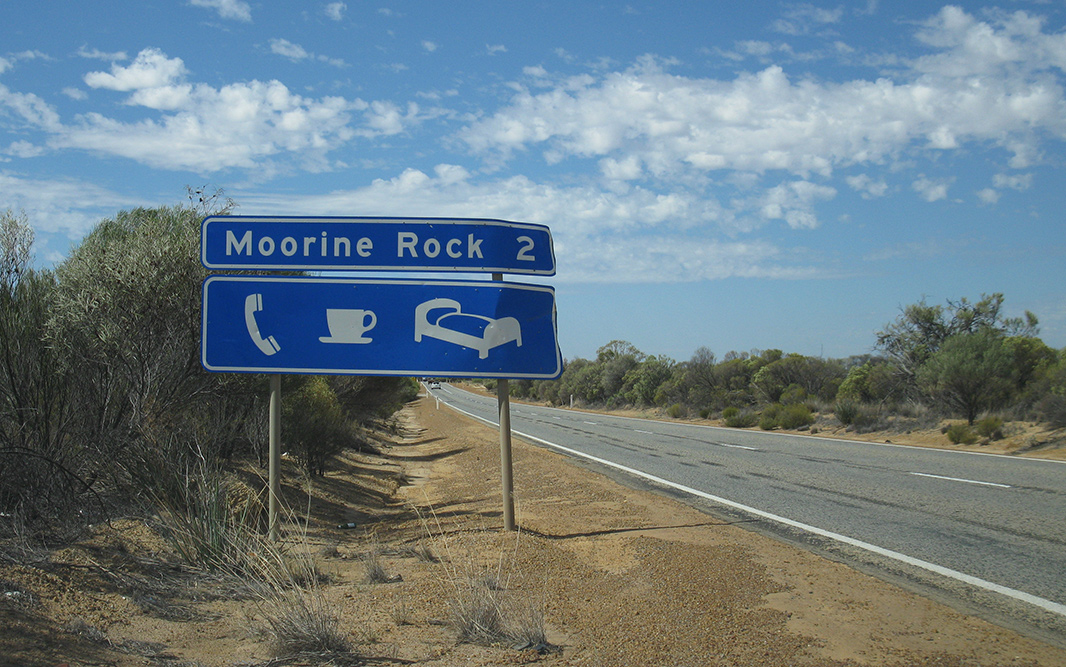 |
Services Sign: Services sign at Moorine Rock, April 2018. Image © Paul Rands |
|
 |
Advance Directional Sign: AD sign on Marvel Loch Rd at Southern Cross approaching Great Eastern Hwy (NH94) and Antares St, April 2018. Image © Paul Rands |
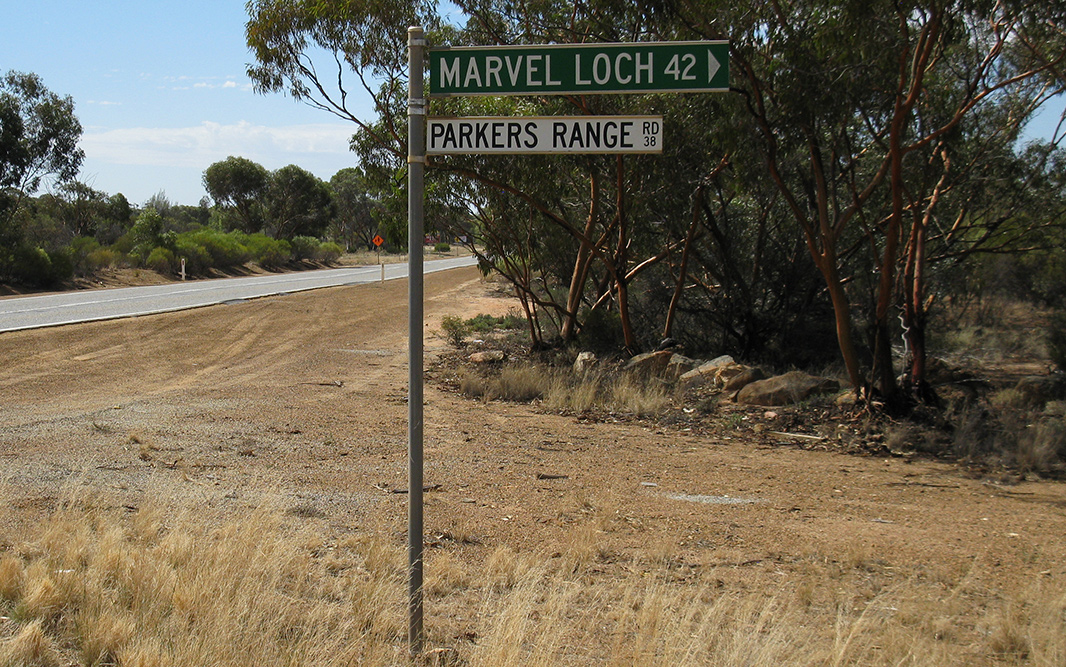 |
Parkers Range Road: Corner of Great Eastern Hwy (NH94) and Parkers Range Rd, Moorine Rock, April 2018. Image © Paul Rands |
|
 |
Three Boys Road Intersection: Looking towards the Polaris Street / Heavy Vehicle Bypass intersection in Southern Cross. December 2007. Image © Paul Rands |
 |
Moorine Rock: Great Eastern Hwy (NH94) passing through the town of Moorine Rock, April 2018. Image © Paul Rands |
|
 |
Three Boys Road Junction: An assortment of services signs at the Heavy Vehicle Bypass intersection on the western side of Southern Cross. December 2007. Image © Paul Rands |
 |
Services Sign: Services sign at Southern Cross, April 2018. Image © Paul Rands |
|
 |
Distance Sign: RD signage as you leave Southern Cross, westbound, April 2018. Image © Paul Rands |
 |
Services Sign: Services sign at Southern Cross, April 2018. Image © Paul Rands |
|
 |
Drink Drive Limit Sign: Typical WA drink drive limit awareness sign, westbound near Southern Cross. December 2007. This sign has since been removed. Image © Paul Rands |
 |
Advance Directional Sign: ID sign being used as an AD sign at Southern Cross, approaching Three Boys Rd, April 2018. Image © Paul Rands |
|
 |
Road Train Route Sign: Sign warning of road trains and overtaking care, westbound near Moorine Rock. December 2007. Image © Paul Rands |
 |
Three Boys Road: Corner of Great Eastern Hwy (NH94) and Three Boys Rd, Southern Cross, April 2018. Image © Paul Rands |
|
 |
Services Sign: Services sign for the town of Moorine Rock. April 2018. Click here for a photo of this location by Paul Rands from December 2007. Image © Paul Rands |
 |
Intersection Directional Sign: ID sign facing Three Boys Rd at Southern Cross, April 2018. Image © Paul Rands |
|
 |
Entering Moorine Rock: Westbound as you drive into the town of Moorine Rock. December 2007. Image © Paul Rands |
 |
Advance Directional SIgn: AD sign at Southern Cross approaching Antares St and Marvel Loch Rd, April 2018. Image © Paul Rands |
|
 |
Level Crossing: Driving over the Moorine Rock level crossing. This is a typical gated WA level crossing. December 2007. Image © Paul Rands |
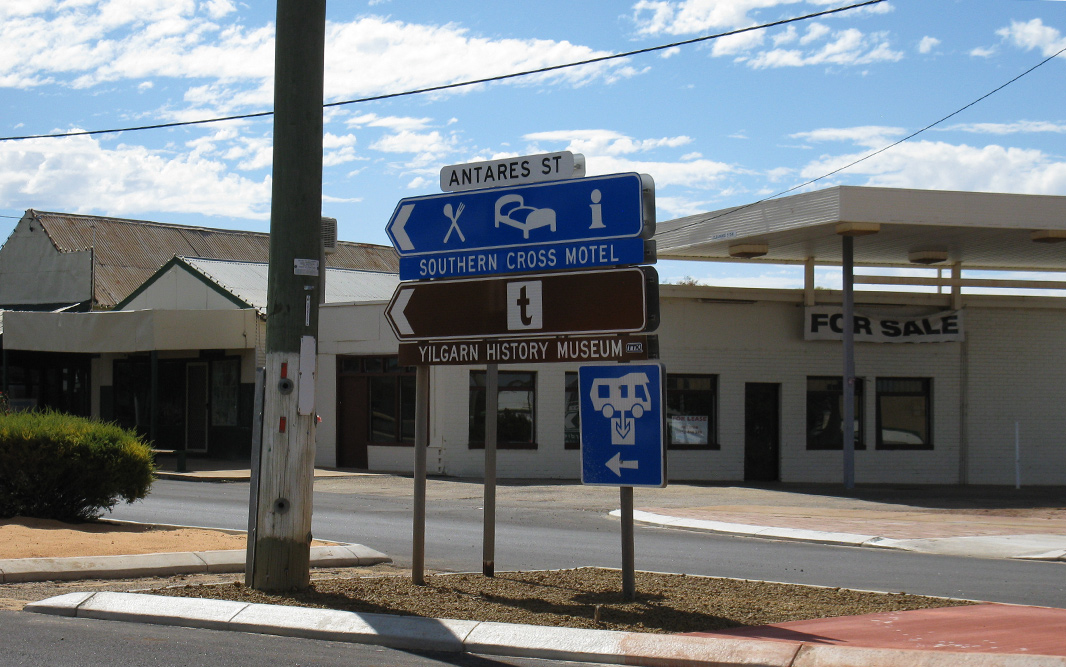 |
Intersection Directional Sign: ID sign assembly at the corner of Great Eastern Hwy (NH94), Antares St and Marvel Loch Rd at Southern Cross, April 2018. Image © Paul Rands |
|
 |
Services Sign: Services sign at Bodallin, April 2018. Image © Paul Rands |
 |
Intersection Directional Sign: ID sign assembly at the corner of Great Eastern Hwy (NH94), Antares St and Marvel Loch Rd at Southern Cross, April 2018. Image © Paul Rands |
|
 |
Bodallin: Heading west through Bodallin. December 2007. Image © Paul Rands |
 |
Intersection Directional Sign: ID sign assembly at the corner of Great Eastern Hwy (NH94) and Polaris St at Southern Cross, April 2018. Image © Paul Rands |
|
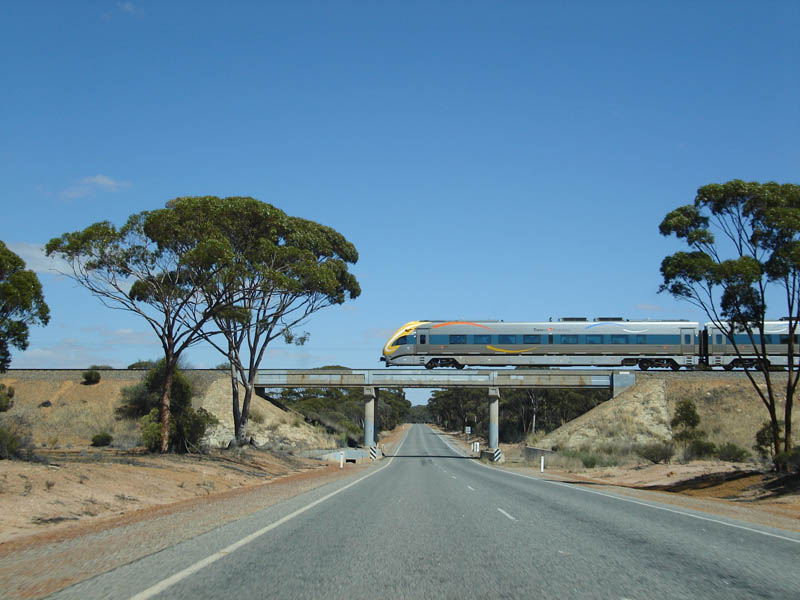 |
Westbound at Carrabin: Approaching the railway underpass at Carrabin, with the Prospector train service from Kalgoorlie to Perth passing by. December 2007. Image © Paul Rands |
 |
Advance Directional SIgn: AD sign on Polaris St at Southern Cross approaching Great Eastern Hwy (NH94), April 2018. Image © Paul Rands |
|
 |
Services Sign: Services signage near the town of Carrabin, April 2018. Image © Paul Rands |
 |
Advance Directional SIgn: AD sign on Polaris St at Southern Cross approaching Great Eastern Hwy (NH94), April 2018. Image © Paul Rands |
|
 |
Entering Carrabin: Entering the small village of Carrabin, westbound. December 2007. Image © Paul Rands |
 |
Reassurance Directional Sign: Distance sign at Southern Cross, April 2018. Image © Paul Rands |
|
 |
Carrabin: Westbound near the roadhouse. December 2007. Image © Paul Rands |
 |
Advance Directional SIgn: AD sign approaching Southern Cross Airport, April 2018. Image © Paul Rands |
|
 |
Distance Sign: Westbound RD sign leaving Carrabin. December 2007. Image © Paul Rands |
 |
Entering Ghooli: Great Eastern Hwy (NH94) entering the town of Ghooli, April 2018. Image © Paul Rands |
|
 |
Distance Sign: Westbound RD sign at Walgoolan, April 2018. Image © Paul Rands |
 |
Emu Fence Road: Corner of Great Eastern Hwy (NH94) and Emu Fence Rd, Ghooli, April 2018. Image © Paul Rands |
|
 |
Entering Burracoppin: Entering the small town of Burracoppin, westbound. December 2007. Image © Paul Rands |
 |
Services Sign: Services sign at Yellowdine, April 2018. Image © Paul Rands |
|
 |
Burracoppin: Passing through Burracoppin at the intersection with Springwell Valley Rd. December 2007. Image © Paul Rands |
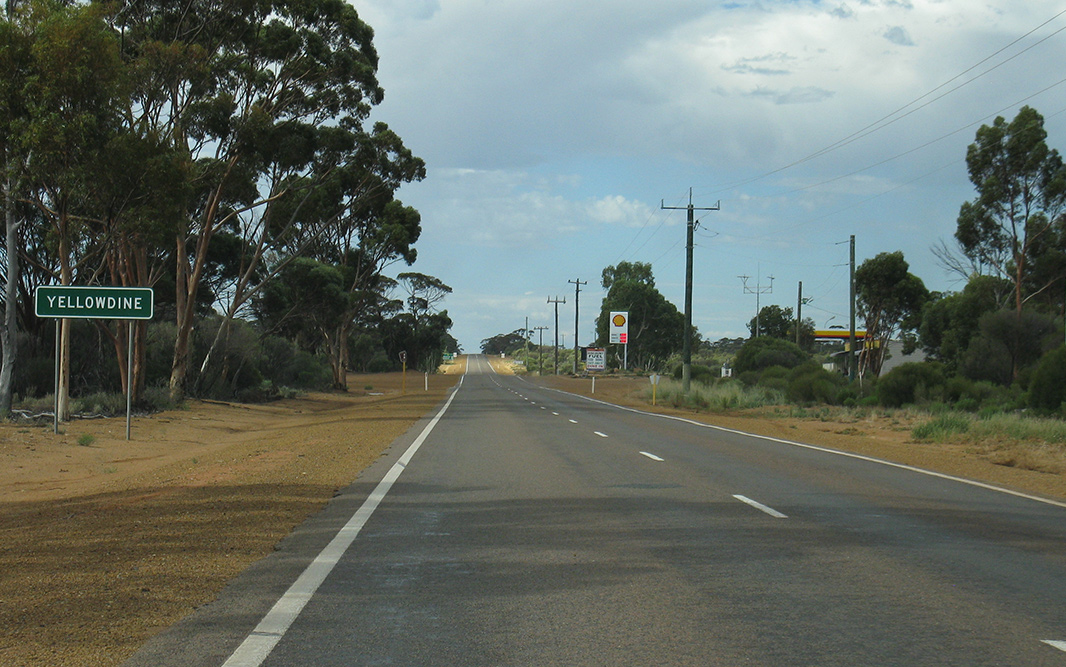 |
Entering Yellowdine: Great Eastern Hwy (NH94) as it enters the town of Yellowdine, April 2018. Image © Paul Rands |
|
 |
Reassurance Directional Sign: Distance sign at Yellowdine, April 2018. Image © Paul Rands |
|||
 |
Entering Bulla Bulling: Great Eastern Hwy (NH94) as it enters the town of Bulla Bulling, April 2018. Image © Paul Rands |
|||
 |
Reassurance Directional Sign: Distance sign at Bullabulling, April 2018. Image © Paul Rands |
|||
| For the continuation of NH94 between Coolgardie and Norseman, click here. For the continuation of NH94 between Merredin and Northam, click here. |
||||
1 UBD Concise Motoring Atlas of Australia, 3rd Edition, published by Universal Publishers Pty Ltd. ISBN 978-0-7319-2081-5
2 Main Roads Western Australia List of MRWA Controlled Roads, November 2008
3 State Library of WA
4 Sydney Morning Herald
5 Merredin Shire
Last updated: 20-Jul-2020 12:06
This site © Paul Rands. All rights reserved. Some portions © (copyright) by their respective and credited owners. Permission must be obtained before using any images from this site. For details, please email by clicking here.