|
|
|
|
|
| M1 A1 | Pacific Motorway, Pacific Highway, New England Highway, John Renshaw Drive, Gore Hill Freeway, Warringah Freeway, Sydney Harbour Tunnel, Cahill Expressway, Eastern Distributor, Southern Cross Drive, General Holmes Drive, The Grand Parade, President Avenue, Princes Highway & Princes Motorway (M1 / A1) - Batemans Bay to Bodalla |
Statistics:
Route Numbering:

General Information:
The Princes Highway was formed from a string of roads linking Sydney to the Illawarra, and then forming a coastal route to Melbourne and into South Australia. The section covered by A1 is in 2 pieces - between Rockdale and Waterfall in Sydney, and then Yallah near Wollongong through to the Victorian Border. The route is a mix of urban arterial road, dual carriageway and also rural highway.
History:
| Bodalla to Batemans Bay | Batemans Bay to Bodalla | |||
| Preview: | Description: | Preview: | Description: | |
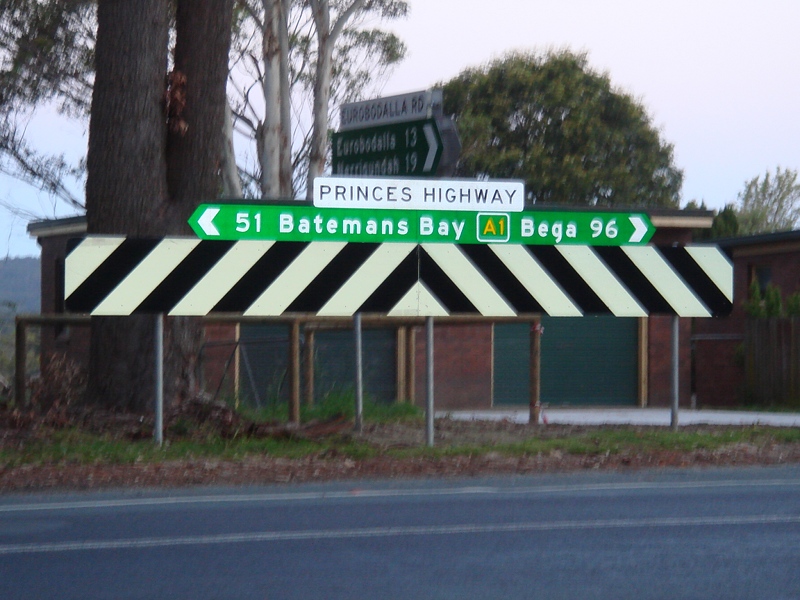 |
Intersection Directional Sign: ID sign facing Eurobodalla Rd at Bodalla, October 2010. Image © Paul Rands |
 |
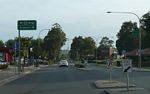
Advance Directional Sign: AD sign at Broulee, approaching Broulee Rd, December 2013. Image © Michael Greenslade |
|
 |
Intersection Directional Sign: ID sign facing Tomakin Rd at Mogo, October 2010. Image © Paul Rands |
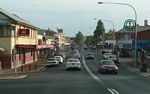 |
Moruya: Princes Hwy (A1) as it passes through the Moruya town centre, December 2013. Image © Michael Greenslade |
|
 |
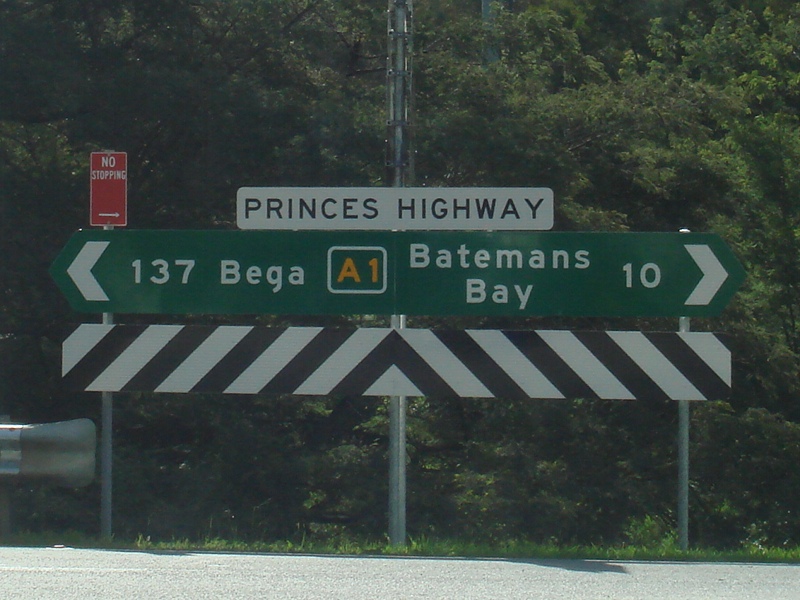
Advance Directional Sign: AD sign approaching Campbell St and Murray St in Moruya, December 2013. A1 turns left at this location. Image © Michael Greenslade |
|||
| Click
here for the continuation of Princes Hwy (A1) between Bodalla
and Cobargo Click here for the continuation of Princes Hwy (A1) between Ulladulla and Batemans Bay |
||||
1 Roads & Maritime Services,
Schedule of Classified Roads and Unclassified Regional Roads, August 2013.
2 Main Roads Board, Annual Report,
Volume 1, Number 1, September 1929.
3 NSW Government, Media Release, $2.5 Million Project to Improve Road Safety South of Batemans Bay, 25 January 2011
Last updated: 01-Jul-2020 11:16
This site © Paul Rands. All rights reserved. Some portions © (copyright) by their respective and credited owners. Permission must be obtained before using any images from this site. For details, please email by clicking here.