|
|
|
|
|
| M1 A1 | Pacific Motorway, Pacific Highway, New England Highway, John Renshaw Drive, Gore Hill Freeway, Warringah Freeway, Sydney Harbour Tunnel, Cahill Expressway, Eastern Distributor, Southern Cross Drive, General Holmes Drive, The Grand Parade, President Avenue, Princes Highway & Princes Motorway (M1 / A1) - Brunswick Heads to Ballina |
Statistics:
Route Numbering:

General Information:
The Pacific Highway section of A1 runs between Brunswick Heads and Hexham, and also between Wahroonga and the Gore Hill Freeway at Artarmon. The northern section between Brunswick Heads and Hexham is a mix of dual carriageway, rural highway and urban arterial roadway. The southern section between Wahroonga and Artarmon is urban arterial standard and passes through one of Sydney's more affluent areas.
History:
Click here for the former alignment between Brunswick Heads and Ballina
| Ballina to Brunswick Heads | Brunswick Heads To Ballina | |||
| Preview: | Description: | Preview: | Description: | |
 |
Caption Title: Caption, November 2013. Image © Michael Greenslade |
 |
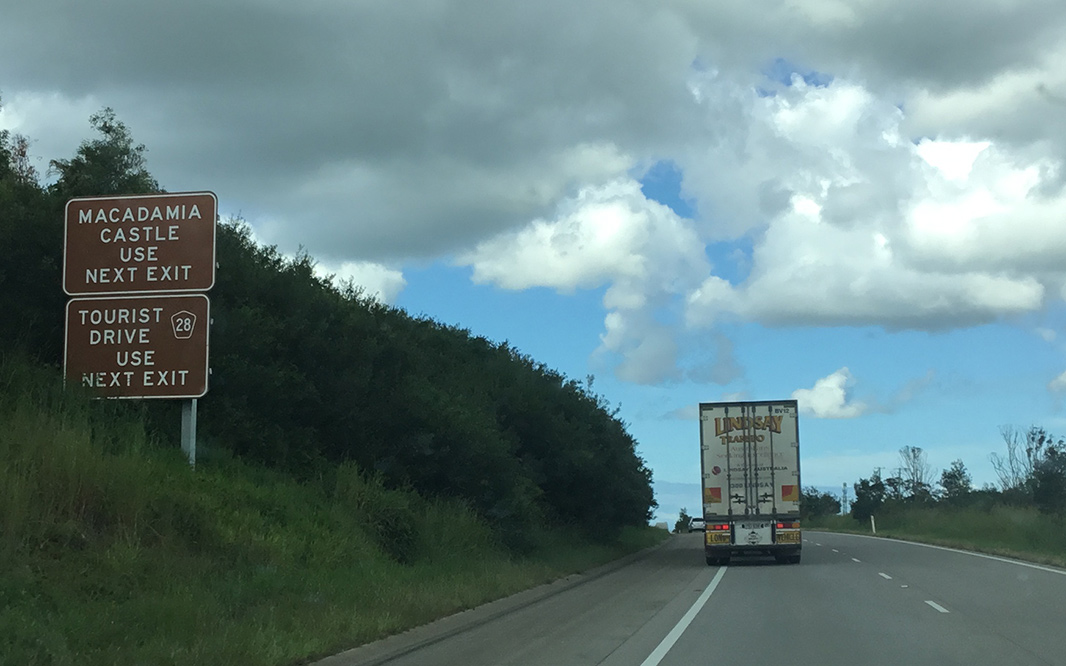
Supplemental Advance Directional Sign: Supplemental AD sign at Brunswick Heads approaching Gulgan Rd (TD28), April 2019. Image © Dean Sherry |
|
 |
Distance Sign: RD sign at Tintenbar, February 2015. Image © Rob Tilley |
 |
Gulgan Road Interchange: Pacific Mwy (M1) at the Gulgan Rd (TD28) interchane at Brunswick Heads, April 2019. Image © Dean Sherry |
|
 |
Supplemental Advance Directional Sign: Supplemental AD sign approaching Ross Ln interchange at Tintenbar, February 2015. Image © Rob Tilley |
 |
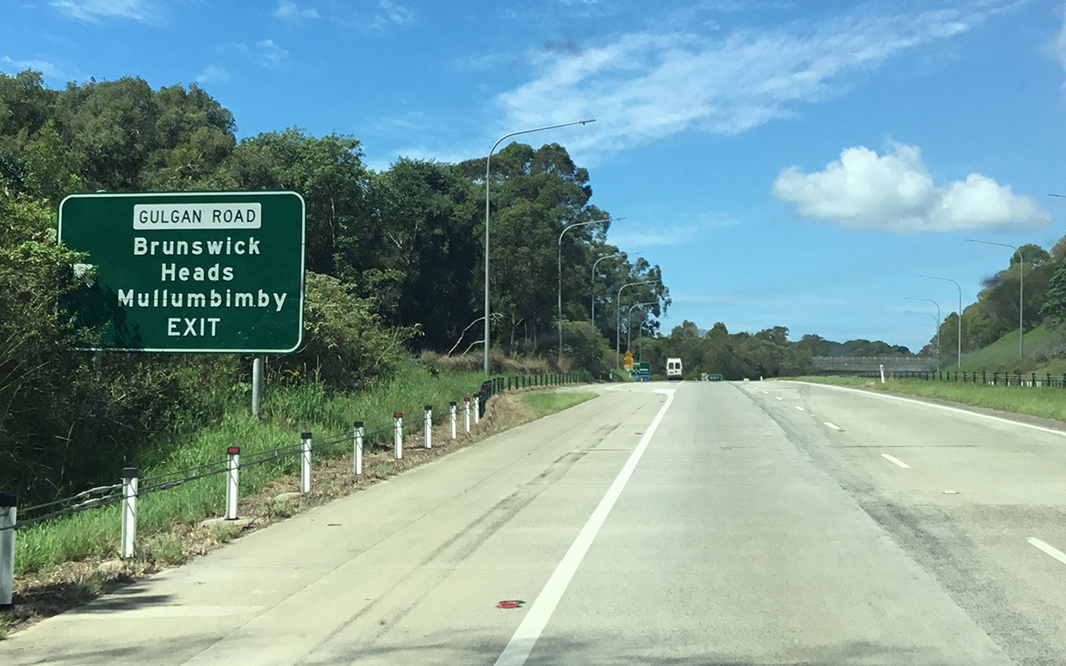
Advance Directional Sign: AD sign on the off ramp to Gulgan Rd (TD28) at Brunswick Heads, April 2019. Image © Dean Sherry |
|
 |
Advance Directional Sign: AD sign at Tintenbar approaching Ross Ln, February 2015. Image © Rob Tilley |
 |
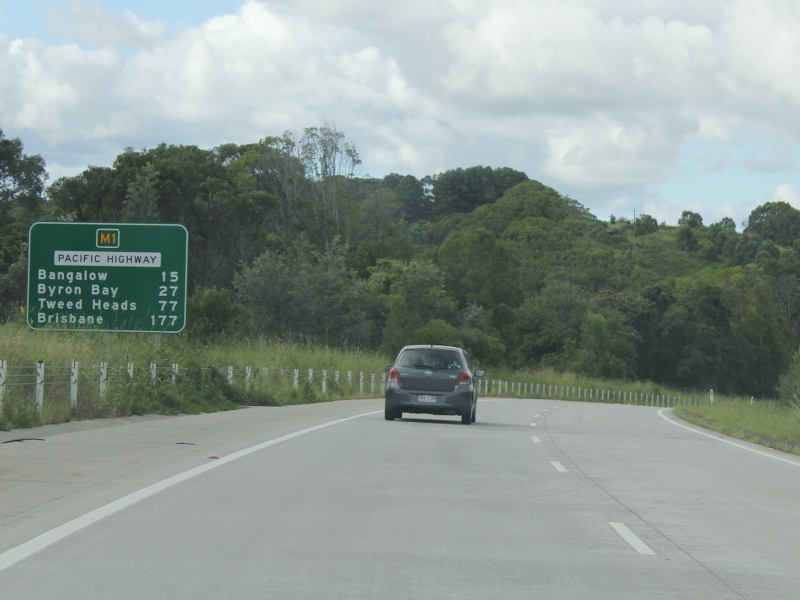
Distance Sign: RD sign at Brunswick Heads, November 2013. Image © Michael Greenslade |
|
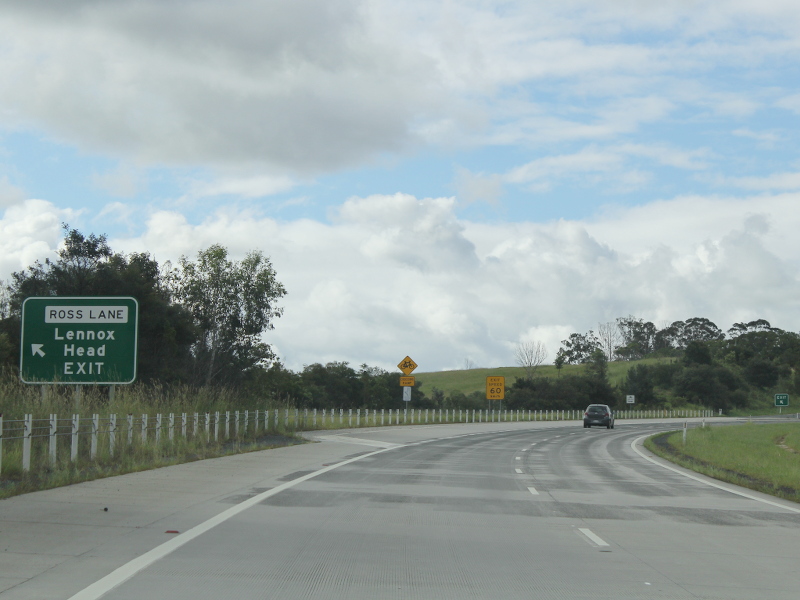 |
Ross Lane Interchange: Pacific Hwy (M1) at Ross Ln interchange at Tintenbar, February 2015. Image © Rob Tilley |
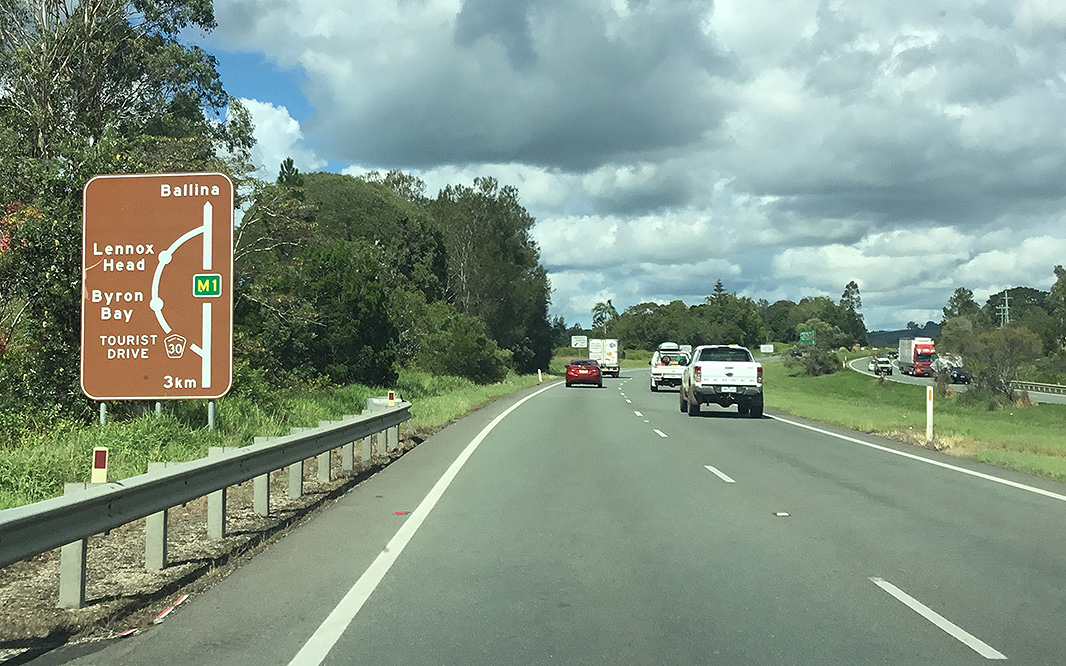 |
Supplemental Advance Directional Sign: Supplemental AD sign at Tyagarah approaaching Hinterland Hwy (B62) and Ewingsdale Rd (TD30), April 2019. Image © Dean Sherry |
|
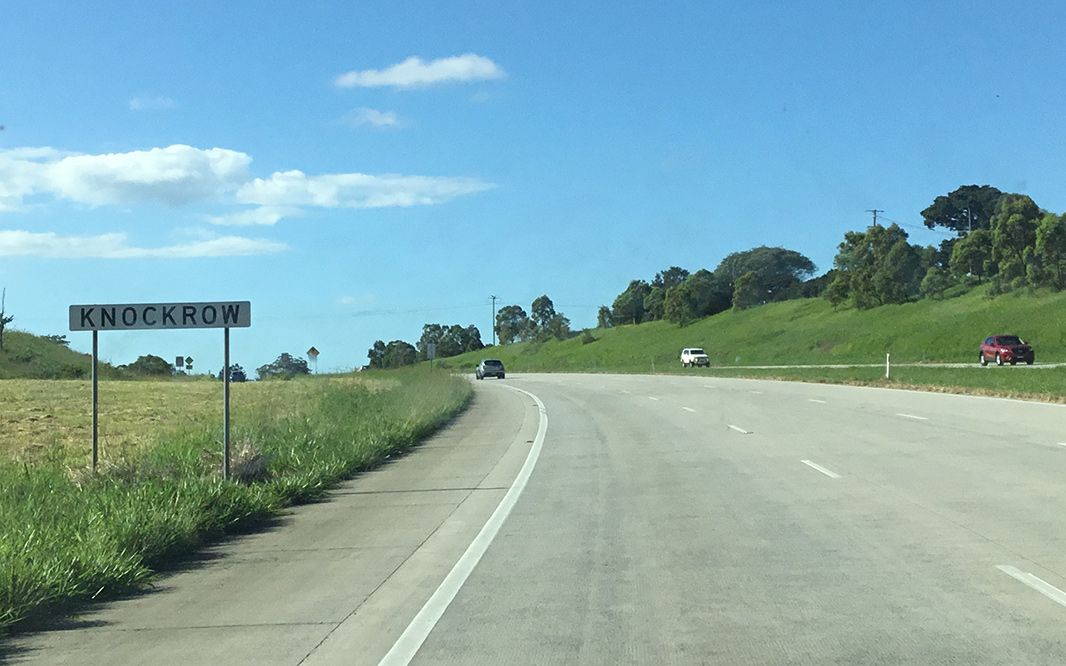 |
Entering Knockrow: Pacific Mwy (M1) as it enters the town of Knockrow, April 2019. Image © Dean Sherry |
 |
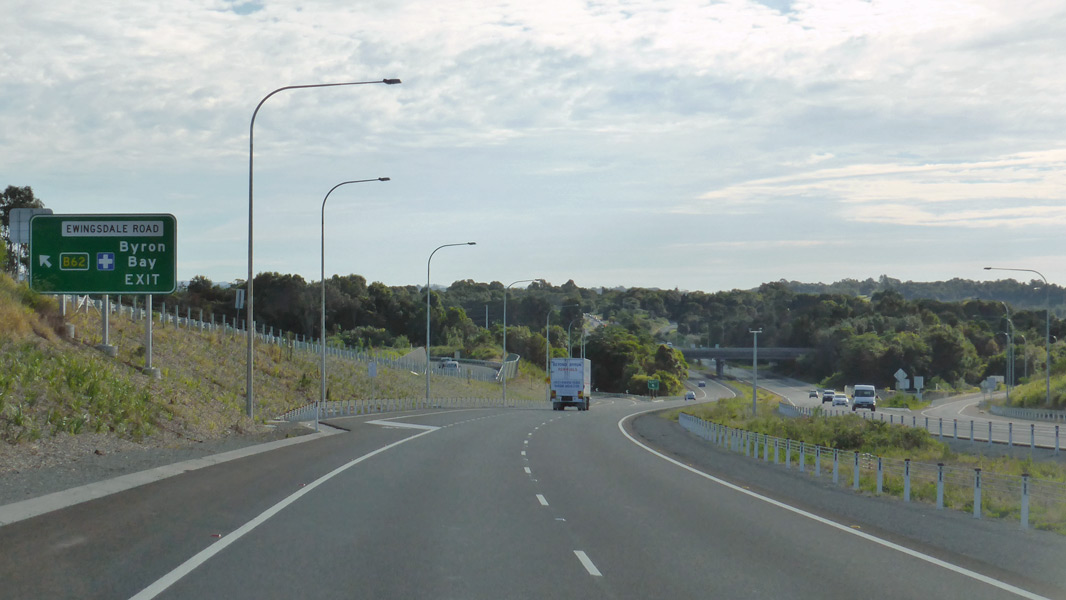
Advance Directional Sign: AD sign at Ewingsdale approaaching Hinterland Hwy (B62) and Ewingsdale Rd (TD30), April 2019. Image © Dean Sherry |
|
 |
Distance Sign: Reasurrance directional sign at Knockrow, April 2019. Image © Dean Sherry |
 |
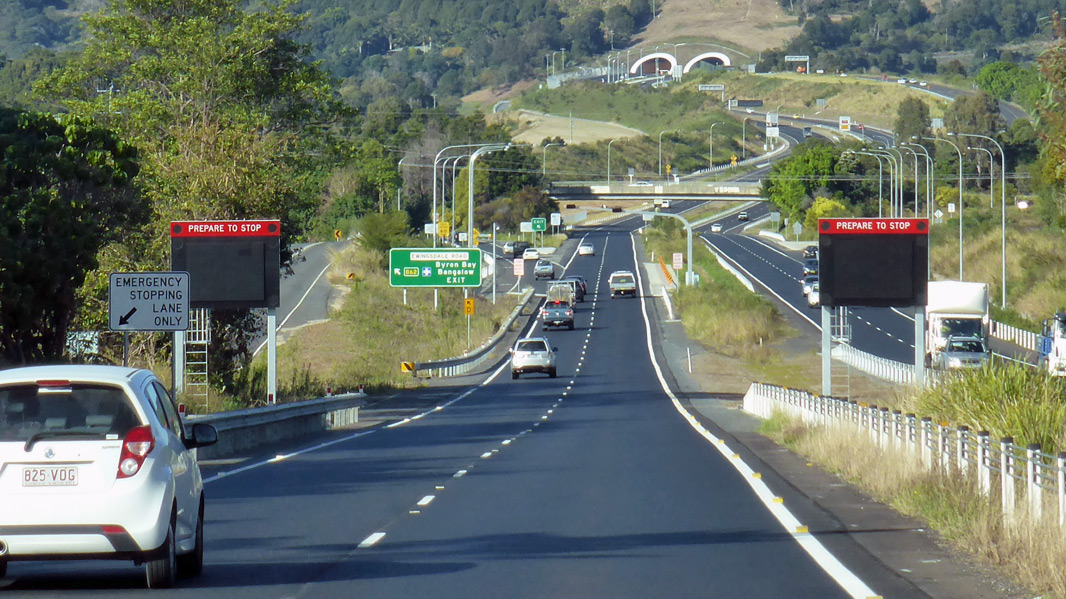
Supplemental Advance Directional Sign: Supplemental AD sign at Ewingsdale approaaching Ewingsdale Rd (TD30), April 2019. Image © Dean Sherry |
|
 |
Supplemental Advance Directional Sign: Supplemental AD sign at Bangalow approaching Byron Bay Rd, July 2016. Image © Michael Greenslade |
 |
Bypassed Town Sign: Bypassed town advance directional sign at Ewingsdale approaching Hinterland Hwy (B62) and Ewingsdale Rd (TD30), July 2016. Image © Michael Greenslade |
|
 |
Advance Directional Sign: AD sign at Bangalow approaching Byron Bay Rd, July 2016. Image © Michael Greenslade |
 |
Advance Directional Sign: AD sign at Ewingsdale approaaching Hinterland Hwy (B62) and Ewingsdale Rd (TD30), November 2013. Image © Michael Greenslade |
|
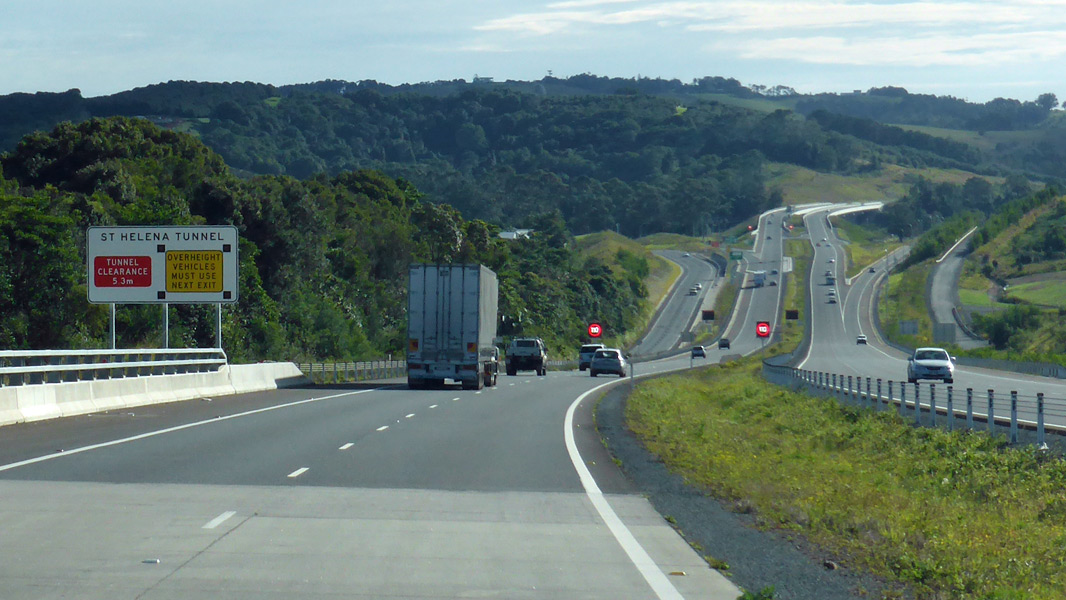 |
Overheight Warning Sign: Overheight warning sign approaching St Helena Tunnel at Bangalow, July 2016. Image © Michael Greenslade |
 |
Supplemental Advance Directional Sign: Supplemental AD sign at Ewingsdale approaaching Ewingsdale Rd (TD30), April 2019. Image © Dean Sherry |
|
 |
St Helena Tunnels: Pacific Mwy (M1) at the St Helena Tunnel at McLeods Shoot, April 2019. Image © Dean Sherry |
 |
Advance Directional Sign: AD sign at Ewingsdale approaaching Hinterland Hwy (B62) and Ewingsdale Rd (TD30), November 2013. Image © Michael Greenslade |
|
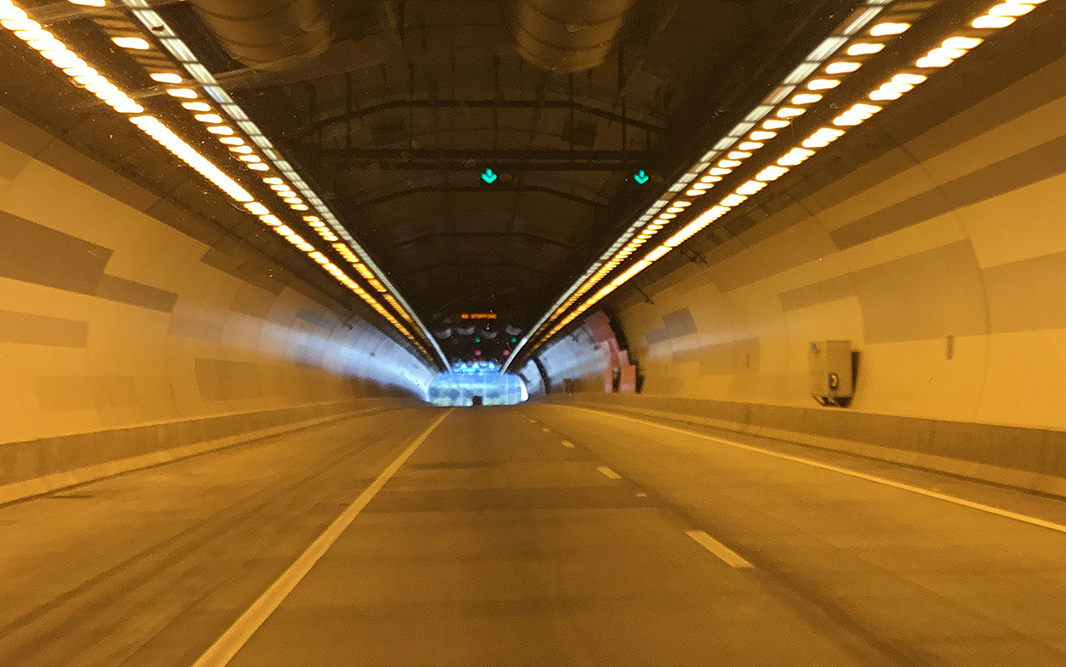 |
St Helena Tunnels: Pacific Mwy (M1) as it passes through the St Helena Tunnel at McLeods Shoot, April 2019. Image © Dean Sherry |
 |
Supplemental Advance Directional Sign: Supplemental AD sign at Ewingsdale approaaching Ewingsdale Rd (TD30), April 2019. Image © Dean Sherry |
|
 |
Ewingsdale Road & Hinterland Way: Pacific Mwy (M1) at the interchange with Ewingdsale Rd (TD30) and Hinterland Way (B62) at Ewingsdale, July 2016. Image © Michael Greenslade |
 |
Ewingsdale Road & Hinterland Way: Pacific Mwy (M1) at the interchange with Ewingdsale Rd (TD30) and Hinterland Way (B62) at Ewingsdale, July 2016. Image © Michael Greenslade |
|
 |
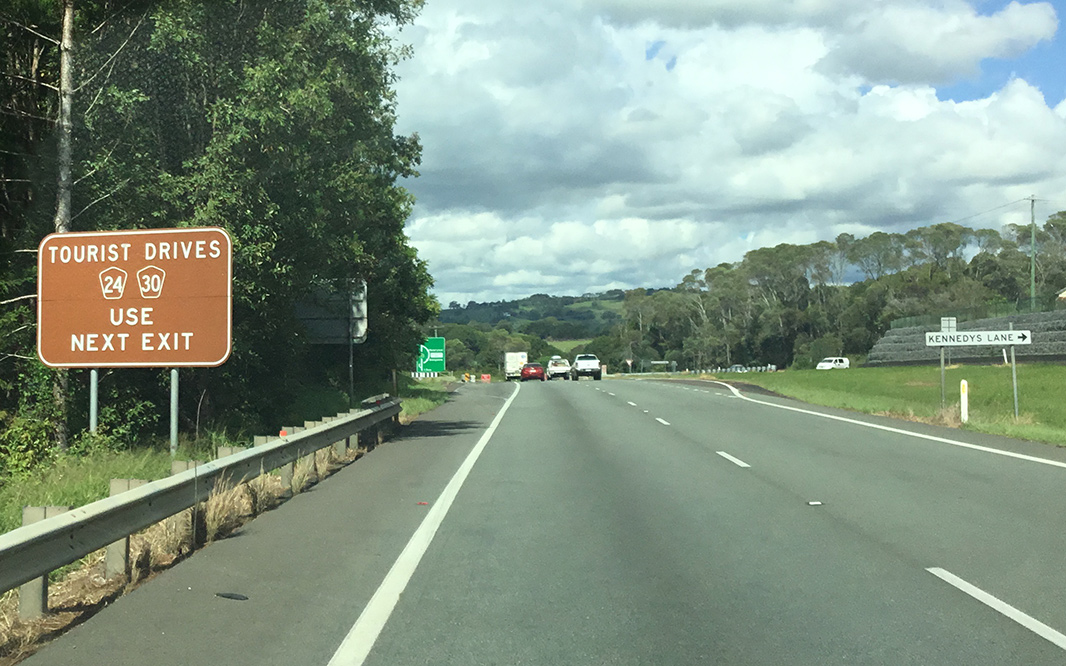
Intersection Directional Sign: ID sign at the junction with Kennedys Ln and Woodford Ln at Ewingsdale, February 2015. Image © Rob Tilley |
 |
Ewingsdale Road & Hinterland Way: Pacific Mwy (M1) at the interchange with Ewingdsale Rd (TD30) and Hinterland Way (B62) at Ewingsdale, April 2019. Image © Dean Sherry |
|
 |
Tyagarah Rd: Pacific Hwy (M1) at the junction with Tyagarah Rd, February 2015. Image © Rob Tilley |
 |
St Helena Tunnels: Pacific Mwy (M1) at the St Helena Tunnel at Ewingsdale, July 2016. Image © Michael Greenslade |
|
 |
Advance Directional Sign: AD sign approaching Gulgan Rd at Tyagarah, February 2015. Image © Rob Tilley |
 |
St Helena Tunnels: Pacific Mwy (M1) as it passes through the St Helena Tunnel at Ewingsdale, April 2019. Image © Dean Sherry |
|
 |
Distance Sign: RD sign at Brunswick Heads, February 2015. Image © Rob Tilley |
 |
Reassurance Directional Sign: Distance sign at McLeods Shoot, April 2019. Image © Dean Sherry |
|
 |
Advance Directional Sign: AD sign approaching Gulgan Rd at Brunswick Heads, February 2015. Image © Rob Tilley |
 |
Reassurance Directional Sign: Distance sign at Bangalow, July 2016. Image © Michael Greenslade |
|
 |
Gulgan Rd Interchange: Pacific Mwy (M1) at the Gulgan Rd interchange at Brunswick Heads, February 2015. Image © Rob Tilley |
 |
Watsons Lane: Pacific Mwy (M1) as it passes over Watsons Ln at Newrybar, April 2019. Image © Dean Sherry |
|
 |
Gulgan Rd Interchange: Pacific Mwy (M1) at the Gulgan Rd interchange at Brunswick Heads, February 2015. Image © Rob Tilley |
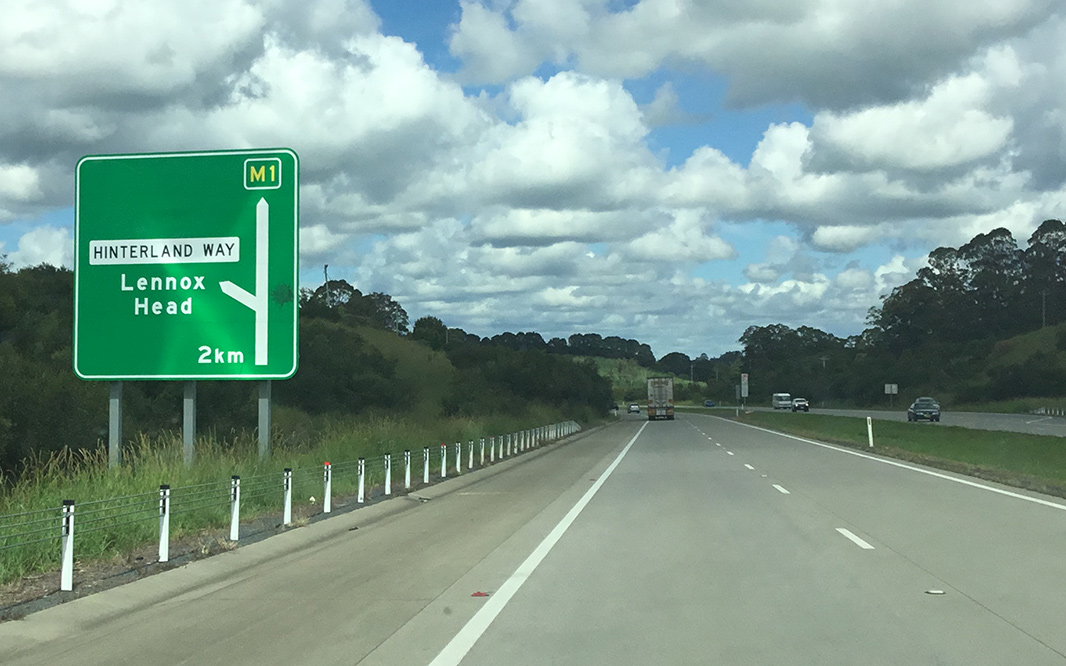 |
Advance Directional sign: AD sign at Knockrow approaching Hinterland Way, April 2019. Image © Dean Sherry |
|
 |
Advance Directional Sign: AD sign on Gulgan Rd approaching Pacific Mwy (M1) and Saddle Rd, November 2013. Image © Michael Greenslade |
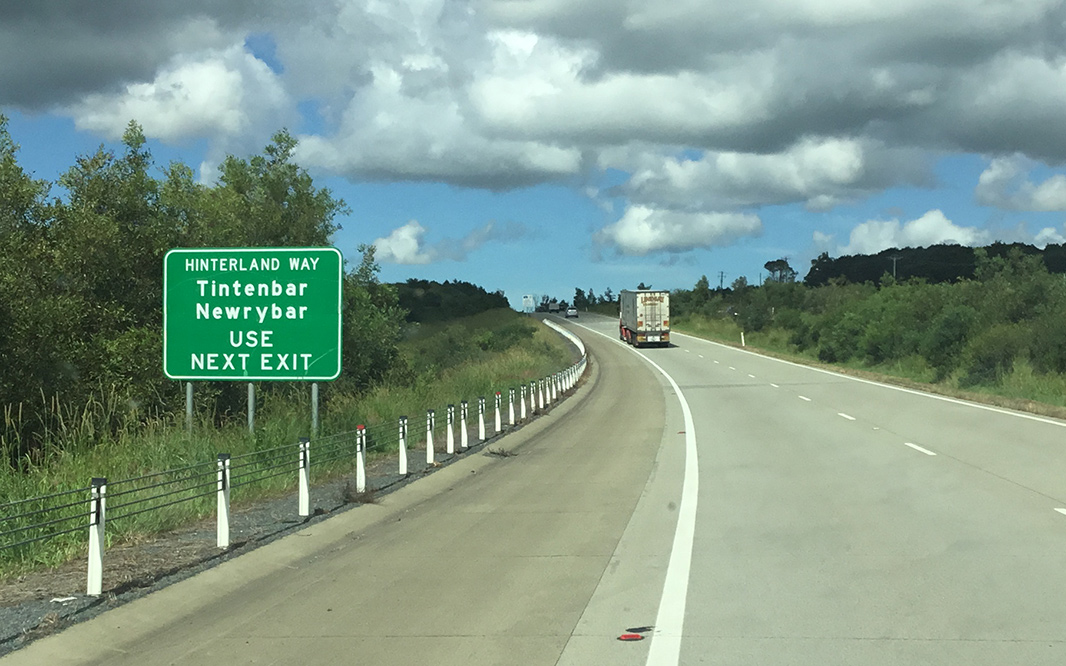 |
Supplemental Advance Directional sign: Supplemental AD sign at Knockrow approaching Hinterland Way, April 2019. Image © Dean Sherry |
|
 |
Distance Sign: RD sign at Brunswick Heads, February 2015. Image © Rob Tilley |
 |
Supplemental Advance Directional sign: Supplemental AD sign at Knockrow approaching Hinterland Way, April 2019. Image © Dean Sherry |
|
 |
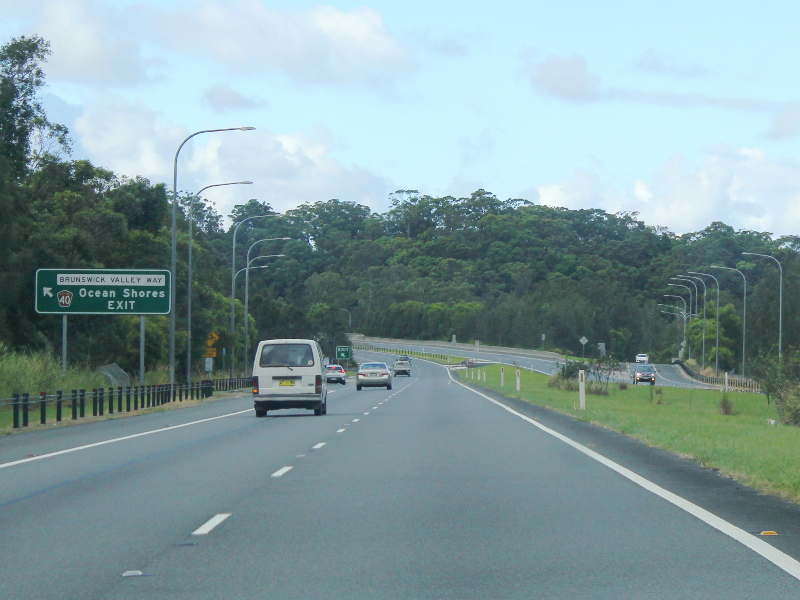
Advance Directional Sign: AD sign at Brunswick Heads approaching Brunswick Valley Way (TD40), February 2015. Image © Rob Tilley |
 |
Hinterland Way: Pacific Mwy (M1) at the Hinterland Way interchange, Tintenbar, April 2019. Image © Dean Sherry |
|
 |
Brunswick Valley Way: Pacific Mwy (M1) at the Brunswick Valley Way (TD40) interchange at Brunswick Heads, February 2015. Image © Rob Tilley |
 |
Services Sign: Services sign at Tintenbar for the Tamarind Dr interchange, April 2019. Image © Dean Sherry |
|
 |
Reassurance Directional Sign: Distance sign at Tintenbar, April 2019. Image © Dean Sherry |
|||
 |
Bypassed Town Sign: Bypassed town supplemental advance directional sign at Tintenbar approaching Tamarind Dr (former Pacific Hwy), April 2019. Image © Dean Sherry |
|||
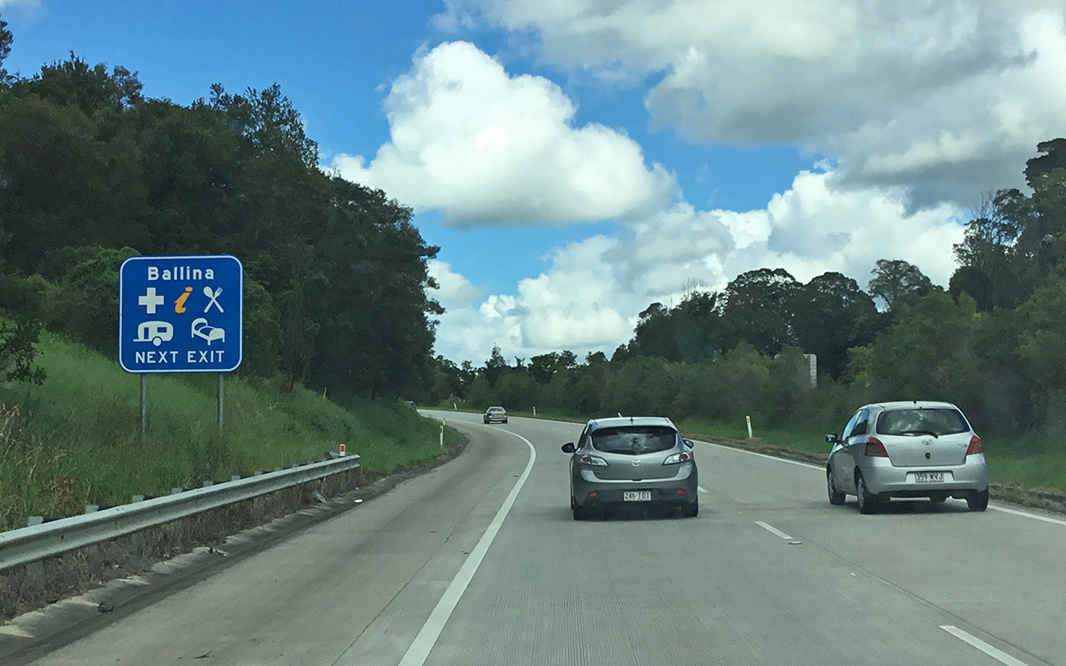 |
Services Sign: Services sign at Tintenbar for the Tamarind Dr interchange, April 2019. Image © Dean Sherry |
|||
 |
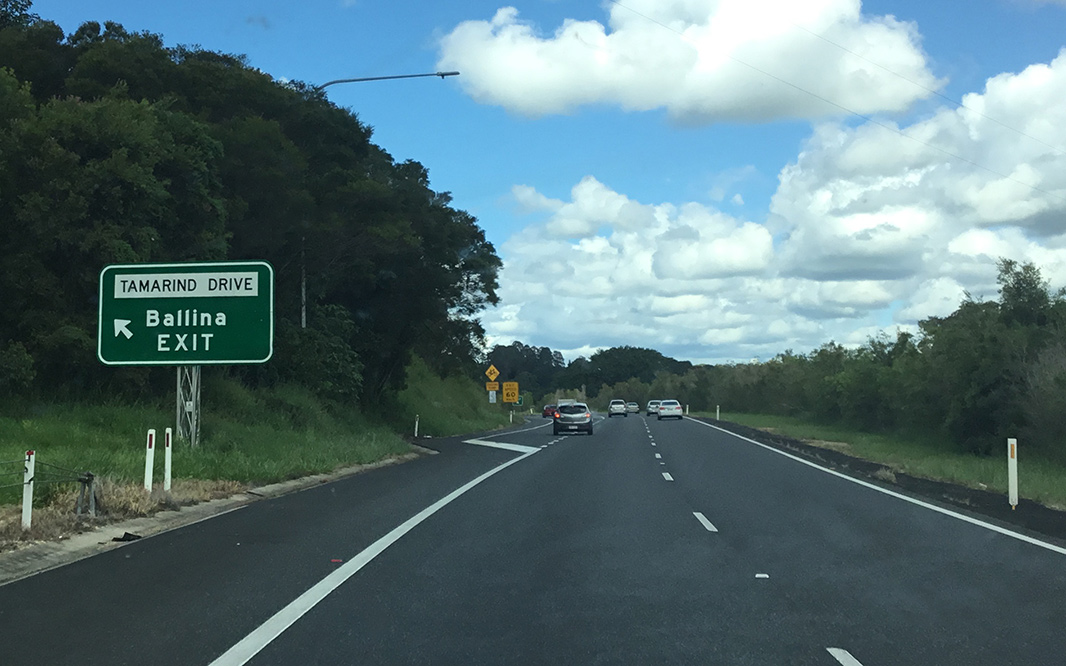
Advance Directional sign: AD sign at Cumbalum approaching Tamarind Dr, April 2019. Image © Dean Sherry |
|||
 |
Tamarind Drive: Pacific Mwy (M1) at the Tamarind Dr interchange at Cumbalum, April 2019. Image © Dean Sherry |
|||
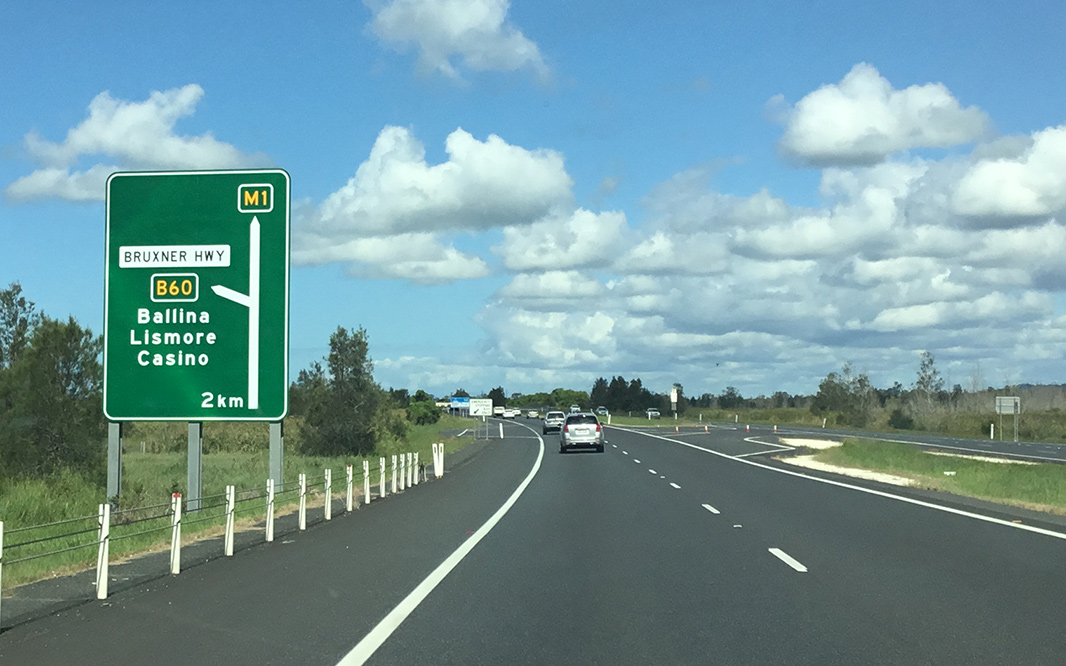 |
Advance Directional Sign: AD sign at West Ballina approaching Bruxner Hwy (B60) and River St (TD30), April 2019. Image © Dean Sherry |
|||
 |
Supplemental Advance Directional Sign: Supplemental AD sign at West Ballina approaching Bruxner Hwy (B60) and River St (TD30), April 2019. Image © Dean Sherry |
|||
 |
Bruxner Highway & River Street Interchange: Pacific Mwy (M1) at the Bruxner Hwy (B60) and River St (TD30) interchange at West Ballina, April 2019. Image © Dean Sherry |
|||
 |
Advance Directional Sign: AD sign on the off ramp to Bruxner Hwy (B60) and River St (TD30) at West Ballina, April 2019. Image © Dean Sherry |
|||
 |
Intersection Directional Sign: ID sign on the off ramp to Bruxner Hwy (B60) and River St (TD30) at West Ballina, April 2019. Image © Dean Sherry |
|||
| Click
here for the continuation of Pacific Hwy (A1) between Ballina
and Maclean Click here for the continuation of the route as Pacific Mwy (M1) between Queensland Border and Brunswick Heads |
||||
1 Roads &
Maritime Services, Schedule of Classified Roads and Unclassified Regional
Roads, August 2013.
2 Department of Main Roads, The
Roadmakers, A History of Main Roads in New South Wales, ISBN 0 7240 0439
4.
3 Roads & Maritime Services,
Projects, Pacific Highway Upgrade, Ballina To Tweed Heads, Completed
Projects, Bangalow Bypass Duplication.
4 Roads & Maritime Services,
Projects, Pacific Highway upgrade, Hexham to Port Macquarie, Completed
projects, Taree to Coopernook.
5 Roads & Maritime Services,
Projects, Pacific Highway upgrade, Port Macquarie to Coffs Harbour,
Completed projects, Eungai Deviation.
6 Roads & Maritime Services,
Projects, Pacific Highway upgrade, Coffs Harbour to Ballina, Completed
Projects, Gap Road.
7 Roads & Maritime Services,
Projects, Pacific Highway upgrade, Ballina To Tweed Heads, Completed
Projects, Ewingsdale to Tyagarah Realignment.
8 Roads & Maritime Services,
Pacific Highway Upgrade, Project Fact Sheet, Ewingsdale Interchange.
9 Roads & Maritime Services,
Projects, Pacific Highway upgrade, Ballina To Tweed Heads, Completed
Projects, Tandy's Lane.
10 Roads & Maritime Services,
Projects, Pacific Highway Upgrade, Coffs Harbour to Ballina, Ballina Bypass.
11 Australian Government, Department of Infrastructure, Transport, Regional Development and Communications, Projects, Pacific Highway - Tintenbar to Ewingsdale Upgrade Pacific Highway - Tintenbar to Ewingsdale Upgrade
12 NSW Government, Pacific Highway Upgrade web site, Ballina to Border
Last updated: 01-Jul-2020 10:50
This site © Paul Rands. All rights reserved. Some portions © (copyright) by their respective and credited owners. Permission must be obtained before using any images from this site. For details, please email by clicking here.