|
|
|
|
|
| A3 | Tasman Highway (A3) - Launceston to Scottsdale |
Statistics:
Route Numbering:

General Information:
The Tasman Highway's highest elevation along its length is 623m and the lowest point is at -0.973m.
The Tasman Highway connects with the Arthur Highway, the Colebrook Road, the Domain Highway, the East Derwent Highway, the East Tamar Highway, the Esk Main Road, the Gladstone Road, the Huon Highway Southern Outlet, King Street, the Midland Highway, the Ringarooma Road and the West Tamar Highway.
| Scottsdale to Launceston | Launceston to Scottsdale | |||
| Preview: | Description: | Preview: | Description: | |
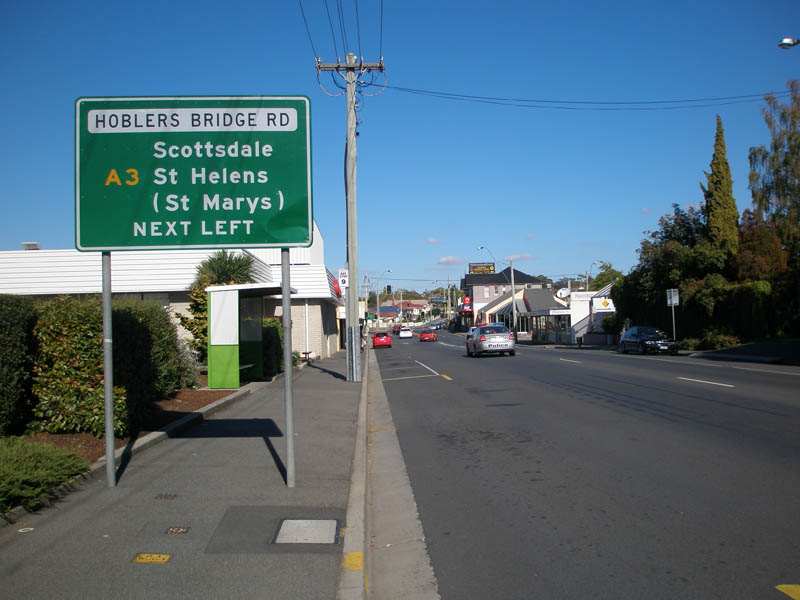 |
Supplemental AD Sign: Supplemental advance directional sign on Elphin Road (Tasman Highway) approaching Penquite Road and Hoblers Bridge Road (Tasman Highway) at Newstead. October 2007. Image © Peter Renshaw |
 |
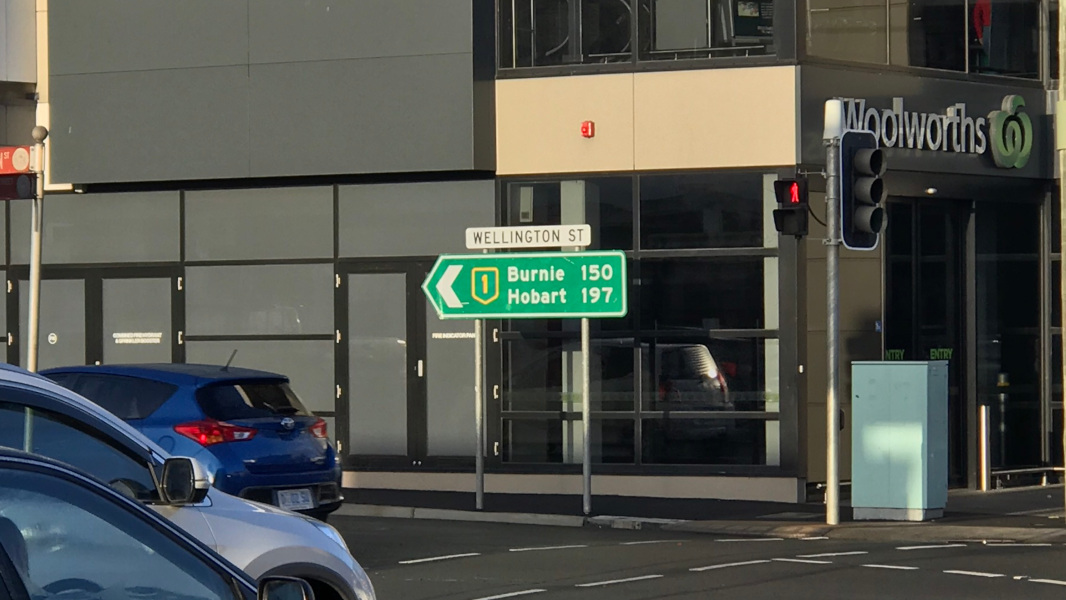
Advance Directional Sign: AD sign on Brisbane St (A3) approaching Wellington St (NH1), Launceston, July 2018. Image © Paul Rands |
|
 |
Advance Directional Sign: Northbound AD sign on St Leonards Road in Waverly approaching the roundabout with the Tasman Highway. October 2007. Image © Peter Renshaw |
 |
Intersection Directional Sign: ID sign on the junction with Wellington St (NH1) in Launceston, July 2018. Image © Paul Rands |
|
 |
Trailblazer: A3 trailblazer on Brisbane St (A3), approaching George St (A3) in Launceston, July 2018. Image © Paul Rands |
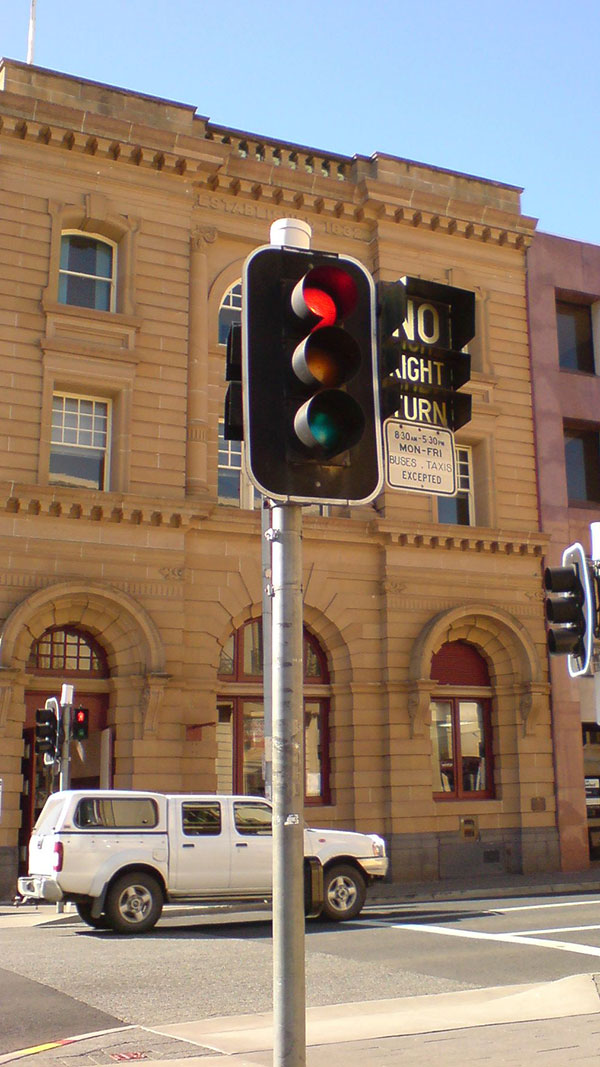 |
Flashing No Right Turn Sign: Old style flashing no right turn sign at the junction Paterson St (A3) and St John St, Launceston, August 2006. This sign has since been replaced with a modern LED version. Image © Tim Cole |
|
 |
Handpainted Sign: Handpainted All Traffic sign, corner of Brisbane St (A3) and George St (A3) in Launceston, July 2018. Image © Paul Rands |
|||
 |
Trailblazer: A3 trailblazer on York Street (A3), approaching St John Street in Launceston, July 2018. Image © Paul Rands |
|||
 |
Advance Directional Sign : AD sign on York St (A3), approaching Wellington St (NH1) in Launceston, July 2018. A3 continues after this junction and joins with A7. Image © Paul Rands |
|||
 |
Wellington St : Corner of York St (A3) and Wellington St (NH1) in Launceston, July 2018. Image © Paul Rands |
|||
 |
Advance Directional Sign: AD sign on York St (A3) in Launceston, approaching Bathurst St (A8), July 2018. Image © Paul Rands |
|||
 |
Bathurst St: ID sign on the junction with Bathurst St (A8) in Launceston, July 2018. This is the northern terminus of A3 Image © Paul Rands |
|||
| Click here for the continuation of A3 between St Helens and Scottsdale | ||||
Last updated: 13-Jul-2020 21:44
This site © Paul Rands. All rights reserved. Some portions © (copyright) by their respective and credited owners. Permission must be obtained before using any images from this site. For details, please email by clicking here.