|
|
|
|
|
| A3 | Tasman Highway (A3) - Sorell to Triabunna |
Statistics:
Route Numbering:

General Information:
The Tasman Highway's highest elevation along its length is 623m and the lowest point is at -0.973m.
The Tasman Highway connects with the Arthur Highway, the Colebrook Road, the Domain Highway, the East Derwent Highway, the East Tamar Highway, the Esk Main Road, the Gladstone Road, the Huon Highway Southern Outlet, King Street, the Midland Highway, the Ringarooma Road and the West Tamar Highway.
The Tasman Bridge forms part of the highway crossing the Derwent River in Hobart. The Tasman Bridge is a five-lane bridge and its total length (including approaches) of 1,395 metres – longer than the Sydney Harbour Bridge.
| Sorell to Triabunna | Triabunna to Sorell | |||
| Preview: | Description: | Preview: | Description: | |
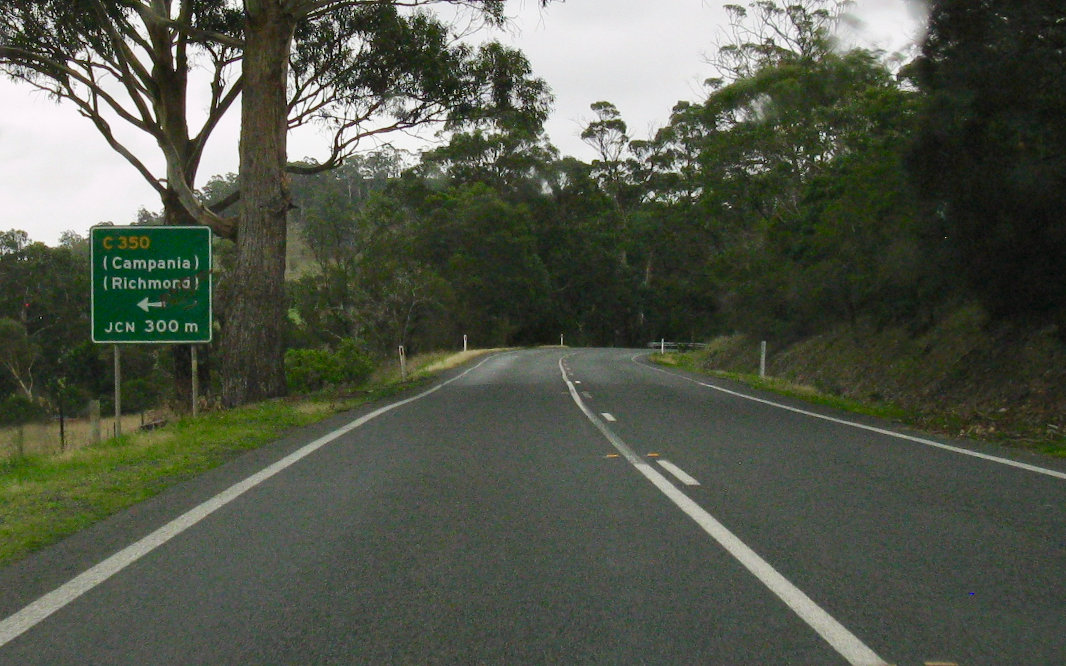 |
Advance Directional Sign: AD sign at Orielton approaching Fingerpost Rd (C350), July 2018. Image © Paul Rands |
 |
Intersection Directional Sign: Sign pointing to Tasman Hwy at the corner of Vicary St and Esplanade West at Triabunna, July 2018. Image © Paul Rands |
|
 |
Fingerpost Road: Corner of Tasman Hwy (A3) and Fingerpost Rd (C350) at Orielton, July 2018. Image © Paul Rands |
|||
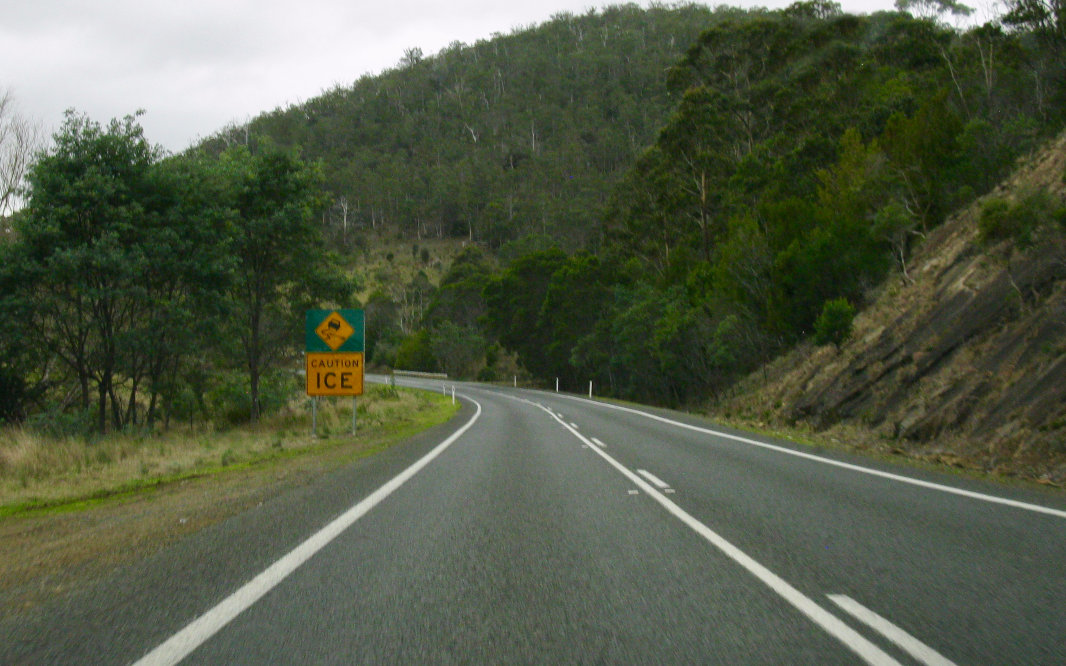 |
Simpsons Hill: Tasman Hwy (A3) as it winds up through Simpsons Hill at Orielton, July 2018. Image © Paul Rands |
|||
 |
Woodsdale Road: AD sign at Runnymede approaching Woodsdale Rd (C312), July 2018. Image © Paul Rands |
|||
 |
Entering Runnymede: Tasman Hwy (A3) as it enters the town of Runnymede, July 2018. Image © Paul Rands |
|||
 |
Woodsdale Road: Corner of Tasman Hwy (A3) and Woodsdale Rd (C312) at Runnymede, July 2018. Image © Paul Rands |
|||
 |
Brushy Plains Rivulet: Tasman Hwy (A3) as it crosses Brushy Plains Rivulet at Runnymede, July 2018. Image © Paul Rands |
|||
 |
Bust-Me-Gall Hill: Tasman Hwy (A3) climing Bust-Me-Gall Hill at Runnymede, July 2018. Image © Paul Rands |
|||
 |
Advance Directional Sign: AD sign at Buckland approaching Buckland Dr (C318) and Duke St, Buckland, July 2018. Image © Paul Rands |
|||
 |
Buckland Drive & Duke Street: Corner of Tasman Hwy (A3), Buckland Dr (C318) and Duke St, Buckland, July 2018. Image © Paul Rands |
|||
 |
Reassurance Directional Sign: Distance sign at Buckland, July 2018. Image © Paul Rands |
|||
 |
Brushy Plains Rivulet: Tasman Hwy (A3) as it crosses Brushy Plains Rivulet at Buckland, July 2018. Image © Paul Rands |
|||
 |
Advance Directional Sign: AD sign at Buckland approaching Nugent Rd (C335), July 2018. Image © Paul Rands |
|||
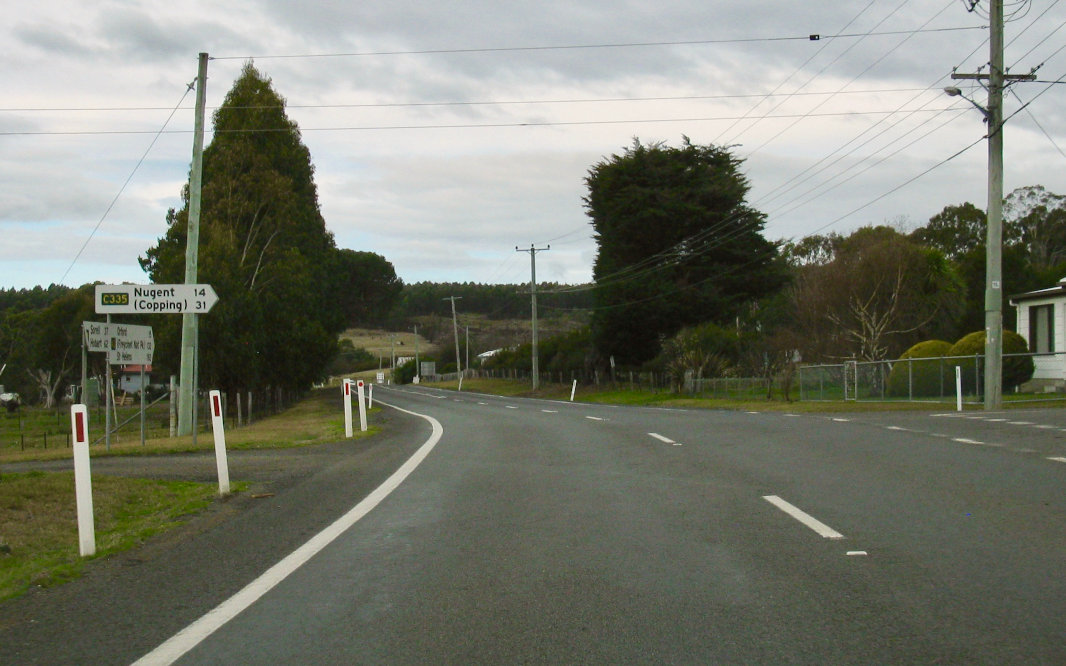 |
Nugent Road: Corner of Tasman Hwy (A3) and Nugent Rd (C335) at Buckland, July 2018. Image © Paul Rands |
|||
 |
Tea Tree Rivulet: Tasman Hwy (A3) as it crosses Tea Tree Rivulet at Buckland, July 2018. Image © Paul Rands |
|||
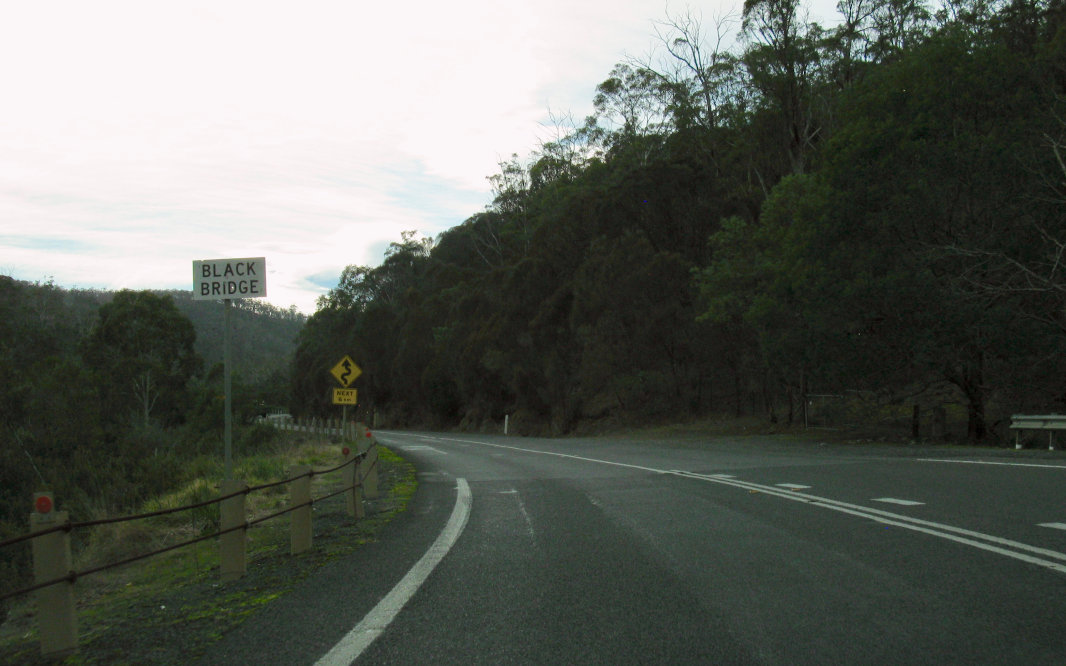 |
Black Ridge: Tasman Hwy (A3) as it passes through Black Ridge at Buckland, July 2018. Image © Paul Rands |
|||
 |
Prosser River: Old rock fencing as the Tasman Hwy (A3) parallels Prosser River at Orford, July 2018. Image © Paul Rands |
|||
 |
Entering Orford: Tasman Hwy (A3) as it enters the town of Orford, July 2018. Image © Paul Rands |
|||
 |
Advance Directional Sign: AD sign at Orford approaching Charles St (C320) and The Esplanade, July 2018. Image © Paul Rands |
|||
 |
Charles Street & The Esplanade: Corner of Tasman Hwy (A3), Charles St (C320) and The Esplanade at Orford, July 2018. A3 turns left here. Image © Paul Rands |
|||
 |
Prosser Rivulet: Tasman Hwy (A3) as it crosses Prosser River at Orford, July 2018. Image © Paul Rands |
|||
 |
Reassurance Directional Sign: Distance sign at Orford, July 2018. Image © Paul Rands |
|||
 |
Reassurance Directional Sign: Distance sign at Orford, July 2018. Image © Paul Rands |
|||
 |
Entering Triabunna: Tasman Hwy (A3) as it enters the town of Triabunna, July 2018. Image © Paul Rands |
|||
 |
Advance Directional Signage: AD signs at Triabunna approaching Vicary St, July 2018. Image © Paul Rands |
|||
 |
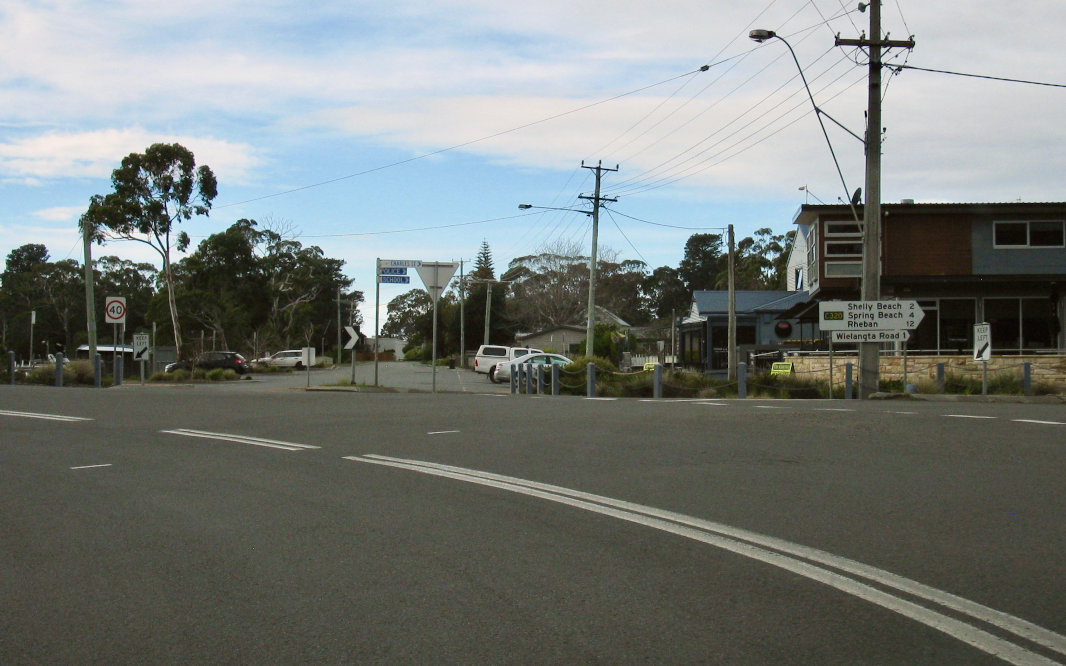
Vicary Street: Corner of Tasman Hwy (A3) and Vicary St, Triabunna, July 2018. Image © Paul Rands |
|||
 |
Advance Directional Sign: AD sign at Triabunna approaching Freestone Point Rd (C319), July 2018. Image © Paul Rands |
|||
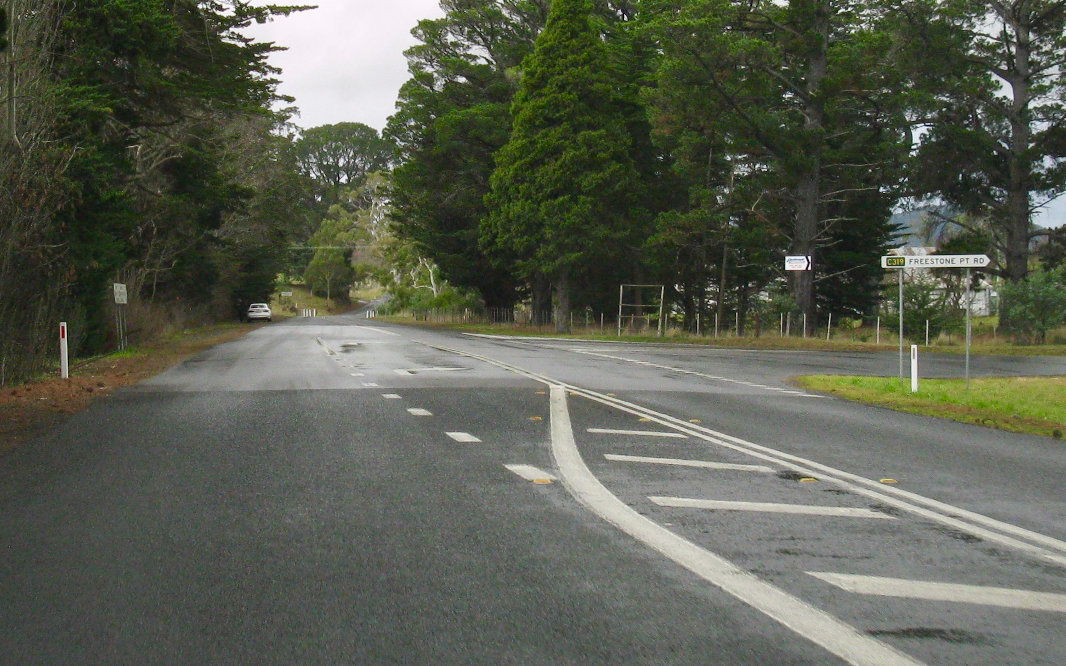 |
Freestone Point Road: Corner of Tasman Hwy (A3) and Freestone Point Rd (C319) at Triabunna, July 2018. Image © Paul Rands |
|||
| Click here for the continuation of A3 between Triabunna and Swansea Click here for the continuation of A3 between Hobart and Sorell |
||||
Last updated: 13-Jul-2020 21:35
This site © Paul Rands. All rights reserved. Some portions © (copyright) by their respective and credited owners. Permission must be obtained before using any images from this site. For details, please email by clicking here.