|
|
|
|
|
| M2 A2 | Gateway Motorway, Logan Motorway, Ipswich Motorway, Warrego Highway, Landsborough Highway & Barkly Highway (M2/A2) - Toowoomba to Chinchilla |
Statistics:
Route Numbering:


General Information:
M/A2 is the main link from Brisbane to the northern territory. It varies from motorway standard in the Brisbane metropolitain area, to dual carriageway rural highway standard between Brisbane and Toowoomba, and rural highway standard beyond Toowoomba. The route is the only sealed link between Flinders Highway and Capricorn Highway apart from Gregory Development Road between Emerald and Charters Towers.
Multiplexes along the route include:
History:
Click here for former alignments between Toowoomba and Chinchilla
| Chinchilla to Toowoomba | Toowoomba to Chinchilla | |||
| Preview: | Description: | Preview: | Description: | |
 |
Advance Directional Sign: AD sign on Warrego Hwy (A2 / SR82) approaching Bunya Hwy (SR49) and Condamine St at Dalby, January 2003. Image © Michael Greenslade |
 |
Intersection Directional Sign: ID sign at Cranley at the Mort St interchange on the Toowoomba Bypass, which opened fully to traffic in September 2019, January 2019. Image © Dean Sherry |
|
 |
Advance Directional Sign: AD sign near Cunningham St, Dalby, December 2003. Image © Michael Greenslade |
 |
Advance Directional Sign: AD sign at Cranley on the Mort St interchange on the Toowoomba Bypass, which opened fully to traffic in September 2019, January 2019. Image © Dean Sherry |
|
 |
Reassurance Directional Sign: Distance sign at Chinchilla, April 2004. Image © Michael Greenslade |
 |
Supplemental Advance Directional Sign: Supplemental AD sign at Cranley on the Mort St interchange on the Toowoomba Bypass, which opened fully to traffic in September 2019, January 2019. Image © Dean Sherry |
|
 |
Trailblazer: A2 trailblazer bolted over NH54 trailblazer at Chinchilla, April 2004. Image © Michael Greenslade |
 |
Intersection Directional Sign: ID sign on the Mort St interchange at Cranley, February 2019 Image © Dean Sherry |
|
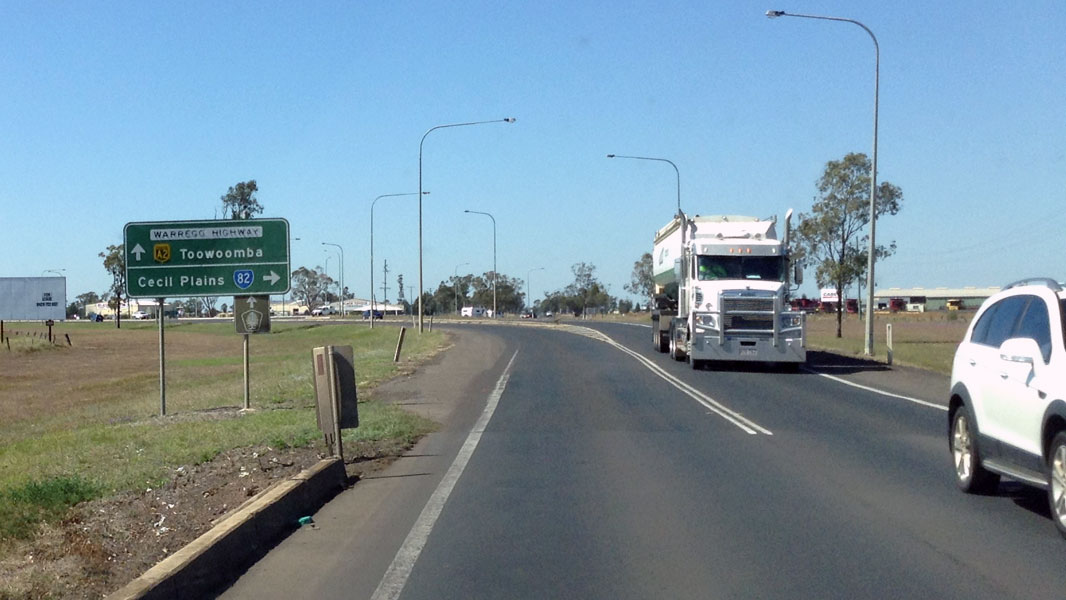 |
Advance Directional Sign: AD sign at Dalby approaching Dalby-Cecil Plains Rd (SR82), October 2015. Image © Dean Sherry |
 |
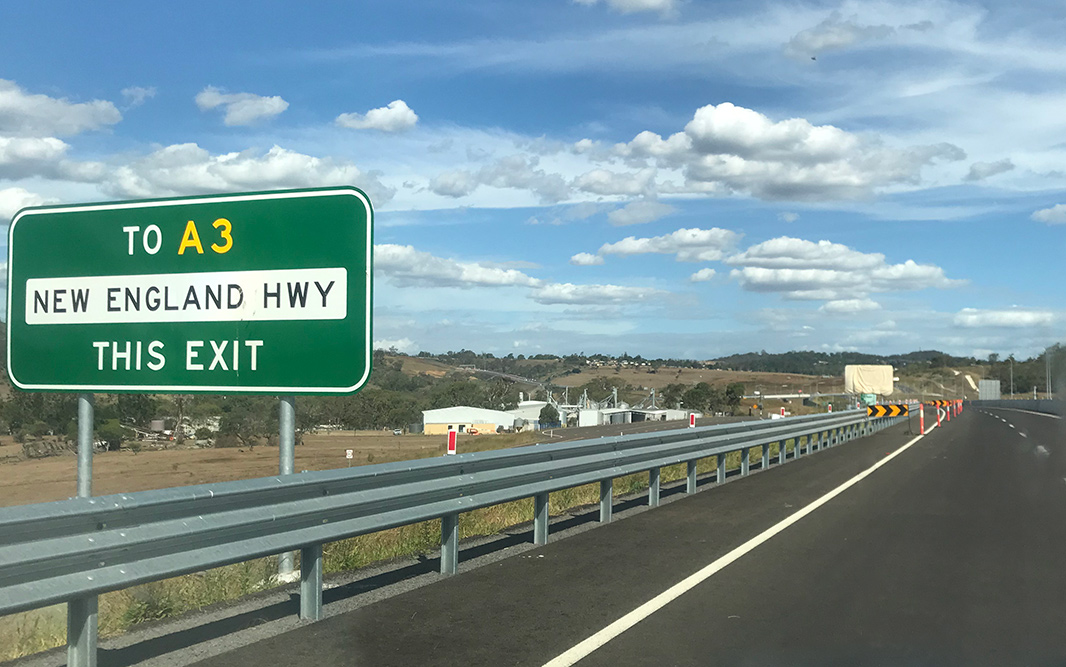
Advance Directional Sign: AD sign on Toowoomba Bypass, which opened to traffic in September 2019, approaching Boundary St interchange at Cranley, February 2019. Click here for a photo by Dean Sherry from December 2018. Image © Dean Sherry |
|
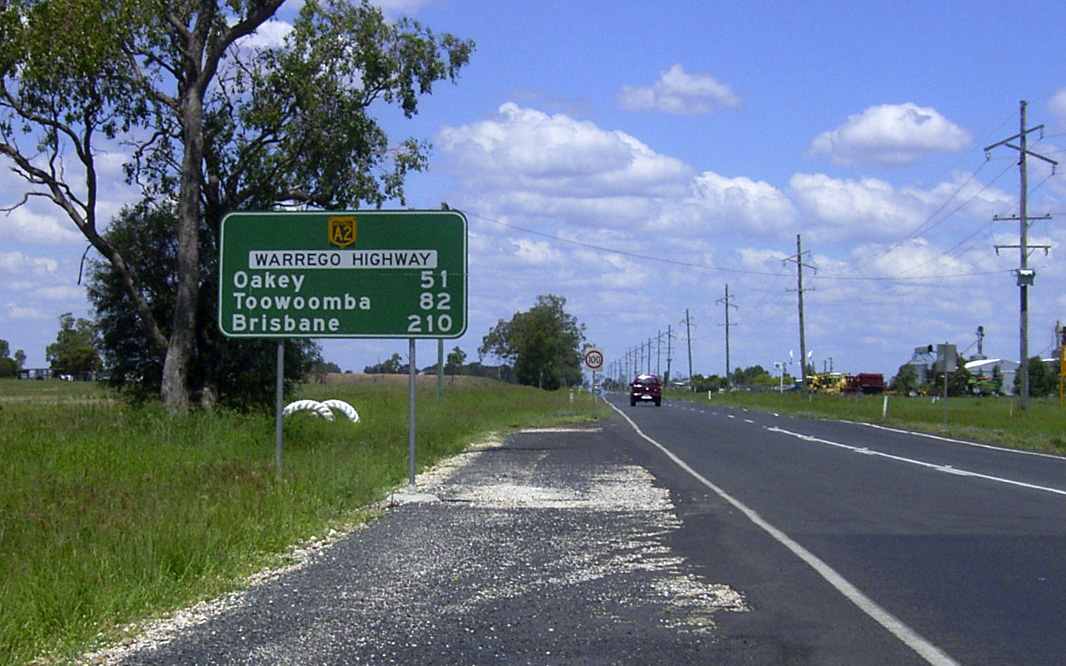 |
Reassurance Directional Sign: Distance sign at Dalby, January 2003. Image © Michael Greenslade |
 |
Reassurance Directional Sign: Distance sign at Cranley, February 2019 Image © Dean Sherry |
|
 |
Start A2: End A39 / Start A2 trailblazer at Charlton on the interchange with Gore Hwy (A39) and Toowoomba Connection Rd (A21), February 2019. This sign is on the mainline where A39 ends and continues as A2. Image © Dean Sherry |
 |
Advance Directional Sign: AD sign at Cranley approaching Boundary St, February 2019. Image © Dean Sherry |
|
 |
Reassurance Directional Sign: Distance sign at Charlton, February 2019 Image © Dean Sherry |
 |
Boundary Street: Warrego Hwy (A2) at the Boundary St interchange, Cranley, February 2019 Image © Dean Sherry |
|
 |
Advance Directional Sign: AD sign at Cranley approaching Mort St, February 2019 Image © Dean Sherry |
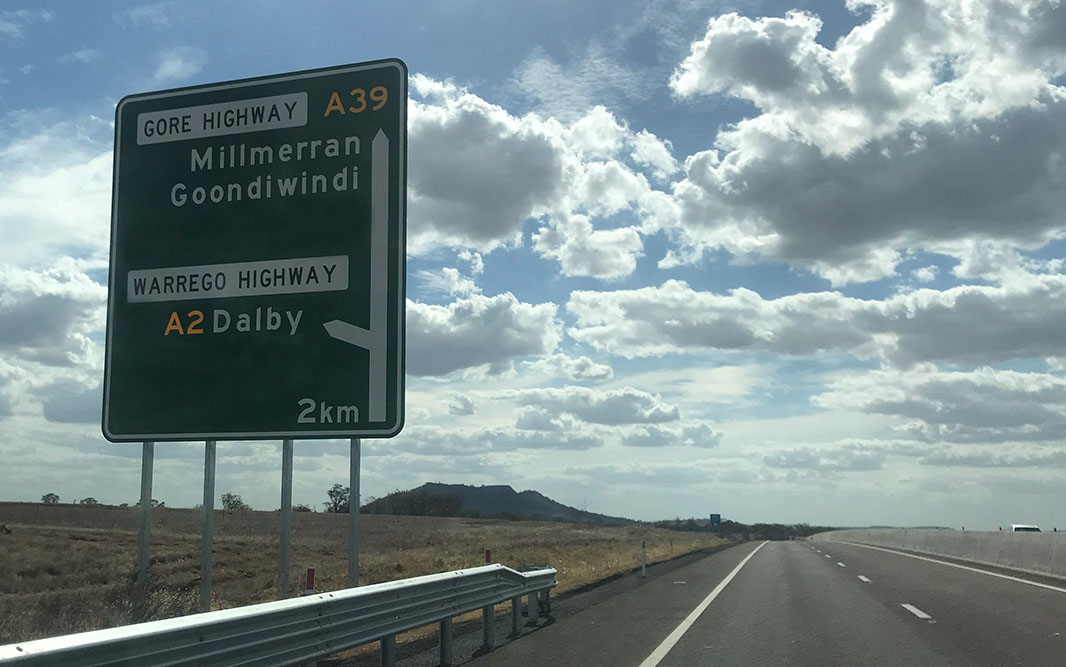 |
Advance Directional Sign: AD sign at Gowrie Junction approaching Toowoomba Connection Rd (A21) and Gore Hwy (A39), February 2019. Image © Dean Sherry |
|
 |
Advance Directional Sign: AD sign at Cranley approaching Mort St, February 2019 Image © Dean Sherry |
 |
Advance Directional Sign: AD sign at Gowrie Junction approaching Toowoomba Connection Rd (A21) and Gore Hwy (A39), February 2019. Image © Dean Sherry |
|
 |
Supplemental Advance Directional Sign: Supplemental AD sign at Cranley approaching Mort St, February 2019 Image © Dean Sherry |
 |
Supplemental Advance Directional Sign: Supplemental AD sign at Gowrie Junction approaching Toowoomba Connection Rd (A21) and Gore Hwy (A39), February 2019. Image © Dean Sherry |
|
 |
Mort Street Interchange: Warrego Hwy (A2) at the Mort St interchange at Cranley, February 2019 Image © Dean Sherry |
 |
Gore Highway & Toowoomba Connection Road: Warrego Hwy (A2) at the interchange with Toowoomba Connection Rd (A21) and Gore Hwy (A39), February 2019. A2 exits here, and the mainline continues as Gore Hwy (A39). Image © Dean Sherry |
|
 |
Advance Directional Sign: AD sign on the off ramp to Mort St in Cranley, February 2019 Image © Dean Sherry |
 |
Entering Darling Downs: Sign at Torrington on Warrego Hwy (A2) as it enters the Darling Downs region, February 2017. Image © Michael Greenslade |
|
 |
Advance Directional Sign: AD sign at Torrington approaching Troys Rd, February 2017. Image © Michael Greenslade |
|||
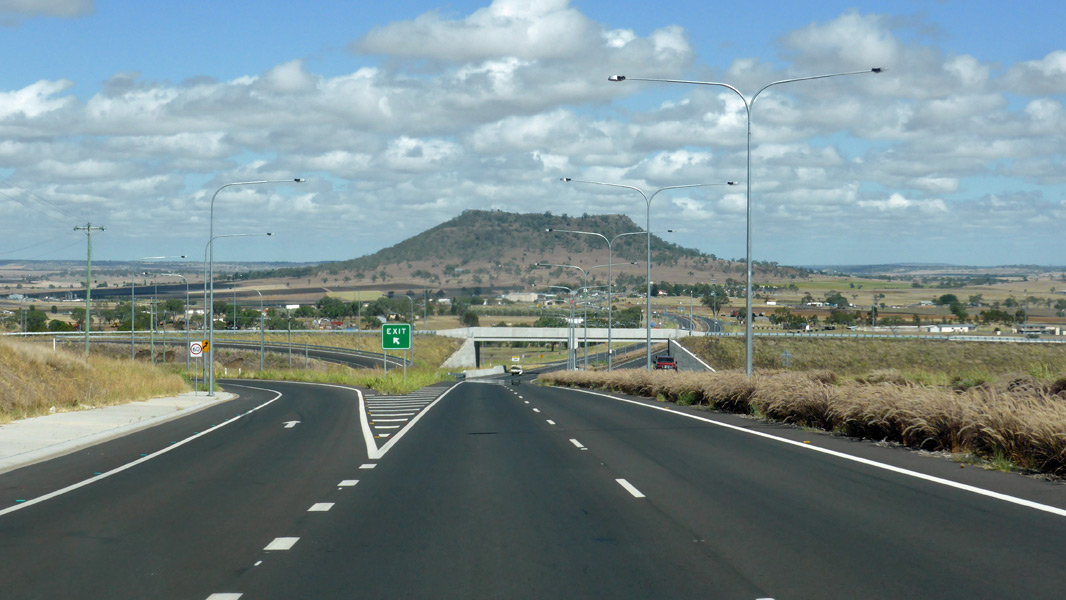 |
Troys Road: Warrego Hwy (A2) at the Troys Rd interchange at Torrington, February 2017. Image © Michael Greenslade |
|||
 |
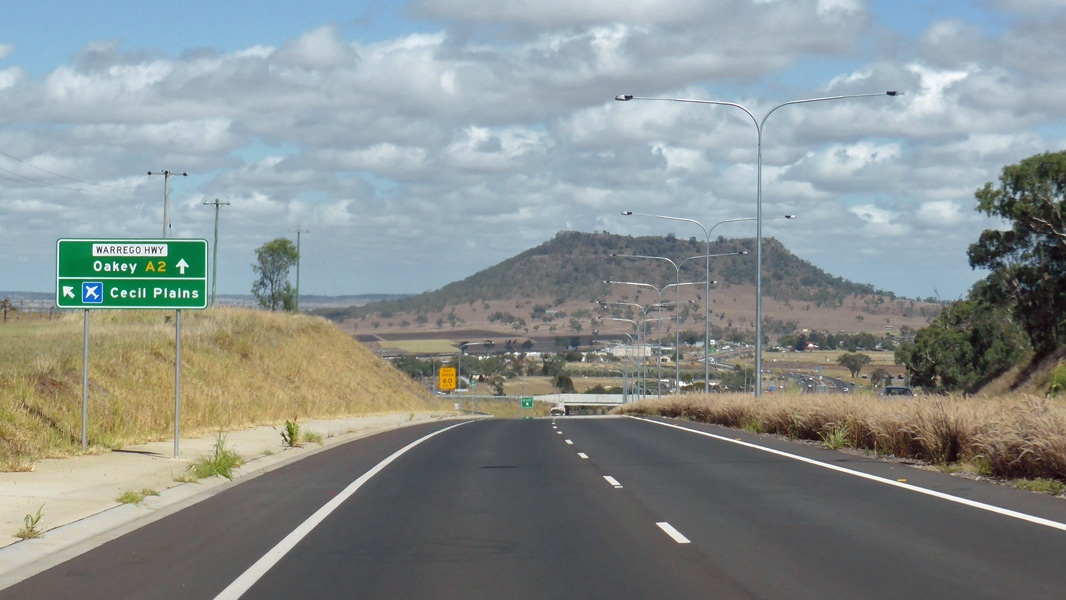
Advance Directional Sign: AD sign on Oakey-Pittsworth Rd at Oakey approaching Warrego Hwy (A2), January 2014. Image © Michael Greenslade |
|||
 |
Entering Dalby: Warrego Hwy (A2) (Dayton St) as it enters the Dalby town centre, near Charles Drew Bridge over Myall Ck, January 2003. Image © Michael Greenslade |
|||
 |
Advance Directional Sign: AD sign at Dalby approaching Bunya Hwy (SR49) and Condamine St, December 2003. The SR49 multiplex begins at this junction. Image © Michael Greenslade |
|||
 |
Advance Directional Sign: AD sign on Moonie Hwy (SR49) approaching Warrego Hwy (A2 / SR49 / SR82) at Dalby, December 2003. Image © Michael Greenslade |
|||
 |
Reassurance Directional Sign: Distance sign at Dalby, April 2004. Image © Michael Greenslade |
|||
 |
Reassurance Directional Sign: Distance sign on the outskirts of Dalby, January 2003. Image © Michael Greenslade |
|||
 |
Advance Directional Sign: AD sign at Chinchilla approaching Wondai Rd & Colamba St, April 2004. Image © Michael Greenslade |
|||
| Click
here for the continuation of A2 between Dinmore and Toowoomba Click here for the continuation of A2 between Chinchilla and Mitchell |
||||
1 The State Road Network Map, 30
June 2008
2 Queensland Roads, Edition No 5, (Toowoomba Range Tunnels Report), March 2008
3 QMR, Strategic Tourism Routes Revision 12
Last updated: 17-Sep-2020 12:21
This site © Paul Rands. All rights reserved. Some portions © (copyright) by their respective and credited owners. Permission must be obtained before using any images from this site. For details, please email by clicking here.