|
|
|
|
|
| M1 A1 | Pacific Motorway, Gateway Motorway & Bruce Highway (M1 / A1) - Gympie to Maryborough |
Statistics:
Route Numbering:


General Information:
The M1 / A1 corridor is the main coastal route from the NSW border to the northern tip of the east coast of Australia, and links major cities and towns with Brisbane, and beyond the NSW border, Sydney.
Bruce Highway:
Bruce Highway is named after former Minister of Public Works, Henry Bruce 2 and connects Brisbane with all coastal regions north of the city.
The route is freeway standard from the Gateway Motorway interchange to Curra, north of Cooroy. From there, the route alternates between single and dual carriageway, and passes through rural, residential, industrial and commercial areas.
History:
Bruce Highway:
- October 1934: Bruce Highway named after Minister for Works. 4
- November 1934: Bruce Highway declared. 5
- 17 October 1959: South Gympie Deviation (Mary River Road to Excelsior Road) completed and opened, including Normanby Bridge. 3
- 1964: North Gympie Deviation (Monkland Street to Oak Street) completed. 3
- 1967: Gympie CBD Bypass (between River Road and Monkland Street) completed. 3
- August 1976: 9.5km Bauple Deviation opened. 3
- March 1979 3.3km Mackenzie Creek Deviation (just south of Bauple - Woolooga Road) opened. 3
- April 1979: Completion of Mackenzie Creek Deviation. 3
- April 1980: 1.8km Mackenzie Creek to Oaky Creek Deviation opened. 3
- October 1981: 2.3km Oaky Creek and Gutchy Creek and overflow bridges and approaches completed. 3
- May 2009: Traffic signals at the Bruce Highway/Monkland and Channon Street intersections in Gympie switched on. 6
- July 2013: Work on Cooroy to Curra Upgrade Section A commenced. 7
| Gympie to Maryborough | Maryborough to Gympie | |||
| Preview: | Description: | Preview: | Description: | |
 |
Red Light Cameras Sign: Sign indicating that red light cameras are used at intersections in Gympie, March 2006. Image © Paul Rands |
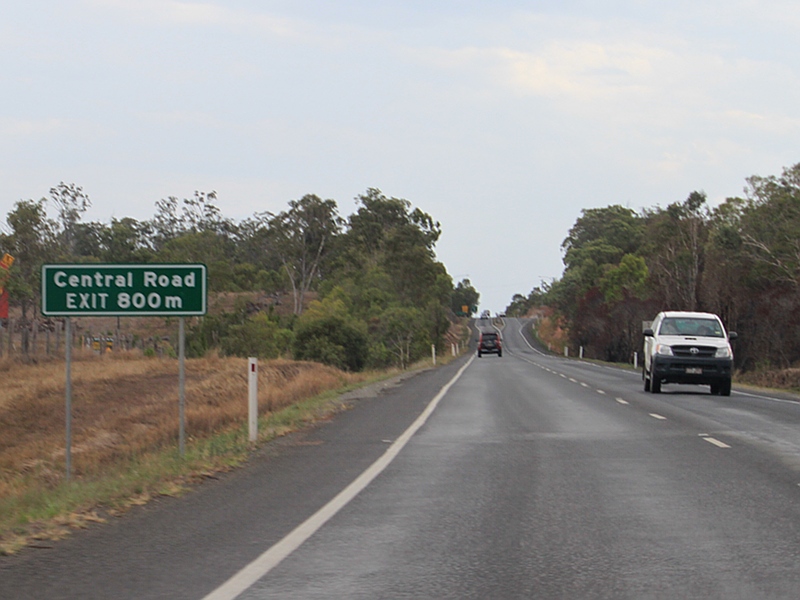 |
Advance Directional Sign: AD sign approaching the interchange with Central Rd in Tinana, December 2009. Image © Rob Tilley |
|
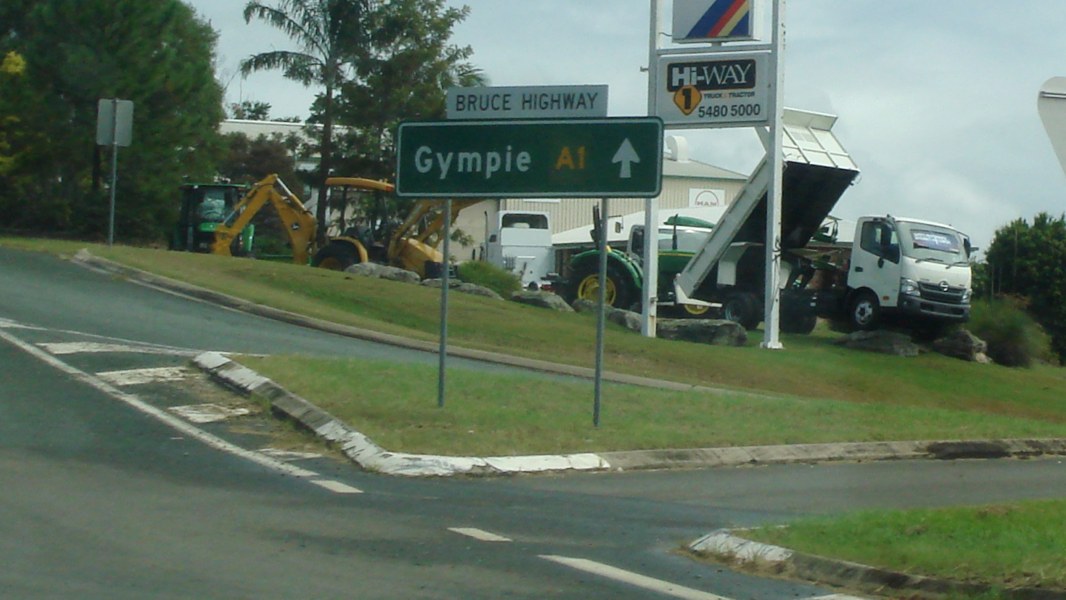 |
Intersection Directional Sign: ID sign at the junction with Halls Rd & Buckley Dr at Gympie, April 2012. Image © Paul Rands |
 |
Central Road Interchange: Bruce Hwy (A1) at the interchange with Central Rd at Tinana, December 2009. Image © Rob Tilley |
|
 |
Supplemental Advance Directional Sign: Supplemental AD sign approaching Brisbane Rd (SR15) at Gympie, March 2006. Image © Paul Rands |
 |
Advance Directional Sign: AD sign at Tinana approaching Iindah Rd West, June 2019. Image © Dean Sherry |
|
 |
Advance Directional Sign: AD sign approaching Brisbane Rd (SR15) at Gympie, March 2006. Image © Paul Rands |
 |
Advance Directional Sign: AD sign at Tinana approaching Iindah Rd West, June 2019. Image © Dean Sherry |
|
 |
Supplemental Advance Directional Sign: Supplemental AD sign approaching Brisbane Rd (SR15) at Gympie, December 2009. Image © Rob Tilley |
 |
Intersection Directional Sign: ID sign at Tinana at the interchange with Iindah Rd West, June 2019. Image © Dean Sherry |
|
 |
Brisbane Road: Corner of Bruce Hwy (A1) and Brisbane Rd (SR15) at Gympie, December 2009. Image © Rob Tilley |
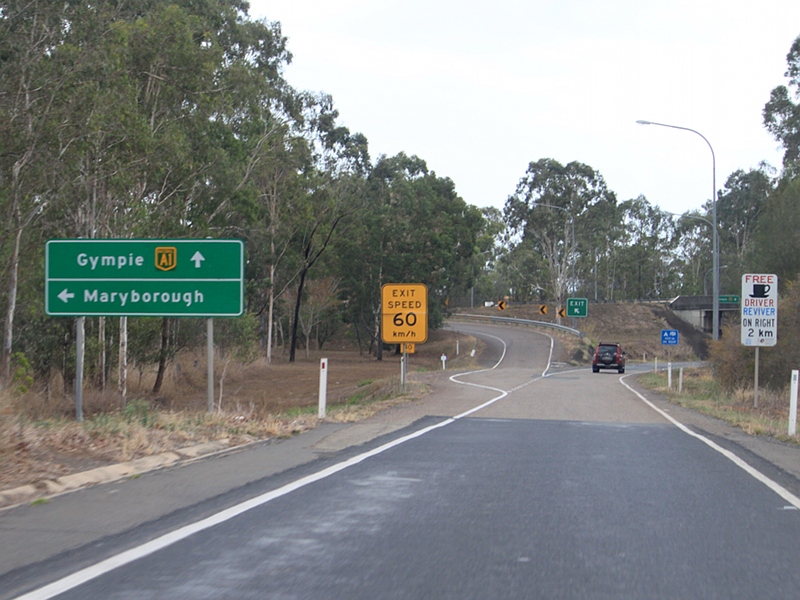 |
Gympie Road Interchange: Bruce Hwy (A1) at the interchange with Gympie Rd (SR57 / TD12) at Tinana, December 2009. Note the lack of route numbers for the exit. Image © Rob Tilley |
|
 |
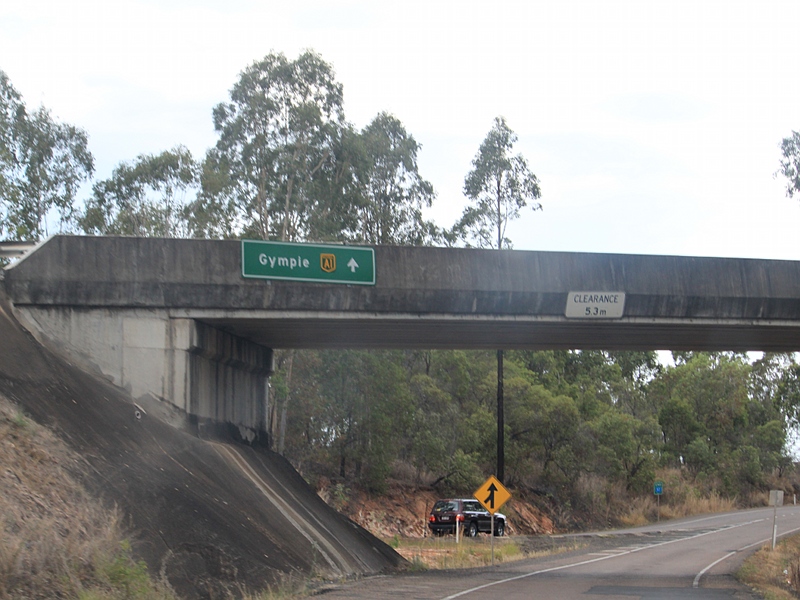
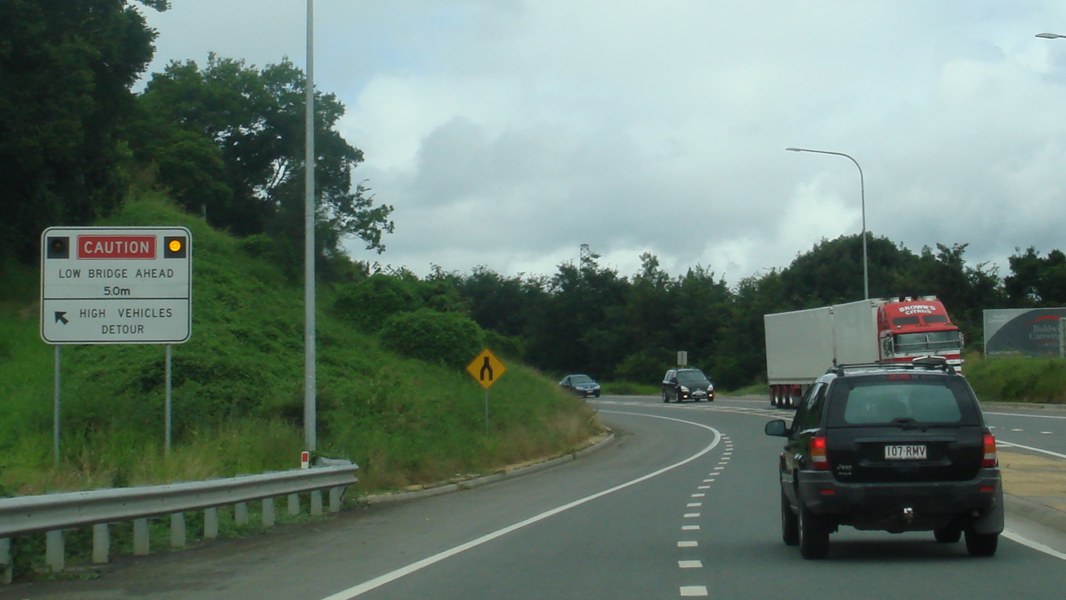
Low Bridge Warning: Flashing warning sign for the low bridge at the Mary Valley Rd (SR51 / TD42) interchange, near Deep Creek at Gympie, April 2012. Click here for a photo of this location by Paul Rands from March 2006. Image © Paul Rands |
 |
Gympie Road interchange: Bruce Hwy (A1) at the Gympie Rd (SR57 / TD12) interchange at Tinana, December 2009. Image © Rob Tilley |
|
 |
Mary Valley Road: Mary Valley Rd (SR51 / TD42) interchange at Gympie, April 2012. Click here for a photo of this location by Paul Rands from March 2006. Image © Paul Rands |
 |
End Motorway: End Motorway sign used to indicate the end of limited access road near Three Mile Rd at Tinana South, December 2009. Image © Rob Tilley |
|
 |
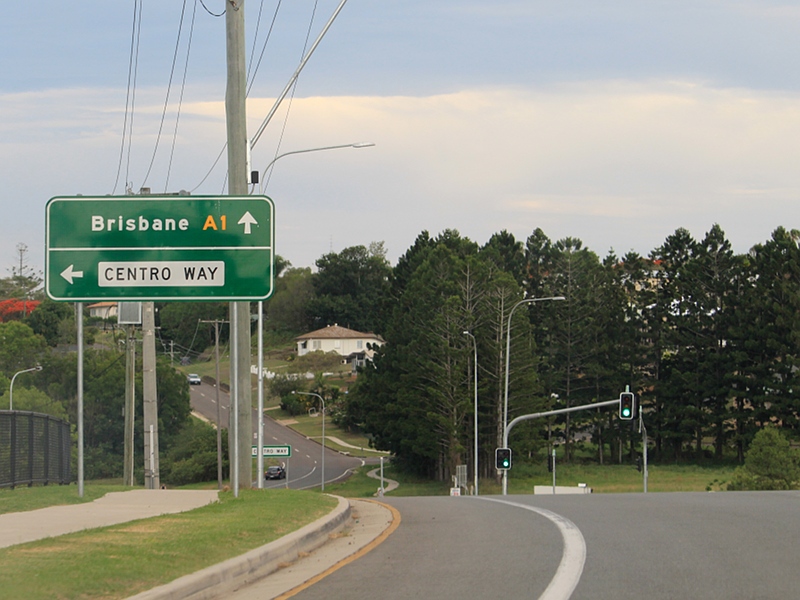
Advance Directional Sign: AD sign approaching Centro Way at Gympie, December 2009. Image © Rob Tilley |
 |
Distance Sign: RD sign at Tinana South, June 2019. Click here for a photo of this location by Rob Tilley from December 2009. Image © Dean Sherry |
|
 |
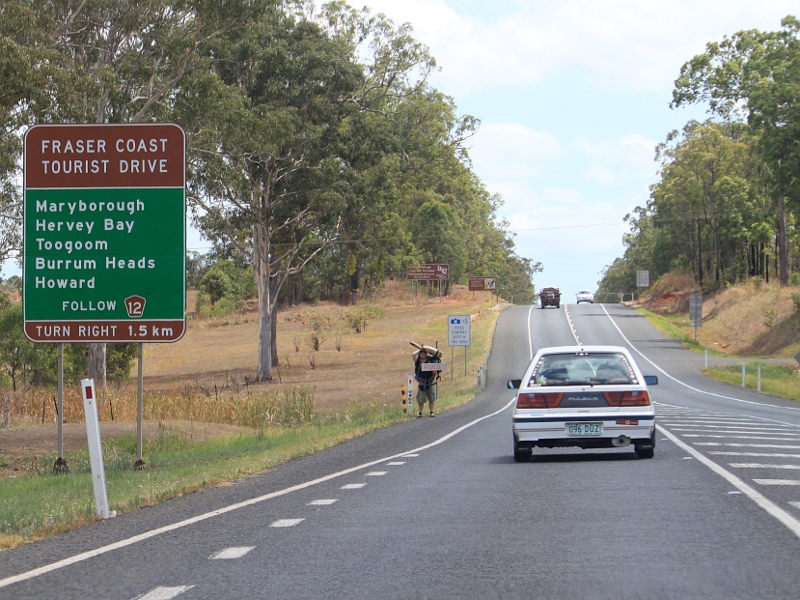
Advance Directional Sign: AD sign approaching Excelsior Rd at Gympie, December 2009. Click here for a photo of this location from March 2006. Note the incorrect M1 route number, the old sign had the correct route number. Image © Rob Tilley |
 |
Advance Directional Sign: AD sign approaching Netherby Rd (Old Gympie Rd) at Tiaro, December 2009. Image © Rob Tilley |
|
 |
Parking Zone Sign: Parking regulation sign near Albert Park Sports Ground, Gympie, April 2012. Image © Paul Rands |
 |
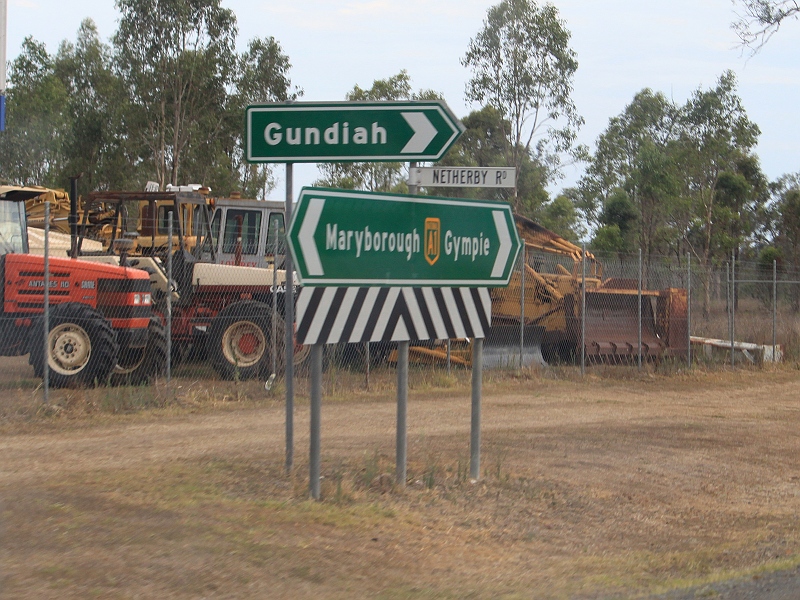
Intersection Directional Signs: ID signs at the Netherby Rd (Old Gympie Rd) junction at Tiaro, June 2019. Click here for a photo of this location by Rob Tilley from December 2009. Image © Dean Sherry |
|
 |
Advance Directional Sign: AD sign approaching Monkland Street, Gympie, December 2009. Click here for a photo of this location from March 2006. Image © Rob Tilley |
 |
Distance Sign: RD sign at Tiaro, June 2019. Image © Dean Sherry |
|
 |
Intersection Directional Sign: ID sign at the corner of Bruce Hwy (A1) and Monkland St, Gympie, December 2009. Image © Rob Tilley |
 |
Trialblazer: A1 and Pacific Coast Way trailblazer at Tiaro, June 2019. Image © Dean Sherry |
|
 |
Intersection Directional Sign: ID sign at the corner of Bruce Hwy (A1) and Monkland St, Gympie, December 2009. Image © Rob Tilley |
 |
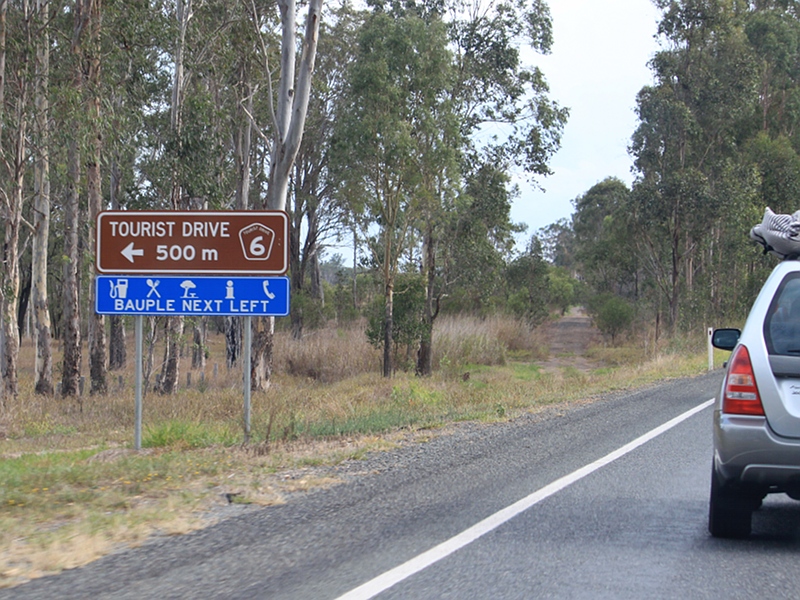
Supplemental Advance Directional Sign: Supplemental AD sign approaching Bauple Dr (TD6) at Bauple, December 2009. Image © Rob Tilley |
|
 |
Intersection Directional Signs: ID signs at the junction with Channon St in Gympie, December 2009. Image © Rob Tilley |
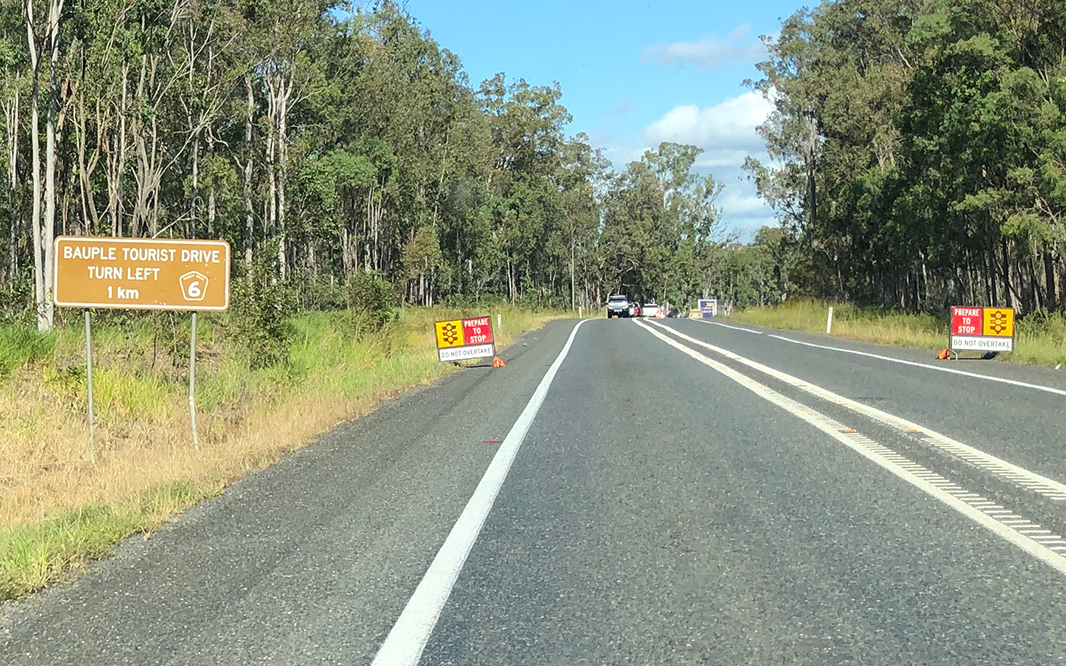 |
Supplemental Advance Directional Sign: Supplemental AD sign approaching Bauple Dr (TD6) at Bauple, June 2019. Click here for a photo of this location by Rob Tilley from December 2009. Image © Dean Sherry |
|
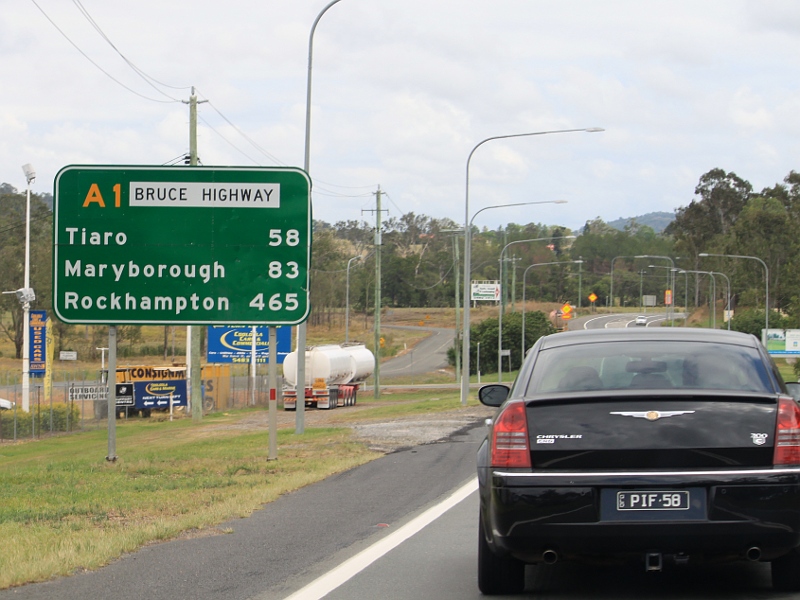 |
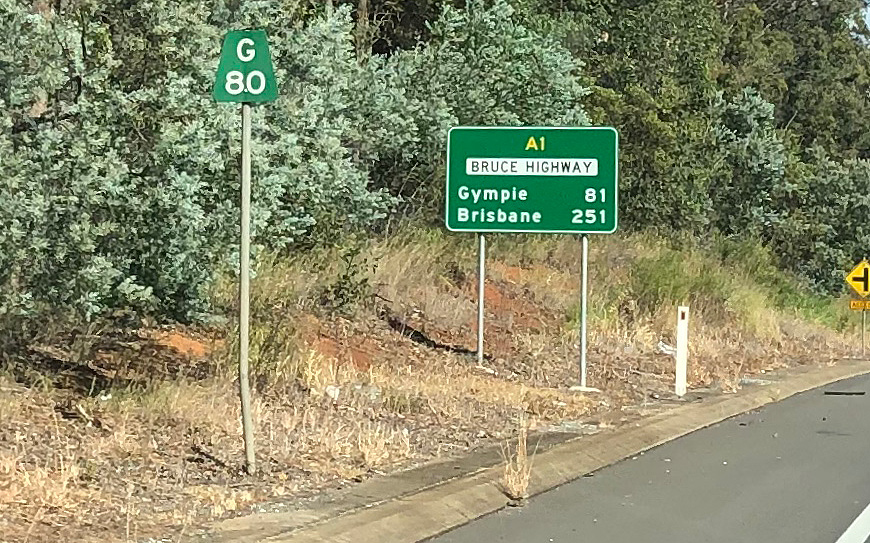
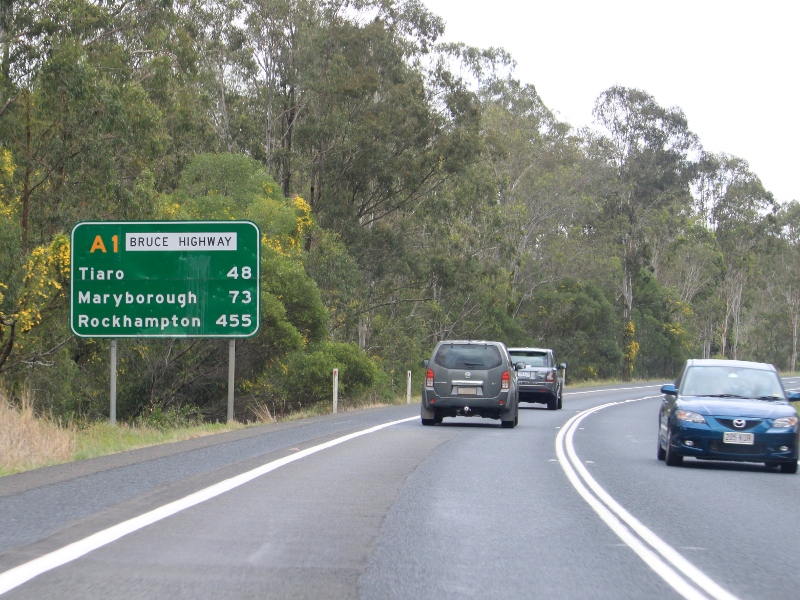
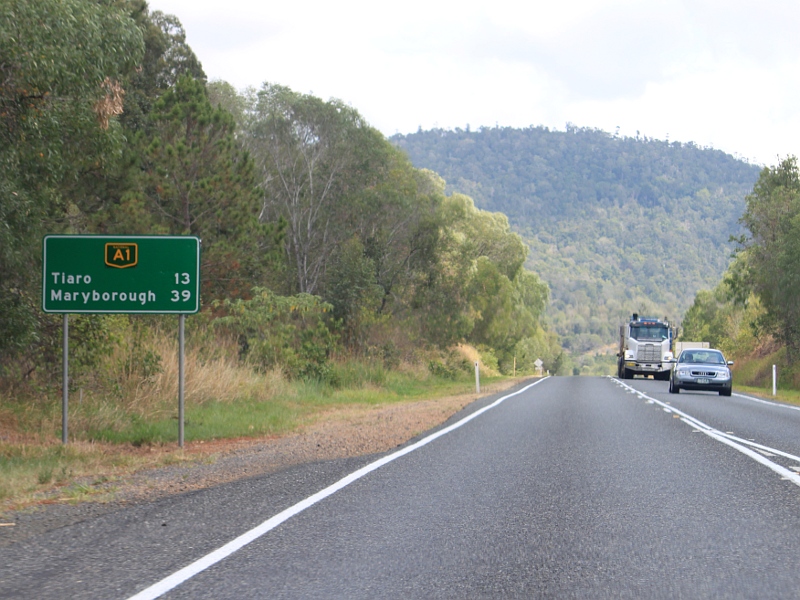
Reassurance Directional Sign: Distance as Bruce Hwy (A1) leaves Gympie, December 2009. Image © Rob Tilley |
 |
Advance Directional Sign: AD sign approaching Bauple Dr (TD6) at Bauple, June 2019. Click here for a photo of this location by Rob Tilley from December 2009. Image © Dean Sherry |
|
 |
Supplemental Advance Directional Sign: Supplemental AD sign at Bells Bridge approaching Wide Bay Rd (SR49), December 2009. Image © Rob Tilley |
 |
Intersection Directional Sign: ID sign assembly at the junction with Bauple Dr (TD6) at Bauple, December 2009. Image © Rob Tilley |
|
 |
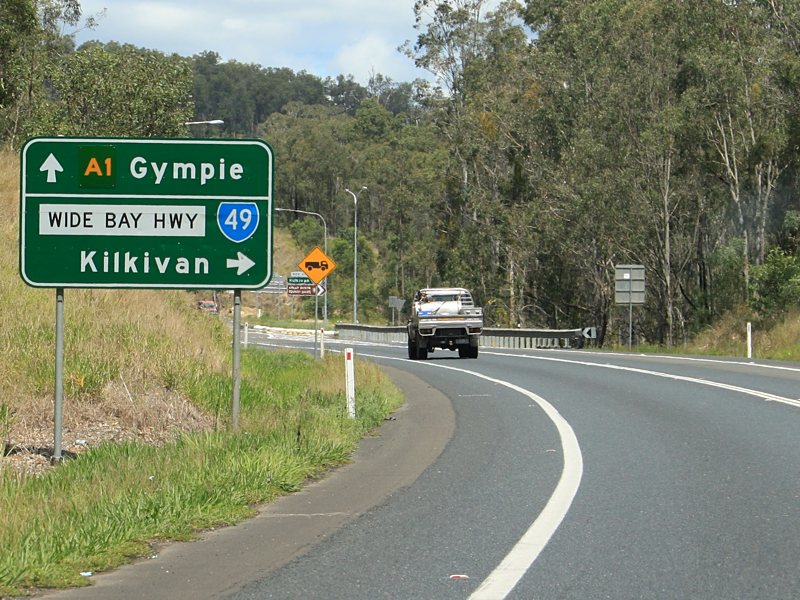
Advance Directional Sign: AD sign at Bells Bridge approaching Wide Bay Rd (SR49), March 2006. Image © Paul Rands |
 |
Distance Sign: RD sign at Bauple, December 2009. Image © Rob Tilley |
|
 |
Wide Bay Highway: Corner of Bruce Hwy (A1) and Wide Bay Hwy (SR49) at Bells Bridge, December 2009. Click here for a photo of this location from March 2006. Image © Rob Tilley |
 |
Advance Directional Sign: AD sign at Bauple approaching Bauple Dr (TD6) and Bauple-Woolooga Rd at Bauple, December 2009. Image © Rob Tilley |
|
 |
Distance Sign: Reassurance directional sign at Bells Bridge, December 2009. Image © Rob Tilley |
 |
Intersection Directional Sign: ID sign assembly at the corner of Bruce Hwy (A1), Bauple Dr (TD6) and Bauple-Woolooga Rd at Bauple, December 2009. Image © Rob Tilley |
|
 |
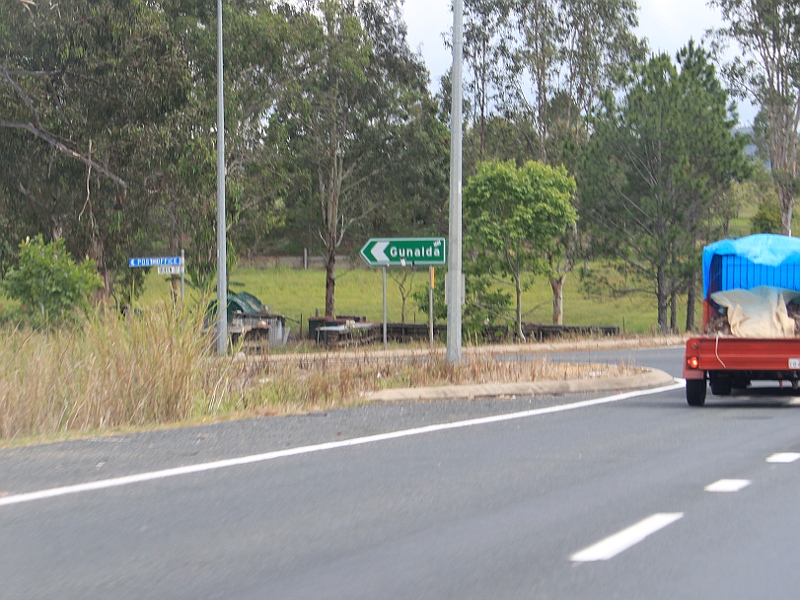
Advance Directional Sign: AD sign at Gunalda approaching Queen St and Anderleigh Rd, December 2009. Image © Rob Tilley |
 |
Distance Sign: RD sign as Bruce Hwy (A1) leaves Bauple, June 2019. Click here for a photo of this location by Rob Tilley from December 2009. Image © Dean Sherry |
|
 |
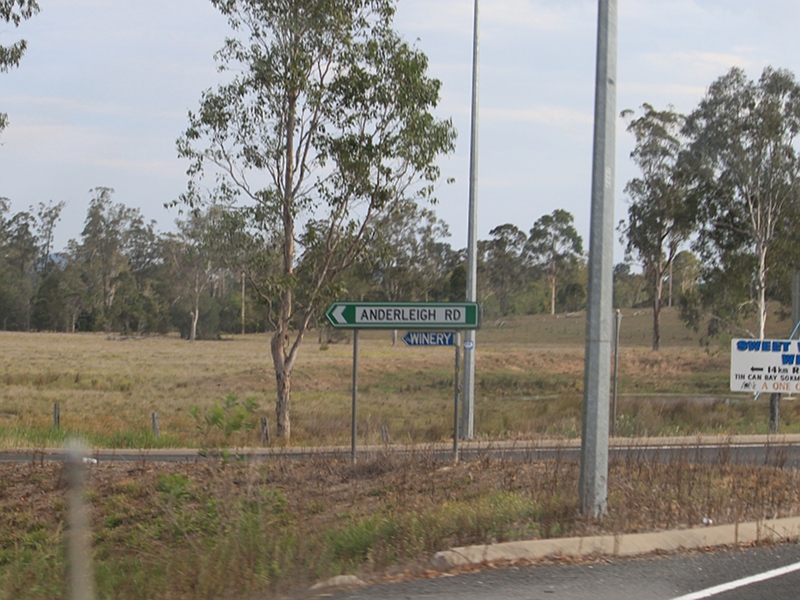
Intersection Directional Sign: ID sign at the corner Queen St and Anderleigh Rd at Gunalda, December 2009. Image © Rob Tilley |
 |
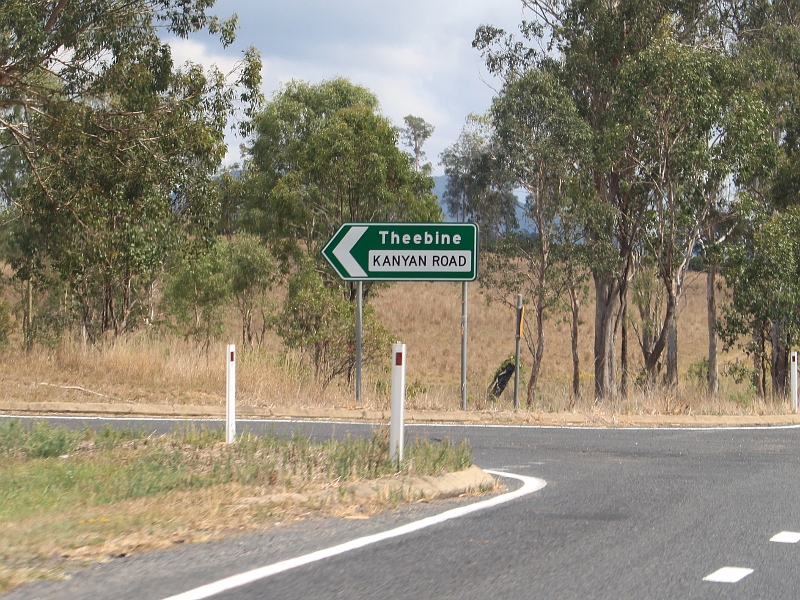
Kanyan Road: ID sign at the junction with Kanyan Rd at Glenwood, December 2009. Image © Rob Tilley |
|
 |
Kanyan Road: Corner of Bruce Hwy (A1) and Kanyan Rd at Glenwood, December 2009. Image © Rob Tilley |
 |
Dual Carriageway: Dual carriageway section over the range at Glenwood, December 2009. Image © Rob Tilley |
|
 |
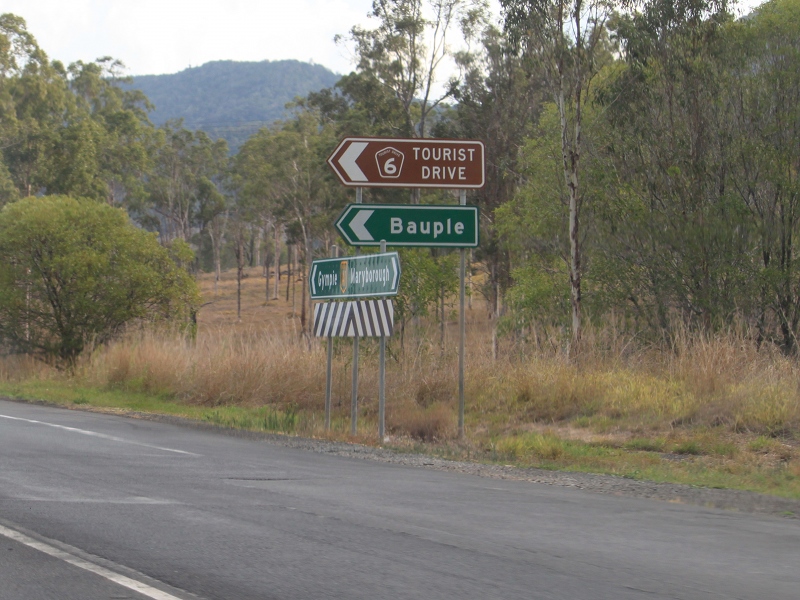
Supplemental Advance Directional Sign: Supplemental AD sign approaching Bauple-Woolooga Rd and Bauple Dr (TD6) at Bauple, December 2009. Image © Rob Tilley |
 |
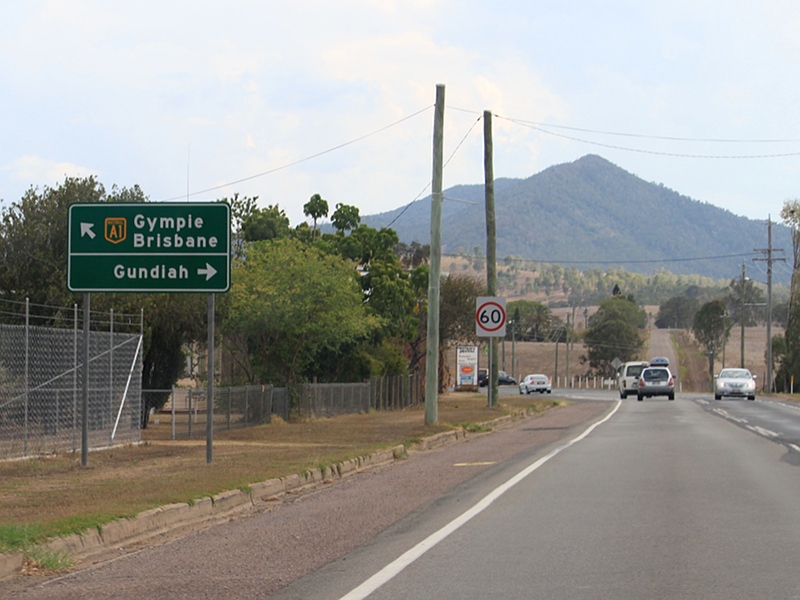
Advance Directional Sign: AD sign at Gunalda, approaching Anderleigh Rd and Queen St, June 2019. Click here for a photo of this location by Rob Tilley from December 2009. Image © Dean Sherry |
|
 |
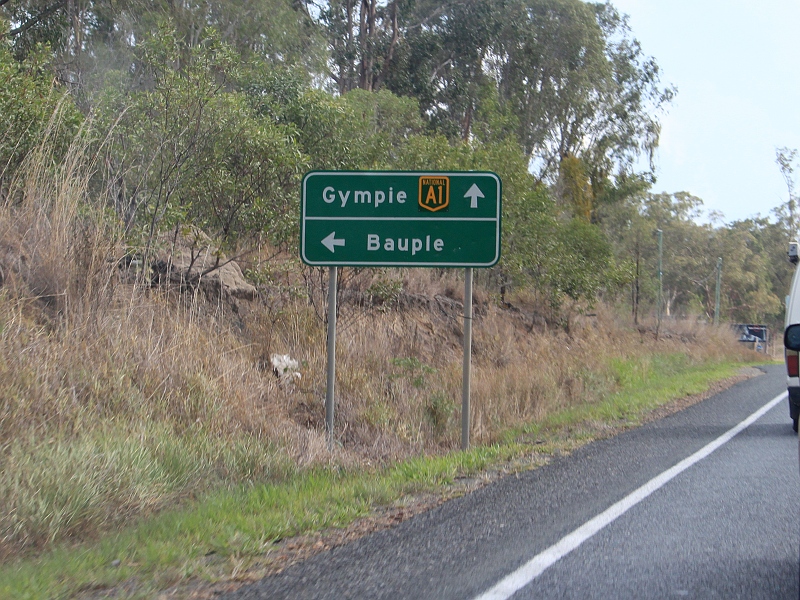
Advance Directional Sign: AD sign approaching Bauple-Woolooga Rd and Bauple Dr (TD6) at Bauple, December 2009. Click here for a photo of this location from August 2007. Image © Rob Tilley |
 |
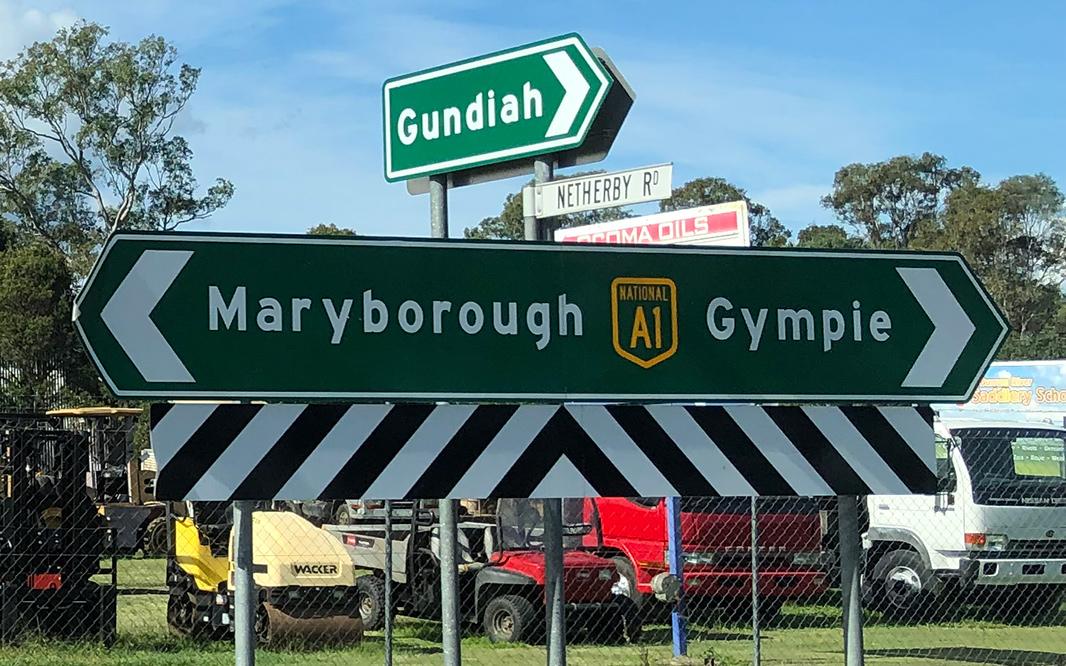
Intersection Directional Sign: ID sign at the corner Queen St and Anderleigh Rd at Gunalda, December 2009. Image © Rob Tilley |
|
 |
Bauple-Woolooga Road & Bauple Drive: Bruce Hwy (A1) at the junction with Bauple-Woolooga Rd and Bauple Dr (TD6) at Bauple, March 2006. Image © Paul Rands |
 |
Intersection Directional Sign: ID sign at the corner Queen St and Anderleigh Rd at Gunalda, December 2009. Image © Rob Tilley |
|
 |
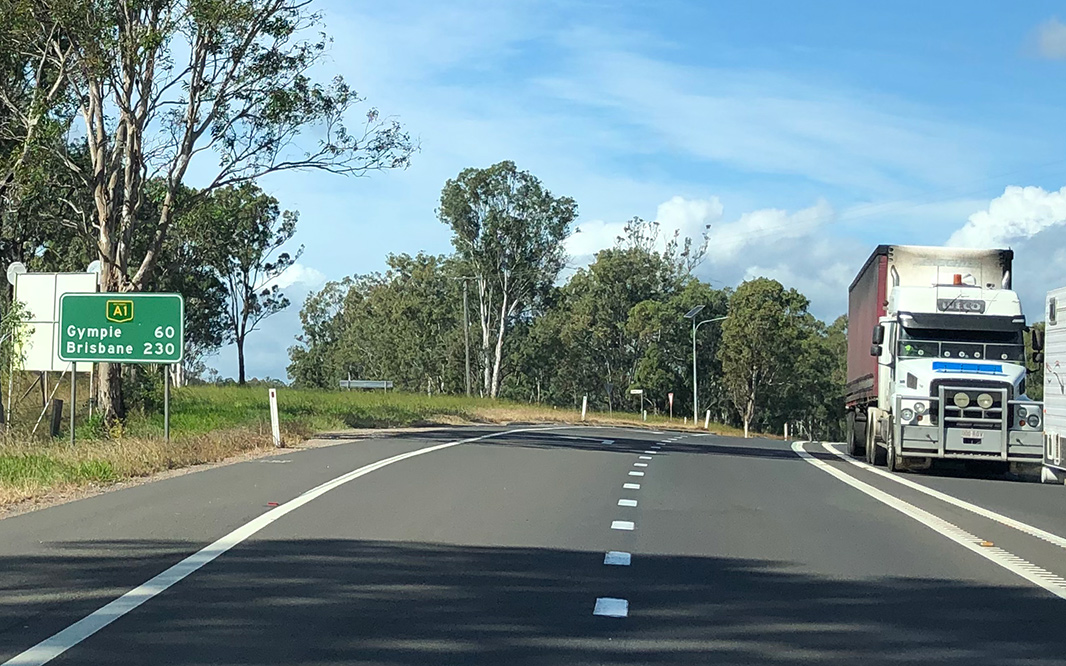
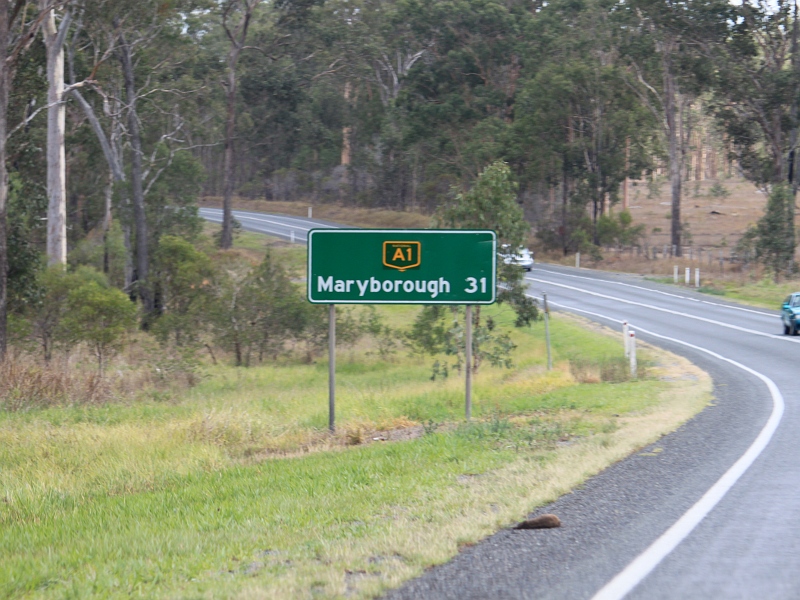
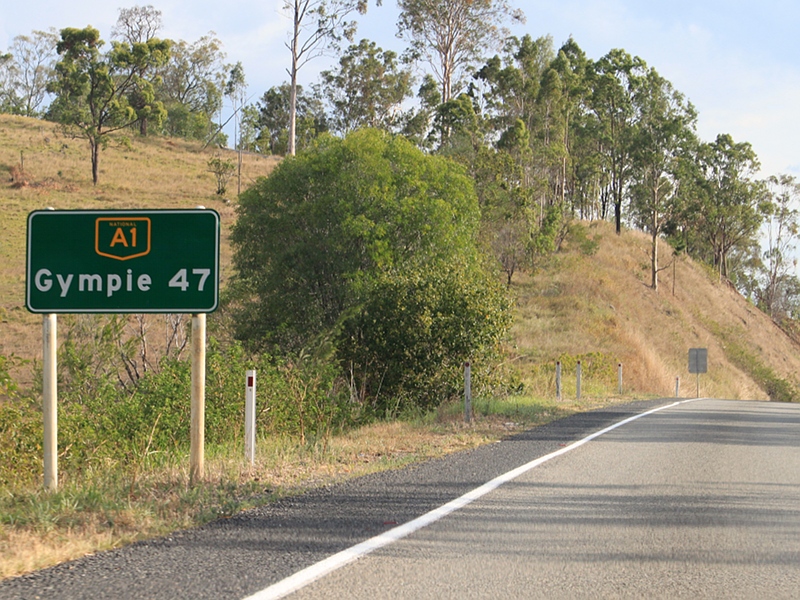
Distance Sign: Reassurance directional sign at Bauple, December 2009. Image © Rob Tilley |
 |
Trialblazer: A1 and Pacific Coast Way trailblazer at Gunalda, June 2019. Image © Dean Sherry |
|
 |
Intersection Directional Sign: ID sign at the corner of Bruce Hwy (A1) and Chapmans Rd at Bauple, December 2009. Image © Rob Tilley |
 |
Tourism Sign: Tourism sign welcoming motorists to the Sunshine Coast, December 2009. Image © Rob Tilley |
|
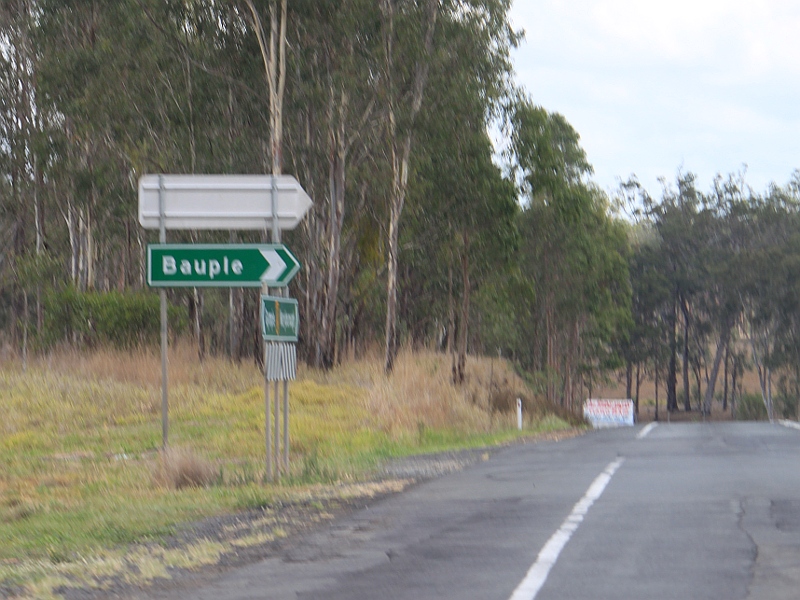 |
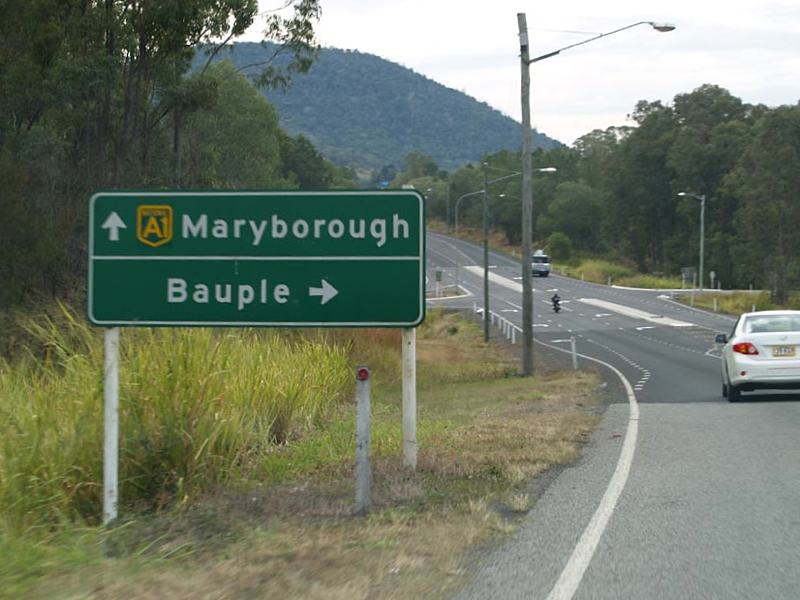
Intersection Directional Sign: ID sign at the corner of Bruce Hwy (A1) and Bauple Dr in Bauple, December 2009. Image © Rob Tilley |
 |
Supplemental Advance Directional Sign: Supplemental AD sign at Bells Bridge approaching Wide Bay Hwy (SR49), October 2010. Image © Rob Tilley |
|
 |
Distance Sign: RD sign as Bruce Hwy (A1) leaves Bauple, December 2009. Image © Rob Tilley |
 |
Advance Directional Sign: AD sign at Bells Bridge approaching Wide Bay Hwy (SR49), June 2019. Click here for a photo of this location by Rob Tilley from October 2010. Image © Dean Sherry |
|
 |
Advance Directional Sign: AD sign approaching Netherby Rd (Old Gympie Rd) at Tiaro, December 2009. Image © Rob Tilley |
 |
Intersection Directional Sign: ID sign assembly at the junction with Wide Bay Hwy (SR49) at Bells Bridge, October 2010. Image © Rob Tilley |
|
 |
Intersection Directional Sign: ID sign at the junction with Netherby Rd (Old Gympie Rd) at Tiaro, December 2009. Image © Rob Tilley |
 |
Distance Sign: RD sign at Chatsworth, December 2009. Image © Rob Tilley |
|
 |
Tiaro Town Centre: Bruce Hwy (A1) as it passes through the town centre of Tiaro, March 2006. Image © Paul Rands |
 |
Reassurance Sign: ID style sign used for reassurance near Adam St in Gympie, December 2009. Image © Rob Tilley |
|
 |
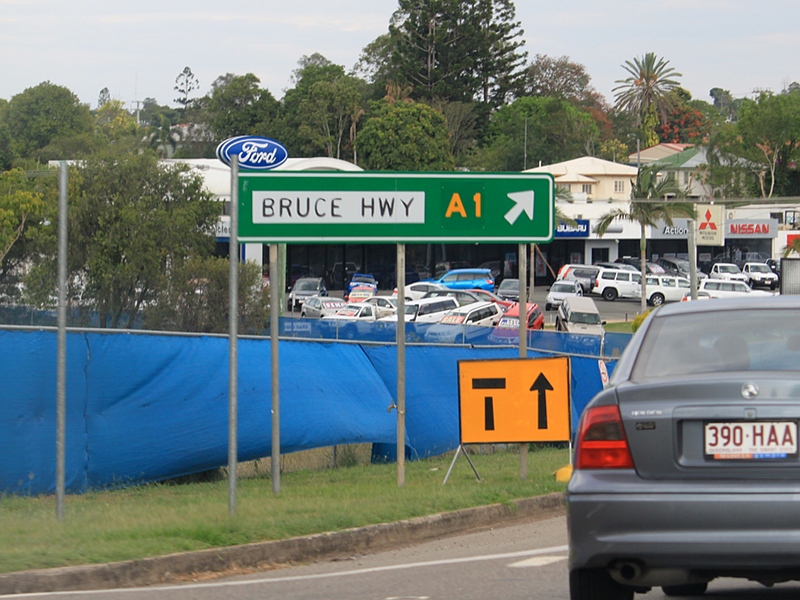
Advance Directional Sign: AD sign at Tinana South approaching the interchange with Gympie Rd (SR57 / TD12), March 2006. Image © Paul Rands |
 |
Advance Directional Sign: AD sign at Gympie approaching Channon St, April 2012. Image © Paul Rands |
|
 |
Supplemental Advance Directional Sign: Supplemental AD sign at Tinana approaching the interchange with Gympie Rd (SR57 / TD12), December 2009. Image © Rob Tilley |
 |
Supplementary Advance Directional Sign: Supplementary AD sign at Gympie approaching Channon St, December 2009. The sign should be brown not red. Image © Rob Tilley |
|
 |
Supplemental Advance Directional Signs: Supplemental AD signs at Tinana approaching the interchange with Gympie Rd (SR57 / TD12), December 2009. Image © Rob Tilley |
 |
Channon Street: Obscured intersection directional sign at the corner Bruce Hwy (A1) and Channon St in Gympie, April 2012. Image © Paul Rands |
|
 |
Supplemental Advance Directional Sign: Supplemental AD sign at Tinana approaching the interchange with Gympie Rd (SR57 / TD12), December 2009. Image © Rob Tilley |
 |
Intersection Directional Sign: ID sign facing Channon St, Gympie, April 2012. Image © Paul Rands |
|
 |
Advance Directional Sign: AD sign at Tinana approaching the interchange with Gympie Rd (SR57 / TD12), December 2009. Image © Rob Tilley |
 |
Advance Directional Sign: AD sign approaching Monkland St in Gympie, June 2019. Click here for a photo of this location by Rob Tilley from December 2009. Image © Dean Sherry |
|
 |
Intersection Directional Sign: ID sign facing Three Mile Rd West at Tinana, June 2019. Image © Dean Sherry |
 |
Advance Directional Sign: AD sign approaching Excelsior Rd at Gympie, December 2009. Image © Rob Tilley |
|
 |
Supplemental Advance Directional Sign: Supplemental AD sign at Tinana approaching the interchange with Gympie Rd (SR57 / TD12), December 2009. Image © Rob Tilley |
 |
Advance Directional Sign: AD sign approaching Centro Way at Gympie, December 2009. Image © Rob Tilley |
|
 |
Advance Directional Sign: AD sign at Tinana at the interchange with Gympie Rd (SR57 / TD12), December 2009. Image © Rob Tilley |
 |
Intersection Directional Sign: ID sign facing Centro Way at Gympie, December 2009. Image © Rob Tilley |
|
 |
Intersection Directional Signs: ID signs at the exit gore with Gympie Rd (SR57 / TD12) at Tinana, December 2009. Image © Rob Tilley |
 |
Supplemental Advance Directional Sign: Supplemental AD sign approaching Mary Valley Rd (SR51 / TD42) at Gympie, April 2012. Image © Paul Rands |
|
 |
Low Bridge Detour Sign: Low bridge detour sign with flashing lights approaching Mary Valley Rd (SR51 / TD42) at Gympie, April 2012. Image © Paul Rands |
|||
 |
Advance Directional Sign: Image © Paul Rands |
|||
 |
Mary Valley Road: Bruce Hwy (A1) at the Mary Valley Rd (SR51 / TD42) interchange in Gympie, April 2012. Image © Paul Rands |
|||
 |
Advance Directional Sign: AD sign on the off-ramp to Mary Valley Rd (SR51 / TD42) at Gympie, June 2019. Image © Dean Sherry |
|||
 |
Advance Directional Sign: AD sign approaching Brisbane Rd (SR15) at Gympie, June 2019. Click here for a photo of this location by Rob Tilley from December 2009. Image © Dean Sherry |
|||
 |
Intersection Directional Sign: ID sign at the junction with Brisbane Rd (SR15) in Gympie, June 2019. Click here for a photo of this location by Rob Tilley from December 2009. Image © Dean Sherry |
|||
 |
Intersection Directional Sign: ID sign at the junction with Halls Rd in Gympie, December 2009. Image © Rob Tilley |
|||
 |
Intersection Directional Sign: ID sign on the junction with Hall Rd and Buckley Dr at Gympie, April 2018. Image © Dean Sherry |
|||
| Click here for the continuation of A1 between Maryborough and Gin Gin Click here for the continuation of M1 / A1 between Nambour and Gympie |
||||
1 Department of Transport and Main Roads, The State Road Network of Queensland, 30 June 2010
2 Bulldust, Beef & Beyond
3 Tyler Bullock
4 Nambour Chronicle, 26 October 1934
5 Nambour Chronicle, 23 November 1934
6 Department of Transport and Main Roads, Main Roads Local Links, In and around Wide Bay/Burnett, May 2009
7 Department of Transport and Main Roads, Projects, Bruce Highway (Cooroy to Curra)
Last updated: 08-Jul-2020 10:36
This site © Paul Rands. All rights reserved. Some portions © (copyright) by their respective and credited owners. Permission must be obtained before using any images from this site. For details, please email by clicking here.