|
|
|
|
|
 |
Kings Highway (National Route 52) - Murrengenburg to Mulloon (Decommissioned) |
Statistics:
Route Numbering:
General Information:
The Kings Highway is the main road from the ACT to the NSW south coast, travelling through Queanbeyan and several small NSW towns, connecting with the Princes Highway on the coast at Batemans Bay. It is one lane each way with occasional overtaking lanes throughout.
National Route 52 is crosses the ACT border and returns to NSW after a few kilometres, northeast of Queanbeyan, before crossing back into the ACT west of Queanbeyan.
History:
| Murrengenburg to Mulloon | Mulloon to Murrengenburg | |||
| Preview: | Description: | Preview: | Description: | |
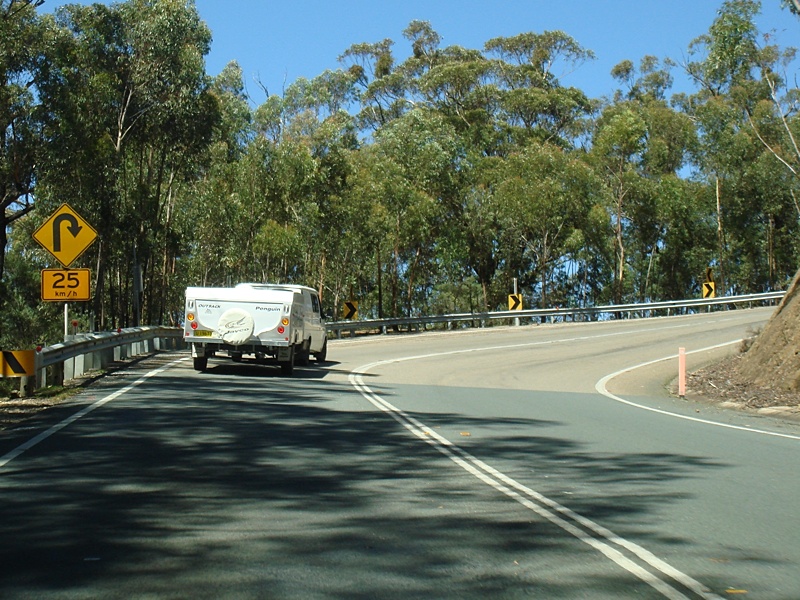 |
Typical Conditions: Typical conditions on Kings Hwy as it winds its way up Clyde Mountain at Monga. February 2010. Image © Paul Rands |
 |
Advance Directional Sign: AD sign at Mulloon approaching Goulburn Rd. February 2010. Image © Paul Rands |
|
 |
Falling Rocks: Uncommon pictogram falling rocks sign at Monga. Normally in NSW they are just text. February 2010. Image © Paul Rands |
 |
Goulburn Road Intersection: Corner of Goulburn Rd and Kings Hwy at Mulloon. February 2010. Image © Paul Rands |
|
 |
Typical Conditions: Typical conditions on Kings Hwy as it winds its way up Clyde Mountain at Monga. February 2010. Image © Paul Rands |
 |
Distance Sign: RD sign at Mulloon after the Goulburn Road junction. February 2010. Image © Paul Rands |
|
 |
Advance Directional Sign: AD sign approaching River Forest Rd at Monga. February 2010. Image © Paul Rands |
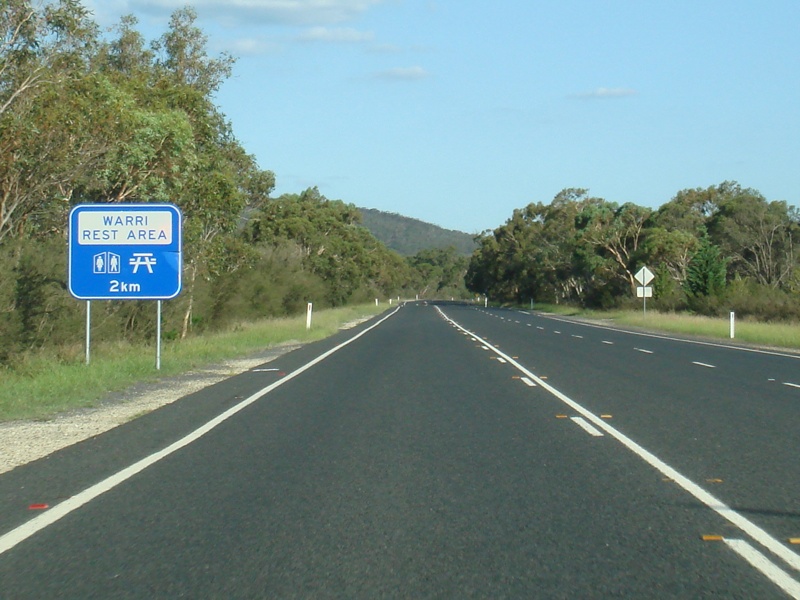 |
Services Sign: Rest area ahead sign at Warri approaching the Warri Rest Area. February 2010. Image © Paul Rands |
|
 |
River Forest Road Intersection: Corner of Kings Hwy and River Forest Rd at Monga. February 2010. Image © Paul Rands |
 |
Services Sign: Rest area ahead sign at Warri approaching the Warri Rest Area. February 2010. Image © Paul Rands |
|
 |
Welcome to Capital Country: Tourism based RD sign welcoming visitors to Capital Country. February 2010. Image © Paul Rands |
 |
Shoalhaven River: Kings Hwy as it crosses the Shoalhaven River via the Warri Bridge at Warri. February 2010. Image © Paul Rands |
|
 |
Mongarlowe River: Kings Hwy at Monga as it crosses Mongarlowe River. February 2010. Image © Paul Rands |
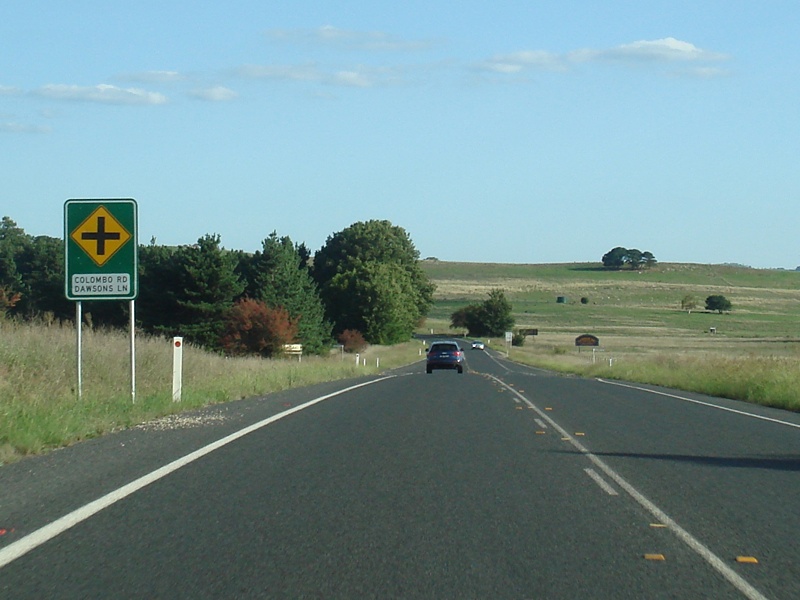 |
Approaching Colombo Road & Dawsons Lane: Kings Hwy approaching the junction with Colombo Rd and Dawson Ln at Braidwood. February 2010. Image © Paul Rands |
|
 |
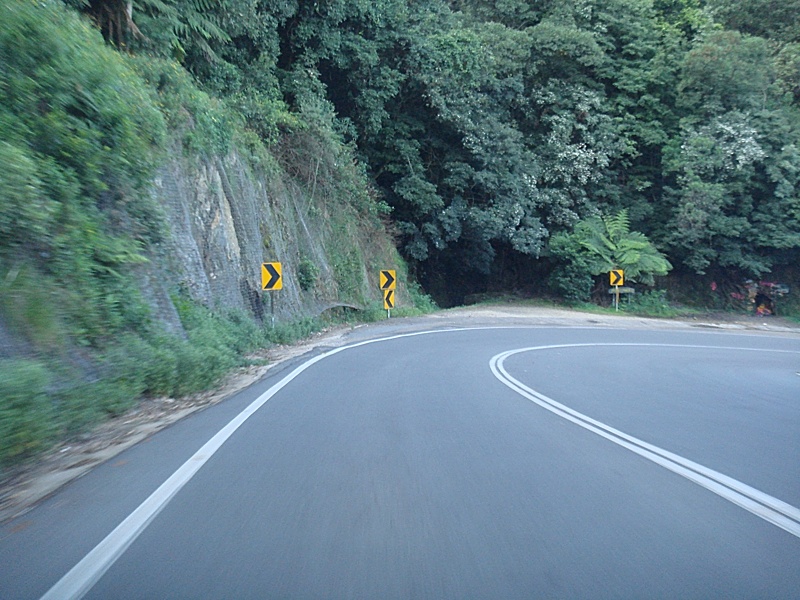
Typical Conditions: Typical conditions on Kings Hwy at Monga. February 2010. Image © Paul Rands |
 |
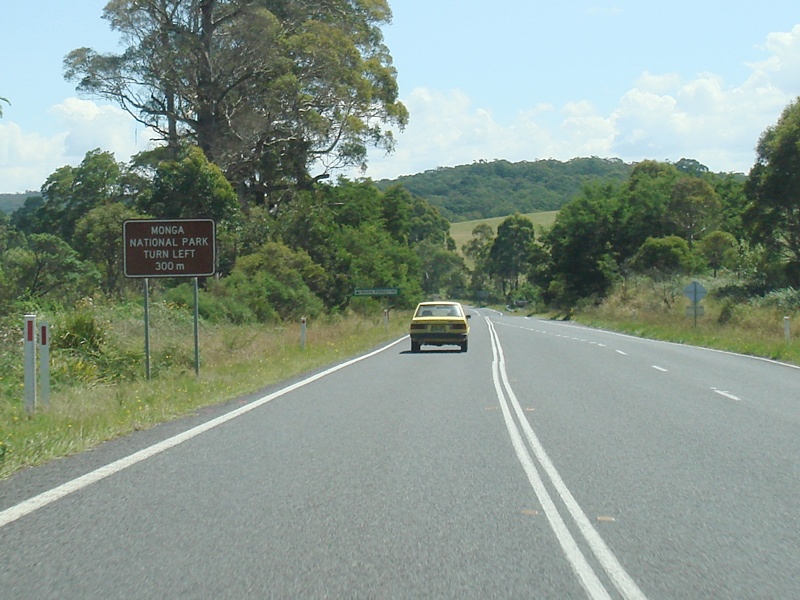
Typical Conditions: Typical conditions on Kings Hwy near Braidwood. February 2010. Image © Paul Rands |
|
 |
Approaching Tudor Valley Road: Kings Hwy approaching Tudor Valley Rd at Northangera. February 2010. Image © Paul Rands |
 |
Advance Directional Sign: AD sign approaching Nerriga Road at Braidwood. February 2010. Image © Paul Rands |
|
 |
Approaching Tudor Valley Road: Kings Hwy approaching Narranghi Rd at Northangera. February 2010. Image © Paul Rands |
 |
Nerriga Road Intersection: Corner of Kings Hwy and Nerriga Rd at Braidwood. February 2010. Image © Paul Rands |
|
 |
Typical Conditions: Typical conditions on Kings Hwy near Braidwood. February 2010. Image © Paul Rands |
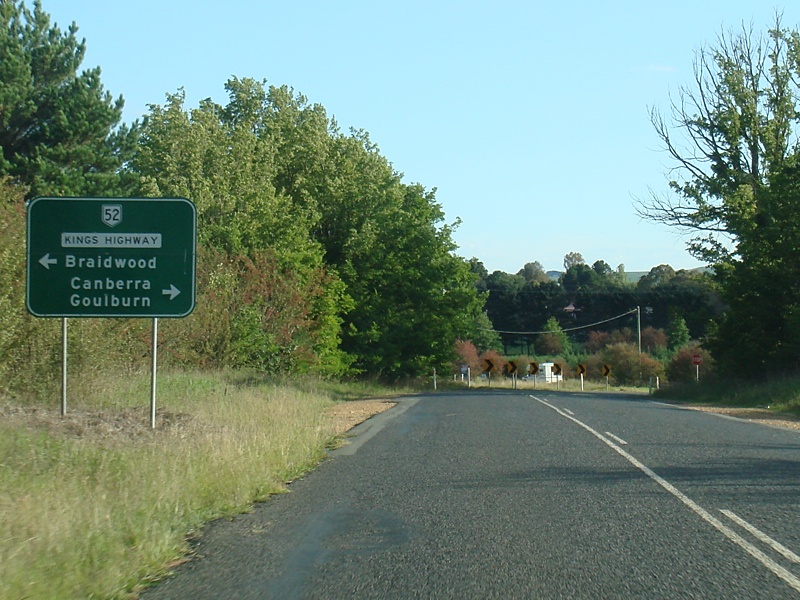 |
Advance Directional Sign: AD sign on Nerriga Road approaching Kings Hwy at Braidwood. February 2010. Image © Paul Rands |
|
 |
Entering Braidwood: Kings Hwy as it enters the town of Braidwood. February 2010. Image © Paul Rands |
 |
Entering Braidwood: Kings Hwy as it enters the town of Braidwood. February 2010. Image © Paul Rands |
|
 |
Advance Directional Sign: AD sign on Kings Hwy (Lascelles St) approaching Wallace St at Braidwood. February 2010. Image © Paul Rands |
 |
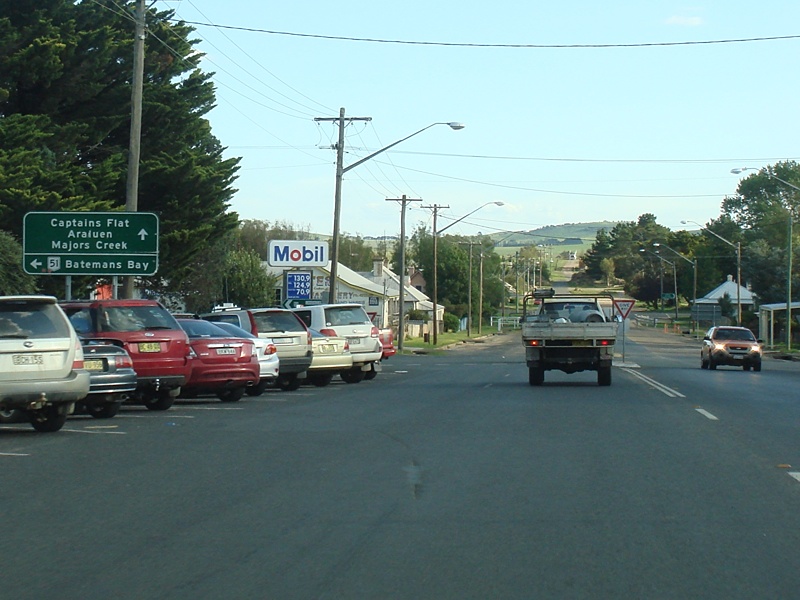
Intersection Directional Sign: ID sign at Wallace St in Braidwood, NR52 turns right onto Wallace St. February 2010. Image © Paul Rands |
|
 |
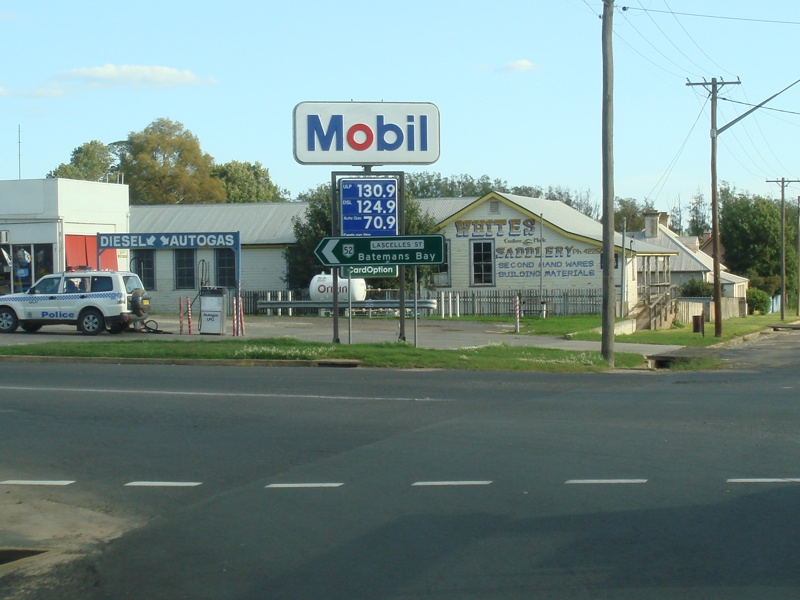
Wallace Street & Lascelles Street Junction: Corner of Wallace St and Lascelles St in Braidwood. NR52 turns right at this intersection. February 2010. Image © Paul Rands |
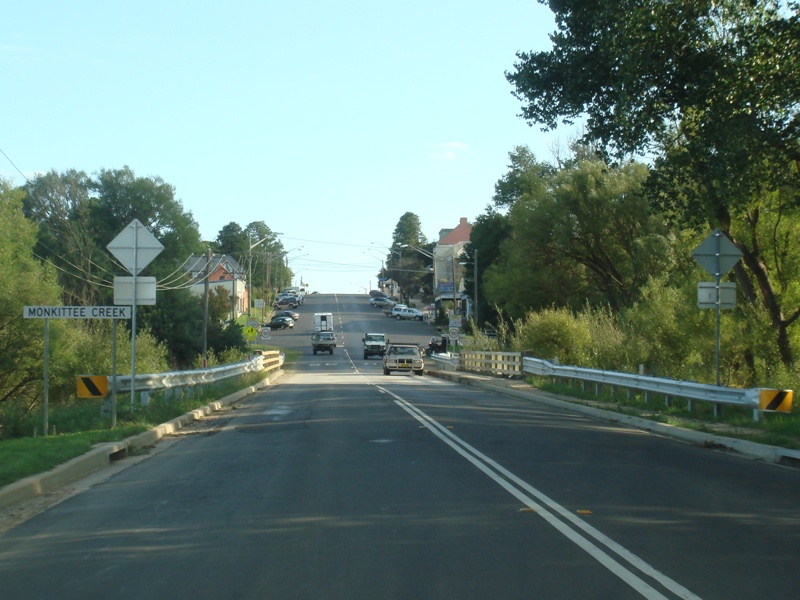 |
Monkittee Creek: Kings Hwy (Wallace St) as it crosses Monkittee Ck in Braidwood. February 2010. Image © Paul Rands |
|
 |
Wallace Street & Lascelles Street Junction: Corner of Wallace St and Lascelles St in Braidwood. NR52 turns right at this intersection. February 2010. Image © Paul Rands |
 |
Braidwood Town Centre: Kings Hwy (Wallace St) as it passes through the Braidwood town centre. February 2010. Image © Paul Rands |
|
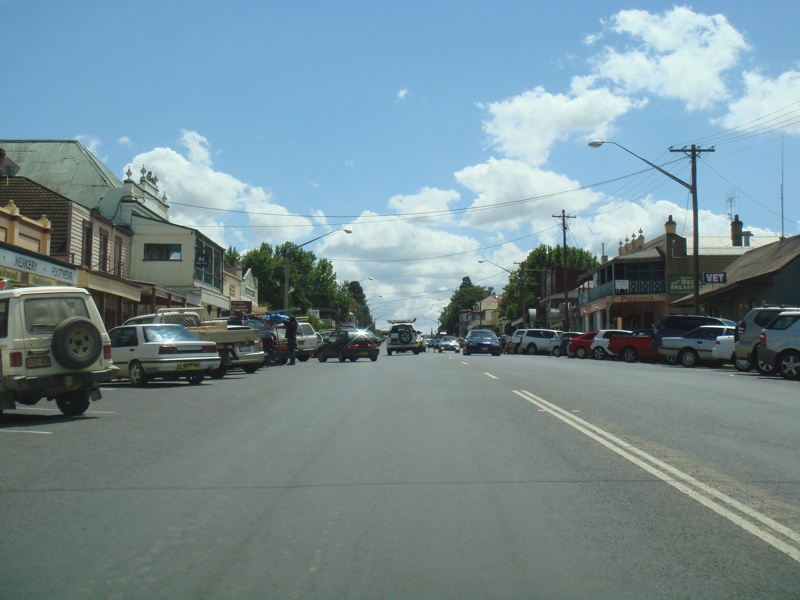 |
Braidwood Town Centre: Kings Hwy (Wallace St) as it passes through the Braidwood town centre. February 2010. Image © Paul Rands |
 |
Advance Directional Sign: AD sign on Kings Hwy (Wallace St) approaching Lascelles St at Braidwood. February 2010. Note the incorrect NR51 shield on the sign. Image © Paul Rands |
|
 |
Braidwood Town Centre: Kings Hwy (Wallace St) as it approaches Park Ln in the Braidwood town centre. February 2010. Image © Paul Rands |
 |
Wallace Street & Lascelles Street Junction: Corner of Wallace St and Lascelles St in Braidwood. NR52 turns left at this intersection. February 2010. Image © Paul Rands |
|
 |
Monkittee Creek: Kings Hwy (Wallace St) as it crosses Monkittee Ck in Braidwood. February 2010. Image © Paul Rands |
 |
Distance Sign: RD sign as you leave Braidwood. February 2010. Image © Paul Rands |
|
 |
Advance Directional Sign: AD sign approaching Nerriga Road at Braidwood. February 2010. Image © Paul Rands |
 |
Typical Conditions: Typical conditions on Kings Hwy near Braidwood. February 2010. Image © Paul Rands |
|
 |
Nerriga Road Intersection: Corner of Kings Hwy and Nerriga Rd at Braidwood. February 2010. Image © Paul Rands |
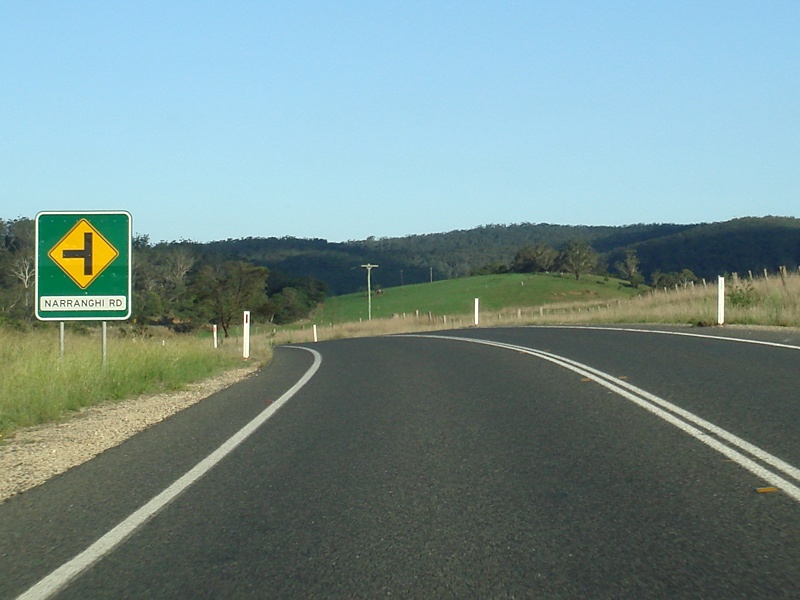 |
Approaching Tudor Valley Road: Kings Hwy approaching Narranghi Rd at Northangera. February 2010. Image © Paul Rands |
|
 |
Distance Sign: RD sign as you leave Braidwood. February 2010. Image © Paul Rands |
 |
Mongarlowe River: Kings Hwy at Monga as it crosses Mongarlowe River. February 2010. Image © Paul Rands |
|
 |
Approaching Deloraine Lane: Kings Hwy as it approaches Deloraine Ln at Braidwood. February 2010. Image © Paul Rands |
 |
River Forest Road Intersection: Corner of Kings Hwy and River Forest Rd at Monga. February 2010. Image © Paul Rands |
|
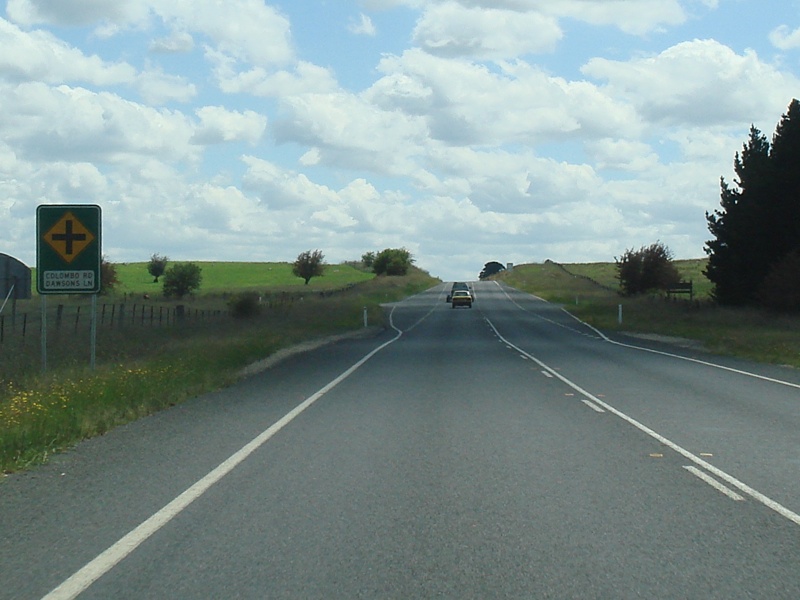 |
Approaching Colombo Road & Dawsons Lane: Kings Hwy approaching the junction with Colombo Rd and Dawson Ln at Braidwood. February 2010. Image © Paul Rands |
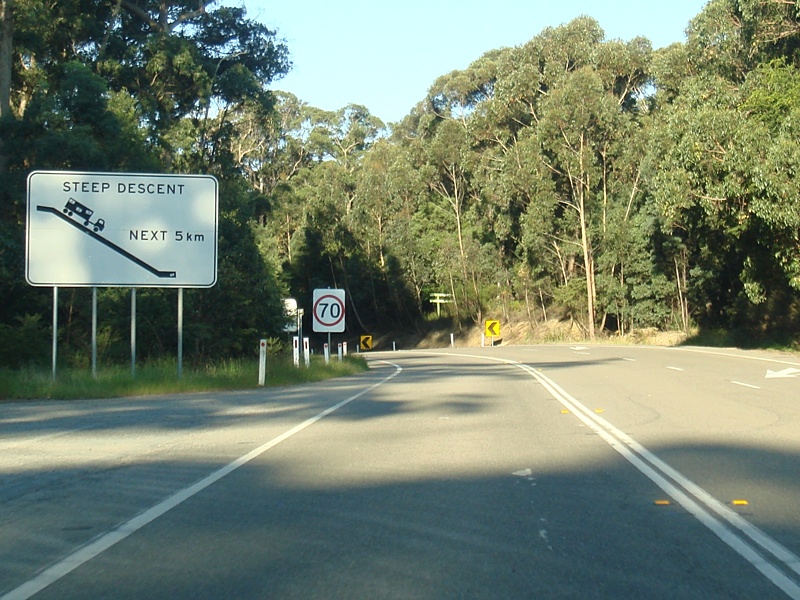 |
Steep Descent Sign: Sign indicating the type of steep descent for trucks at Monga as the Kings Hwy descends Clyde Mtn. February 2010. Image © Paul Rands |
|
 |
Approaching Larbert Road: Kings Hwy approaching the junction with Larbert Rd at Braidwood. February 2010. Image © Paul Rands |
 |
Steep Descent Sign: Steep descent sign at the top of Clyde Mountain at Monga. February 2010. Image © Paul Rands |
|
 |
Services Sign: Rest area ahead sign at Warri approaching the Warri Rest Area. February 2010. Image © Paul Rands |
 |
Typical Conditions: Typical conditions on Kings Hwy as it winds its way down Clyde Mountain at Monga. February 2010. Image © Paul Rands |
|
 |
Services Sign: Rest area ahead sign at Warri approaching the Warri Rest Area. February 2010. Image © Paul Rands |
 |
Pooh's Corner: Kings Hwy as it approaches Pooh's Corner at Monga. February 2010. It's been alleged that this was the location of a munitions store during the Second World War, which could be detonated to stop passage from the coast to the national capital inland. Image © Paul Rands |
|
 |
Shoalhaven River: Kings Hwy as it crosses the Shoalhaven River via the Warri Bridge at Warri. February 2010. Image © Paul Rands |
|||
 |
Advance Directional Sign: AD sign at Mulloon approaching Goulburn Rd. February 2010. Image © Paul Rands |
|||
 |
Goulburn Road Intersection: Corner of Goulburn Rd and Kings Hwy at Mulloon. February 2010. Image © Paul Rands |
|||
 |
Distance Sign: RD sign at Mulloon after the junction with Goulburn Road. February 2010. Image © Paul Rands |
|||
| Click here for the continuation of NR52 between Mulloon and the Australian Capital Territory Click here for the continuation of NR52 between Murrengenburg and Batemans Bay |
||||
1 Roads & Traffic Authority Pesticide Application Program, June 2008, Page 25
2 Sam Laybutt (ozroads.com.au)
Last updated: 17-Dec-2019 0:55
This site © Paul Rands. All rights reserved. Some portions © (copyright) by their respective and credited owners. Permission must be obtained before using any images from this site. For details, please email by clicking here.