|
|
|
|
|
 |
Great Western Highway, Mitchell Highway & Barrier Highway (National Route 32) - Bathurst to Lithgow (Decommissioned) |
Statistics:
Route Numbering:
General Information:
National Route 32 is the main route linking the New South Wales state capital, Sydney, with the west of the state. The road varies from arterial road conditions, rural expressway and rural highway.
The highway is signposted as National Route 32 from Glenbrook in Sydney's west, to its terminus at Bathurst. Great Western Hwy is signposted as SR44 in the sydney area.
The Great Western Highway is regarded as one of the oldest roads in Australia. Starting as George Street in the Sydney CBD, and following Parramatta Road, it heads west across metropolitan Sydney to Penrith, where it crosses the Nepean River. It then crosses the Blue Mountains and the Great Dividing Range to Bathurst.
The road across the Blue Mountains was built by William Cox in the 1800s shortly after a viable route across the mountains was discovered. An obelisk at Macquarie Place in Sydney records the construction of the road during the rule of Governor Lachlan Macquarie.
In the 90s, the highway was terminated at Emu Plains with the closure of the Knapsack Gully Viaduct. An extension to the Western Mwy (Metroad 4) at Emu Plains was constructed, which rejoined with the highway at Glenbrook. The upper portion of the Great Western Highway from Russell Street is now only used by residents and cars coming from Blaxland via Mitchells Pass. Mitchells Pass is section of the former main road over the Blue Mountains.
History:
| Lithgow to Bathurst | Bathurst to Lithgow | |||
| Preview: | Description: | Preview: | Description: | |
 |
Entering Marangaroo: Great Western Hwy (NR32) as it enters the village of Marangaroo, November 2011. Image © Paul Rands |
 |
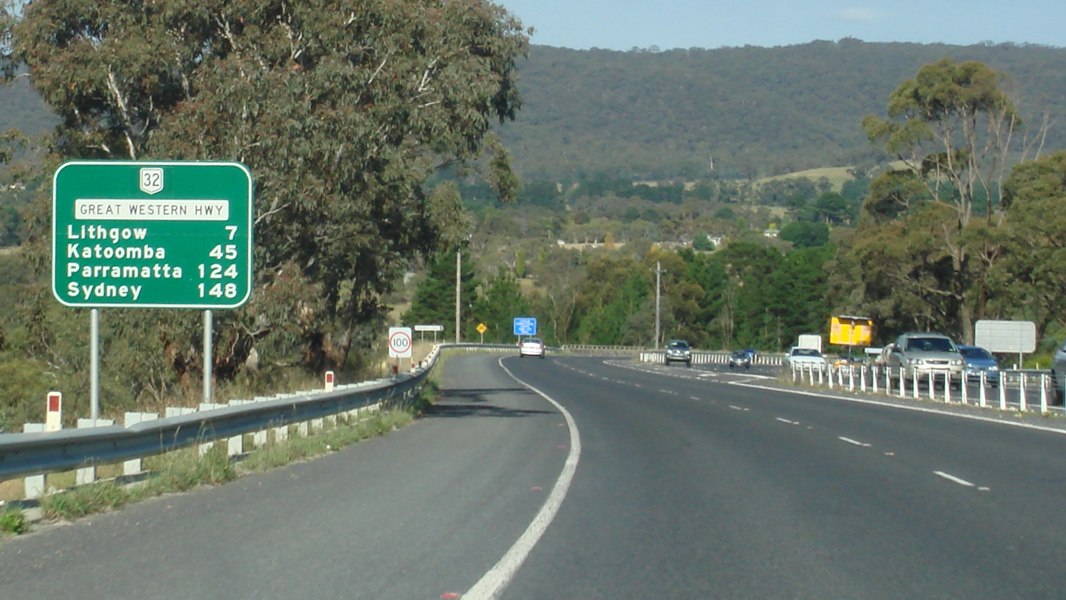
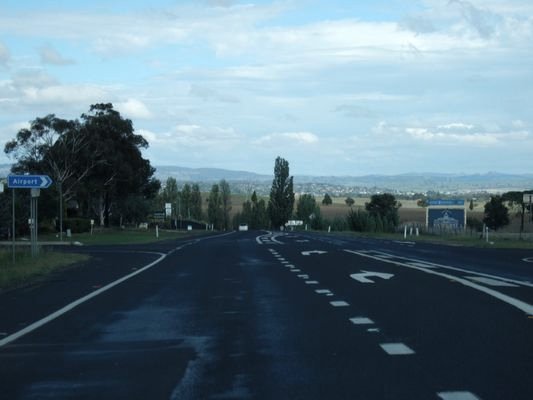
Reassurance Directional Sign: Distance sign at Kelso, December 2002. Image © Michael Greenslade |
|
 |
Marangaroo: Westbound on the dual carriageways built in the 1980s at Marangaroo, Jul 2007. Image © Paul Rands |
 |
Reassurance Directional Sign : Distance sign at Marrangaroo after the Castlereagh Hwy (SR86) interchange, April 2012. Image © Paul Rands |
|
 |
Distance Sign: Westbound RD sign after the Reserve Road intersection, Marangaroo, November 2011. Click here for a photo of the previous sign from July 2006. Image © Paul Rands |
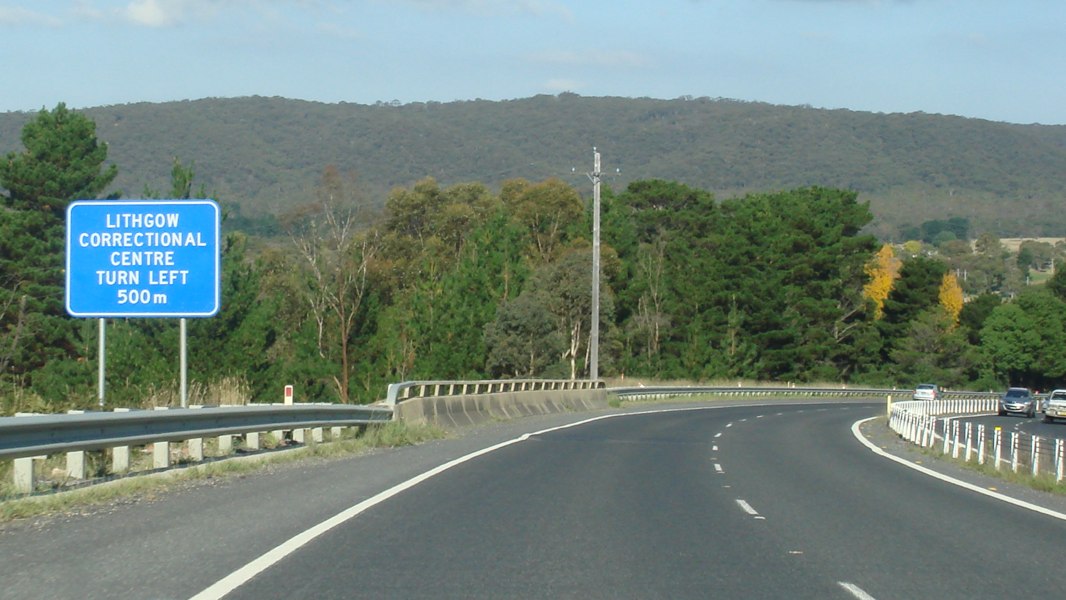 |
Advance Directional Sign: AD sign at Marrangaroo approaching the correctional centre entrance, April 2012. Image © Paul Rands |
|
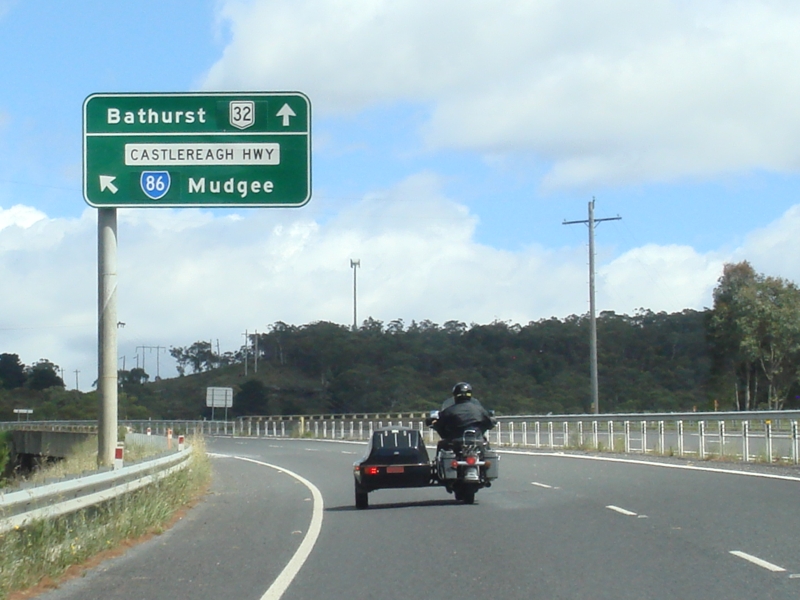 |
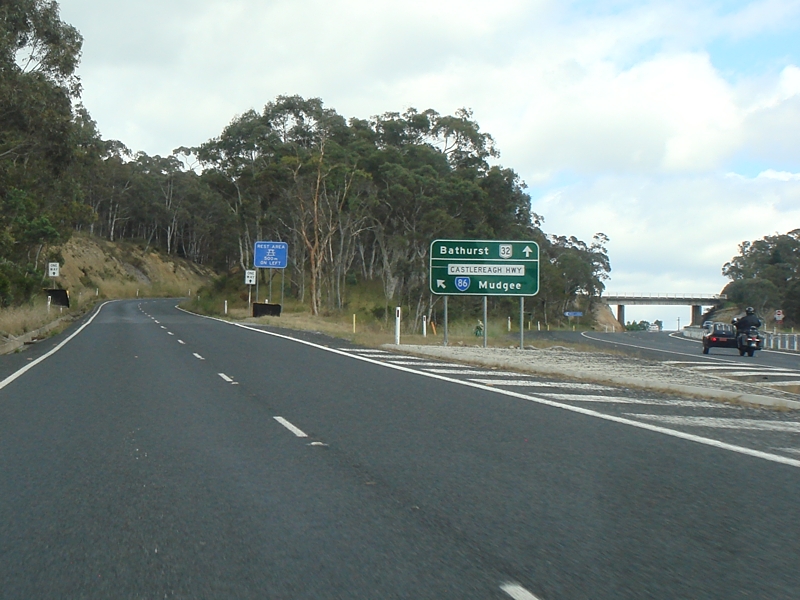
Advance Directional Sign: AD sign approaching the interchange for Castlereagh Highway (SR86) at Marangaroo, November 2011. Click here for a photo of the previous sign from July 2006. Image © Paul Rands |
 |
Correctional Centre Entrance : Great Western Hwy (NR32) at the entrance to the correctional centre at Marrangaroo, April 2012. Image © Paul Rands |
|
 |
Services Sign: Services sign near the interchange for Castlereagh Highway (SR86) at Marangaroo for Tunnel Hill Rest Area, November 2011. Image © Paul Rands |
 |
Distance Sign : Tourism based RD sign at Marrangaroo, April 2012. Image © Paul Rands |
|
 |
Supplementary AD Signs: Signage for attactions / services accessible from the Castlereagh Highway interchange at Marangaroo, November 2011. Click here for a photo of the previous sign from July 2006. Image © Paul Rands |
|||
 |
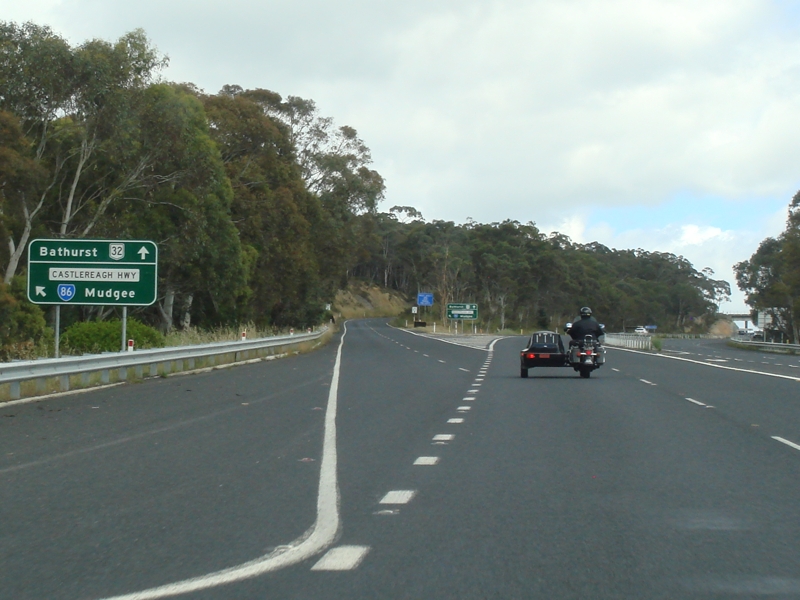
Castlereagh Highway Interchange: Looking westbound through the interchange at Marangaroo, November 2011. Click here for a photo of the previous sign from July 2006. Image © Paul Rands |
|||
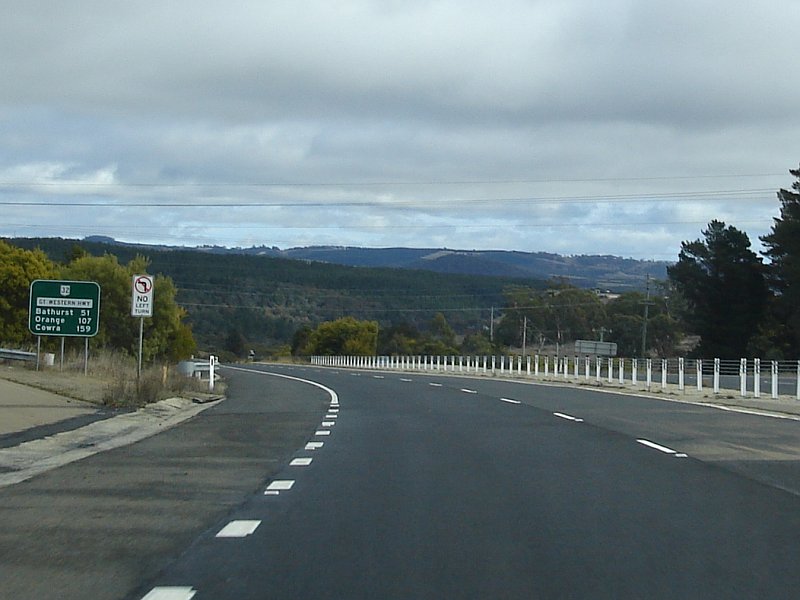 |
Distance Sign: Westbound RD Sign after Castlereagh Highway neart Forest Ridge Drive at Marangaroo, July 2006. Image © Paul Rands |
|||
 |
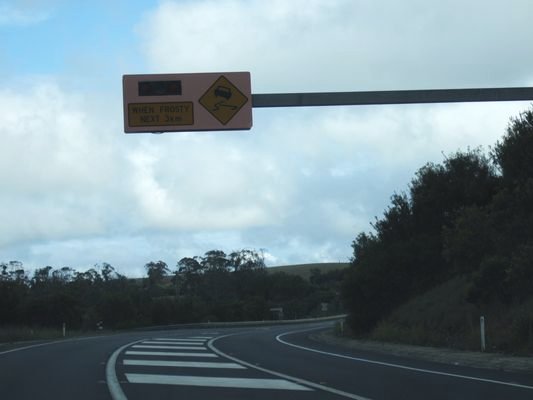
Frosty Warning
Sign: Warning sign with flashing lights used along the route for frosty conditions, this time westbound at Marangaroo, July 2006. Image © Paul Rands |
|||
 |
Fog Warning Sign: Sign regarding driving conditions in fog, westbound at Marangaroo, July 2006. Image © Paul Rands |
|||
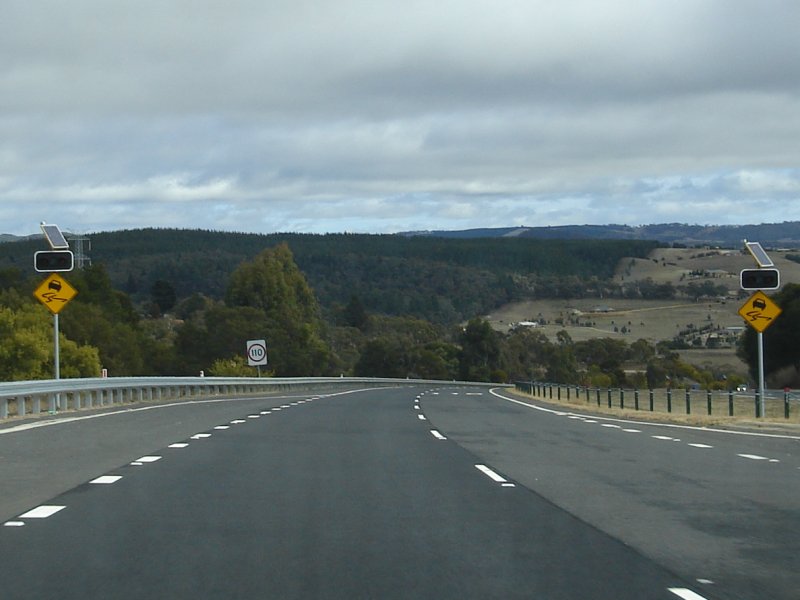 |
Westbound at Wallerawang: Typical highway conditions as you pass through undulating territory at Wallerawang, July 2006. Image © Paul Rands |
|||
 |
Westbound at Wallerawang: Typical highway conditions as you pass through undulating territory at Wallerawang, July 2006. Image © Paul Rands |
|||
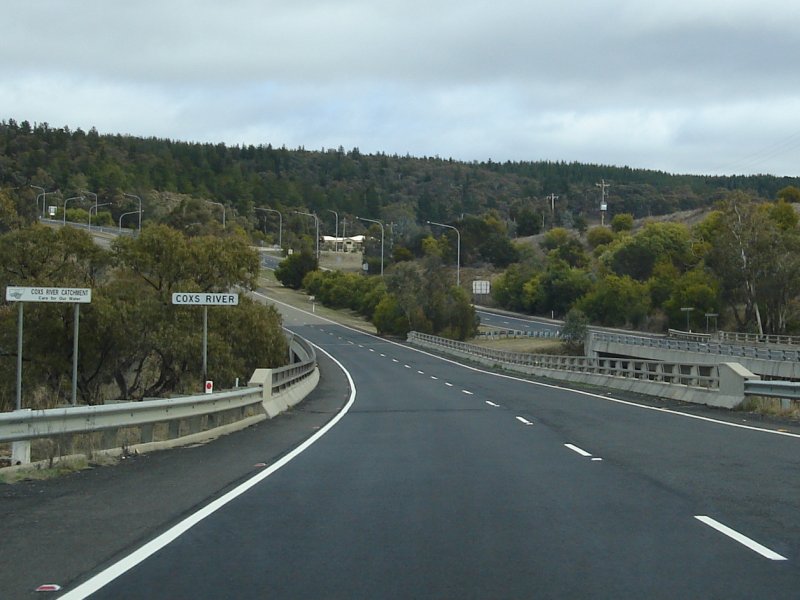 |
Cox's River: Crossing the Cox's River in Wallerawang, July 2006. Image © Paul Rands |
|||
 |
Wallerawang-Rydal Road:: Corner of Great Western Hwy (NR32) and Wallerawang-Rydal Rd at Wallerawang Image © Paul Rands |
|||
 |
Advance Directional Sign: AD sign approaching the intersection with Barton Avenue at Wallerawang, July 2006. Image © Paul Rands |
|||
 |
Barton Avenue Junction: Westbound through the intersection with Barton Avenue at the town of Wallerawang, July 2006. Image © Paul Rands |
|||
 |
Distance Sign: RD sign after the Barton Av intersection at Wallerawang, July 2006. Image © Paul Rands |
|||
 |
Snow and Ice Warning Sign: Fold up sign used to warn of snow and ice on the roadway, Westbound at Wallerawang, July 2006. Image © Paul Rands |
|||
 |
Entering Mount Lambie: Heading westbound into Mount Lambie, July 2006. Image © Paul Rands |
|||
 |
Weather Sign: This area of NR32 is prone to frost and ice in colder months, and along the route between LIthgow and Bathurst you'll several signs with flashing lights warning of various conditions Mt Lambie, westbound. July 2006. Image © Paul Rands |
|||
 |
Frosty Warning
Sign: Another warning sign used along the route for frosty conditions, this time westbound at Mount Lambie. February 2007. Image © David Whiteman |
|||
 |
Distance
Sign: RD sign westbound at Meadow Flat. July 2006. Image © Paul Rands |
|||
 |
ID
Sign Assembly: Westbound at Meadow Flat at the intersection with Meadow Flat - Sunny Corner Road. February 2007. Image © David Whiteman |
|||
 |
Tourist RD Sign: Westbound at Meadow Flat is this sign with distances to local tourist information. July 2006. Image © Paul Rands |
|||
 |
AD Sign: Westbound advance directional sign approaching the intersection with Hazel Grove Roat at Kirkconnell. July 2006. Image © Paul Rands |
|||
 |
Hazel Grove Road Intersection: Westbound at Kirkconnell at the Hazel Grove Road junction, July 2006. Image © Paul Rands |
|||
 |
Distance Sign: Westbound RD sign after the intersection with Hazel Grove Road at Kirkconnell. July 2006. Image © Paul Rands |
|||
 |
Sunny Corner Road Intersection: Looking westbound at the intersection with Sunny Corner Road at Kirkconnell. February 2007. Image © David Whiteman |
|||
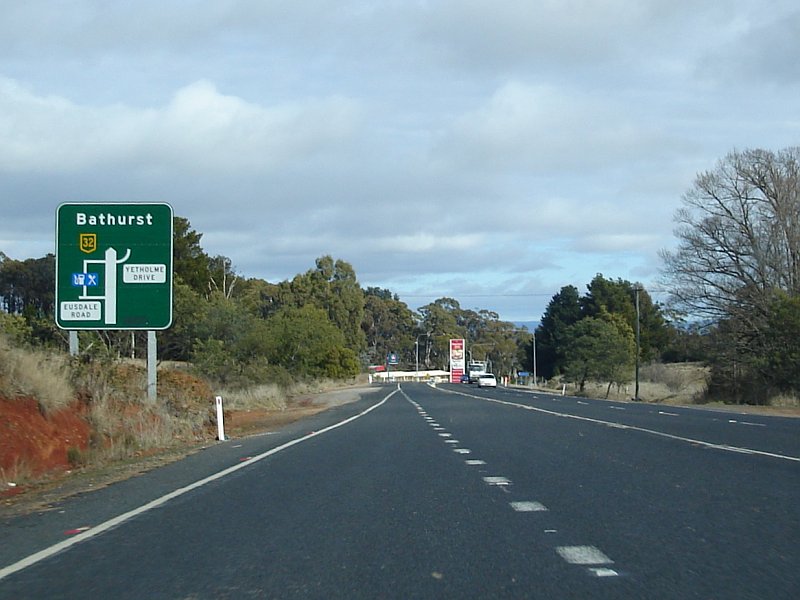 |
Diagrammatic AD Sign: AD sign with incorrect NH32 sheild approaching Eusdale Road at Yetholme. July 2006. Image © Paul Rands |
|||
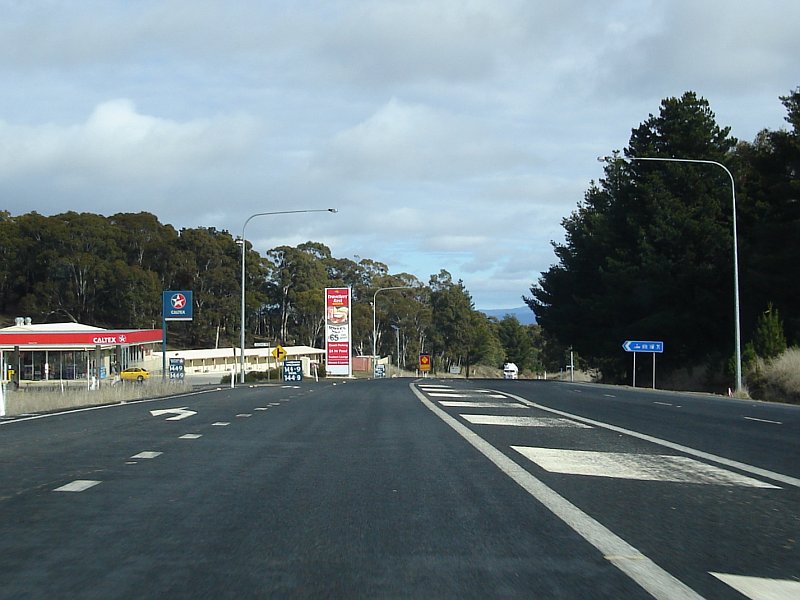 |
Yetholme: Westbound near the roadhouse at Yetholme and also at the Eusdale Road intersection, July 2006. Image © Paul Rands |
|||
 |
Road Conditions Warning Sign: Another variation of the road conditions signage between Lithgow and Bathurst. February 2007. Image © David Whiteman |
|||
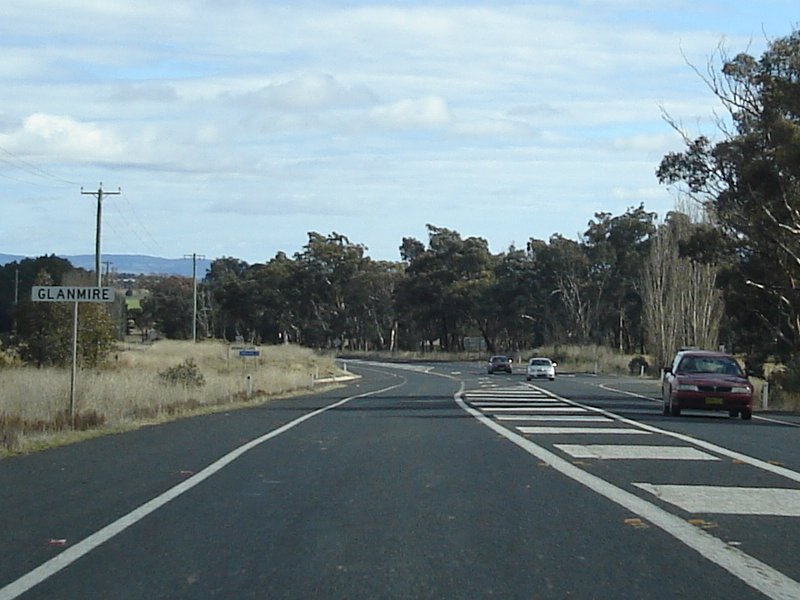 |
Entering Glanmire: Westbound on the Great Western Highway in the village of Glanmire, July 2006. Image © Paul Rands |
|||
 |
Glanmire: Westbound on the Great Western Highway in the village of Glanmire, July 2006. Image © Paul Rands |
|||
 |
Entering Raglan: Westbound heading into Raglan, July 2006. Image © Paul Rands |
|||
 |
Westbound at Raglan: Looking towards Bathurst at the intersection of Eugenie Street and PJ Moodie Memorial Drive at Raglan. February 2007. Image © David Whiteman |
|||
 |
Raglan Roadhouse: Image © Paul Rands |
|||
 |
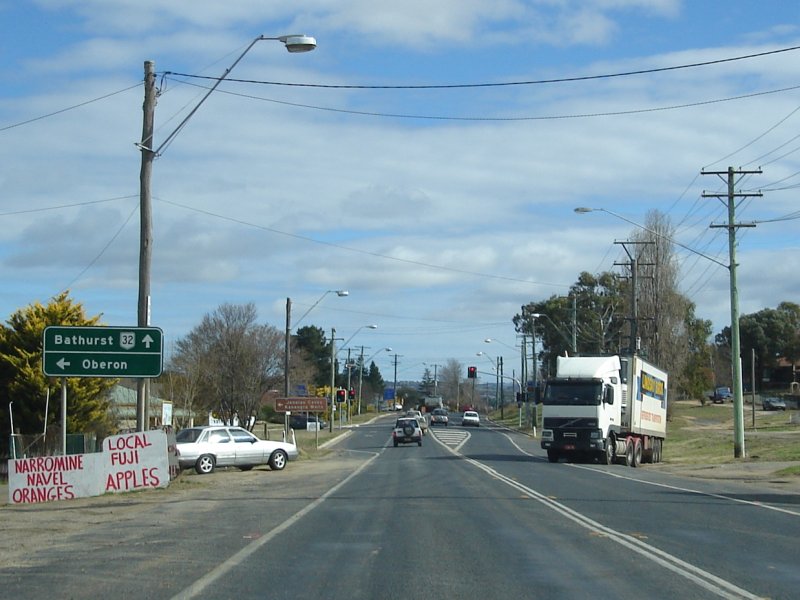
Entering Kelso: Westbound as you enter the town of Kelso. July 2006. Image © Paul Rands |
|||
 |
Approaching Littlebourne Street: Westbound in Kelso approaching the Littlebourne St traffic signals. July 2006. Image © Paul Rands |
|||
 |
Approaching Gilmore Street: Unusual AD sign, westbound at Kelso approaching the Gimore Street (TD3) junction, July 2006. Image © Paul Rands |
|||
 |
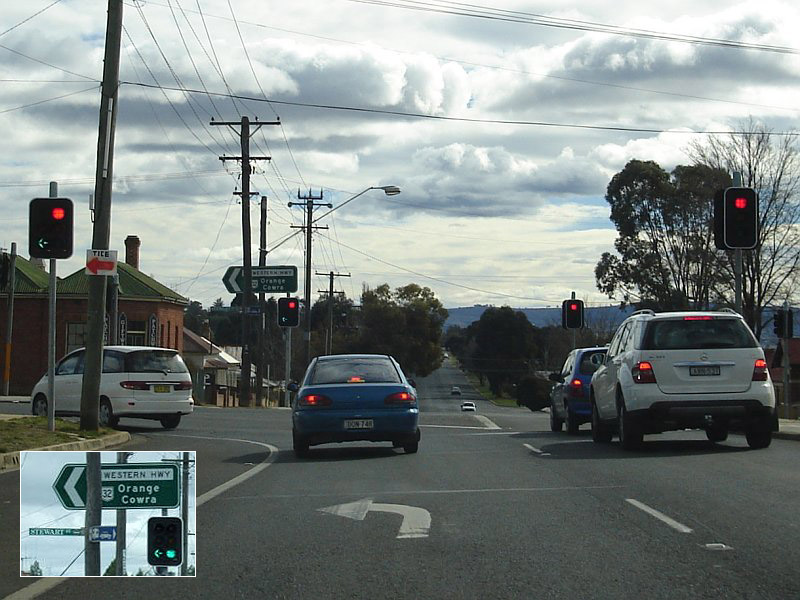
Gilmore Street: Corner of Great Western Hwy (NR32) and Gilmore St (TD3) at Kelso, December 2002. Image © Michael Greenslade |
|||
 |
Crossing Macquarie River: Westbound at Bathurst, this bridge opened to traffic in the early 90s, replacing a winding and narrow section of highway, July 2006. Image © Paul Rands |
|||
 |
AD
Sign: Directional sign for Bentick Street Bathurst, which is used to access the Mount Panorama racing circuit and also part of the route to Crookwell and Goulburn. July 2006. Image © Paul Rands |
|||
 |
AD Sign: Westbound advance directional sign approach the intersection with Durham Street, Bathurst. February 2007. Image © Paul Rands |
|||
 |
Corner of Durham Street / Great Western Highway: ID sign assembly in Bathurst. July 2006. Image © Paul Rands |
|||
 |
Advance Directional Sign: Approaching the end of the Great Western Highway and the beginning of the Mitchell Highway (NR32 continuation) and Mid Western Highway (NR24) at Bathurst. July 2006. Image © Paul Rands |
|||
 |
Mid Western Highway ID Sign: Intersection directional sign on the roundabout at the corner of the Great Western Highway, Mitchell Highway (Vittoria St), Mid Western Highway and Brilliant Street in Bathurst, July 2006. Image © Paul Rands |
|||
| Click here for the continuation of NR32 between Molong and Bathurst Click here for the continuation of NR32 between Lithgow and Katoomba |
||||
1 Roads and Traffic Authority, Schedule of Classified Roads (and unclassified Regional Roads),
25 February 2008
2 Department of Main Roads.
The Roadmakers, A History of Main Roads in New South Wales, ISBN 0
7240 0439 4
Last updated: 19-Oct-2021 0:24
This site © Paul Rands. All rights reserved. Some portions © (copyright) by their respective and credited owners. Permission must be obtained before using any images from this site. For details, please email by clicking here.