|
|
|
|
|
| M1 A1 | Pacific Motorway, Pacific Highway, New England Highway, John Renshaw Drive, Gore Hill Freeway, Warringah Freeway, Sydney Harbour Tunnel, Cahill Expressway, Eastern Distributor, Southern Cross Drive, General Holmes Drive, The Grand Parade, President Avenue, Princes Highway & Princes Motorway (M1 / A1) - Somersby to Wahroonga |
Statistics:
Route Numbering:


General Information:
M1 / A1 is the principal coastal route through New South Wales, and forms part of the circumferential route around Australia.
The route varies greatly along its length and includes sections of rural highway, urban arterial road, divided rural highway and also motorway. The route also features several tunnels, located in the inner east, inner south and lower northern suburbs of Sydney and at Yelgun and Tweed Heads, at the northern end of the route in NSW. The route passes through forest, rural, residential, commercial and industrial areas.
Pacific Motorway is broken into 2 sections.
The southernmost section runs between Wahroonga, in Sydney's northern suburbs to Beresfield, located west of Newcastle and is the former Sydney-Newcastle Freeway. Built in several stages, with the first commencing in the late 1960s, the route traverses some of the toughest terrain between Sydney and Newcastle and bypasses the Central Coast and majority of the populated areas in the Hunter Valley and forms part of the main route between Sydney and Brisbane.
The northernmost section runs from Brunswick Heads through to the Queensland border, and features 2 tunnels, one at Yelgun and the other at Tweed Heads, which travels under Coolangatta Airport in Queensland.
The southern section of the Pacific Motorway (formerly Sydney-Newcastle Freeway) is the major arterial highway between Sydney and Newcastle. Starting life as the Berowra-Calga Tollway, the route has been gradually extended and improved until the Palmdale / Ourimbah gap and Lengahans Drive bypass were completed in the late 90's. The route replaced several sections of very windy road between Berowra and the southern reaches of Newcastle. 2
The southern section of the motorway starts with the junction of the Pacific Highway (A1) and Pennant Hills Road (A28) at Pearce's Corner, Wahroonga in Sydney's north. From here it goes north, skirting the western edge of the Ku-ring-gai Chase National Park before meeting the Hawkesbury River at Brooklyn. After crossing the Hawkesbury the motorway passes through the Brisbane Water National Park, crossing Mooney Mooney Creek with an impressive 480m long and 75m high bridge before reaching the first main interchange on the Central Coast at Kariong. 1
After reaching Kariong, the motorway continues through rural and semi-rural areas of the Central Coast with interchanges provided at Ourimbah, Tuggerah, Warnervale and also Kiar, near Doyalson. From the Doyalson interchange the freeway continues to the west of Lake Macquarie with interchanges near Morisset, Cessnock, Toronto and Cardiff. The Doyalson interchange is with what is known as Doyalson Link Road (formerly Motorway Link) a connection feeder to the Pacific Highway (now A43), when the motorway ended at this interchange in the mid 1980s. 2
After the Cardiff interchange a link road takes traffic into Newcastle via Wallsend while the motorway continues north to reach its finish with a roundabout at the junction of Weakleys Drive and John Renshaw Drive (A1 and B68), Beresfield. From here motorists continue to Brisbane via John Renshaw Drive (A1) and the New England Highway (A1) eastbound to meet the Pacific Highway at Hexham.
The Pacific Motorway is part of the Auslink National Network, and is the major road linking Sydney, the Central Coast and Newcastle. It also links with the Hunter Expressway (M15), New England Highway (A43) and Pacific Highway (A1), for travel to northern New South Wales and Queensland. The Pacific Motorway (formerly Sydney-Newcastle Freeway) is a vital link for around 75 000 motorists that use the freeway daily, the majority of whom travel between the Central Coast and Hunter regions and Sydney. During weekends and school holidays, the Pacific Motorway is heavily used by motorists travelling to and returning from northern New South Wales and Queensland holiday destinations. 2
History:
The southern section of the Pacific Motorway (formerly the Sydney-Newcastle Freeway) replaced the Pacific Highway which was built in the 1920s along a route that had existed since 1840s, when settler George Peat cut a track to his property on the banks of the Hawkesbury River. 1
Planning began for the freeway in the 1950s, with the aim of providing a high-speed replacement to a section of the Pacific Highway which was built in the 1920s and was struggling to cope with the increased traffic volume. Furthermore it was planned that the freeway would connect to freeway systems being proposed for both Sydney and Newcastle, providing a city-to-city freeway link. However, due to several reasons the goal and route of the freeway changed significantly so that today it serves to bypass Newcastle rather than go into it. 2
Firstly, the route between Mount White and Kariong was originally planned to go further east than the current route with an easier crossing of Mooney Mooney Creek. By the time that construction was to begin on this section resistance from the National Parks and Wildlife Service to the proposed route forced the government to take a route through Calga which at the time would have formed part of a route to Singleton. 2
The route through Wyong Shire changed as well; instead of passing along the western edge of the Tuggerah Lakes development in that area resulted in the freeway moving further west with a link road being constructed to meet the Pacific Highway near Doyalson. 2
Perhaps the most significant effect on the freeway's route and its connections was the anti-freeway movement of the 1970s. Strong public resistance to freeways being constructed within cities along with less than favourable results from government inquiries resulted in unconstructed freeway projects being cancelled and those under construction being revised or cut short. For the then Sydney-Newcastle Freeway, this meant that the connecting Lane Cove Valley and North-Western Freeways in Sydney would not be built - forcing traffic to travel along the Pacific Highway between Wahroonga and the city. In addition, the freeway would now go to the west of Lake Macquarie rather than the east and bypass Newcastle. Sections of A37 (formerly State Route 123), one of the two expressway routes that the freeway would have connected to in Newcastle, have been constructed, while the freeway route between Belmont and Bennetts Green and the connecting expressway route to Merewether are still reserved with the possibility that they could be constructed in the future. 2
A plaque near the former Mooney Mooney toll plaza (now ambulance station), commemorating the Hawkesbury River to Mt White section of the route, reads as follows: 1
Sydney - Newcastle Road
The first pioneer trade directly connecting Sydney and areas north of the Hawkesbury River was established in 1844 when a ferry service between Kangaroo Point and Mooney Mooney Point was connected by George Peat. The rough tracks north of the River lead to Wollombi, Cessnock, Maitland and Newcastle. Prior to 1844 travellers to and from the areas north of The Hawkesbury River had to travel a long and circuitous route via Windsor and Wisemans Ferry. With the opening of the Railway between Sydney and Newcastle in 1889, the Northern Road via Peats Ferry fell into disuse. Direct Road access from Sydney to Newcastle was re-established by the Main Roads Board in 1930 with the opening to traffic of a new motor road constructed from Hornsby to Gosford as part of the Pacific Highway and the provision of a vehicular ferry service across the Hawkesbury River. The road bridge which replaced the ferry service was completed in 1945. The Toll work from Hawkesbury River to Mount White approximately 5 ¾ miles opened to traffic on 15th December 1965, is ultimately to form part of an expressway between Sydney and Newcastle which will replace the Pacific Highway as the principal arterial road between these cities. It is the first major rural expressway construction to be undertaken in New South Wales.
The Hon. P.H. Morton, MLA
Minister for HighwaysJ.A.L. Shaw D.S.O., B.E.
Commissioner for Main Roads
- April 1963: Construction begins on a 7 km section of dual carriageways north from the Hawkesbury River. This section was opened as a toll road in 1965. The toll was removed around 1990 when the Federal Government decreed that all National Highways should be toll free. 1
- May 1965: Work starts on the Hawkesbury-Calga section of the Sydney-Newcastle Expressway.
- 15 December 1965: The Hawkesbury-Calga section of the Sydney-Newcastle Expressway was completed. 41 The length constructed was 9.2 miles, to a standard of 65 MPH. The work included the relocation of 3½ miles of the Pacific Highway. Other work included movement of over 5.4 million cubic yards of earth, mostly sandstone rock. The cost was $15.5 million. Click here for a pop up list of the original tolls. 42
- 1968: The planned route of the freeway had been revised to pass to the west of Wyong. Further investigations were undertaken to re- examine the route north of Wyong. These supported a location to the west of Lake Macquarie, with link roads to Doyalson and Newcastle. Department of Main Roads, F3 Sydney-Newcastle Freeway, March 1989.
- 12 December 1968: Opening of Berowra to Hawkesbury River section as a toll road. This made use of automatic collection of tolls for the first time in NSW. 2 Machines were installed at the Berowra toll plaza, and 2 more later on at the Mooney Mooney toll plaza. The installation of these machines proved popular, with 47% of all vehicles using the machines during 1969 and 1970. 5
- October 1973: Completion of the current 6 lane Hawkesbury River bridge. Department of Main Roads, F3 Sydney-Newcastle Freeway Between Calga and Somersby. At this time the toll from each of the north and south sections open (20¢ for each section) was combined with the new bridge (which linked both sections) for a toll of 50¢. This was collected at the existing Berowra toll booths. 1
- 1974: The freeway between Berowra and Calga was adopted as part of the National Highway between Sydney and Brisbane. Other Freeway sections were adopted later. This meant the Federal Government would fund future work on the National Highway, thus eliminating the need for future sections of the Freeway to become tollways. 6
- February 1984: Work commenced on the Berowra to Wahroonga section of the route, linking the then existing Freeway at Berowra to the Sydney road network at the Pacific Highway and Pennant Hills Road, near Pearces Corner, Wahroonga. 6
- December 1988: 15.5 km of freeway opened to traffic between Berowra and the Sydney suburb of Wahroonga, with the official opening on the 19th March 1989. 1
- December 2004: Completion of widening between Calga and Jolls Bridge. 1
- April 2006: Hi-tech wet weather speed limit system designed to monitor weather conditions and automatically reduce and enforce the speed limit in wet weather, worth $2.3 million, implemented between the Hawkesbury River and Mount White. 1
- September 2008: Opening of stage one of the widening of the freeway to three lanes in each direction between Cowan and Mt Colah, 11.5 km in length. 7
Click here
for an old DMR issued brochure on Expressway Etiquette, which includes a
map of the (former) tollway from Berowra to Calga.
Click here for construction photos of the NorthConnex Project.
Wahroonga to Somersby Somersby to Wahroonga Preview: Description: Preview: Description: 
Intersection Directional Sign:
ID sign on the corner of Cumberland Hwy (A28) and the entrance to the Pacific Mwy (M1) at Wahroonga, November 2013.Image © Paul Rands

Advance Directional Sign:
AD sign at Somersby approaching Peats Ridge Rd, November 2013.Image © Paul Rands

Reassurance Directional Sign:
Distance sign at North Wahroonga, November 2013.Image © Paul Rands

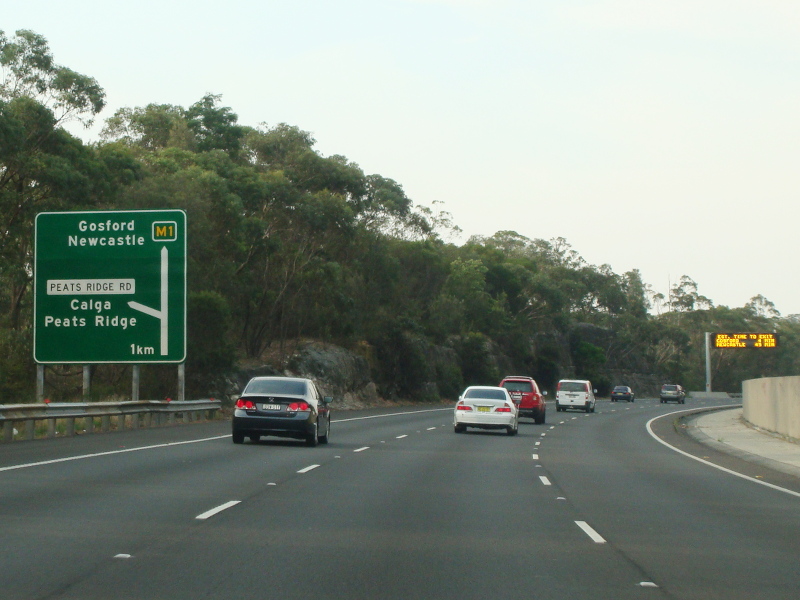
Peats Ridge Road:
Pacific Mwy (M1) at Somersby at the Peats Ridge Rd interchange, November 2013.Image © Paul Rands

Advance Directional Sign:
AD sign at North Wahroonga for the Ku-Ring-Gai Chase Road interchange, November 2013.Image © Paul Rands

Distance Sign:
Reassurance directional sign at Somersby, November 2013.Image © Paul Rands

Advance Directional Sign:
AD sign at North Wahroonga for the Ku-Ring-Gai Chase Road interchange, November 2013.Image © Paul Rands

Advance Directional Sign:
AD sign at Somersby approaching Central Coast Hwy (A49), November 2013.Image © Paul Rands

Ku-Ring-Gai Chase Road:
Pacific Mwy (M1) at the Ku-Ring-Gai Chase Rd interchange at Asquith, November 2013.Image © Paul Rands

Advance Directional Sign:
AD sign at Somersby approaching Central Coast Hwy (A49), November 2013.Image © Paul Rands

Advance Directional Sign:
Advance directional sign approaching the Windy Banks interchange at Mt Kuring-Gai, November 2013.Image © Paul Rands

Central Coast Highway:
Pacific Mwy (M1) at the Central Coast Hwy (A49) interchange at Somersby, November 2013.Image © Paul Rands

Advance Directional Sign:
Advance directional sign approaching the Windy Banks interchange at Berowra, November 2013.Image © Paul Rands
Distance Sign:
Reassurance directional sign at Somersby, December 2013.
Windy Banks Interchange:
Pacific Mwy (M1) at the Windy Banks interchange at Berowra, November 2013.Image © Paul Rands

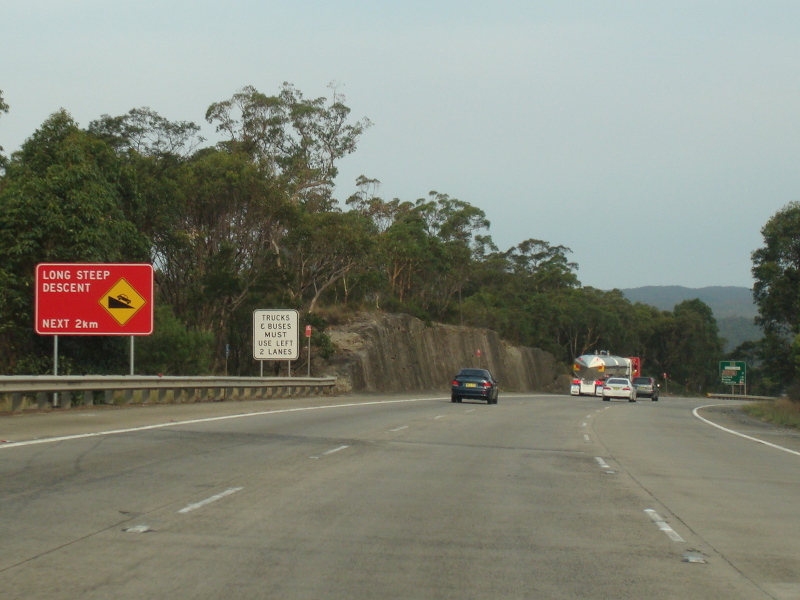
Steep Descent Warning Sign:
Warning for steep descent approaching Mooney Mooney Creek at Somersby, November 2013.Image © Paul Rands
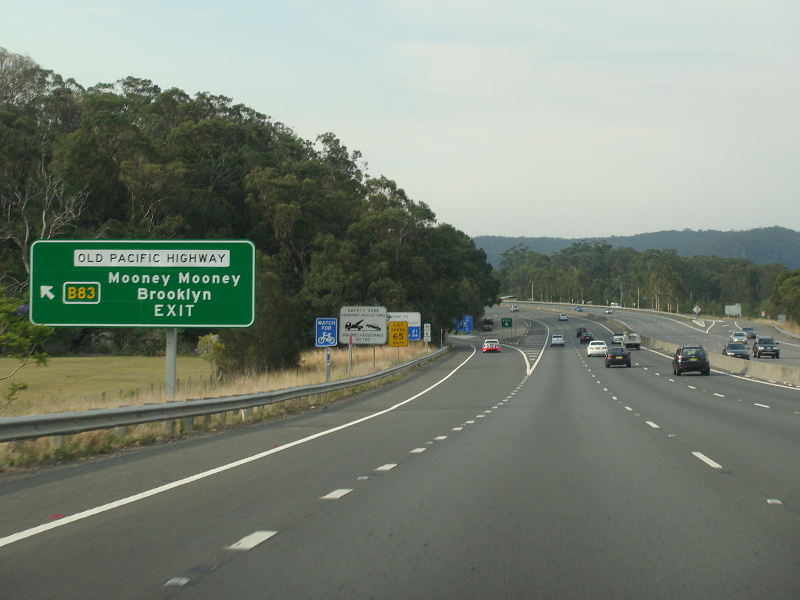
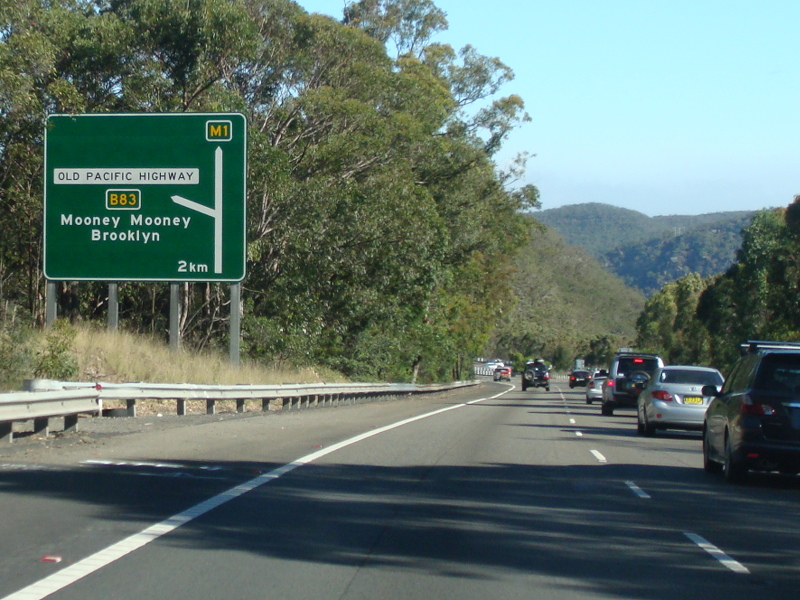
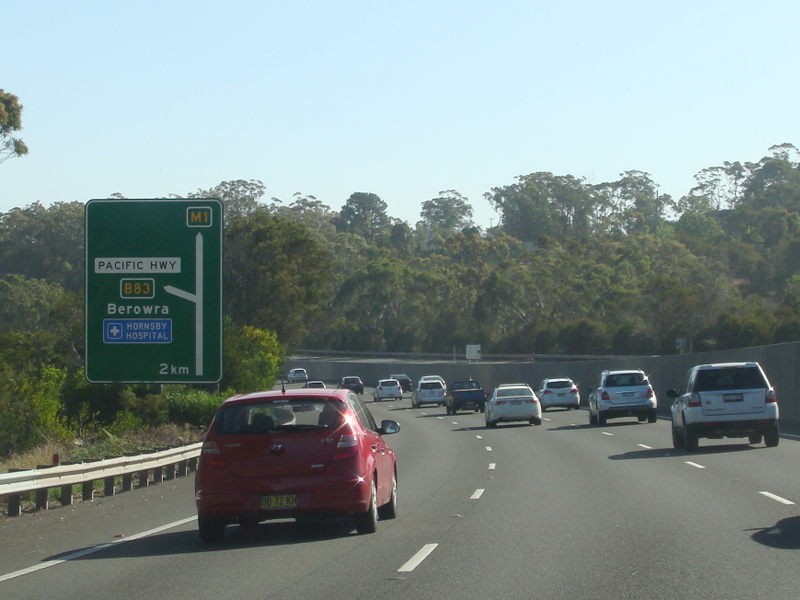
Advance Directional Sign:
AD sign at Brooklyn approaching Hawkesbury River and Old Pacific Hwy (B83) interchange, November 2013.Image © Paul Rands
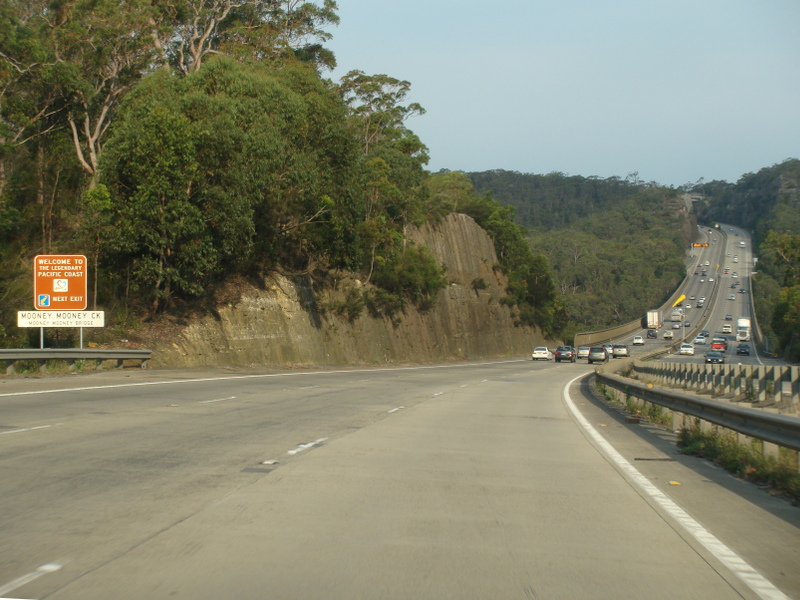
Mooney Mooney Creek:
Pacific Mwy (M1) at Calga at Mooney Mooney Bridge over Mooney Mooney Creek, December 2013.Image © Michael Greenslade
Old Pacific Highway:
Old Pacific Hwy (B83) interchange at Mooney Mooney, November 2013. This location was the site of the original toll plaza on the route.Image © Paul Rands

Advance Directional Sign:
AD sign at Mooney Mooney Creek approaching the Old Pacific Hwy (B83) interchange, November 2013.Image © Paul Rands
Advance Directional Sign:
AD sign on Peats Ferry Rd at Mooney Mooney approaching the interchange access road to Pacific Mwy (M1), October 2016.Image © Paul Rands

Advance Directional Sign:
AD sign at Calga approaching the Old Pacific Hwy (B83) interchange, November 2013.Image © Paul Rands
Intersection Directional Sign:
ID sign on the roundabout with Peats Ferry Rd at Mooney Mooney on the interchange access road to Pacific Mwy (M1), October 2016.Image © Paul Rands

Old Pacific Highway:
Pacific Mwy (M1) at Old Pacific Hwy (B83) interchange at Calga, November 2013.Image © Paul Rands
Reassurance Directional Sign:
Distance sign at Mooney Mooney, November 2013.Image © Paul Rands

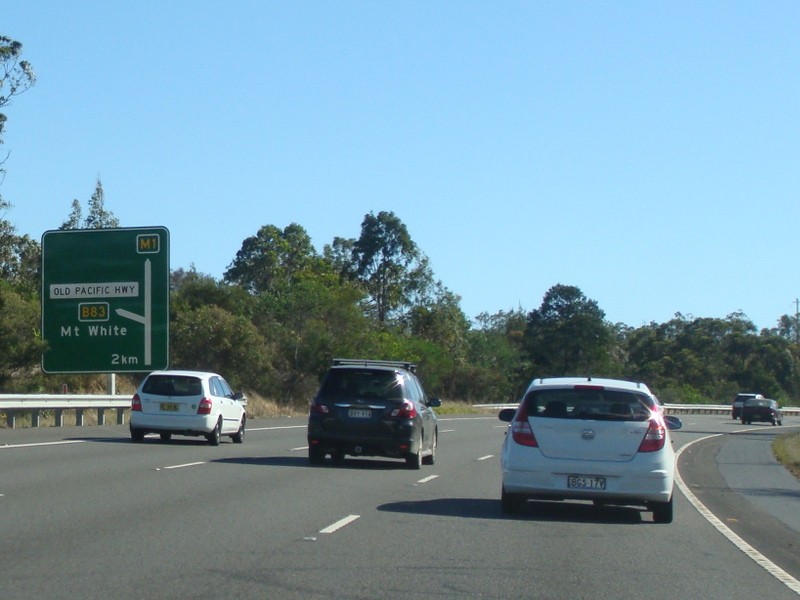
Advance Directional Sign:
AD sign at Mt White approaching the Old Pacific Hwy (B83) interchange, November 2013.Image © Paul Rands
Advance Directional Sign:
AD sign at Bar Point approaching the Old Pacific Hwy (B83) interchange, November 2013.Image © Paul Rands

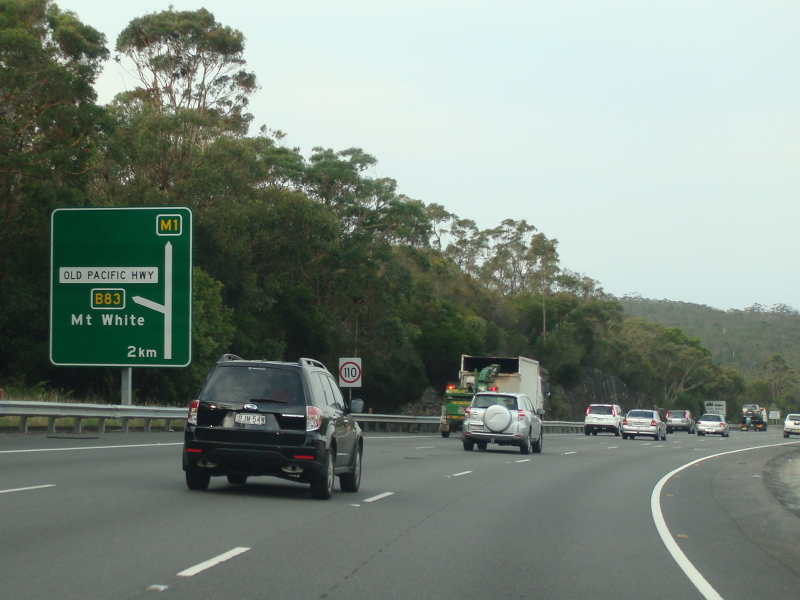
Advance Directional Sign:
AD sign at Mt White approaching the Old Pacific Hwy (B83) interchange, November 2013.Image © Paul Rands
Advance Directional Sign:
AD sign at Mt White approaching the Old Pacific Hwy (B83) interchange, November 2013.Image © Paul Rands

Old Pacific Highway:
Pacific Mwy (M1) at Old Pacific Hwy (B83) interchange at Mt White, November 2013.Image © Paul Rands
Distance Sign:
RD sign at Mount White, November 2013.Image © Paul Rands

Distance Sign:
RD sign at Mount White, November 2013.Image © Paul Rands
Advance Directional Sign:
AD sign at Mt White for Peats Ridge Rd interchange, November 2013.Image © Paul Rands

Advance Directional Sign:
AD sign at Old Bar approaching the Old Pacific Hwy (B83) interchange, November 2013.Image © Paul Rands
Advance Directional Sign:
AD sign at Calga for Peats Ridge Rd interchange, November 2013.Image © Paul Rands

Advance Directional Sign:
AD sign at Mooney Mooney approaching the Old Pacific Hwy (B83) interchange, November 2013.Image © Paul Rands
Supplemental Advance Directional Sign:
Supplemental AD sign at Calga for Peats Ridge Rd interchange, November 2013.Image © Paul Rands

Old Pacific Highway:
Old Pacific Hwy (B83) interchange at Mooney Mooney, November 2013.Image © Paul Rands
Steep Descent Warning Sign:
Warning for steep descent approaching Mooney Mooney Creek at Calga, November 2013.Image © Paul Rands

Old Pacific Highway:
Old Pacific Hwy (B83) interchange at Mooney Mooney, November 2013.Image © Paul Rands
Distance Sign:
RD sign at Calga, November 2013.Image © Paul Rands

Old Pacific Highway:
Old Pacific Hwy (B83) interchange at Mooney Mooney, November 2013.Image © Paul Rands
Mooney Mooney Creek:
Pacific Mwy (M1) at Calga approaching Mooney Mooney Bridge over Mooney Mooney Creek, November 2013.Image © Paul Rands

Reassurance Directional Sign:
Distance sign at Mooney Mooney near Peats Ferry Bridge over the Hawkesbury River, November 2013.Image © Paul Rands
Advance Directional Sign:
AD sign at Somersby approaching Central Coast Hwy (A49), November 2013.Image © Paul Rands
Hawkesbury River:
Pacific Mwy (M1) crossing Hawkesbury River via Peats Ferry Bridge at Mooney Mooney, December 2013.Image © Paul Rands
Central Coast Highway:
Pacific Mwy (M1) at the Central Coast Hwy (A49) interchange at Somersby, November 2013.Image © Paul Rands

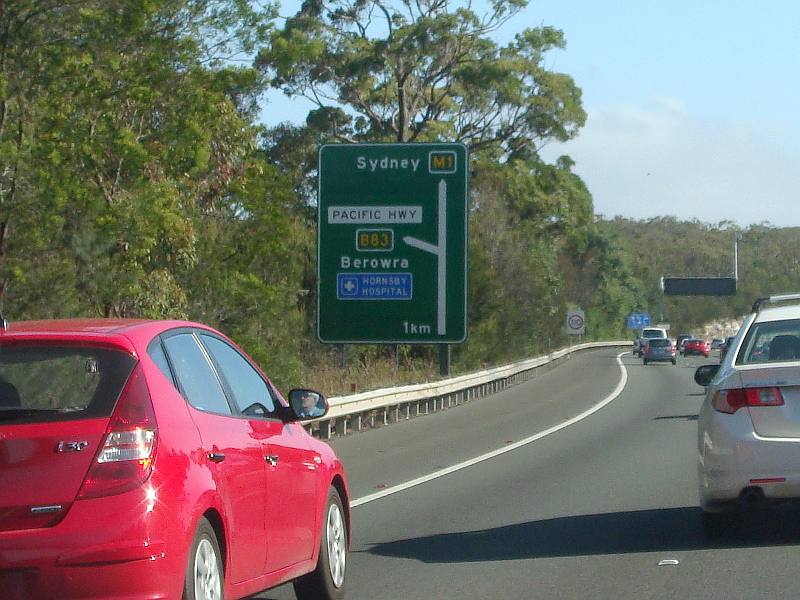
Advance Directional Sign:
AD sign at Brooklyn for Pacific Mwy (B83) interchange, November 2013.Image © Paul Rands
Reassurance Directional Sign:
Distance sign at Somersby, after Central Coast Hwy (A49) interchange, November 2013.Image © Paul Rands

Advance Directional Sign:
AD sign at Cowan for Pacific Mwy (B83) interchange, November 2013.Image © Paul Rands
Advance Directional Sign:
AD sign at Somersby approaching Peats Ridge Rd, November 2013.Image © Paul Rands

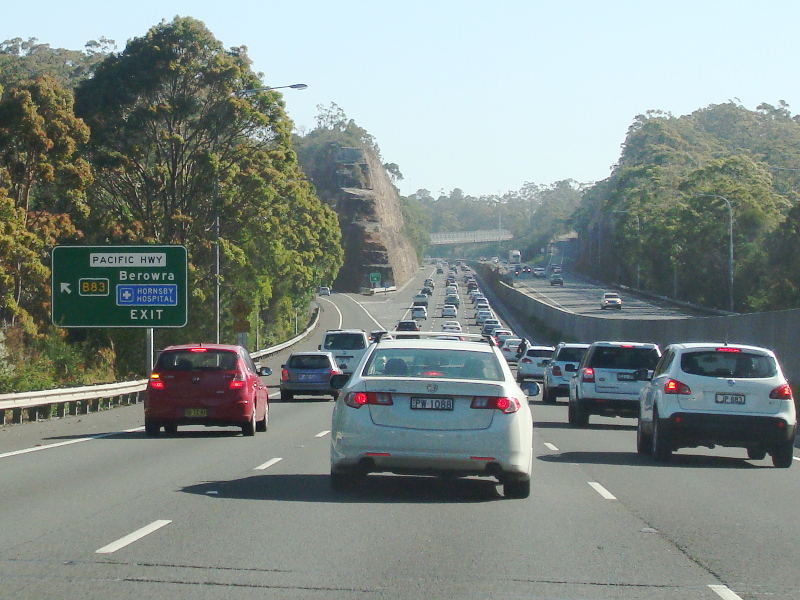
Pacific Highway Interchange:
Pacific Mwy (M1) at the Pacific Hwy (B83) interchange at Cowan, November 2013. This location was once the end of the tollway, with all traffic channelled off to the off ramp.
Image © Paul Rands
Advance Directional Sign:
AD sign at Somersby approaching Peats Ridge Rd, November 2013.Image © Paul Rands
Pacific Highway Interchange:
Pacific Mwy (M1) at the Pacific Hwy (B83) interchange at Cowan, December 2013. This location was once the end of the tollway, with all traffic channelled off to the off ramp.
Image © Michael Greenslade
Peats Ridge Road:
Pacific Mwy (M1) at Somersby at the Peats Ridge Rd interchange, November 2013.Image © Paul Rands
Distance Sign:
RD sign at Berowra, December 2013.NEW! Advance Directional Sign:
AD sign at Somersby on Peats Ridge Rd approaching Pacific Mwy (M1), April 2019.Image © Paul Rands

Distance Sign:
RD sign at Berowra, November 2013.Image © Paul Rands
Intersection Directional Sign:
ID sign Peats Ridge Rd at the interchange with Pacific Mwy (M1) at Somersby, April 2019.Image © Paul Rands

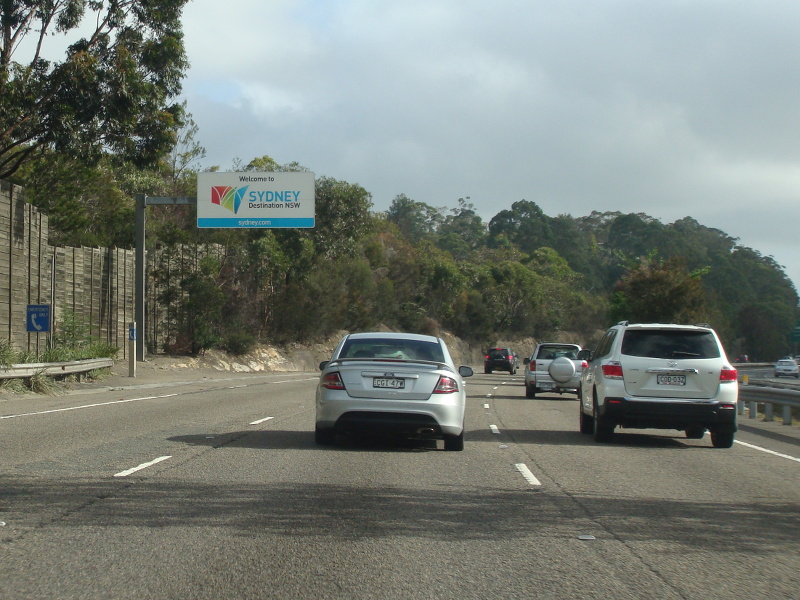
Welcome To Sydney:
Tourism sign welcoming visitors to the city of Sydney, November 2013.Image © Paul Rands
Intersection Directional Sign:
ID sign Peats Ridge Rd at the interchange with Pacific Mwy (M1) at Somersby, April 2019.Image © Paul Rands

Advance Directional Sign:
AD sign near Edgeworth David Av at Wahroonga approaching Cumberland Hwy (A28) interchange, November 2013.Image © Paul Rands
Distance Sign:
Reassurance directional sign at Somersby, November 2013.Image © Paul Rands

Advance Directional Sign:
AD sign at Wahroonga approaching Cumberland Hwy (A28) interchange, November 2013.Image © Paul Rands
Advance Directional Sign:
AD sign at Wahroonga approaching Cumberland Hwy (A28) interchange, December 2013. M1 becomes A1 at this location, and exits off to the left.

Advance Directional Sign:
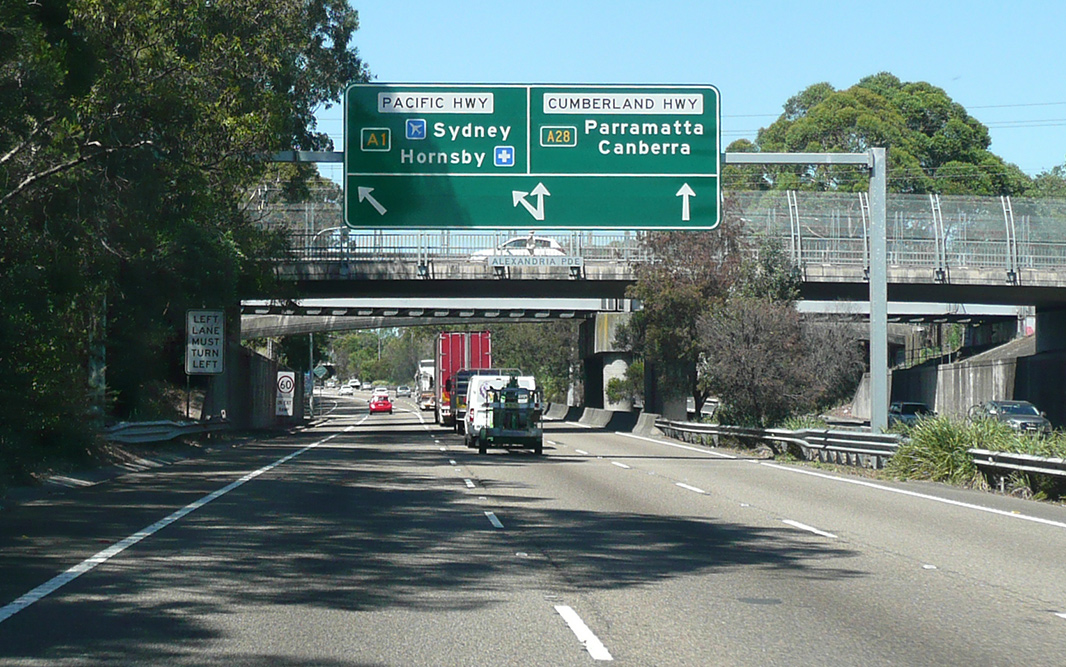
AD sign at Wahroonga approaching Cumberland Hwy (A28) interchange, November 2013.Image © Paul Rands

Advance Directional Sign:
AD sign at Wahroonga approaching Cumberland Hwy (A28) interchange, November 2013.Image © Paul Rands

Cumberland Highway:
Ramp onto Cumberland Hwy (A28) at Wahroonga November 2013.Image © Paul Rands
Click here for the continuation of M1 (Pacific Motorway) between Morisset and Somersby
Click here for the continuation of the route as A1 between Wahroonga and Sydney
1 Roads &
Maritime Services, Schedule of Classified Roads and Unclassified Regional
Roads, August 2013.
2 Sam Laybutt (Ozroads).
3 City of Sydney.
4 Roads & Maritime Services.
5 Department of Main Roads, The
Roadmakers, A History of Main Roads in New South Wales, ISBN 0 7240 0439
4.
6 Department of Main Roads, F3
Sydney-Newcastle Freeway, March 1989.
7 Office of the NSW Minister for
Infrastructure, Transport, Regional Development and Local Government.
Last updated: 14-Sep-2021 11:54
This site © Paul Rands. All rights reserved. Some portions © (copyright) by their respective and credited owners. Permission must be obtained before using any images from this site. For details, please email by clicking here.


