|
|
|
|
|
| M1 A1 | Pacific Motorway, Pacific Highway, New England Highway, John Renshaw Drive, Gore Hill Freeway, Warringah Freeway, Sydney Harbour Tunnel, Cahill Expressway, Eastern Distributor, Southern Cross Drive, General Holmes Drive, The Grand Parade, President Avenue, Princes Highway & Princes Motorway (M1 / A1) - Karuah to Beresfield |
Statistics:
Route Numbering:


General Information:
M1 / A1 is the principal coastal route through New South Wales, and forms part of the circumferential route around Australia.
The route varies greatly along its length and includes sections of rural highway, urban arterial road, divided rural highway and also motorway. The route also features several tunnels, located in the inner east, inner south and lower northern suburbs of Sydney and at Yelgun and Tweed Heads, at the northern end of the route in NSW. The route passes through forest, rural, residential, commercial and industrial areas.
The Pacific Highway section of A1 runs between Brunswick Heads and Hexham, and also between Wahroonga and the Gore Hill Freeway at Artarmon. The northern section between Brunswick Heads and Hexham is a mix of dual carriageway, rural highway and urban arterial roadway. The southern section between Wahroonga and Artarmon is urban arterial standard and passes through one of Sydney's more affluent areas.
The highway traces its origins back to an early settler, George Peat, who owned the land between the Hawkesbury River and Mooney Mooney Creek. To provide access to his property, Peat began a ferry service across the Hawkesbury River in 1844 and surveyed, then constructed a road between Hornsby and Kariong in 1854. After his death in 1870, the ferry service was abandoned and the road fell into disrepair, finally closing to all traffic in 1899, following the completion of the Sydney-Newcastle railway.
Demand for a route between Sydney and Newcastle dates back to the early 20th century. When the only access was via the sea or via a long route through the town of Wiseman's Ferry. In the 1920s, the then Main Roads Board undertook a series of surveys to form an easier and more reliable route north from Sydney. In 1928 construction began on upgrading the old road and converting it to a modern standard, plus creating a new route north, utilising some of the abandoned Peat's Ferry Rd, while improving the horizontal and vertical alignments. In May 1930 the ferry service across the Hawkesbury River was re-established to service the new road until such times that a bridge became necessary. June 1930 marked the completion of the concrete surfacing.
During the time of the Hornsby to Gosford contruction, improvements were made to roads between Gosford to Newcastle as part of the link. On May 17 in 1929, the route was named as the Great Northern Highway. The work from Hornsby to Gosford cost almost £1 million, however it was money well spent, reducing the trip from Sydney to Newcastle from 9 hours to 4 ½ hours.
This road links the Pacific Highway and New England Highway with the Pacific Motorway between Beresfield and Tarro, west of Hexham, and consists entirely of dual carriageway. The road is named after the Hon. J. B. Renshaw, M.L.A., who, during the 1950s, was Minister for Local Government and Minister for Highways.
Multiplexes along the route include:
History:
- 17 May 1929: The route was named as the Great Northern Highway.
- May 1931: After pressure from the Queensland Government, the coastal highway linking Sydney and Brisbane was named Pacific Hwy.
- 1939: Two thirds of the Pacific Highway was bitumen. 2
- 1940s: Construction of lift span of bridge over Hunter River at Hexham started and bridge of Karuah River Booral on what is now Bucketts Way.
- 1952: Completion of bridge over Hunter River at Hexham.
- 1956: Permanent vehicle weighing stations were established by the DMR at Gosford on the Pacific Highway and at Hexham where the Pacific Highway meets the New England Highway (now not in use). 3
- November 1993: Construction of the Raymond Terrace Bypass commenced. 4
- January 1996: The NSW State Government and the Federal Government agreed to jointly fund the $2.2 billion Pacific Highway Upgrading Program over a period of 10 years. The NSW State Government was to provide $1.6 billion and the Federal Government $600 million.
- August 1998: Construction of the Raymond Terrace to Karuah Upgrade commenced. 5
- 1993: National Highway 15 replaced by National Route 1 between Tarro and Hexham.
- 2013: National Route 1 replaced by A1 and duplexed with A43
| Karuah to Beresfield | Beresfield to Karuah | |||
| Preview: | Description: | Preview: | Description: | |
 |
Advance Directional Sign: AD sign at Twelve Mile Creek approaching Bucketts Way (TD2), October 2016. Bucketts Way is a former Pacific Hwy alignment. Image © Paul Rands |
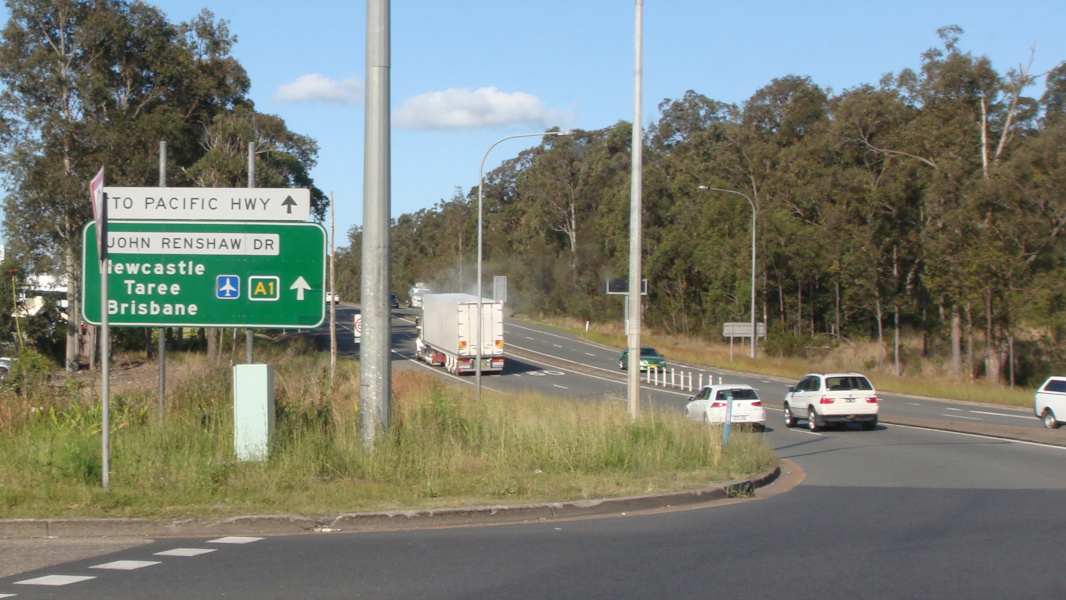 |
Intersection Directional Sign: ID sign at the roundabout with John Renshaw Dr (B68), Pacific Mwy (M1) and Weakleys Dr at Beresfield, October 2016. M1 becomes A1 at this location. Image © Paul Rands |
|
 |
Bucketts Way: Corner of Pacific Hwy (A1) and Bucketts Way (TD2) at Twelve Mile Creek, October 2016. Image © Paul Rands |
 |
Reassurance Directional Sign: Distance sign at Beresfield, October 2016. Image © Paul Rands |
|
 |
Reassurance Directional Sign: Distance sign at Twelve Mile Creek, October 2016. Image © Paul Rands |
 |
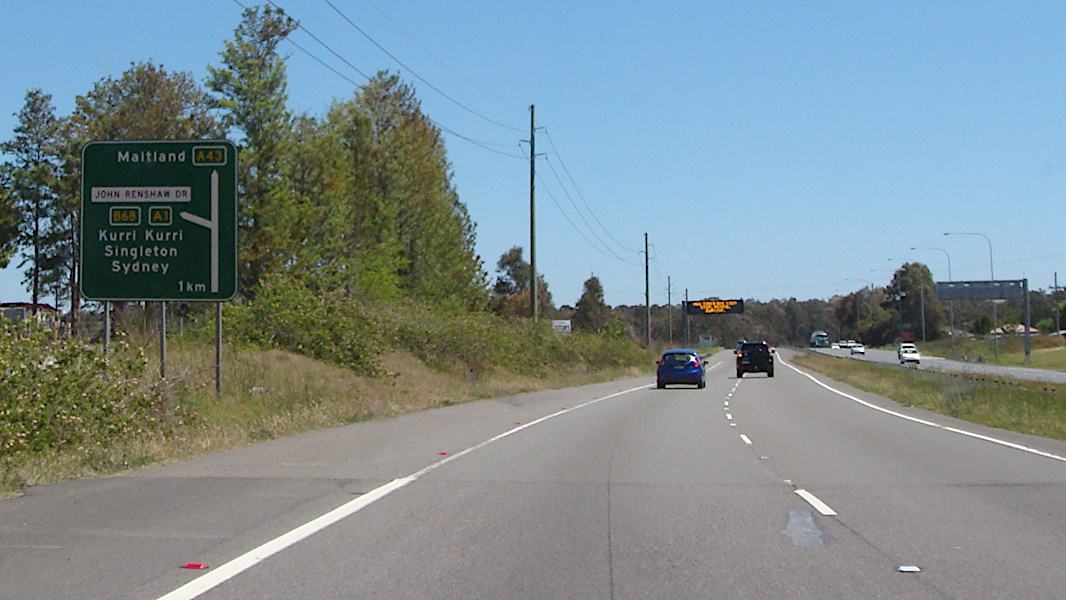
Advance Directional Sign: AD sign at Beresfield approaching New England Hwy (A43), October 2016. The A43 duplex starts at this location. Image © Paul Rands |
|
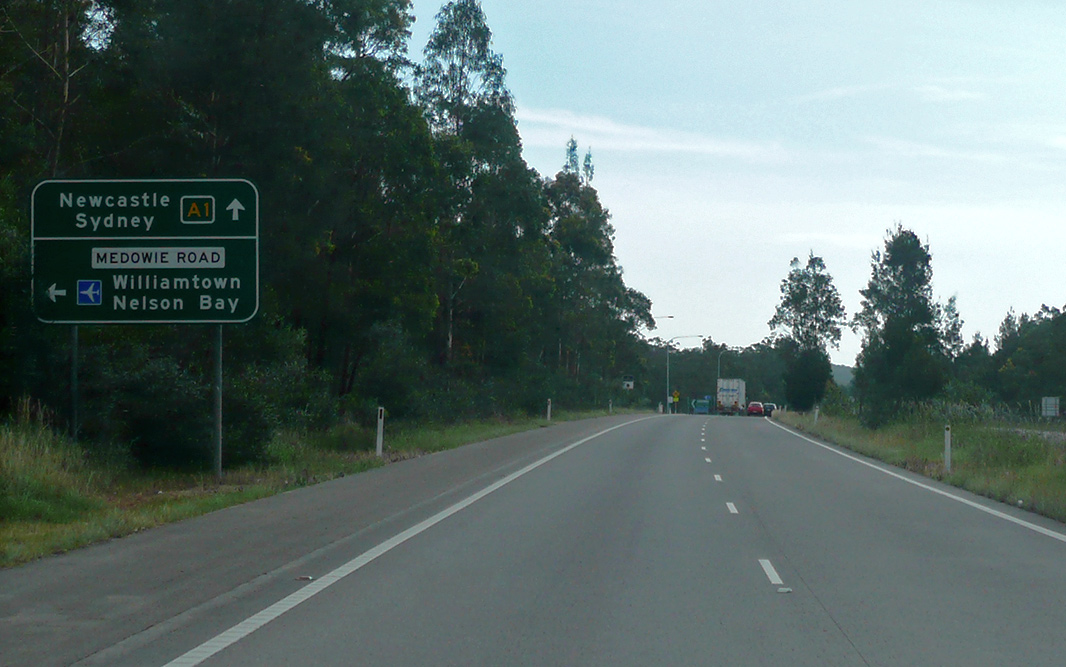 |
Advance Directional Sign: AD sign approaching Medowie Rd at Ferodale, December 2013. Image © Michael Greenslade |
 |
New England Highway: John Renshaw Dr (A1) at the New England Hwy (A1 / A43) interchange at Beresfield, October 2016. A1 changes name to New England Hwy here. Image © Paul Rands |
|
 |
Balickera Channel: Pacific Hwy (A1) as it crosses Balickera Channel at Ferodale, October 2016. Image © Paul Rands |
 |
Advance Directional Sign: AD sign at Tarro approaching Anderson Dr, October 2016. Image © Paul Rands |
|
 |
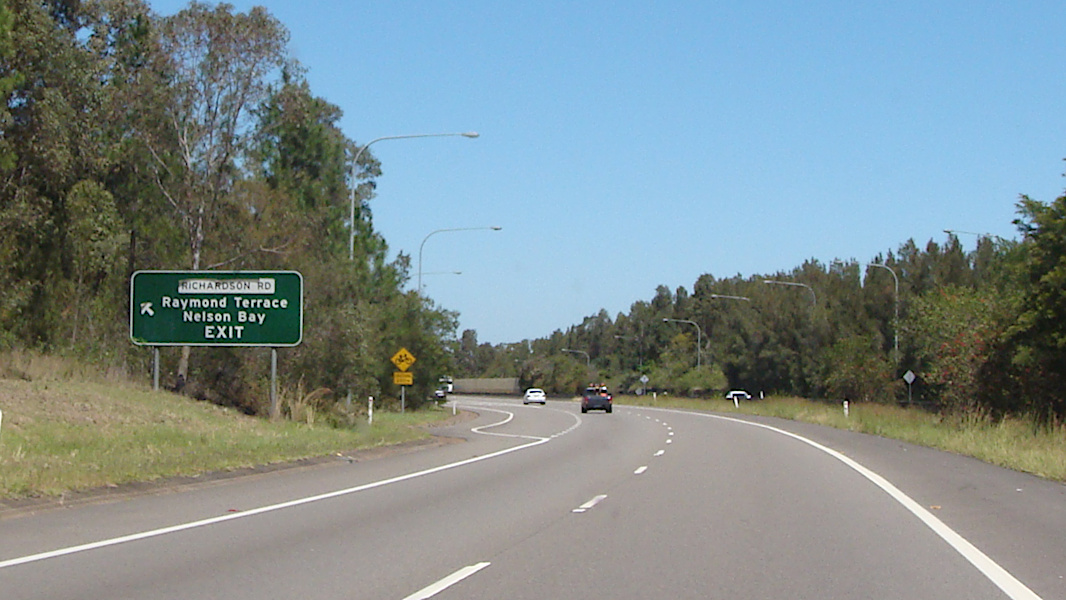
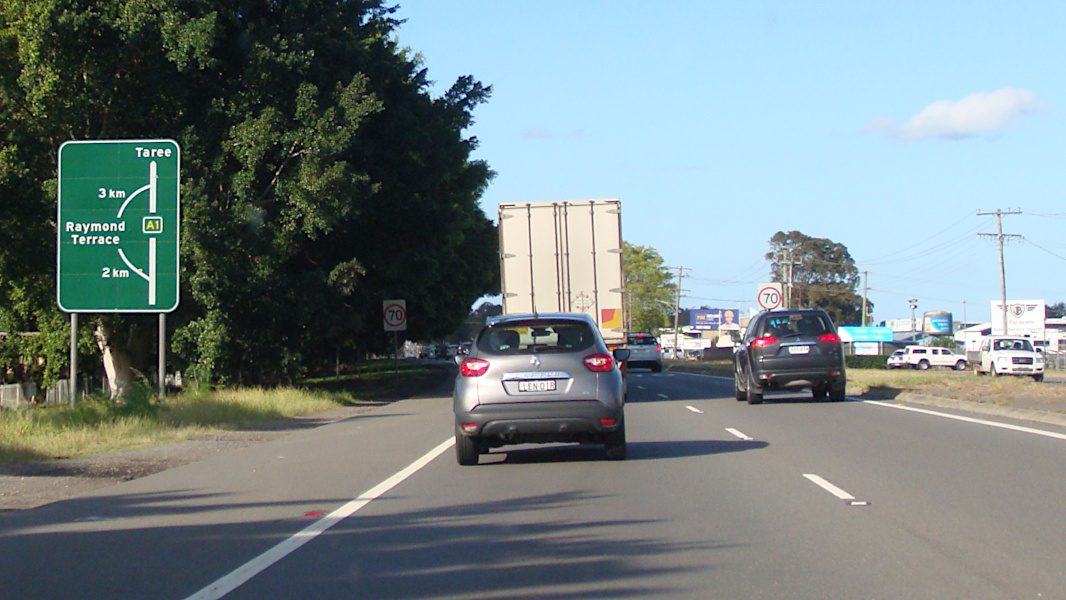
Supplemental Advance Directional Sign: Supplemental AD sign at Raymond Terrace approaching Richardson Rd, October 2016. Image © Paul Rands |
 |
Anderson Drive: New England Hwy (A1 / A43) as it passes under Anderson Dr at Tarro, October 2016. Image © Paul Rands |
|
 |
Irrawang Spillway: Pacific Hwy (A1) as it crosses Irrawang Spillway at Raymond Terrace, October 2016. Image © Paul Rands |
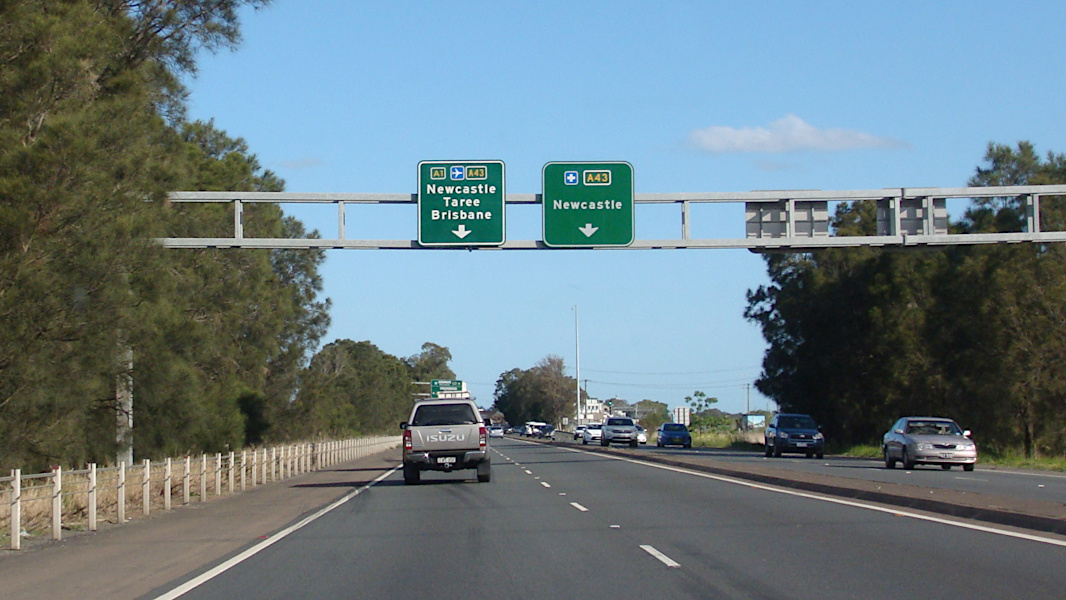 |
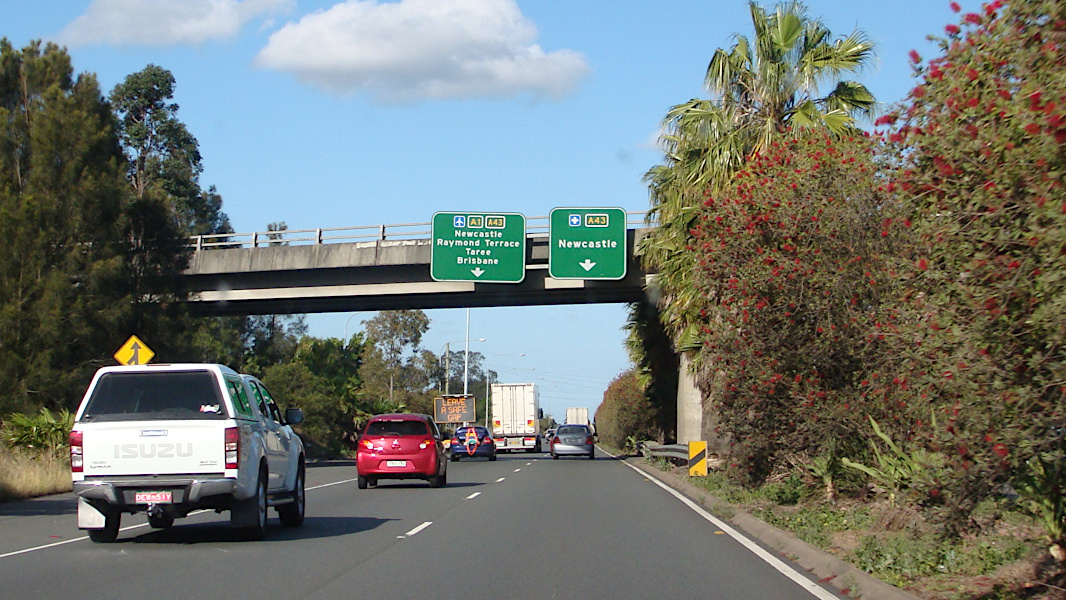
Advance Directional Sign: AD sign on New England Hwy (A1 / A43) at Hexham, approaching Pacific Hwy (A1 & A43), October 2016. Image © Paul Rands |
|
 |
Grahamstown Dam Spillway: Pacific Hwy (A1) as it crosses Grahamstown Dam Spillway at Raymond Terrace, October 2016. Image © Paul Rands |
 |
Advance Directional Sign: AD sign on New England Hwy (A1 / A43) at Hexham, approaching Pacific Hwy (A1 & A43), October 2016. Image © Paul Rands |
|
 |
Bypassed Town Sign: Bypassed town sign at Raymond Terrace, approaching Richardson Rd, October 2016. Image © Paul Rands |
 |
Pacific Highway: New England Hwy (A1 / A43) at the Pacific Hwy (A1 & A43) interchange at Hexham, October 2016. A1 veers left and becomes Pacific Hwy. Image © Paul Rands |
|
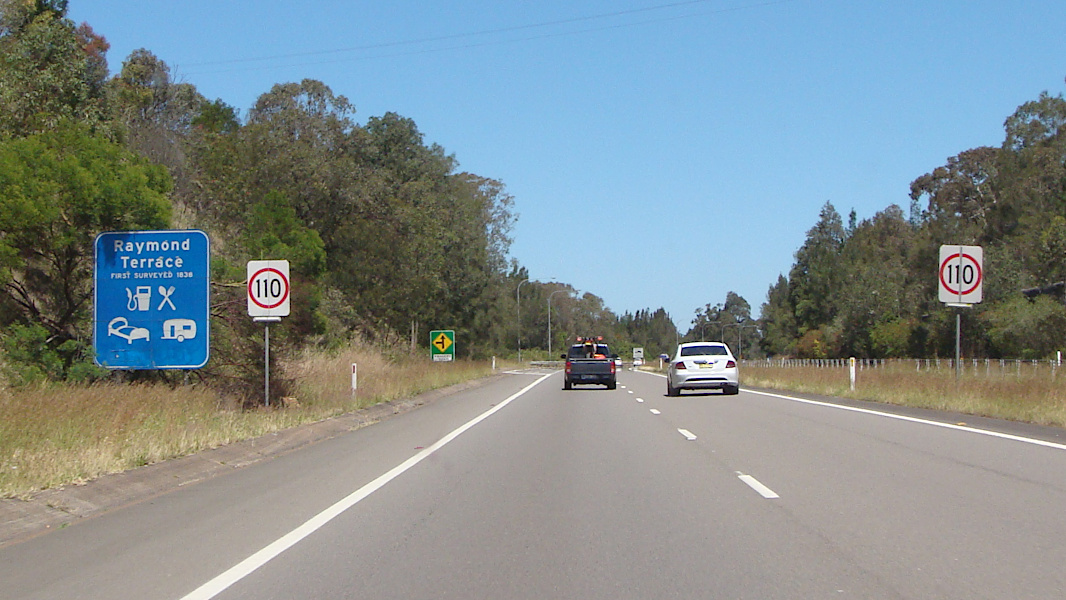 |
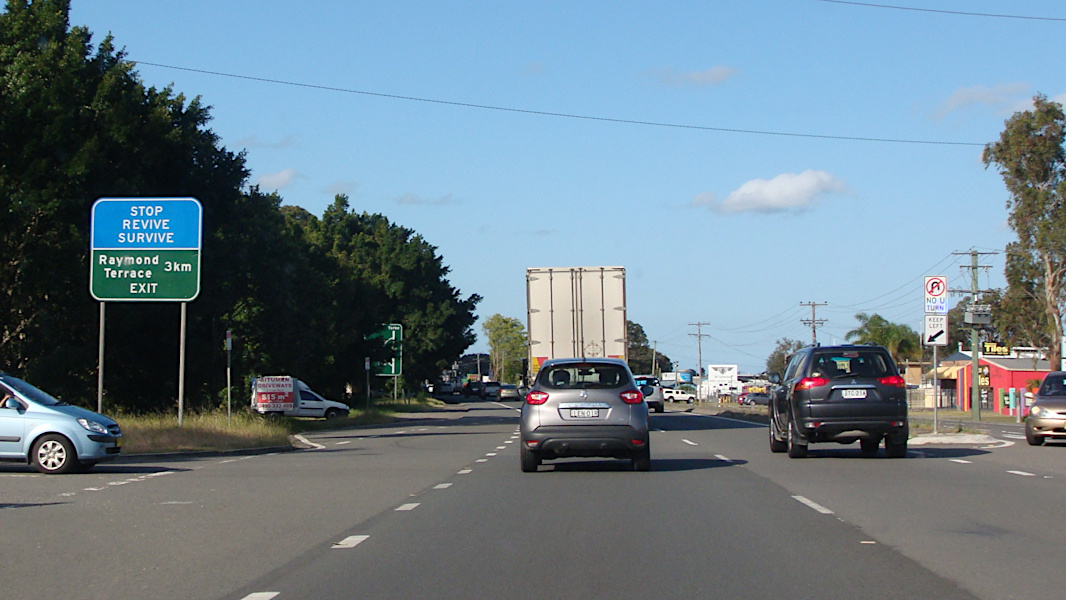
Services Sign: Services sign at Raymond Terrace, October 2016. Image © Paul Rands |
 |
Pacific Highway: New England Hwy (A1 / A43) at the Pacific Hwy (A1 & A43) interchange at Hexham, October 2016. A1 veers left and becomes Pacific Hwy. Image © Paul Rands |
|
 |
Supplemental Advance Directional Sign: Supplemental AD sign at Raymond Terrace approaching Richardson Rd, October 2016. Image © Paul Rands |
 |
Hexham Bridge: Hexham Bridge which carries Pacific Hwy (A1) over Hunter River at Hexham, October 2016. The deck in the foreground carries northbound traffic and the deck in the background features an opening span and carries southbound traffic. Image © Paul Rands |
|
 |
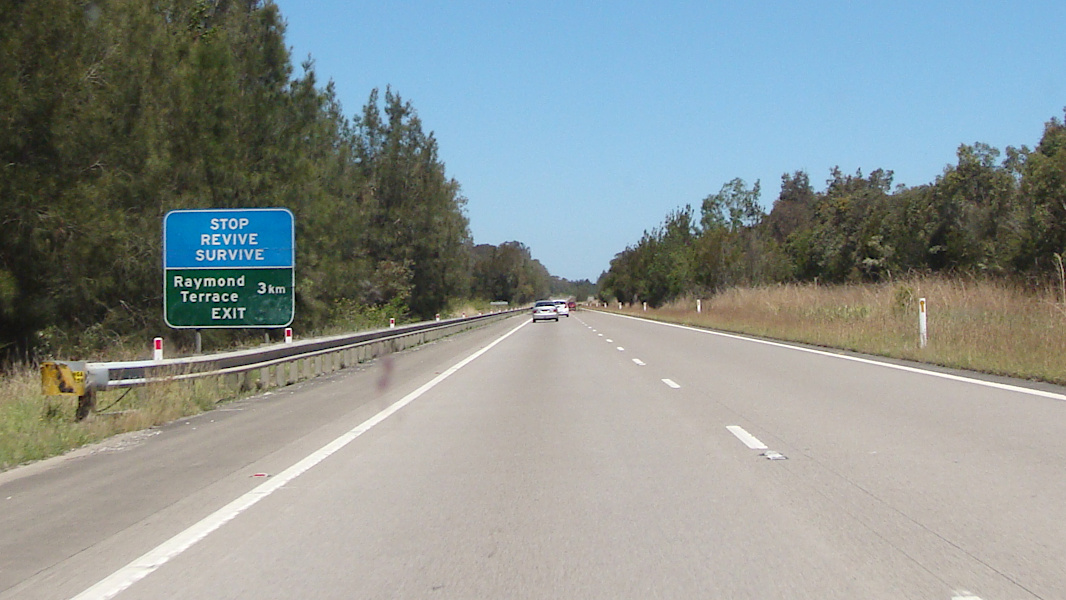
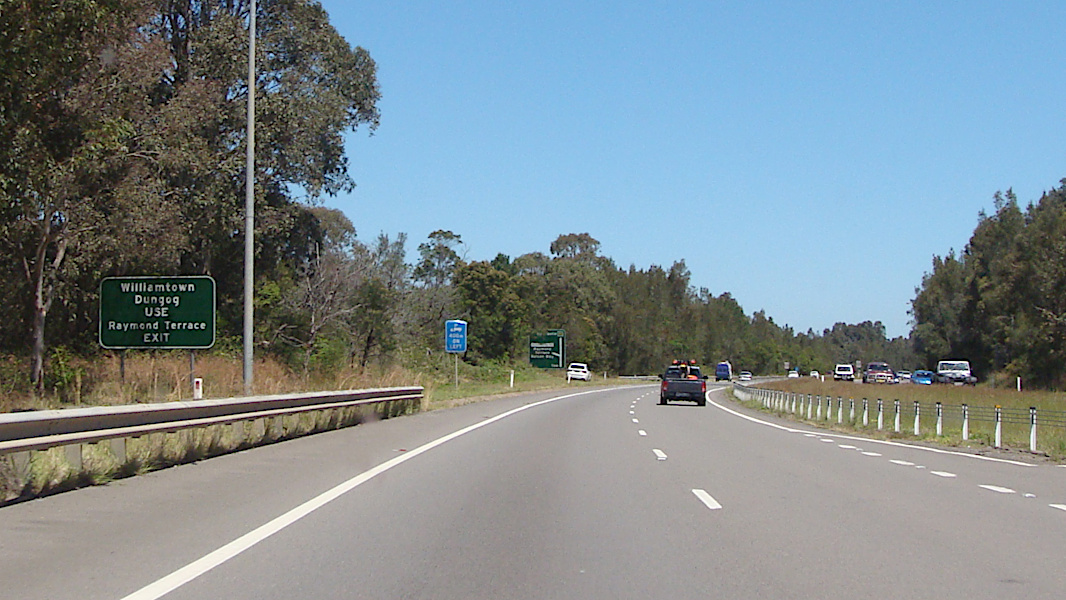
Advance Directional Sign: AD sign at Raymond Terrace approaching Richardson Rd, October 2016. Image © Paul Rands |
 |
Advance Directional Sign: AD sign Tomago approaching Tomago Rd, October 2016. Image © Paul Rands |
|
 |
Richardson Road: Pacific Hwy (A1) at the Richardson Rd interchange, Raymond Terrace, October 2016. Image © Paul Rands |
 |
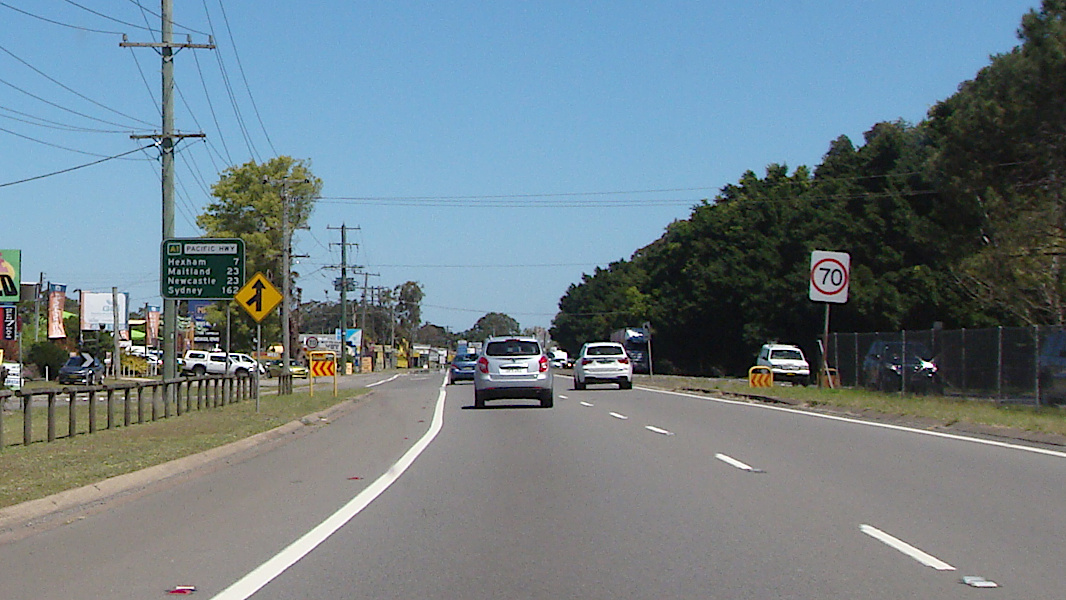
Tourism-Based Reassurance Directional Sign: Tourism-based distance sign at Tomago, October 2016. Image © Paul Rands |
|
 |
Reassurance Directional Sign: Distance sign at Raymond Terrace, October 2016. Image © Paul Rands |
 |
Tomago Road: Corner of Pacific Hwy (A1) and Tomago Rd at Tomago, October 2016. Image © Paul Rands |
|
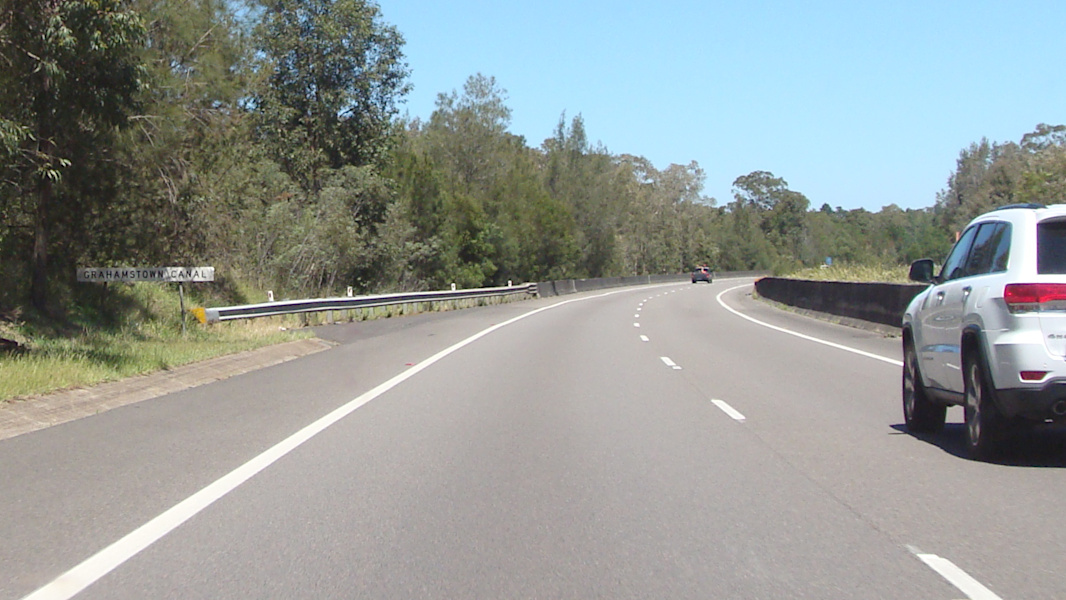 |
Grahamstown Canal: Pacific Hwy (A1) as it crosses Grahamstown Canal at Raymond Terrace, October 2016. Image © Paul Rands |
 |
Reassurance Directional Sign: Distance sign at Tomago, October 2016. Image © Paul Rands |
|
 |
Entering Heatherbrae: Pacific Hwy (A1) as it enters the town of Heatherbrae, October 2016. Image © Paul Rands |
 |
Supplemental Advance Directional Sign: Supplemental AD sign at Heatherbrae approaching Adelaide St and Masonite Rd, October 2016. Image © Paul Rands |
|
 |
Advance Directional Sign: AD sign at Heatherbrae approaching Adelaide St and Masonite Rd, October 2016. Image © Paul Rands |
 |
Bypassed Town Sign: Bypassed town sign at Heatherbrae, approaching Adelaide St & Masonite Rd, October 2016. Image © Paul Rands |
|
 |
Flashing Warning Sign: Flashing warning sign approaching the Adelaide St & Masonite Rd roundabout at Heatherbrae, October 2016. Image © Paul Rands |
 |
Supplemental Advance Directional Sign: Supplemental AD sign at Heatherbrae approaching Adelaide St and Masonite Rd, October 2016. Image © Paul Rands |
|
 |
Intersection Directional Sign: ID sign at the roundabout with Adelaide St and Masonite Rd at Heatherbrae, October 2016. Adelaide St is the former Pacific Hwy alignment through Raymond Terrace. Image © Paul Rands |
 |
Advance Directional Sign: AD sign at Heatherbrae approaching Adelaide St and Masonite Rd, October 2016. Image © Paul Rands |
|
 |
Reassurance Directional Sign: Distance sign at Heatherbrae, October 2016. Image © Paul Rands |
 |
Intersection Directional Sign: ID sign at the roundabout with Adelaide St and Masonite Rd at Heatherbrae, October 2016. Adelaide St is the former Pacific Hwy alignment through Raymond Terrace. Image © Paul Rands |
|
 |
Supplemental Advance Directional Signs: Foldable and changeable supplemental advance directional sign at Tomago for Pacific Hwy (A43) and New England Hwy (A1 / A43), October 2016. Image © Paul Rands |
 |
Advance Directional Sign: AD sign at Heatherbrae on Adelaide St approaching Pacific Hwy (A1) and Masonite Rd, December 2013. Image © Michael Greenslade |
|
 |
Supplemental Advance Directional Signs: Foldable and changeable supplemental advance directional sign at Tomago for Pacific Hwy (A43) and New England Hwy (A1 / A43), October 2016. Image © Paul Rands |
 |
Reassurance Directional Sign: Distance sign at Heatherbrae, October 2016. Image © Paul Rands |
|
 |
Advance Directional Sign: AD sign Tomago approaching Tomago Rd, October 2016. Image © Paul Rands |
 |
Advance Directional Sign: AD sign at Raymond Terrace approaching Richardson Rd, October 2016. Image © Paul Rands |
|
 |
Tomago Road: Corner of Pacific Hwy (A1) and Tomago Rd at Tomago, October 2016. Image © Paul Rands |
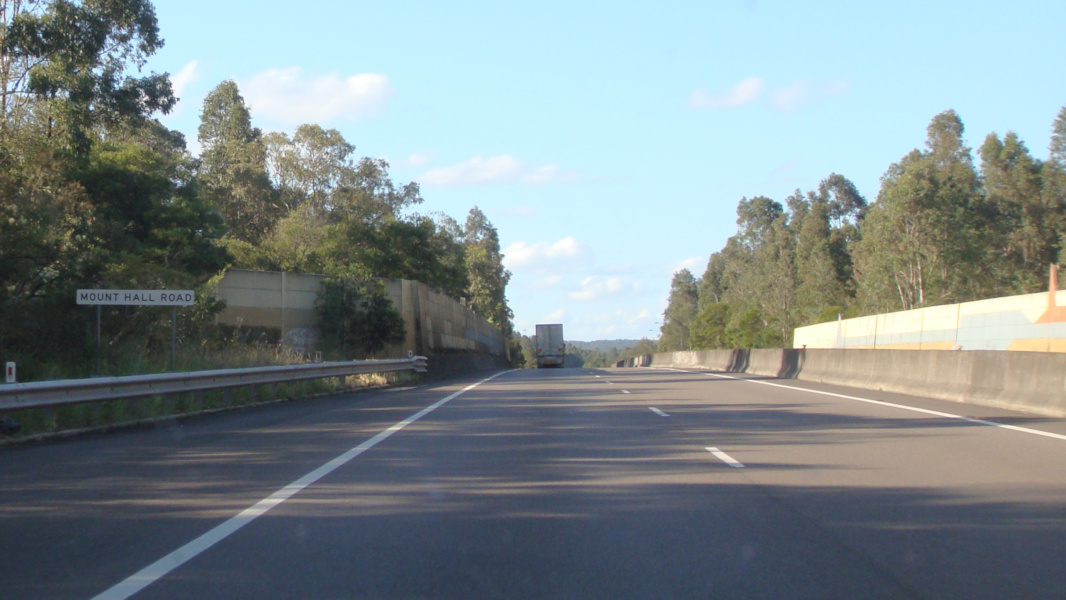 |
Mount Hall Road: Pacific Hwy (A1) as it passes over Mt Hall Rd at Rayond Terrace, October 2016. Image © Paul Rands |
|
 |
Supplemental Advance Directional Signs: Supplemental advance directional sign at Tomago for Pacific Hwy (A43) and New England Hwy (A1 / A43), October 2016. Image © Paul Rands |
 |
Richardson Road: Pacific Hwy (A1) at the Richardson Rd interchange, Raymond Terrace, October 2016. Image © Paul Rands |
|
 |
Advance Directional Signs: Advance directional sign at Tomago for Pacific Hwy (A43) and New England Hwy (A1 / A43), October 2016. Image © Paul Rands |
 |
Reassurance Directional Sign: Distance sign at Raymond Terrace, October 2016. Image © Paul Rands |
|
 |
Flashing Overheight Warning Sign: Sign activated by overheight vehicles at Tomago approaching Hexham Bridge, October 2016. Image © Paul Rands |
 |
Italia Road: Corner of Pacific Hwy (A1) and Italia Rd at Eagleton, October 2016. Image © Paul Rands |
|
 |
Reassurance Directional Sign: Distance sign at Tomago, October 2016. Image © Paul Rands |
 |
Variable Message Sign & Speed Check: VMS and speed check sign at Balickera, October 2016. Image © Paul Rands |
|
 |
Tourism-Based Reassurance Directional Sign: Tourism-based distance sign at Tomago, October 2016. Image © Paul Rands |
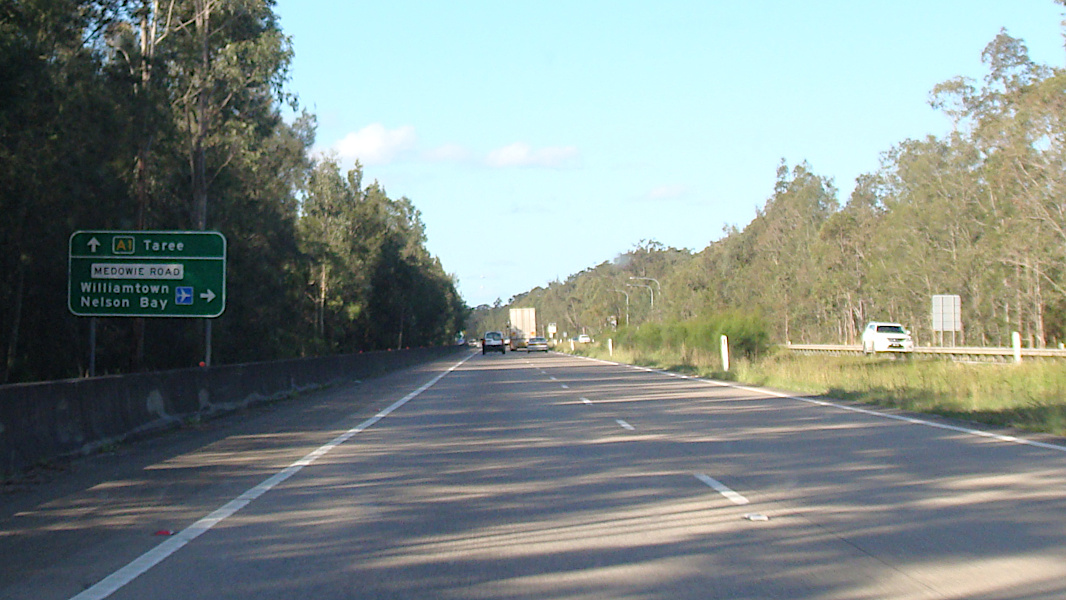 |
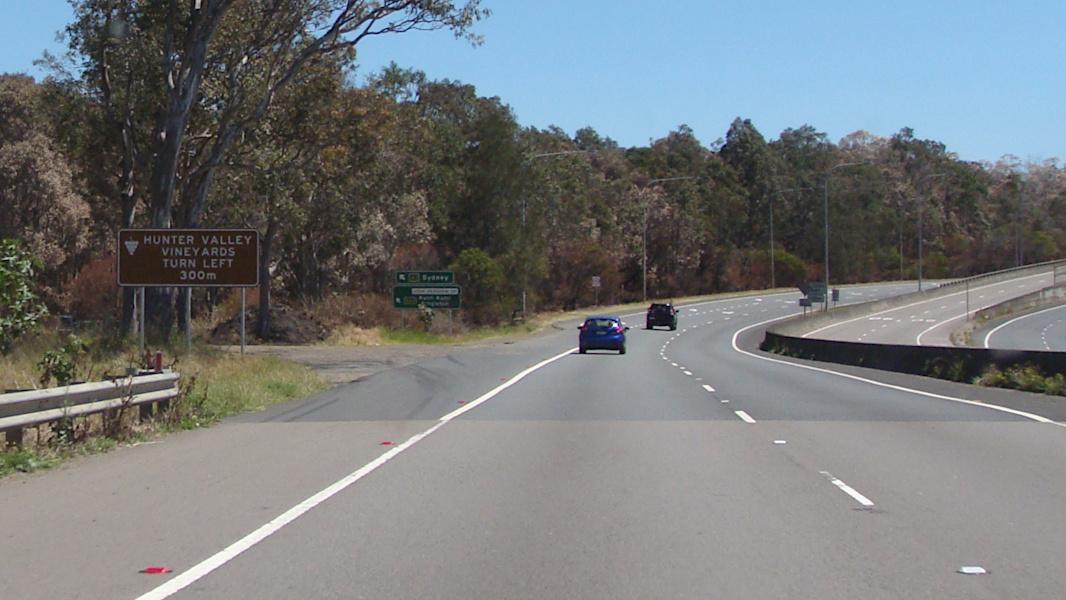
Advance Directional Sign: AD sign approaching Medowie Rd at Ferodale, October 2016. Image © Paul Rands |
|
 |
Supplemental Advance Directional Signs: Foldable and changeable supplemental advance directional sign at Tomago for Pacific Hwy (A43) and New England Hwy (A1 / A43), October 2016. Image © Paul Rands |
 |
Medowie Road: Corner of Pacific Hwy (A1) and Medowie Rd at Ferodale, October 2016. Image © Paul Rands |
|
 |
Flashing Warning Signs: Flashing warning signs at Tomago, approaching the opening Hexham Bridge over Hunter River, October 2016. Image © Paul Rands |
 |
Supplemental Advance Directional Sign: Supplemental AD sign at Twelve Mile Creek approaching Bucketts Way (TD2), October 2016. Bucketts Way is a former Pacific Hwy alignment. Image © Paul Rands |
|
 |
Advance Directional Signs: Advance directional sign at Tomago for Pacific Hwy (A43) and New England Hwy (A1 / A43), October 2016. Image © Paul Rands |
 |
Advance Directional Sign: AD sign at Twelve Mile Creek approaching Bucketts Way (TD2), October 2016. Bucketts Way is a former Pacific Hwy alignment. Image © Paul Rands |
|
 |
Hexham Bridge: Pacific Hwy (A1) at Tomago as it crosses Hunter River via Hexham Bridge, October 2016. Image © Paul Rands |
 |
Bucketts Way: Corner of Pacific Hwy (A1) and Bucketts Way (TD2) at Twelve Mile Creek, October 2016. Image © Paul Rands |
|
 |
Hexham Bridge: Pacific Hwy (A1) at Tomago as it crosses Hunter River via Hexham Bridge, October 2016. Image © Paul Rands |
|||
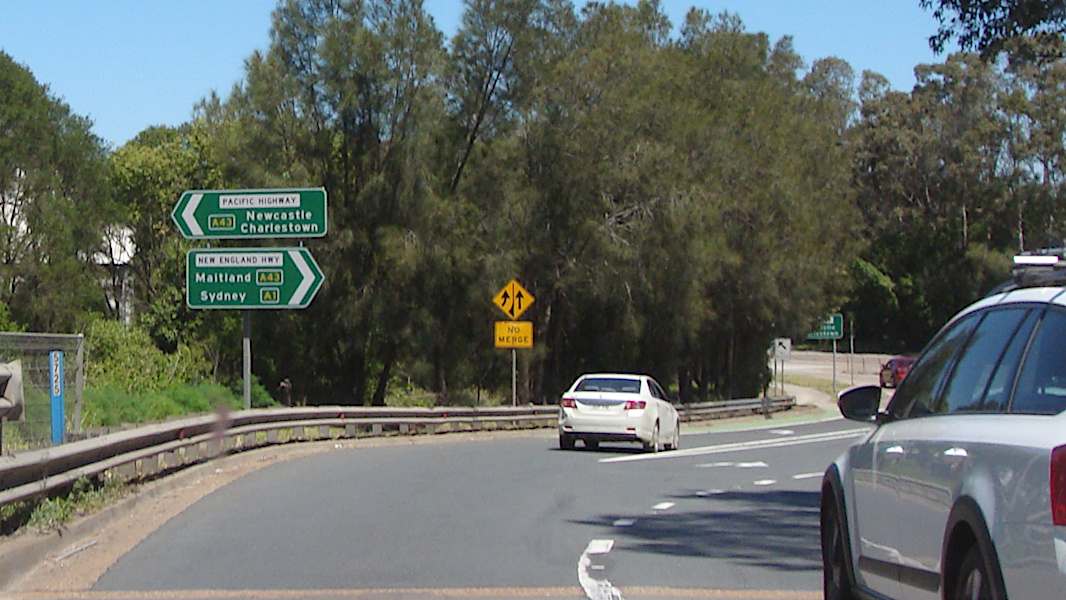 |
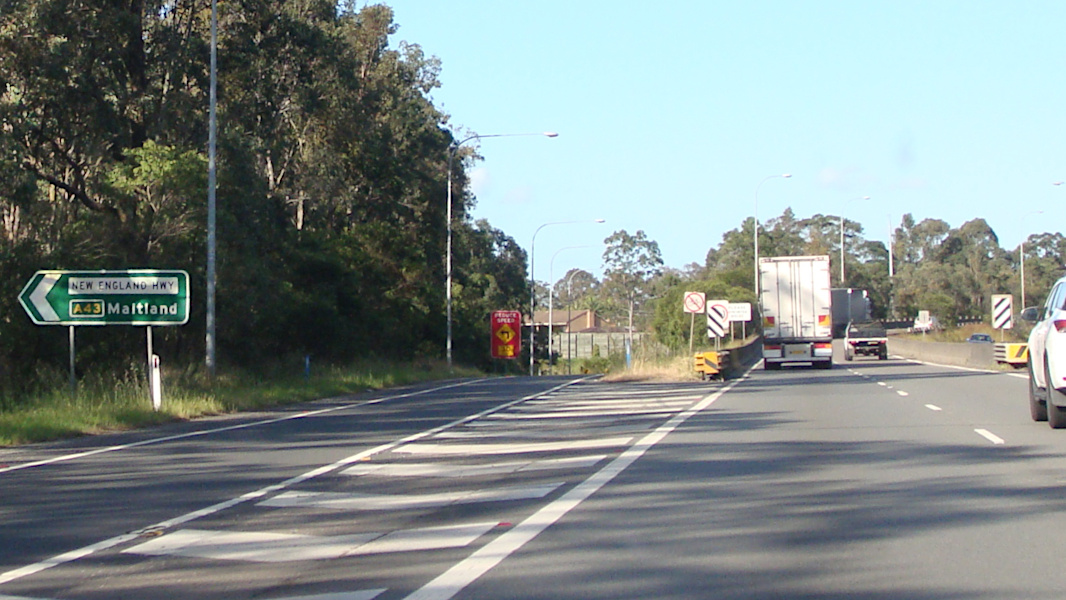
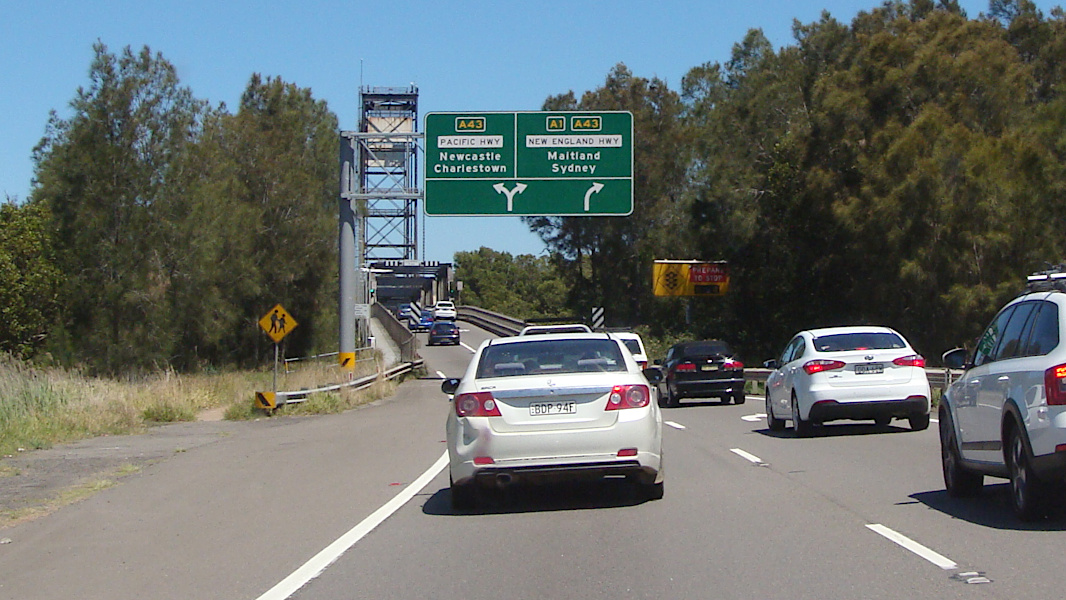
Intersection Directional Sign: ID sign at the junction with Pacific Hwy (A43) and New England Hwy (A1 / A43) at Hexham, October 2016. Pacific Hwy changes route number and turns left here, and A1 picks up the A43 duplex, becomes New England Hwy and turns right here. Image © Paul Rands |
|||
 |
Intersection Directional Sign: ID sign at the junction with Pacific Hwy (A43) and New England Hwy (A1 / A43) at Hexham, October 2016. Pacific Hwy changes route number and turns left here, and A1 picks up the A43 duplex, becomes New England Hwy and turns right here. Image © Paul Rands |
|||
 |
Intersection Directional Sign: ID sign at the junction with Pacific Hwy (A43) and New England Hwy (A1 / A43) at Hexham, October 2016. Pacific Hwy changes route number and turns left here, and A1 picks up the A43 duplex, becomes New England Hwy and turns right here. Image © Paul Rands |
|||
 |
Reassurance Directional Sign: Distance sign at Hexham, October 2016. Image © Paul Rands |
|||
 |
Supplemental Advance Directional Sign: Supplemental AD sign at Tarro approaching Anderson Dr, October 2016. Image © Paul Rands |
|||
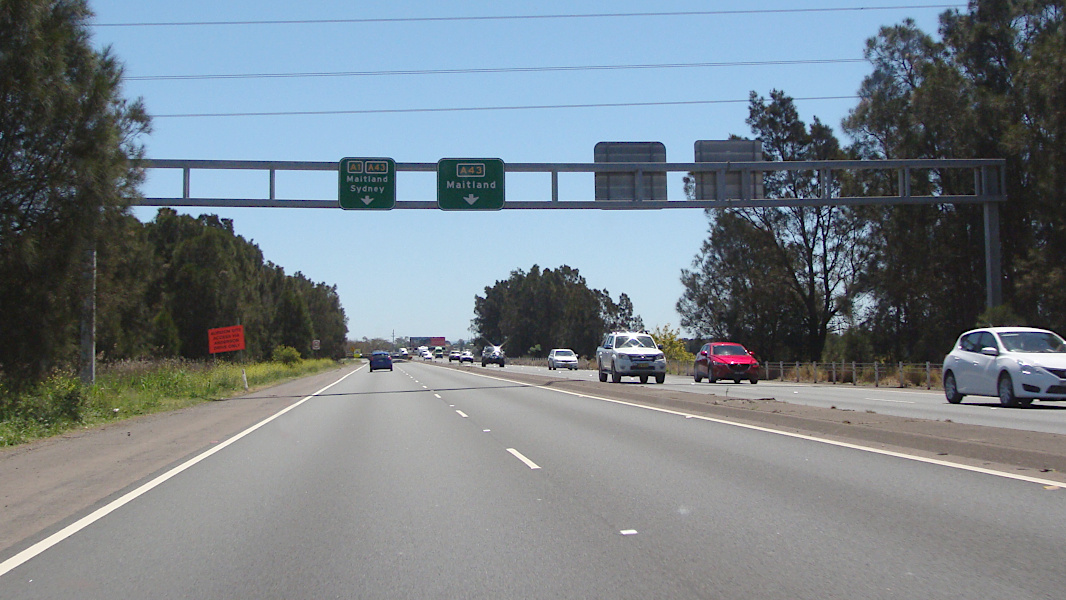 |
Advance Directional Signs: Gantry with AD signs for reassurance approaching Anderson Dr at Tarro, October 2016. Anderson Dr is a former New England Hwy alignment. Image © Paul Rands |
|||
 |
Anderson Drive: New England Hwy (A1 / A43) at the interchange with Anderson Dr at Tarro, October 2016. Image © Paul Rands |
|||
 |
Anderson Drive: New England Hwy (A1 / A43) as it passes under Anderson Dr at Tarro, October 2016. Image © Paul Rands |
|||
 |
Advance Directional Sign: AD sign at Tarro approaching John Renshaw Dr (A1) and New England Hwy (A43) interchange, October 2016. Image © Paul Rands |
|||
 |
Entering Beresfield: New England Hwy (A1 / A43) as it enters the town of Beresfield, October 2016. Image © Paul Rands |
|||
 |
Supplemental Advance Directional Sign: Supplemental AD sign at Beresfield approaching John Renshaw Dr (A1) and New England Hwy (A43) interchange, October 2016. Image © Paul Rands |
|||
 |
Advance Directional Sign: AD sign at Beresfield approaching John Renshaw Dr (A1) and New England Hwy (A43) interchange, October 2016. Image © Paul Rands |
|||
 |
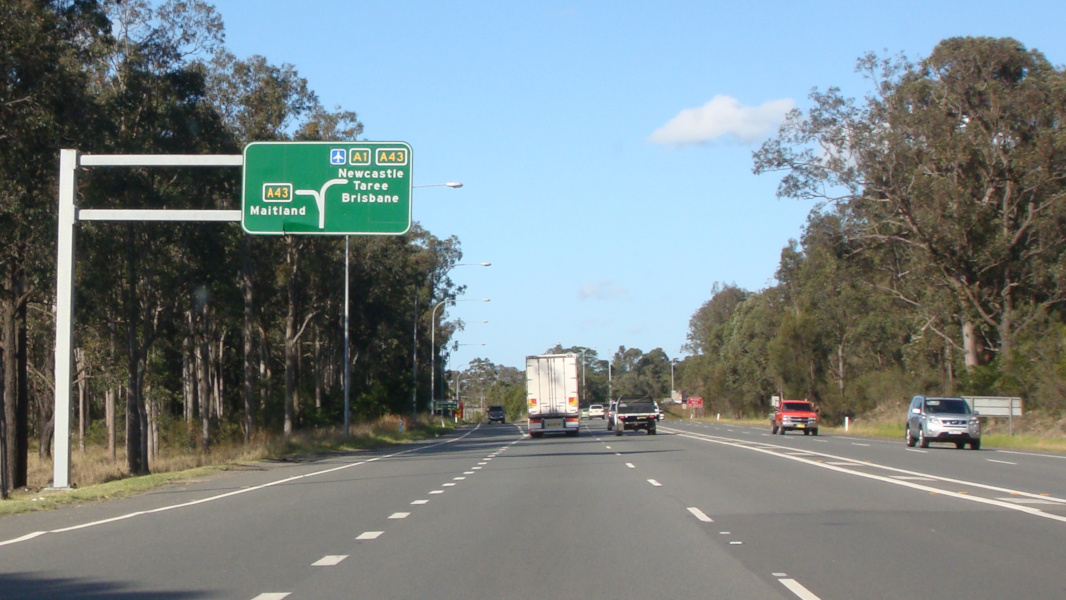
John Renshaw Drive & New England Highway: New England Hwy (A1 / A43) at the interchange with John Renshaw Dr (A1) and New England Hwy (A43), October 2016. New England Hwy continues straight here as A43, and A1 veers left onto John Renshaw Dr. Image © Paul Rands |
|||
 |
Supplemental Advance Directional Sign: Non-standard supplemental AD sign at Beresfield approaching the roundabout with John Renshaw Dr (B68), Pacific Mwy (M1) and Weakleys Dr, October 2016. Image © Paul Rands |
|||
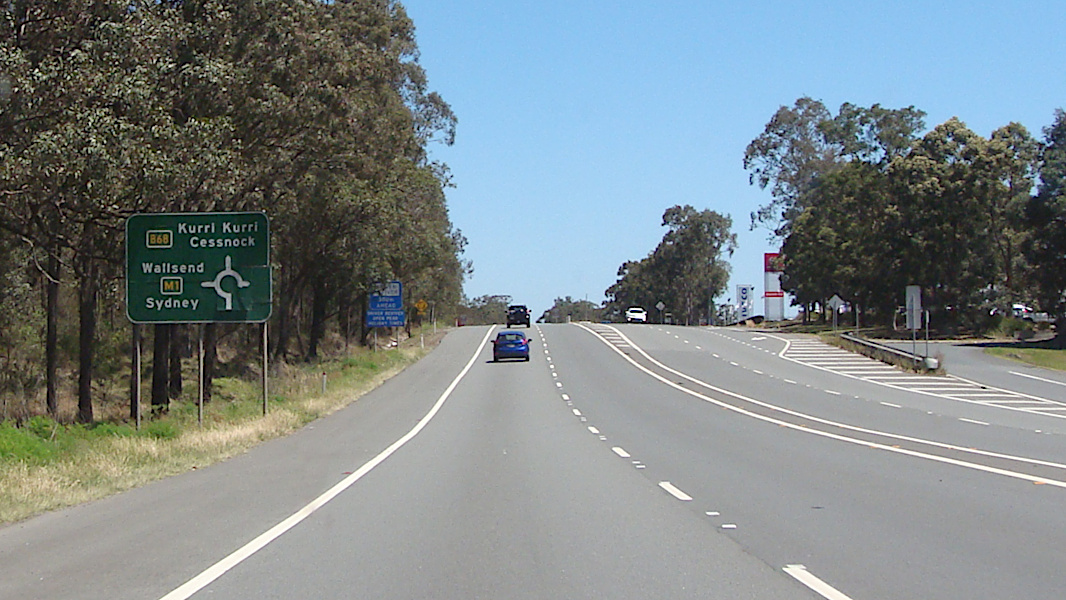 |
Advance Directional Sign: AD sign at Beresfield approaching the roundabout with John Renshaw Dr (B68), Pacific Mwy (M1) and Weakleys Dr, October 2016. Image © Paul Rands |
|||
 |
Intersection Directional Sign: ID sign at the roundabout with John Renshaw Dr (B68), Pacific Mwy (M1) and Weakleys Dr at Beresfield, October 2016. A1 becomes M1 at this location. Image © Paul Rands |
|||
 |
John Renshaw Drive, Pacific Motorway & Weakleys Drive: The roundabout with John Renshaw Dr (B68), Pacific Mwy (M1) and Weakleys Dr at Beresfield, October 2016. A1 becomes M1 at this location. Image © Paul Rands |
|||
| Click here for the contination of the route as Pacific Mwy (M1) between Beresfield and Morisset Click here for the continuation of A1 between Buladelah and Karuah |
||||
1 Roads & Maritime Services.
2 Department of Main Roads, The Roadmakers, A History of Main Roads in New South Wales, ISBN 0 7240 0439 4.
3 Department of Main Roads, Annual Report, 1956.
4 Roads & Maritime Services, Projects, Pacific Highway upgrade, Hexham to Port Macquarie, Completed projects, Raymond Terrace Bypass.
5 Roads & Maritime Services, Projects, Pacific Highway upgrade, Hexham to Port Macquarie, Completed projects, Raymond Terrace to Karuah.
Last updated: 22-Dec-2019 12:02
This site © Paul Rands. All rights reserved. Some portions © (copyright) by their respective and credited owners. Permission must be obtained before using any images from this site. For details, please email by clicking here.