|
|
|
|
|
| B87 | Kidman Way (B87) |
Statistics:
Route Numbering:
General Information:
B87 is a rural route servicing far western New South Wales and links several highways such as Mitchell Highway (B71), Kamilaroi Highway (B76), Barrier Highway (A32), Mid-Western Highway (B64), Burley Griffin Way (B94) Sturt Highway (A20) and Newell Highway (A39). The route provides key transport routes for transporting produce, livestock and goods interstate.
Multiplexes along the route include:
History:

| Jerilderie to Bourke | Bourke to Jerilderie | |||
| Preview: | Description: | Preview: | Description: | |
 |
Advance directional Sign: AD sign approaching Irrigation Way (B94) and Tranter St at Griffith, November 2016. Note the Irrigation Way name patch. B87 left right at this junction. Image © Paul Rands |
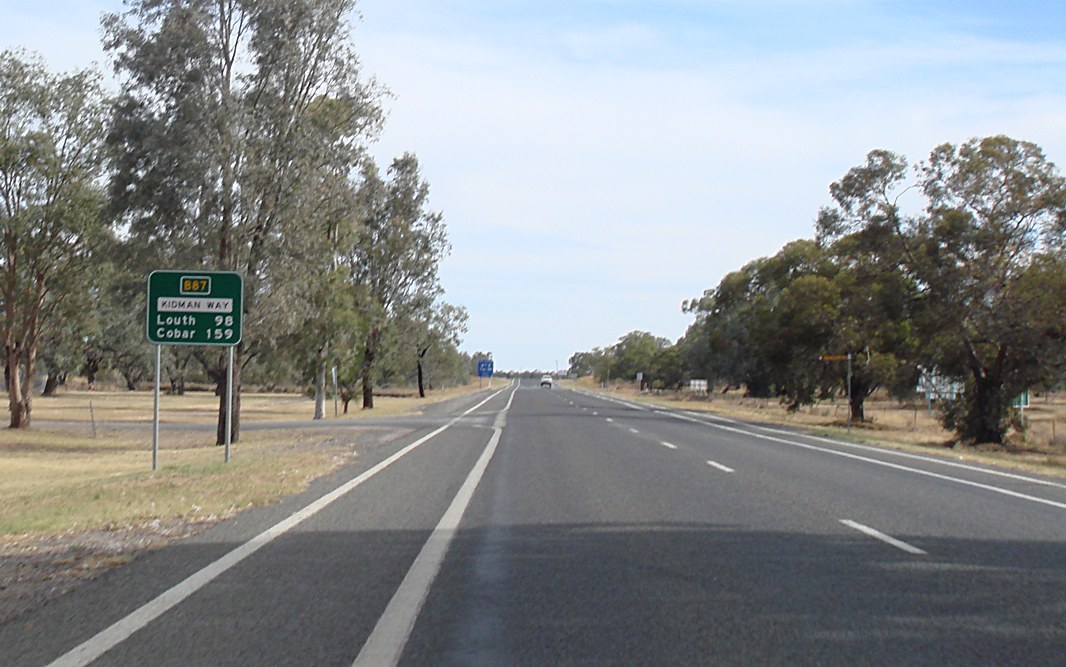 |
Distance Sign: Reassurance directional sign at Bourke, November 2016. Image © Paul Rands |
|
 |
Intersection Directional Sign: ID sign on the roundabout with Irrigation Way (B94) and Tranter St in Griffith, November 2016. Image © Paul Rands |
 |
Services Sign: Services sign at Bourke, November 2016. Image © Paul Rands |
|
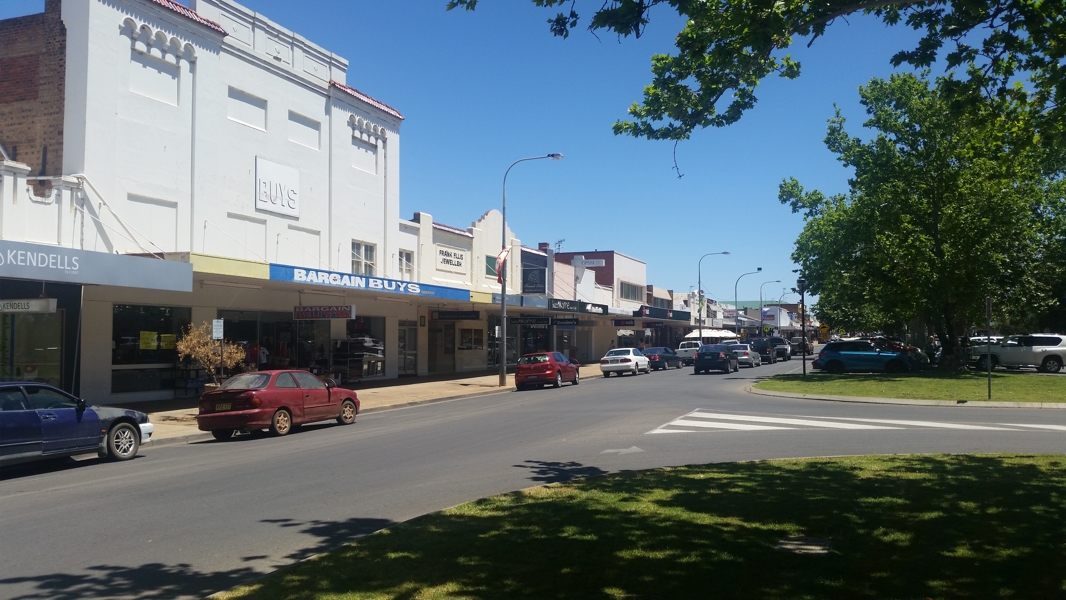 |
Griffith Town Centre: Kidman Way (Banna Av) (B87) as it passes through the Griffith town centre, November 2016. Image © Paul Rands |
 |
Alphanumeric Intersection Directional Sign: Alphanumeric ID sign at the junction with Kidman Way (SR87) and Kings Cross-Corella Tank Rd at Gunderbooka, July 2009. Image © Richard Wardle |
|
 |
Advance Directional Sign: AD sign approaching the circle that forms Benerembah St (B87) in Griffith, November 2016. B87 turns left here. Image © Paul Rands |
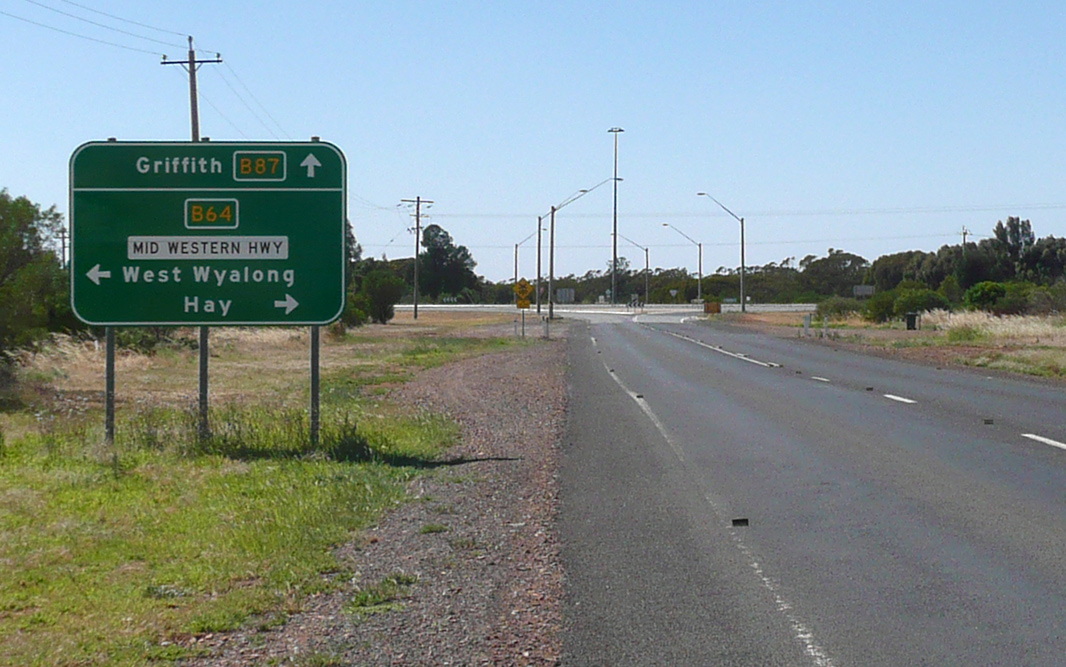 |
Advance Directional Sign: Advance directional sign at Goolgowi approaching Mid Western Hwy (B64), January 2014. Image © Michael Greenslade |
|
 |
Advance Directional Sign: AD sign on Benerembah St (B87) approaching the left turn for Kidman Way (B87) at Griffith, November 2016. Image © Paul Rands |
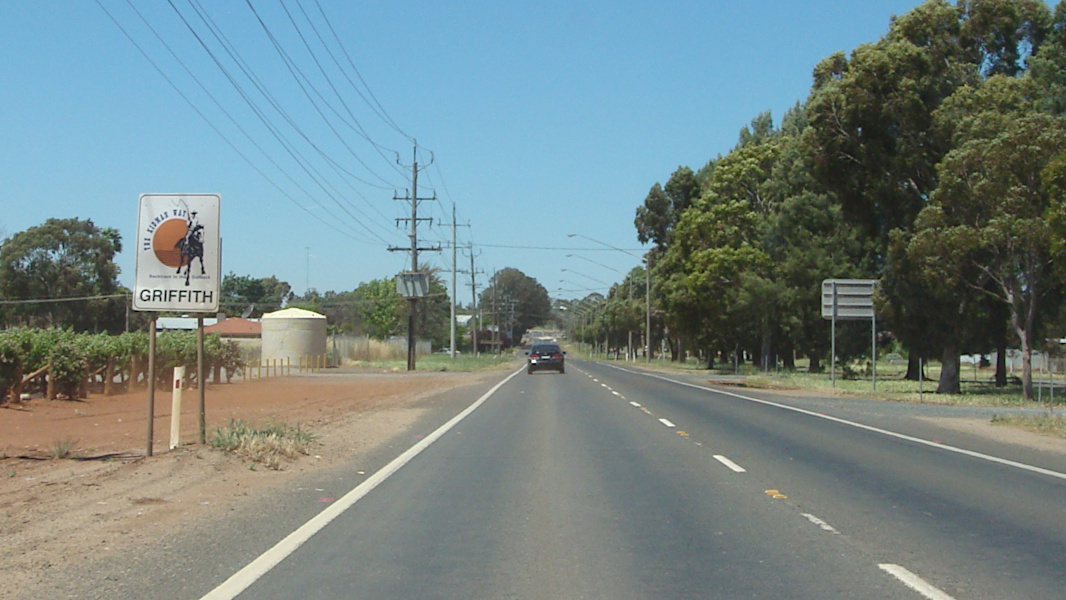 |
Entering Griffith: Kidman Way (B87) as it enters the town of Griffith, November 2016. Image © Paul Rands |
|
 |
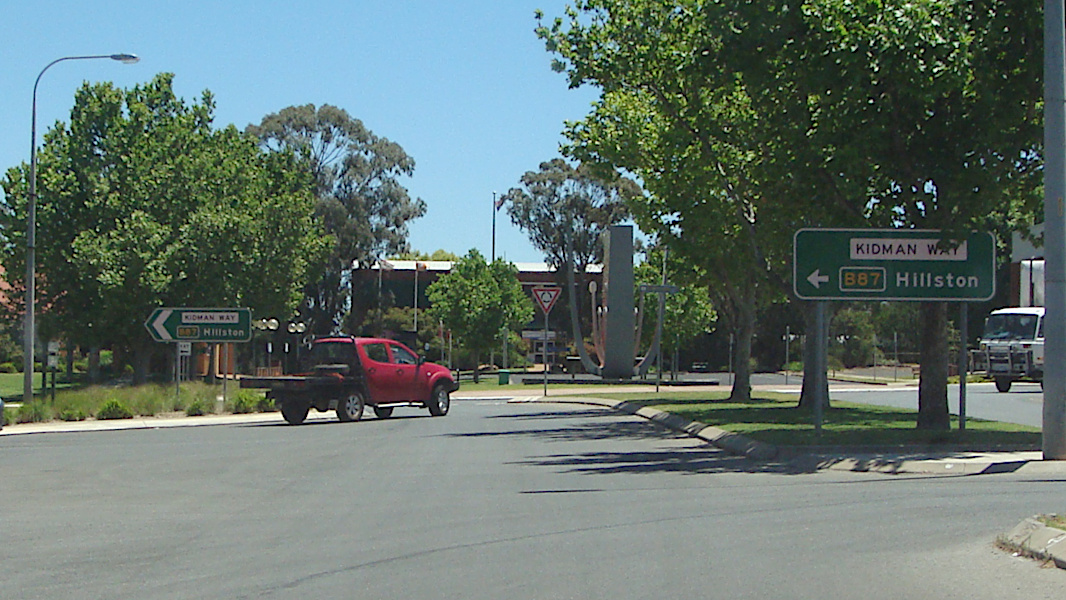
Intersection Directional Sign: ID sign on Benerembah St (B87) at the left turn for Kidman Way (B87) at Griffith, November 2016. Image © Paul Rands |
 |
Advance Directional Sign: AD sign for the heavy vehicle bypass via Kookora St, Griffith, November 2016. Image © Paul Rands |
|
 |
Alphanumeric Advance Directional Sign: Alphanumeric AD sign on Kidman Way (SR87) at Wallantherry approaching Lachlan Valley Way, July 2009. Image © Richard Wardle |
 |
Kookora Street: Kidman Way (B87) at the Kookora St roundabout, Griffith, November 2016. Image © Paul Rands |
|
 |
Alphanumeric Intersection Directional Sign: Alphanumeric ID sign at the junction with Kidman Way (SR87) and Kings Cross-Corella Tank Rd at Gunderbooka, July 2009. Image © Richard Wardle |
 |
Intersection Directional Sign: ID sign on the circle that forms Benerembah St (B87) in Griffith, November 2016. B87 turns left here. Image © Paul Rands |
|
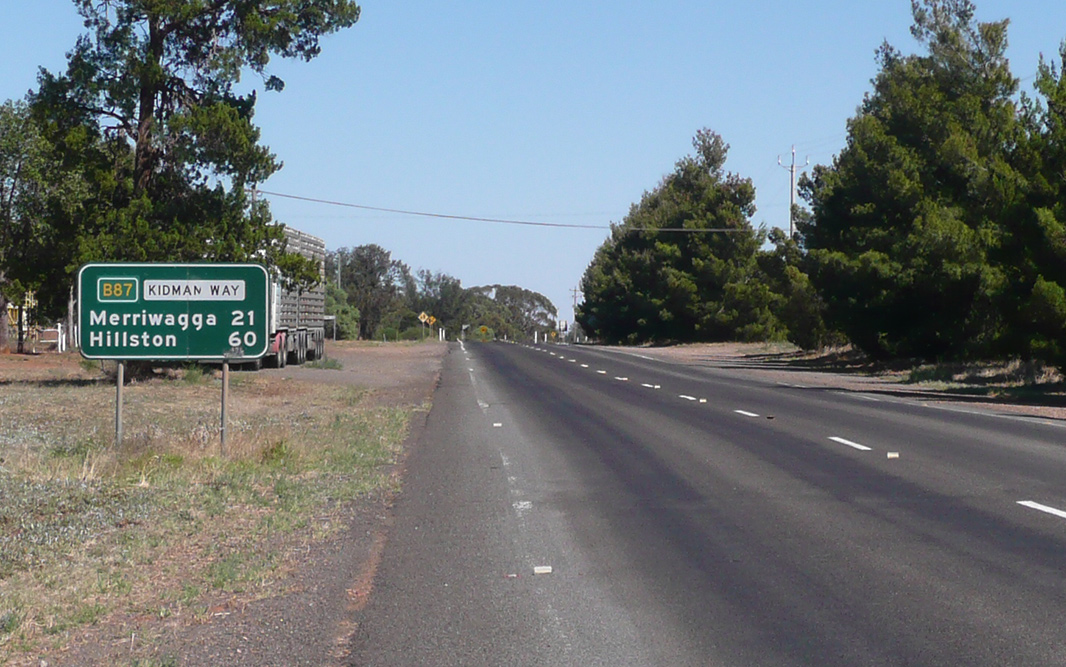 |
Distance Sign: Reassurance directional sign at Goolgowi, January 2014. Image © Michael Greenslade |
 |
Intersection Directional Sign: ID sign on the circle that forms Benerembah St (B87) in Griffith, November 2016. B87 turns left here onto Banna Av. Image © Paul Rands |
|
 |
Advance Directional Sign: AD sign on Kidman Way (B87) approaching Mitchell Hwy (B71) at Bourke, November 2016. Image © Paul Rands |
 |
Intersection Directional Sign: ID sign on the circle that forms Benerembah St (B87) in Griffith, November 2016. B87 turns left here onto Banna Av. Image © Paul Rands |
|
 |
Griffith Town Centre: Kidman Way (Banna Av) (B87) as it passes through the Griffith town centre, November 2016. Image © Paul Rands |
|||
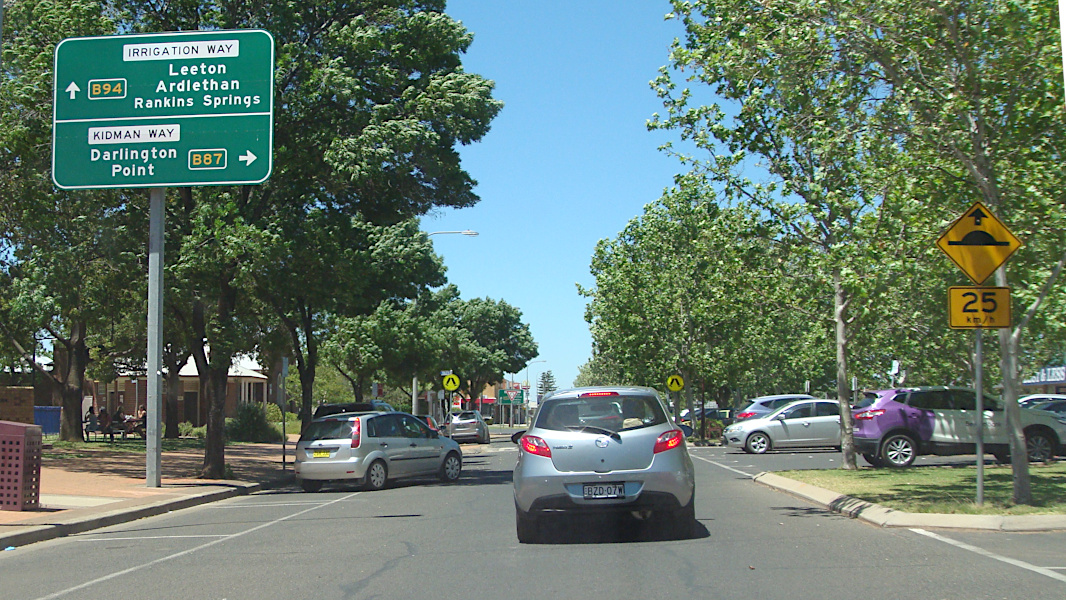 |
Advance directional Sign: AD sign approaching Irrigation Way (B94) and Tranter St at Griffith, November 2016. Note the Irrigation Way name patch. B87 turns right at this junction. Image © Paul Rands |
|||
 |
Intersection Directional Sign: ID sign on the roundabout with Irrigation Way (B94) and Tranter St in Griffith, November 2016. Image © Paul Rands |
|||
 |
Intersection Directional Sign: ID sign on the roundabout with Irrigation Way (B94) and Tranter St in Griffith, November 2016. Image © Paul Rands |
|||
 |
Distance Sign: Reassurance directional sign at Griffith, November 2016. Image © Paul Rands |
|||
 |
Advance Directional Sign: AD sign approaching Watkins Av and Willandra Av at Griffith, November 2016. Image © Paul Rands |
|||
 |
Intersection Directional Sign: ID sign on the roundabout with Watkins Av and Willandra Av at Griffith, November 2016. Image © Paul Rands |
|||
 |
Entering Hanwood: Kidman Way (B87) as it enters the town of Hanwood, November 2016. Image © Paul Rands |
|||
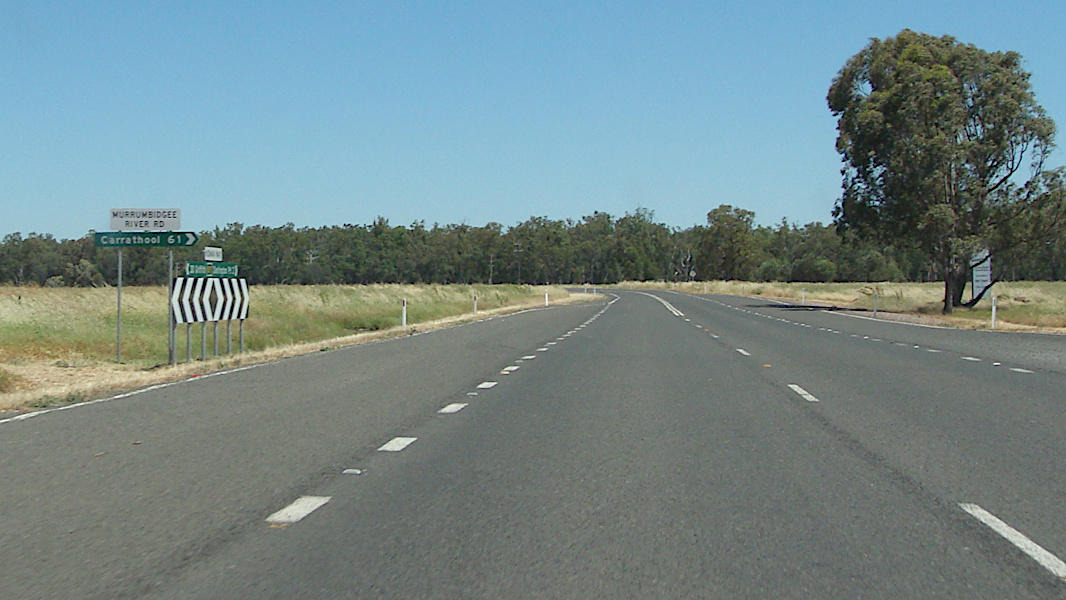 |
Murrumbidgee River Road: Kidman Way (B87) at Murrumbidgee River Rd at Willbriggie, November 2016. Image © Paul Rands |
|||
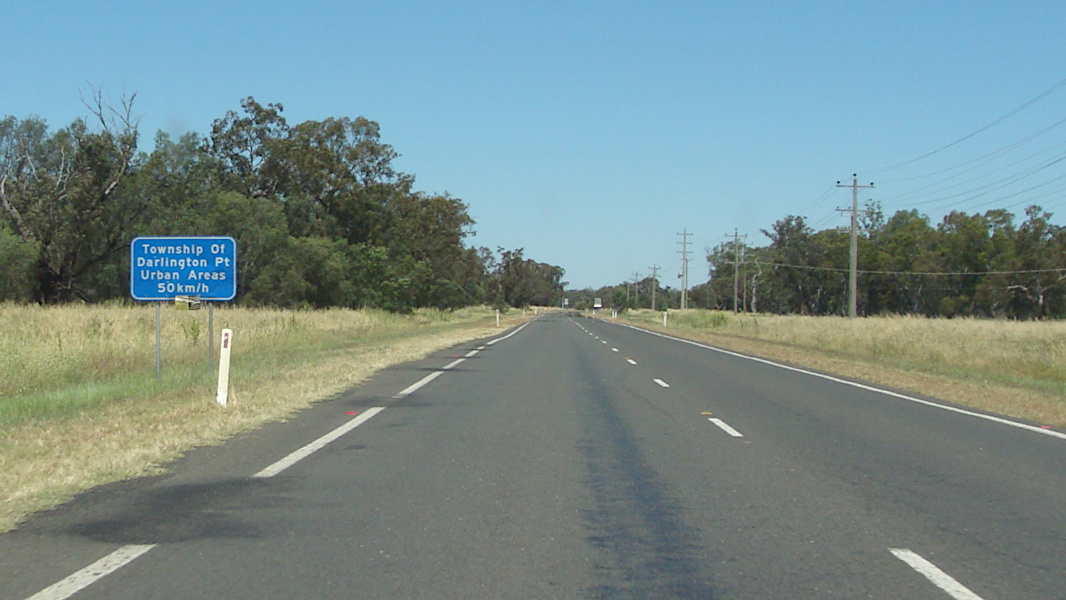 |
Urban Speed Limit Notice: Sign dating back to the 1990s introduction of 50 km/h urban speed limits, Darlington Point, November 2016. Image © Paul Rands |
|||
 |
Entering Darlington Point: Kidman Way (B87) as it enters the town of Darlington Point, November 2016. Image © Paul Rands |
|||
 |
Advance Directional Sign: AD sign approaching Whitton Rd, Darlington Point, November 2016. Image © Paul Rands |
|||
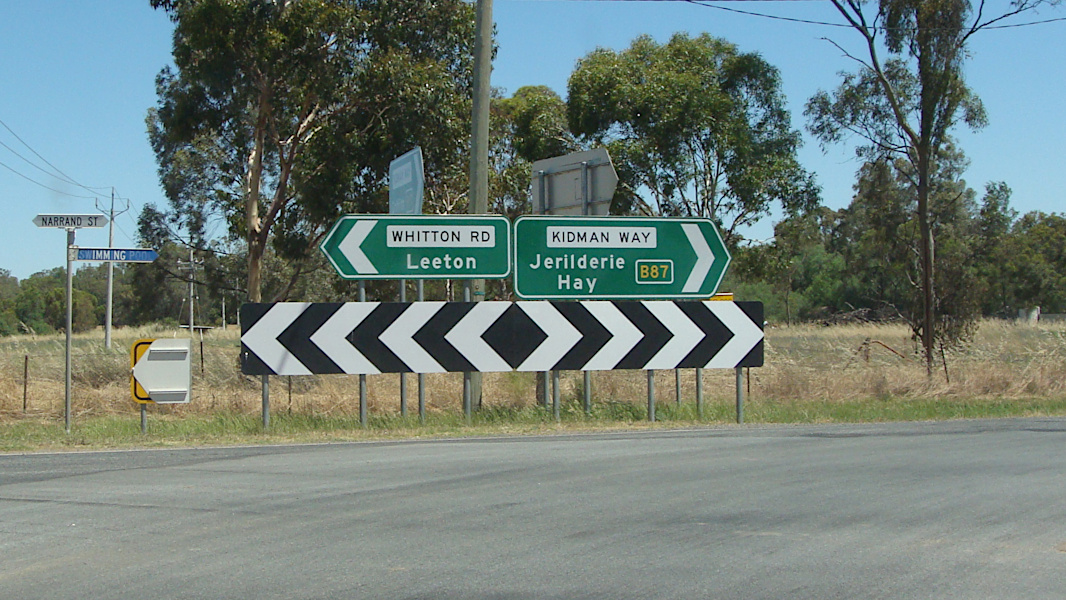 |
Intersection Directional Sign: ID sign at the junction with Whitton Rd, Darlington Point, November 2016. B87 turns right at this location. Image © Paul Rands |
|||
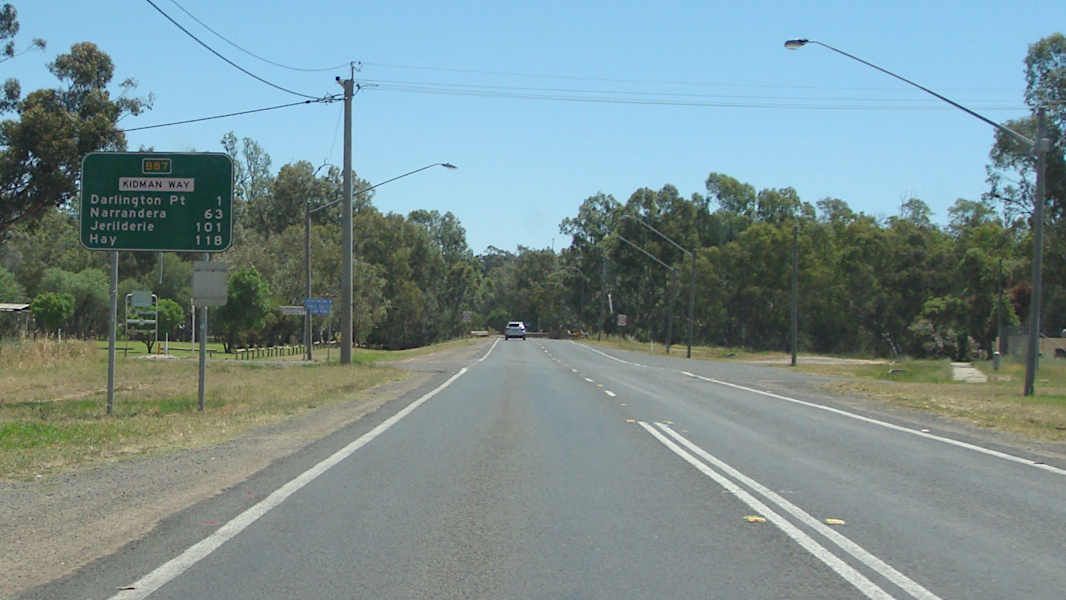 |
Reassurance Directional Sign: Distance sign at Darlington Point, November 2016. Image © Paul Rands |
|||
 |
Murrumbidgee River: Kidman Way (B87) as it crosses Murrumbidgee River at Darlington Point, November 2016. Image © Paul Rands |
|||
 |
Darlington Point: Kidman Way (B87) as it passes through the town of Darlington Point, November 2016. Image © Paul Rands |
|||
 |
Advance Directional Sign: AD sign at Darlington Point, approaching Sturt Hwy (A20), November 2016. Image © Paul Rands |
|||
 |
Sturt Highway: Kidman Way (B87) at the junction with Sturt Hwy (A20) at Darlington Point, November 2016. B87 turns left here and also picks up the A20 duplex. Image © Paul Rands |
|||
1 Roads & Maritime Services, Schedule of Classified Roads and Unclassified Regional Roads, January 2014
2 Roads & Maritime Services, Heritage & Conservation Register, Survey Tree "BM AN 42", Darlington Point
3 Kidman Way Website
4 Roads and Maritime Services, Media Releases, Kidman Way road widening complete, 21 June 2011
5 Roads and Maritime Services, Media Releases, Kidman Way intersection upgrade, 12 October 2012
6 Roads and Maritime Services, Media Releases, $6 million project to widen Kidman Way south of Cobar continues to plan, 25 May 2017
7 Michael McCormack, Minister for Infrastructure, Transport and Regional Development, Media Releases, Construction begins on major roundabout in Griffith, 05 April 2018
Last updated: 15-Aug-2020 14:16
This site © Paul Rands. All rights reserved. Some portions © (copyright) by their respective and credited owners. Permission must be obtained before using any images from this site. For details, please email by clicking here.