|
|
|
|
|
 |
|
Coolgardie-Esperance Highway, Roe Highway, Great Eastern Highway Bypass & Great Eastern Highway (National Highway 94) - Sawyers Valley to Northam |
Statistics:
Route Numbering:

General Information:
National Highway 94 is a major route in WA, directly linking the capital city of Perth with the mining and goldfield regions in the eastern part of the state, such as Kalgoorlie and Norseman, it also connects to National Highway 1, the Eyre Highway, which is the major link, via the Nullarbor Plain between the east and west coasts of Australia.
Outside of Perth, the route is bitumen paved single carriageway roadway. Some overtaking lanes exist along the route between Coolgardie and Perth's outer suburbs. Inside the metropolitan area, the route varies from mutli-lane arterial road to expressway standard.
The National Route 1 multiplex starts at Causeway at Burswood and ends at the intersection of Great Eastern Highway in Guildford. The State Route 3 multiplex starts at Great Eastern Highway, travels along Roe Highway before the multiplex ends at the traffic signals on the corner of Roe Highway and Great Eastern Highway Bypass at Hazelmere.
The highway generally runs parallel with the Mundaring to Kalgoorlie water pipeline, which pipes drinking water drawn from Mundaring Weir near Perth to Kalgoorlie.
History:
Click here for photos of the former alignment through Northam
| Northam to Sawyers Valley | Sawyers Valley to Northam | |||
| Preview: | Description: | Preview: | Description: | |
 |
Advance
Directional Sign: AD sign at Burlong approaching Mitchell Av, April 2018. Image © Paul Rands |
 |
Sawyers
Valley Area: Great Eastern Hwy in the Sawyers Valley Area, April 2009. Image © Paul Rands |
|
 |
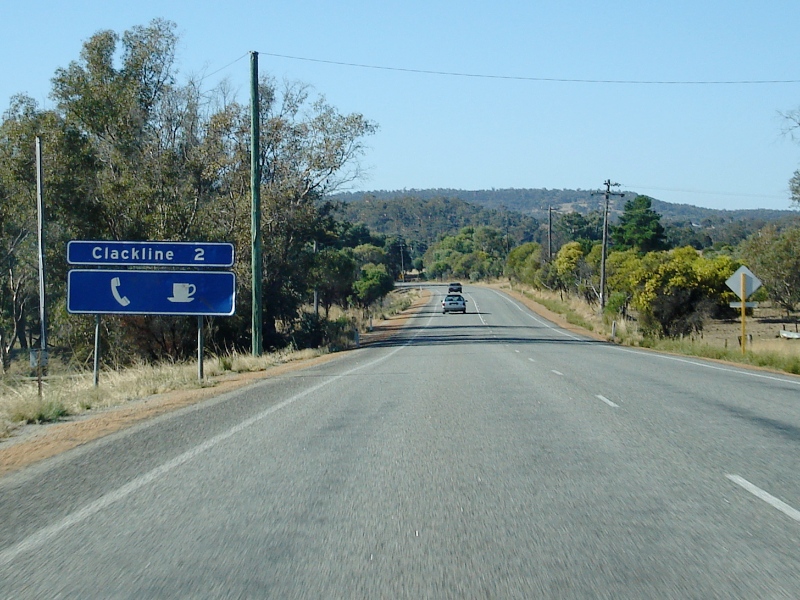
Services
Sign: Services signage as you approach the town of Clackline. December 2007. Image © Paul Rands |
 |
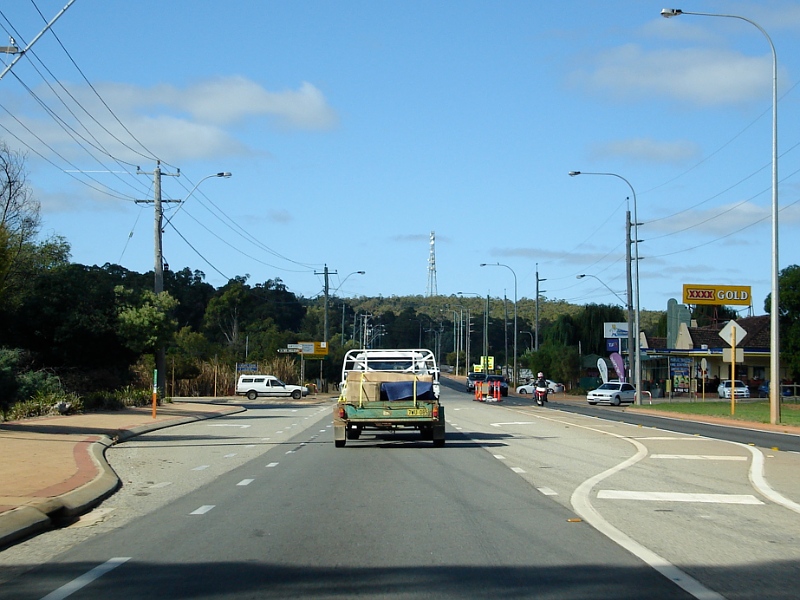
Entering
Sawyers Valley: Great Eastern Hwy as it enters the town of Sawyers Valley, April 2009. Image © Paul Rands |
|
 |
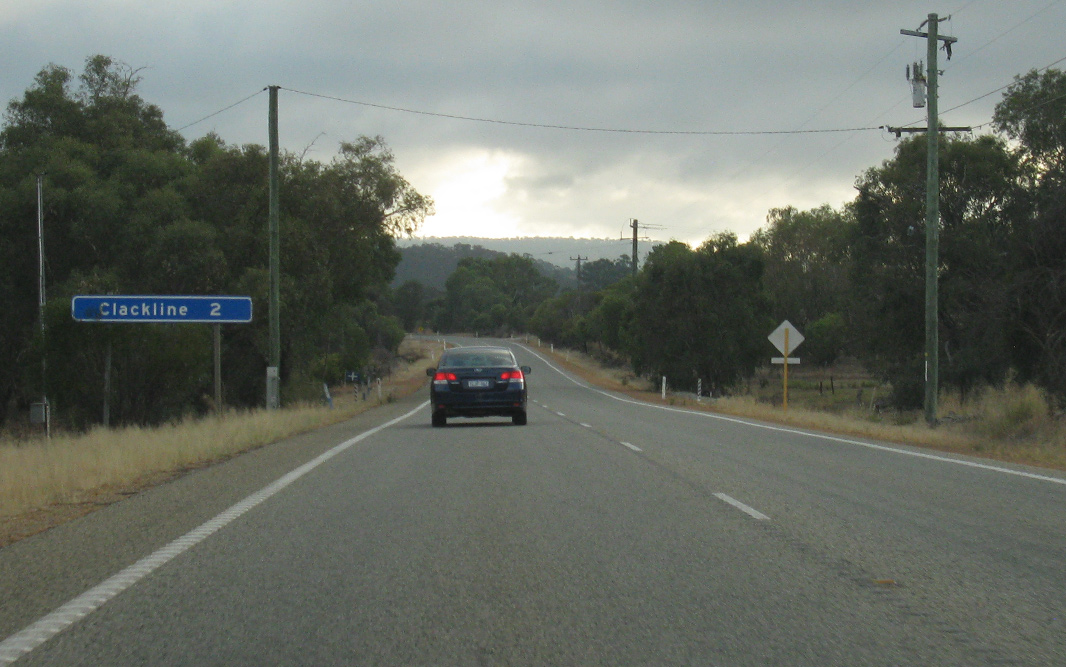
Entering
Clackline: Entering the small service town of Clackline, December 2007. Image © Paul Rands |
 |
Sawyers
Valley Town Centre: Corner of Great Eastern Hwy and Sawyers Rd at Sawyers Valley, April 2009. Image © Paul Rands |
|
 |
Services
Sign: Signage for Bakers Hill. December 2007. Image © Paul Rands |
 |
Start
110 Zone: Great Eastern Hwy as it reverts back to dual carriageway and the beginning of the 110 km/h zone at Sawyers Valley, April 2009. Image © Paul Rands |
|
 |
Bakers
Hill: Looking west at Bakers Hill near the service station, December 2007. Image © Paul Rands |
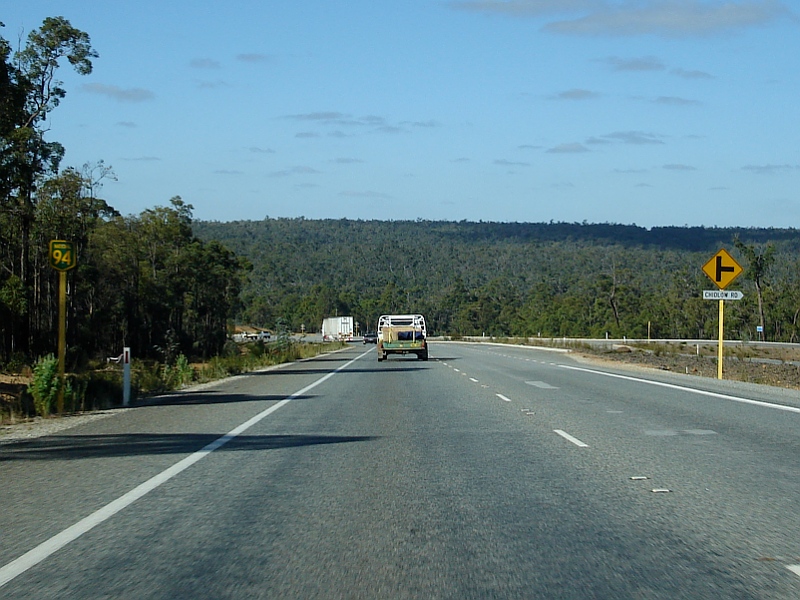 |
Approaching
Chidlow Road: Great Eastern Hwy approaching Chidlow Rd at Sawyers Valley, April 2009. Image © Paul Rands |
|
 |
Advance
Directional Sign: Advance directional sign for Hamke Avenue Wundowie, December 2007. Image © Paul Rands |
 |
Advance
Directional Sign: AD sign at Sawyers Valley approaching Old Northam Rd, April 2009. Image © Paul Rands |
|
 |
Hamke
Av: Looking towards Perth at Wundowie. December 2007. Image © Paul Rands |
 |
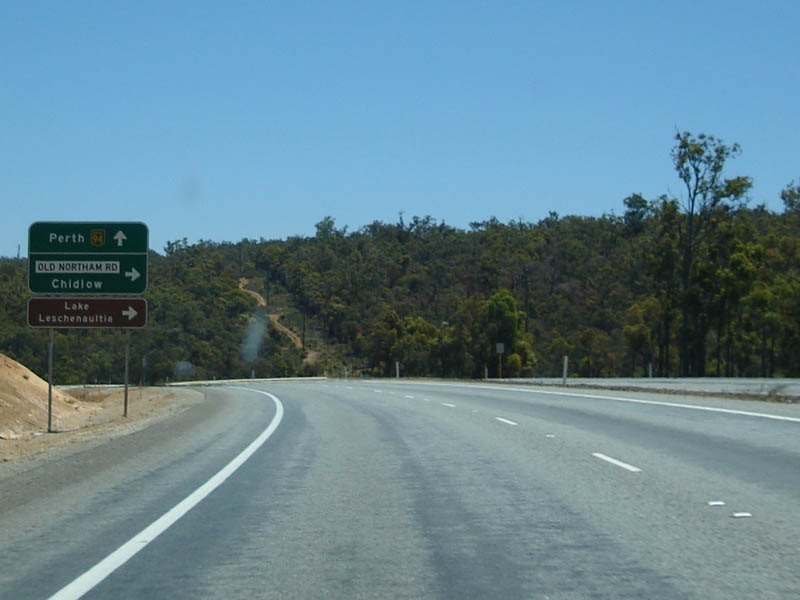
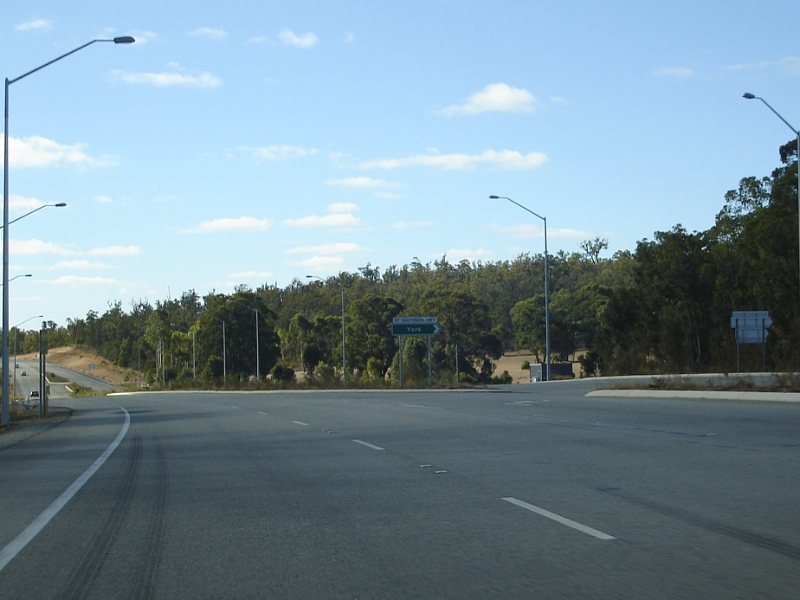
Old
Northam Road Intersection: Corner of Great Eastern Hwy & Old Northam Rd at Sawyers Valley, April 2009. Image © Paul Rands |
|
 |
Advance
Directional Sign: AD sign on Gt Eastern Hwy (NH94) at The Lakes, approaching Gt Southern Hwy and The Lakes Roadhouse, April 2018. Image © Paul Rands |
 |
Distance
Sign: RD sign at Sawyers Valley after the Old Northam Road junction, April 2009. Image © Paul Rands |
|
 |
Great
Southern Highway: Corner of Gt Eastern Hwy (NH94) and Gt Southern Hwy at The Lakes, April 2018. Image © Paul Rands |
 |
Advance
Directional Sign: AD sign at Beechina approaching The Lakes Roadhouse & Great Southern Hwy, April 2009. Image © Paul Rands |
|
 |
Advance
Directional Sign: AD sign on Gt Southern Hwy at The Lakes, approaching Gt Eastern Hwy (NH94) and The Lakes Roadhouse, April 2018. Image © Paul Rands |
 |
Supplemental
Advance Directional Sign: Supplemental AD sign at Beechina approaching The Lakes Roadhouse & Great Southern Hwy, April 2009. Image © Paul Rands |
|
 |
Intersection
Directional Sign: ID sign facing Great Southern Hwy at The Lakes, April 2018. Image © Paul Rands |
 |
Great
Southern Highway Intersection: Corner of Great Eastern Hwy at the junction with Great Southern Hwy at Beechina, April 2009. Image © Paul Rands |
|
 |
Old
Northam Road Approach: AD sign at Sawyers Valley, December 2007. Image © Paul Rands |
 |
Great
Southern Highway Intersection: Corner of Great Eastern Hwy at the junction with Great Southern Hwy at Beechina, April 2009. Image © Paul Rands |
|
 |
ID
Sign: Intersection directional sign at Old Northam Road, Sawyers Valley, December 2007. Image © Paul Rands |
 |
Approaching
Old Northam Road: Great Eastern Hwy approaching Old Northam Rd at Beechina, April 2009. Image © Paul Rands |
|
 |
Distance
Sign: RD sign located immediately after the Old Northam Road junction in Sawyers Valley, December 2007. Image © Paul Rands |
 |
Old
Northam Road Intersection: Corner of Great Eastern Hwy (NH94) and Old Northam Rd at Beechina, April 2009. Image © Paul Rands |
|
 |
Entering
Sawyers Valley: Westbound at Sawyers Valley, December 2007. Image © Paul Rands |
 |
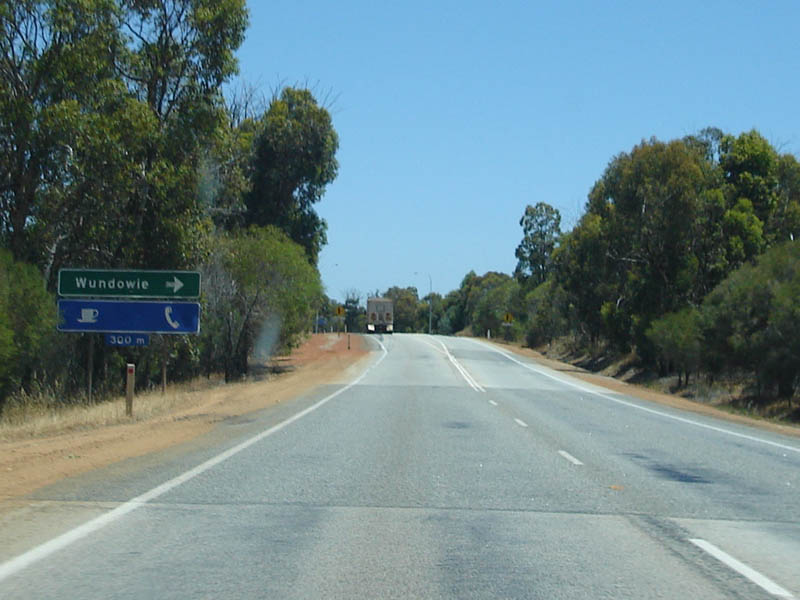
Services
Sign: Services sign at Woorooloo for the El Caballo Lifestyle Village, April 2009. Image © Paul Rands |
|
 |
Sawyers
Valley: Looking west through the outer eastern Perth suburb of Sawyers Valley, December 2007. Image © Paul Rands |
 |
Linley
Valley Road Intersection: Corner of Great Eastern Hwy and Linley Valley Rd at Woorooloo, April 2009. Image © Paul Rands |
|
 |
Advance
Directional Sign: AD sign approaching Hawke Av at Wundowie, April 2018. Click here for a photo of this location by Paul Rands from April 2009. Image © Paul Rands |
|||
 |
Hawke
Avenue: Corner of Great Eastern Hwy and Hawke Av at Wundowie, April 2009. Image © Paul Rands |
|||
 |
Services
Sign: Services sign at Bakers Hill, April 2009. Image © Paul Rands |
|||
 |
Bakers
Hill Town Centre: Great Eastern Hwy as it passes through Bakers Hill, April 2009. Image © Paul Rands |
|||
 |
Trailblazer: NH94 trailblazer at Bakers Hill, April 2009. Image © Paul Rands |
|||
 |
Services
Sign: Services sign at Clackline, April 2018. Click here for a photo of this location by Paul Rands from April 2009. Image © Paul Rands |
|||
 |
Entering
Clackline: Great Eastern Hwy as it enters Clackline, April 2009. Image © Paul Rands |
|||
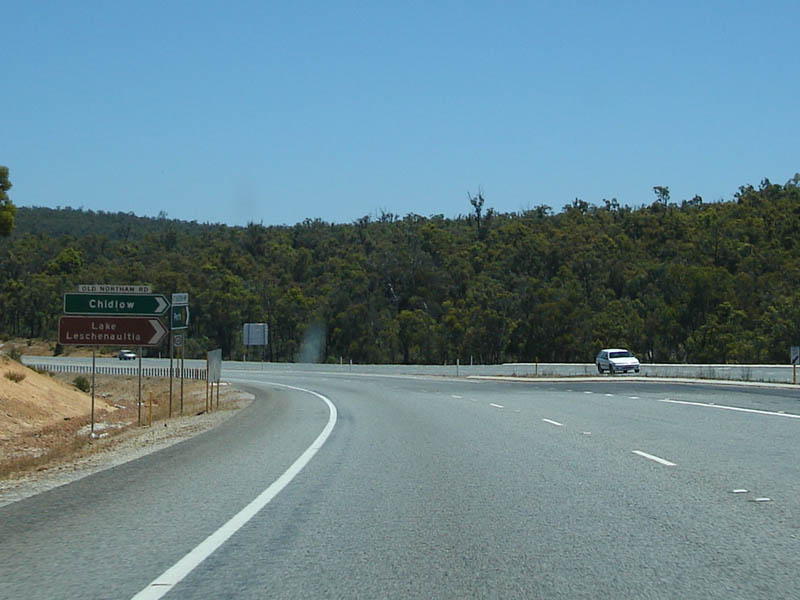
 |
Kimberley
Road Intersection: Corner of Great Eastern Hwy and Kimberley Rd in Clackline, April 2009. Image © Paul Rands |
|||
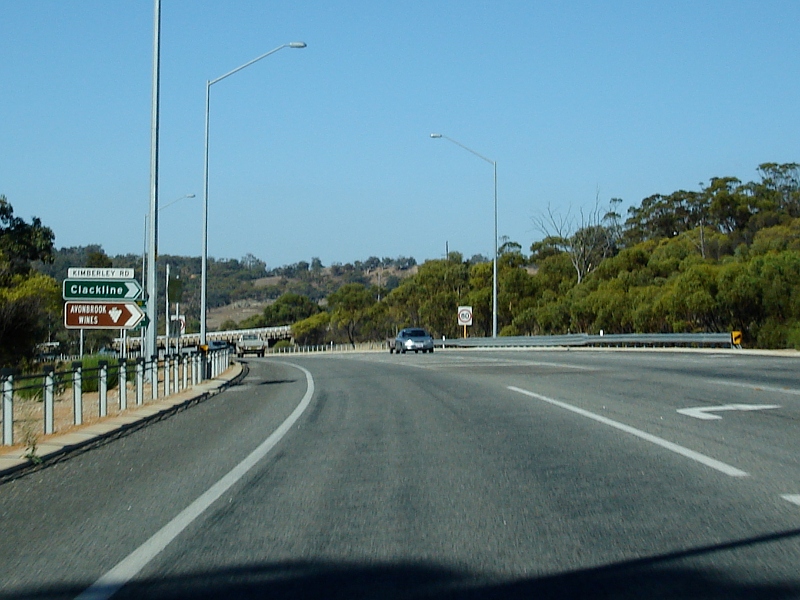
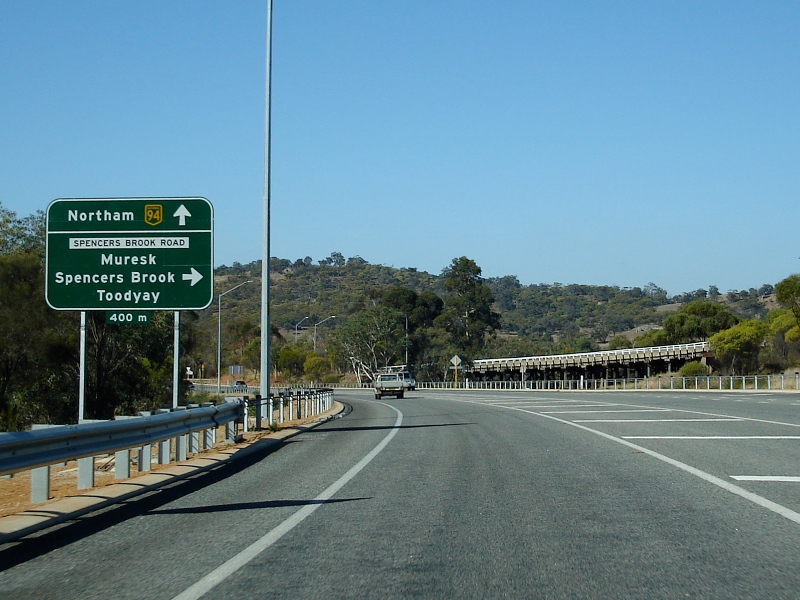 |
Advance
Directional Sign: AD sign at Clackline approaching Spencers Brook Rd, April 2009. Image © Paul Rands |
|||
 |
Spencers
Brook Road Intersection: Corner of Great Eastern Hwy and Spencers Brook Rd at Clackline, April 2009. Image © Paul Rands |
|||
 |
Reassurance
Directional Sign: RD sign at Clackline, April 2009. Image © Paul Rands |
|||
 |
Old
Kilometre Plate: Older black kilometre plate at Clackline. The 'N' is for Northam, April 2009. Image © Paul Rands |
|||
 |
Services
Sign: Combined services sign and bypassed town sign at Burlong for Northam, April 2018. Click here for a photo of this location by Paul Rands from April 2009. Image © Paul Rands |
|||
 |
Advance
Directional Sign: AD sign at Burlong approaching Mitchell Av, April 2009. Image © Paul Rands |
|||
 |
Entering
Northam: Great Eastern Highway as it enters the town of Northam, April 2009. Image © Paul Rands |
|||
 |
Mitchell
Avenue Intersection: Corner of Great Eastern Hwy and Mitchell Av, April 2009. Image © Paul Rands |
|||
 |
Reassurance
Directional Sign: Distance sign at Burlong, April 2018. Image © Paul Rands |
|||
 |
Advance
Directional Sign: AD sign at Burlong approaching Mitchell Av, April 2018. The SR50 shield is in error. Image © Paul Rands |
|||
 |
Supplemental
Advance Directional Sign: Supplemental AD sign at Burlong approaching Mitchell Av, April 2018. Image © Paul Rands |
|||
 |
Mitchell
Avenue: Corner of Great Eastern Hwy (NH94) and Mitchell Av, Burlong, April 2018. Image © Paul Rands |
|||
 |
Reassurance
Directional Sign: Distance sign at Burlong, April 2018. Image © Paul Rands |
|||
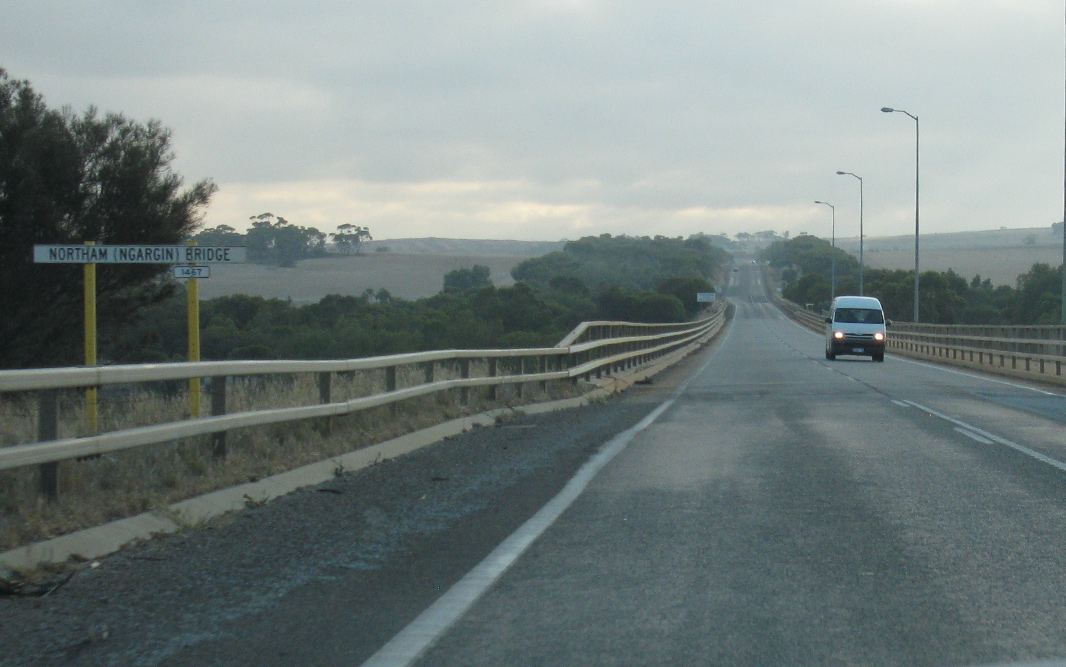 |
Northam
(Ngargin) Bridge: Northan (Ngargin) Bridge at Northam, April 2018. Image © Paul Rands |
|||
| Click
here for the continuation of NH94 between Northam and Merredin Click here for the continuation of NH94 between Perth and Sawyers Valley |
||||
1 UBD Concise
Motoring Atlas of Australia, 3rd Edition, published by Universal
Publishers Pty Ltd. ISBN 978-0-7319-2081-5
2 State Library of WA
3 Bureau of Transport and Regional
Economics, Ex-post economic evaluation of National Highway projects, Case
study 2: Northam Bypass Working paper 70.2
Last updated: 18-Jul-2020 16:20
This site © Paul Rands. All rights reserved. Some portions © (copyright) by their respective and credited owners. Permission must be obtained before using any images from this site. For details, please email by clicking here.