|
|
|
|
|
| M1 A1 | Princes Highway, West Gate Freeway, CityLink, Monash Freeway & Princes Freeway (M1 / A1) - Berwick to Nar Nar Goon |
Statistics:
Route Numbering:

General Information:
M1 / A1 is a major route that crosses roughly from east to west in Victoria. The standard varies from single carriageway rural highway to full freeway standard.
Princes Freeway:
The Princes Freeway is in 2 sections. The western section connects with the West Gate Freeway and extends to the Geelong area. The eastern section connects with the Monash Freeway and joins up with the Princes Highway (East) at Traralgon. There is also a small section of Princes Freeway, otherwise known as Orbost Bypass, at Orbost. It's not dual carriageway however. 2
History:
| Berwick to Nar Nar Goon | Nar Nar Goon to Berwick | |||
| Preview: | Description: | Preview: | Description: | |
 |
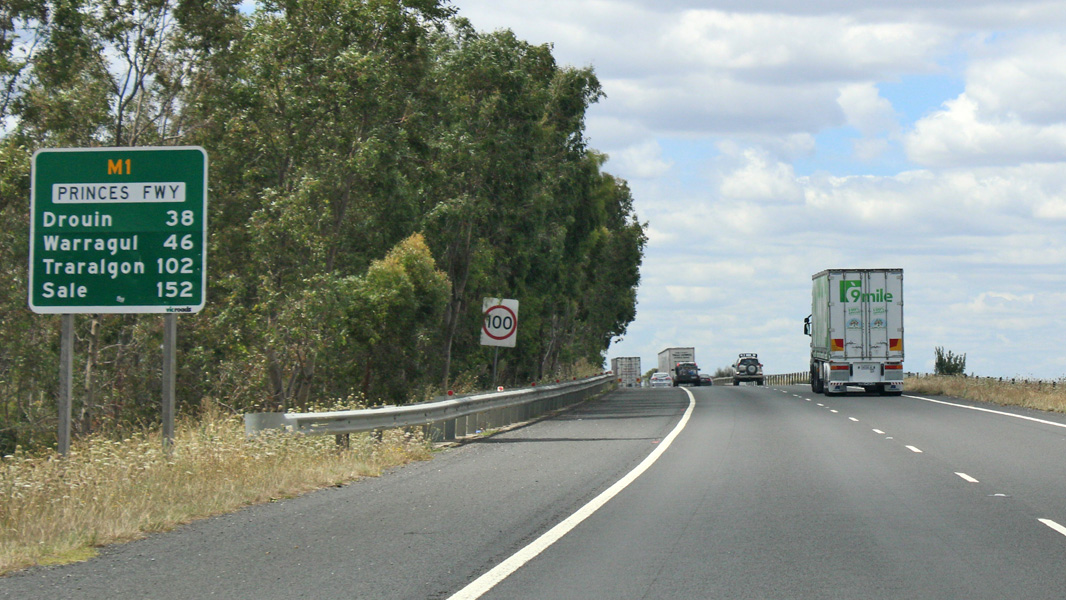
Advance Directional Sign: AD sign at Berwick, approaching Clyde Rd (C407), Janaury 2017. Click here for a photo by Paul Rands of this location from September 2009. Image © Huang Milton Collection |
 |
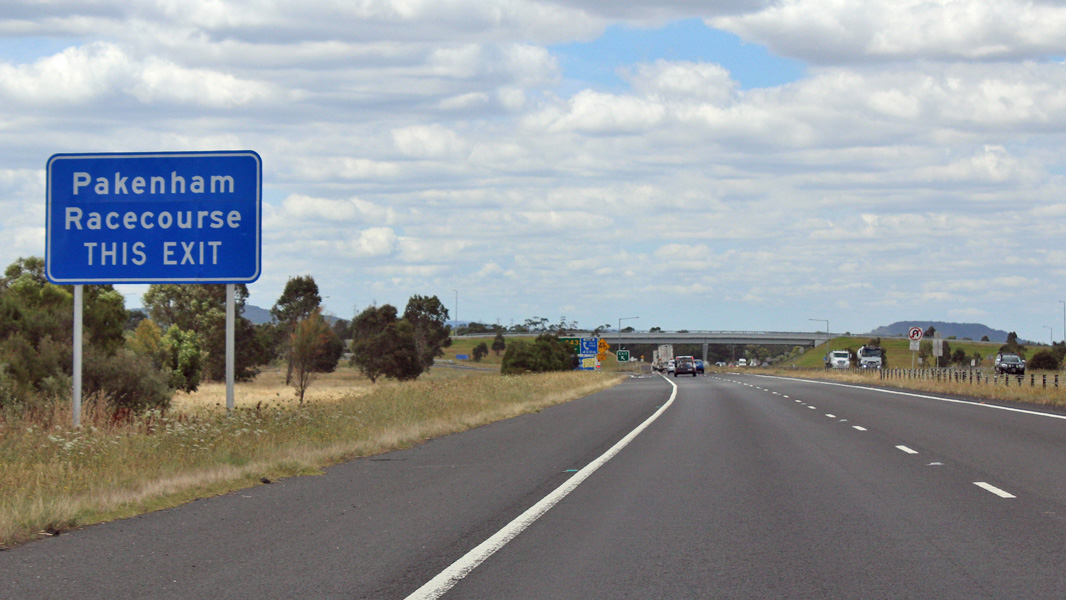
Pakenham Area: Princes Fwy as it makes its way through Pakenham, February 2008 Image © Phillip McCallum |
|
 |
Supplemental Advance Directional Sign: Supplemental AD sign at Berwick, approaching Clyde Rd (C407), Janaury 2017. Click here for a photo by Paul Rands of this location from September 2009. Image © Huang Milton Collection |
 |
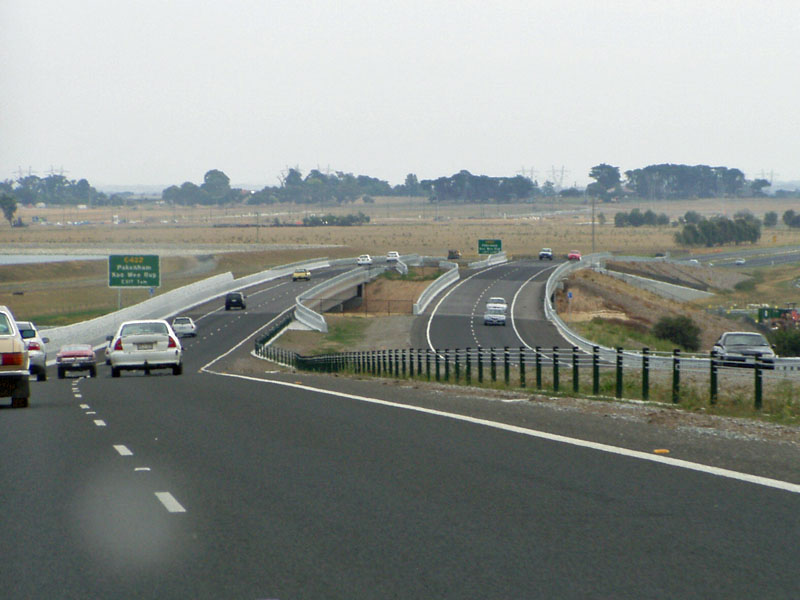
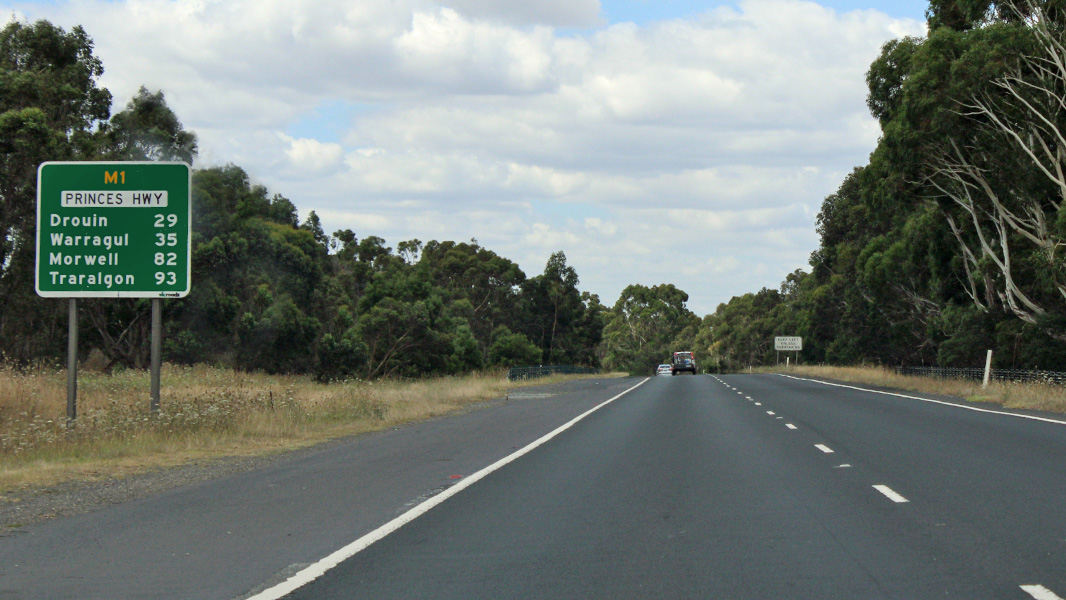
Reassurance Directional Sign: Distance sign at Pakenham after Healesville-Koo Wee Rup Rd (C422), December 2013. Image © Michael Greenslade |
|
 |
Clyde Road Interchange: Princes Fwy at Berwick at the Clyde Rd (C407) interchange, September 2009. Image © Paul Rands |
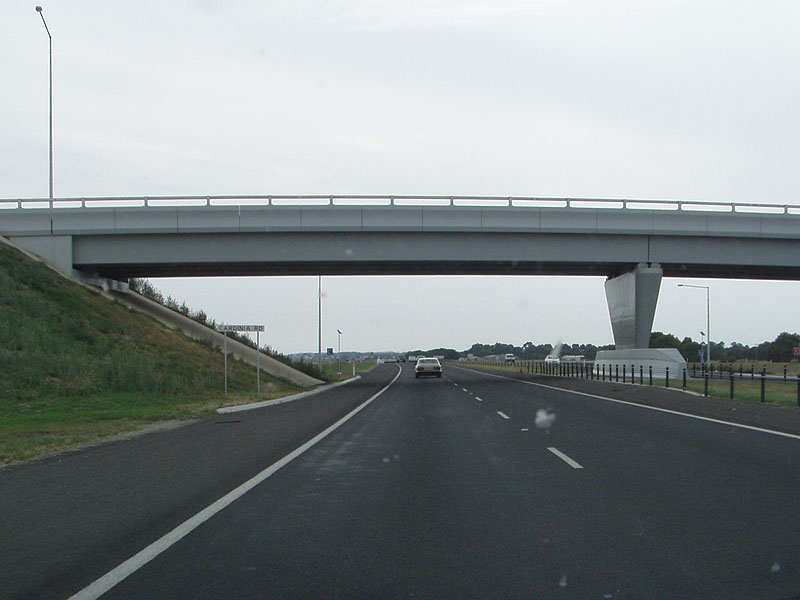 |
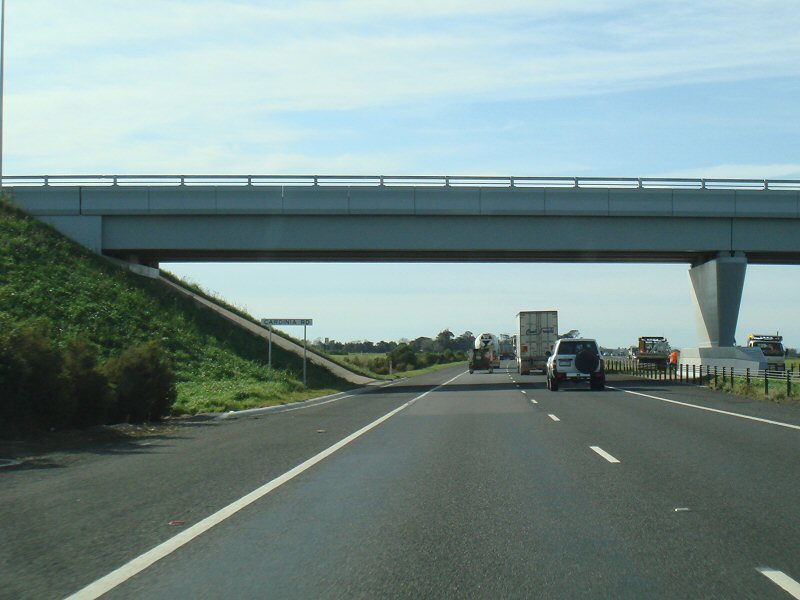
Cardinia Road Interchange: Princes Fwy at Officer at the Cardinia Rd Interchange, February 2008 Image © Phillip McCallum |
|
 |
Clyde Road Interchange: Princes Fwy at Berwick at the Clyde Rd (C407) interchange, September 2009. Image © Paul Rands |
 |
Advance Directional Sign: AD sign at Berwick approaching Clyde Rd (C407), December 2013. Image © Michael Greenslade |
|
 |
Advance Directional Sign: AD sign at Berwick for the Beaconsfield service centre, January 2017. Image © Huang Milton Collection |
|||
 |
Distance Sign: RD sign at Berwick after the Clyde Rd interchange, January 2017. Image © Huang Milton Collection |
|||
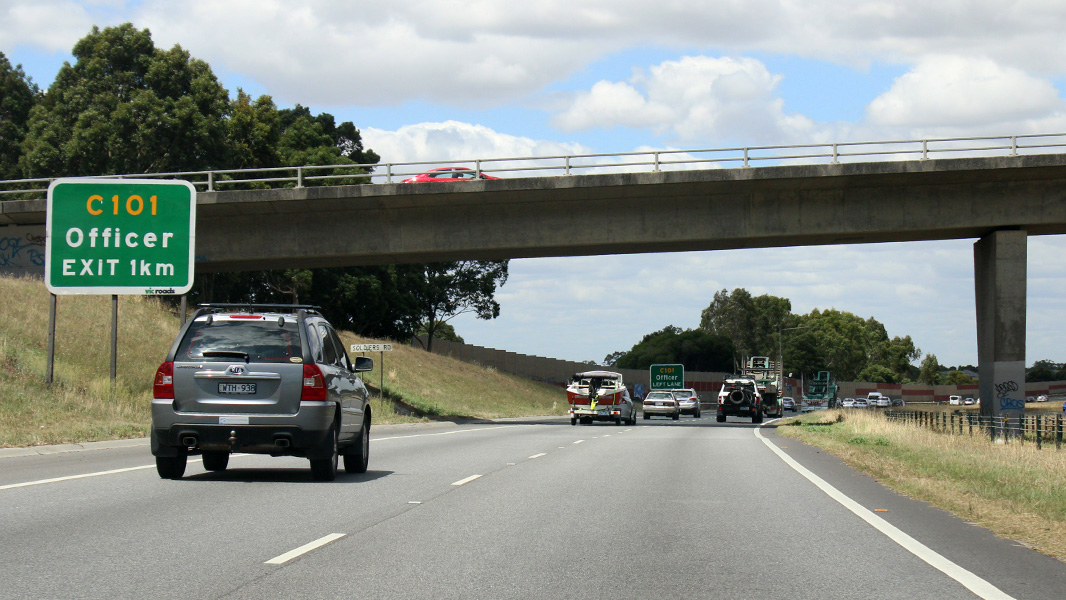 |
Advance Directional Sign: AD sign Berwick near Soldiers Rd overpass for the interchange with Princes Hwy (C101), January 2017. Image © Huang Milton Collection |
|||
| Supplemental Advance Directional Sign: Supplemental AD sign Berwick near Soldiers Rd overpass for the interchange with Princes Hwy (C101), September 2009. Image © Paul Rands |
||||
| Supplemental Advance Directional Sign: Supplemental AD sign Berwick near Soldiers Rd overpass for the interchange with Princes Hwy (C101), January 2017. Image © Huang Milton Collection |
||||
| Princes Hwy Interchange: Princes Freeway approaching the interchange with Princes Highway (C101) at Bewrick, January 2017. Image © Huang Milton Collection |
||||
 |
Cardinia Creek: Princes Fwy as it crosses Cardinia Ck at Berwick, February 2008 Image © Phillip McCallum |
|||
| Advance Directional Sign: AD sign at Beaconsfield approaching the service centre, January 2017. Image © Huang Milton Collection |
||||
| Advance Directional Sign: AD sign at Beaconsfield approaching the service centre, January 2017. Image © Huang Milton Collection |
||||
 |
Supplemental AD sign: Supplemental advance directional sign on Princes Fwy at Officer, near the bridge over Officer South Rd, January 2017. Image © Huang Milton Collection |
|||
 |
Advance Directional Sign: AD sign at Office for the interchange with Cardinia Rd, January 2017. Image © Huang Milton Collection |
|||
 |
Supplemental Advance Directional Sign: Supplemental AD sign at Office for the interchange with Cardinia Rd, January 2017. Image © Huang Milton Collection |
|||
 |
Cardinia Road Interchange: Princes Fwy at Officer at the Cardinia Rd Interchange, January 2017. Image © Huang Milton Collection |
|||
 |
Cardinia Road Interchange: Princes Fwy at Officer at the Cardinia Rd Interchange, September 2009. Image © Paul Rands |
|||
 |
Distance Sign: RD sign at Pakenham after the Cardinia Rd interchange, January 2017. Image © Huang Milton Collection |
|||
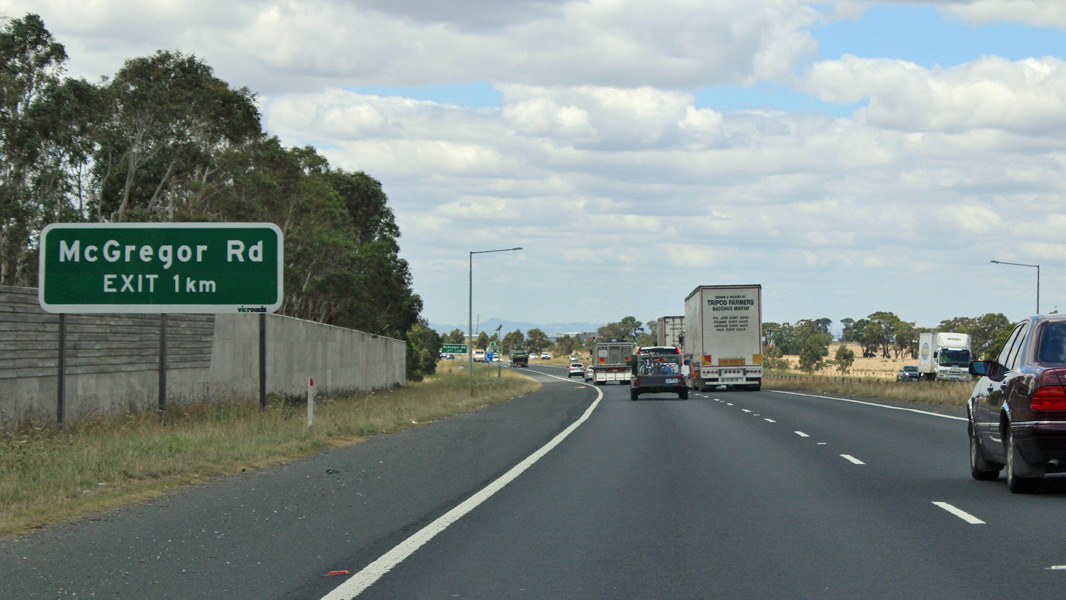 |
Advance Directional Sign: AD sign at Pakenham for McGregor Rd interchange, January 2017. Image © Huang Milton Collection |
|||
 |
Advance Directional Sign: AD sign at Pakenham for McGregor Rd interchange, January 2017. Image © Huang Milton Collection |
|||
 |
McGregor Road Interchange: Princes Fwy at Pakenham at the interchange with McGregor Rd, January 2017. Image © Huang Milton Collection |
|||
 |
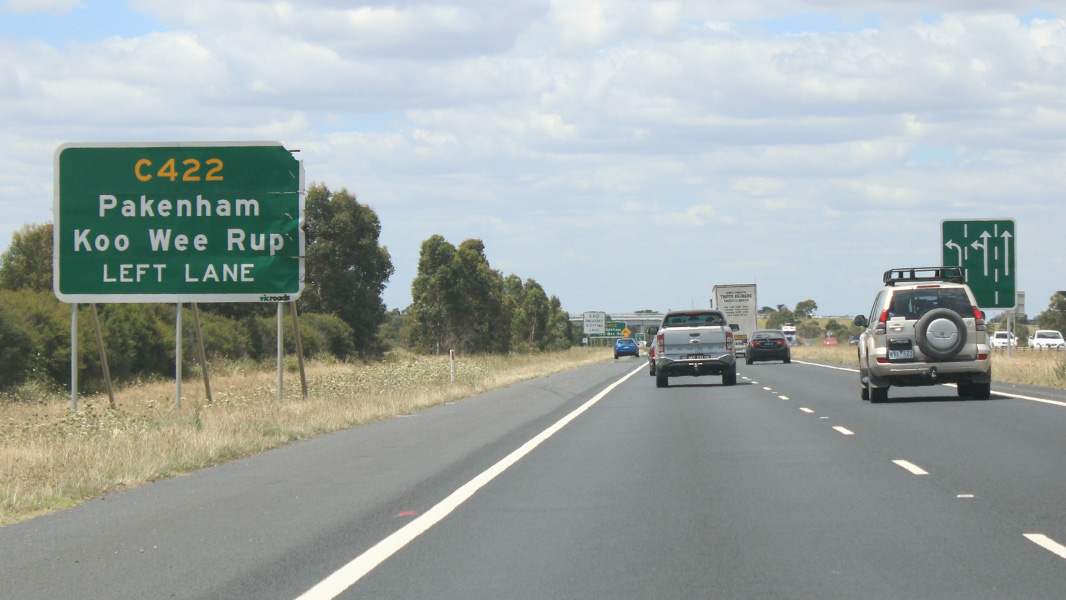
Advance Directional Sign: AD sign at Pakenham for the interchange with Koo Wee Rup Rd (C422), January 2017. Image © Huang Milton Collection |
|||
 |
Advance Directional Sign: AD sign at Pakenham for the interchange with Koo Wee Rup Rd (C422), January 2017. Image © Huang Milton Collection |
|||
 |
Koo Wee Rup Road Interchange: Princes Fwy (M1) at Pakenham at the Koo Wee Rup Rd (C422) interchange, January 2017. Image © Huang Milton Collection |
|||
 |
Koo Wee Rup Road Interchange: Princes Fwy (M1) at Pakenham at the Koo Wee Rup Rd (C422) interchange, January 2017. Image © Huang Milton Collection |
|||
 |
Pakenham Area: Princes Fwy as it makes its way through Pakenham, February 2008. Image © Phillip McCallum |
|||
 |
Distance Sign: RD sign at Pakenham near Bald Hill Rd, January 2017. Image © Huang Milton Collection |
|||
 |
Advance Directional Sign: AD sign at Nar Nar Goon approaching the interchange with Princes Hwy (C101) and Nar Nar Goon Rd (C433), January 2017. Image © Huang Milton Collection |
|||
 |
Advance Directional Sign: AD sign at Nar Nar Goon approaching the interchange with Princes Hwy (C101) and Nar Nar Goon Rd (C433), Janaury 2017. Click here for a photo by Paul Rands of this location from September 2009. Image © Huang Milton Collection |
|||
 |
Supplemental Advance Directional Sign: Supplemental AD sign at Nar Nar Goon approaching the interchange with Princes Hwy (C101) and Nar Nar Goon Rd (C433), January 2017. Image © Huang Milton Collection |
|||
 |
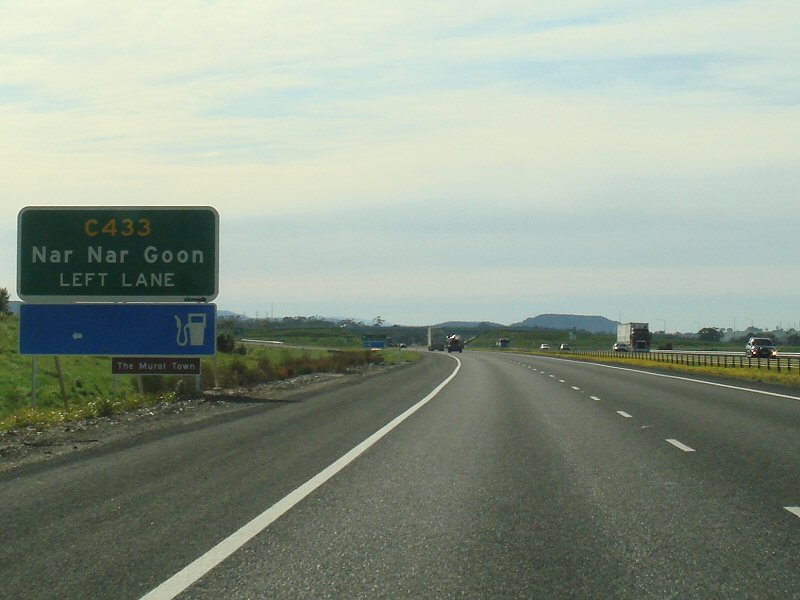
Princes Highway & Nar Nar Goon Road Interchange: Princes Fwy (M1) at Nar Nar Goon, at the interchange with Princes Hwy (C101) and Nar Nar Goon Rd (C433) Janaury 2017. Click here for a photo by Paul Rands of this location from September 2009. Click here for a photo of this sign from February 2008, taken by Phillip McCallum. Image © Huang Milton Collection |
|||
 |
Princes Highway & Nar Nar Goon Road Interchange: Princes Fwy (M1) at Nar Nar Goon, at the interchange with Princes Hwy (C101) and Nar Nar Goon Rd (C433), January 2017. Image © Huang Milton Collection |
|||
 |
Distance Sign: RD sign at Nar Nar Goon, January 2017. Image © Huang Milton Collection |
|||
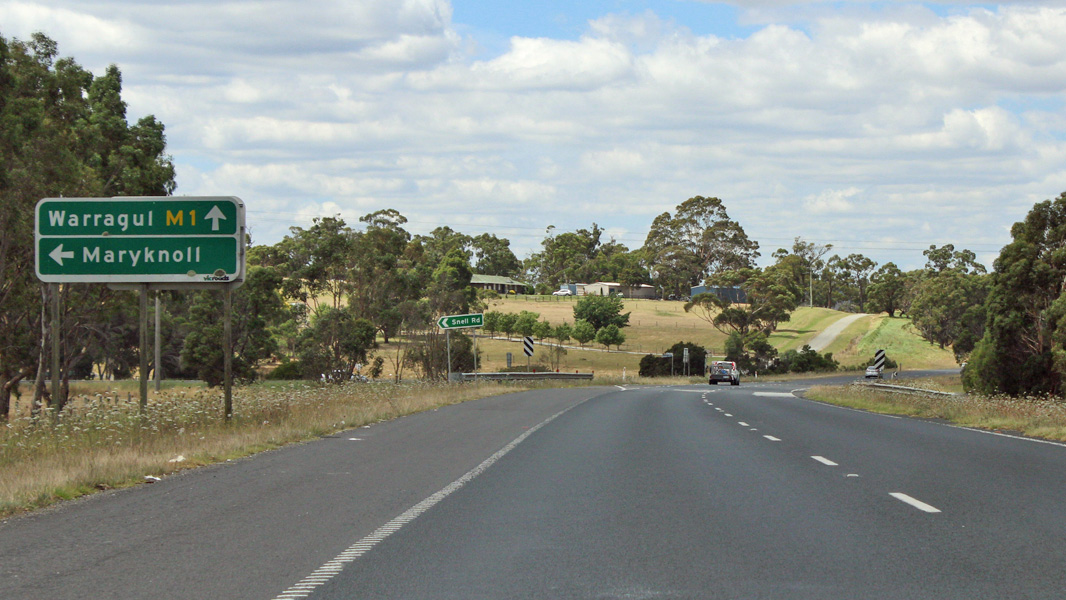 |
Advance Directional Sign: AD sign at Nar Nar Goon approaching Snell Rd, January 2017. Image © Huang Milton Collection |
|||
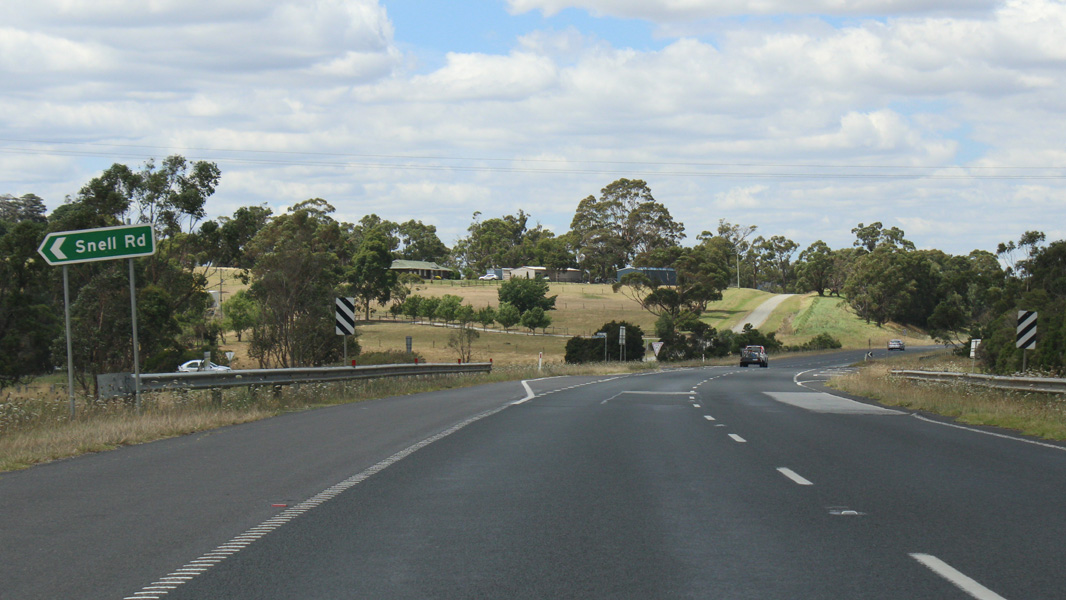 |
Snell Road Junction: Corner of Princes Fwy (M1) and Snell Rd at Nar Nar Goon, Janaury 2017. Click here for a photo by Paul Rands of this location from September 2009. Image © Huang Milton Collection |
|||
 |
Fogarty Road Junction: Corner of Princes Fwy (M1) and Fogarty Rd at Nar Nar Goon, January 2017. Image © Huang Milton Collection |
|||
| Click here for the continuation of M1 between Nar Nar Goon and Drouin Click here for the continuation of M1 between Mt Waverley and Berwick |
||||
1 Vicroads Road Management Plan, 30 October 2004
2 Viseth Uch
3 Office of the Minister For Transport, Media Release, Full Steam Ahead for Pakenham Bypass, 10 February, 2006
Last updated: 06-Jan-2020 13:46
This site © Paul Rands. All rights reserved. Some portions © (copyright) by their respective and credited owners. Permission must be obtained before using any images from this site. For details, please email by clicking here.