|
|
|
|
|
 |
Old Pacific Highway, Riou Street, Donnison Street, Mann Street, Pacific Highway & Central Coast Highway (State Route 83) - Wahroonga to Hawkesbury River (Decommissioned) |
Statistics:
Route Numbering:


General Information:
State Route 83 is the former National Route 1 from Hornsby in Sydney's northern suburbs to San Remo near Doyalson on the NSW Central Coast, tracing the pre-1960's route from Sydney to Newcastle. The Sydney to Gosford segment now forms an alternative / scenic route to the Sydney-Newcastle Freeway between Wahroonga and Calga.
The route varies from multi-lane suburban arterial, both divided and undivided, and single carriageway rural highway standard. The route features the striking Peats Ferry Bridge at Brooklyn, which crosses a wide section of the Hawkesbury River.
Peats Ferry Bridge: 2
Peats Ferry Road Bridge was designed by the Department of Main Roads. The bridge design incorporates two exceptional features for its day: (a) welding was used in place of riveting in the fabrication of all members in the two main truss spans and (b) the bridge piers are founded on very deep caissons to the river bed.
Each of the two main bridge spans measure 133 metres long (438 feet) and these were the longest welded truss spans in the world when built. The deck of the truss spans in concrete, cast around the truss members. The truss spans were fabricated off site and floated into position on barges, requiring a high degree of accuracy and coordination in fabrication and bridge pier setting out. To the north of the truss spans, the bridge has eight long and eight short steel girder spans.
Pier 2 supporting the main bridge spans is founded on a concrete caisson. The cutting foot of the caisson was cast on a barge in sheltered water and then floated out and sunk to the river bed within its own cofferdam. Jetting with compressed air and the addition of further sections of caisson then further sank the caisson. At one point the caisson accidentally slid under its own weight to below the water line. To recover this situation a further section had to be added by divers and the caisson pumped out, which is reputed to have taken a total of 9 months to recover. The final caisson extends 241 feet and 4 inches (73 m) below low water level, just 8 inches (20 cm) short of the world record depth for a bridge foundation at that time, held by Bay Bridge, San Francisco. Records show the remaining piers to be on precast concrete piles driven into the river bed.
The original railings to the east and west sides of the bridge spans were tubular top and bottom rails supported to steel angle standards with crimped wire mesh infill panels. These original rails still exist to the girder spans of the bridge. The rails to the two truss spans of the bridge were modified in 1966 by the removal of the tubular rails and crimped wire mesh and substitution with Armco type barriers bolted to the original steel angle standards. This is the only significant changed that has been made to the bridge structure since it opened in 1945.
The bridge has appeared in many television commercials and films. The most notable of these was an appearance in the motorcycle cult movie "Stone", filmed in 1973. In the film, almost 400 motorcyclists followed a sidecar-mounted coffin along the Pacific Highway and across the bridge. In 1998, a 25th anniversary ride attracted an estimated 32 000 riders.
History:
The highway traces its origins back to an early settler, George Peat, who owned the land between the Hawkesbury River and Mooney Mooney Creek. To provide access to his property, Peat began a ferry service across the Hawkesbury River in 1844 and surveyed, then constructed a road between Hornsby and Kariong in 1854. After his death in 1870, the ferry service was abandoned and the road fell into disrepair, finally closing to all traffic in 1899, following the completion of the Sydney-Newcastle railway. 3
Click here for photos of abandoned and bypassed sections of the original 1930s pavement at Cowan.
Click here for photos of abandoned and bypassed sections of the original 1930s pavement at Brooklyn.
| Preview: | Description: |
 |
Pearces Corner: Intersection directional sign facing Pacific Hwy (Metroad 1) traffic on Pearces Corner at Wahroonga. December 2008. Image © Paul Rands |
 |
Distance Sign: RD sign at Wahroonga, after the Pacific Hwy (Metroad 1) / Pennant Hills Rd (Metroad 7) junction. December 2008. Image © Paul Rands |
 |
Advance Directional Sign: Direct remake of an older black sign as you approach the intersection with College Crescent & Pretoria Parade in Hornsby. December 2008. Image © Paul Rands |
 |
College Crescent & Pretoria Parade intersection: ID sign and signals on the corner of Pacific Hwy / College Cr / Pretoria Pde in Hornsby. December 2008. SR83 turns right here. Image © Paul Rands |
 |
Advance Directional Sign: AD sign approaching Edgeworth David Avenue in Hornsby. SR83 goes straight here, onto George Street, which is in fact now part of the Pacific Highway, although most signs still show it going via the strip shopping precinct along High Street. December 2008. Image © Paul Rands |
 |
Intersection Directional Sign: ID sign on the intersection with Edgeworth David Avenue in Hornsby. December 2008. Image © Paul Rands |
 |
Diagrammatic Advance Directional Sign: Northbound at Hornsby (George St / Pacific Hwy) approaching Bridge Road. December 2008. Image © Paul Rands |
 |
Intersection Directional Sign: ID sign on the corner of Bridge Road and George Street in Hornsby, SR83 turns left here to cross the railway line. December 2008. Image © Paul Rands |
 |
Intersection Directional Sign: ID sign on Bridge Road in Hornsby looking west. SR83 turns right at this intersection onto Jersey Street North. December 2008. Image © Paul Rands |
 |
Intersection Directional Sign: ID sign on Bridge Road in Hornsby looking west. SR83 turns right at this intersection onto Jersey Street North. December 2008. Image © Paul Rands |
 |
Distance Sign: Northbound RD sign on Jersey St Nth in Hornsby, minus SR83 shield. December 2008. Image © Paul Rands |
 |
ID sign: Intersection directional sign on the corner of Jersey Street North and Old Pacific Highway in Hornsby, with remnant name patch and route number. SR83 no longer runs in the direction of the sign. December 2008. Image © Paul Rands |
 |
ID sign: Intersection directional sign on the corner of Jersey Street North and Old Pacific Highway in Hornsby. December 2008. Image © Paul Rands |
 |
Advance Directional Sign: AD sign approaching the junction for Belmont Pde in Mt Colah. December 2008. Image © Paul Rands |
 |
Intersection Directional Sign: ID sign at Belmont Pde in Mt Colah . December 2008. Image © Paul Rands |
 |
Distance Sign: RD sign after the Belmont Parade intersection. Note the use of F3 Freeway as a focal point on the sign. December 2008. Image © Paul Rands |
 |
Flashing Warning Sign: Warning sign that was installed during the 1980s that warns of red traffic signals beyond the crest at the Glenview Road intersection in Mt Kuring-Gai. December 2008. Image © Paul Rands |
 |
Rock Cutting: One of several rock cuttings through the Mt Kuring-Gai area, which were cut during the 1960s as part of works for the Sydney-Newcastle Tollway, now Freeway. December 2008. Image © Paul Rands |
 |
Rock Cutting: One of several rock cuttings through the Mt Kuring-Gai area, which were cut during the 1960s as part of works for the Sydney-Newcastle Tollway, now Freeway. December 2008. Image © Paul Rands |
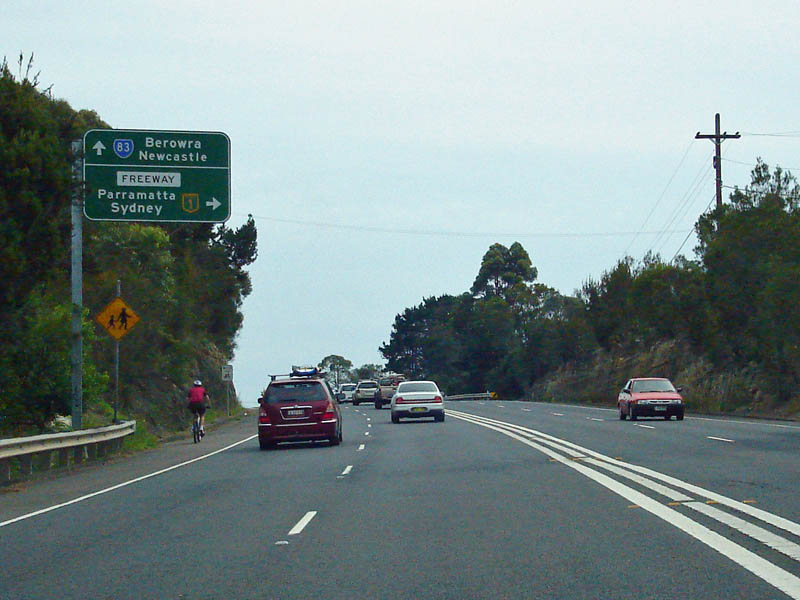 |
Advance Directional Sign: AD sign at Berowra approaching the intersection with the Windybanks Interchange with the Sydney-Newcastle Fwy. December 2008. Image © Paul Rands |
 |
Windybanks Interchange: Intersection directional sign at the entrance to the Windybanks Interchange, which leads to the Sydney-Newcastle Fwy at Berowra. December 2008. Image © Paul Rands |
 |
Advance Directional Sign: AD sign approaching Berowra Waters Rd (TD11) at Berowra. December 2008. Image © Paul Rands |
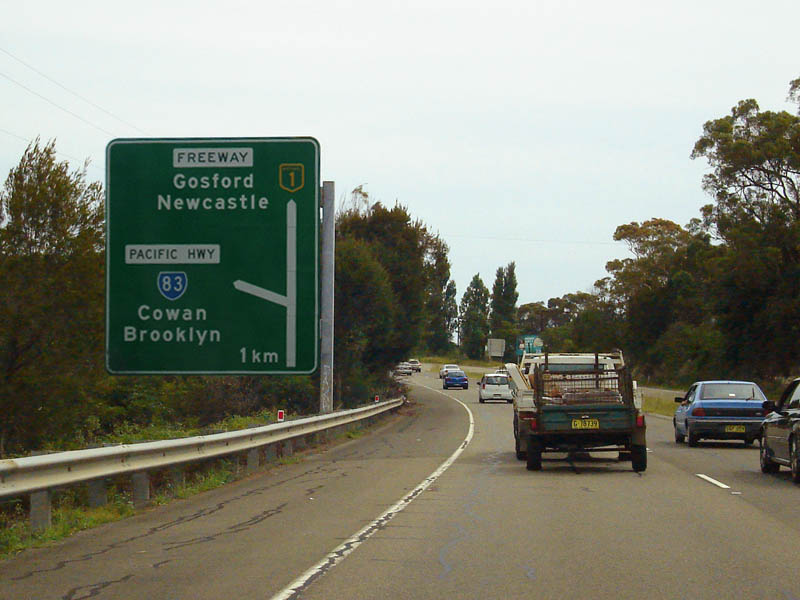 |
Advance Directional Sign: AD sign at Berowra approaching the interchange with Sydney-Newcastle Fwy, which was once the freeway's toll plaza. December 2008. Image © Paul Rands |
|
Sydney-Newcastle Freeway Interchange: Intersection Directional signs over the lanes at the interchange of Pacific Hwy (SR83) and Sydney-Newcastle Fwy (NH1) at Berowra. December 2008. Image © Paul Rands |
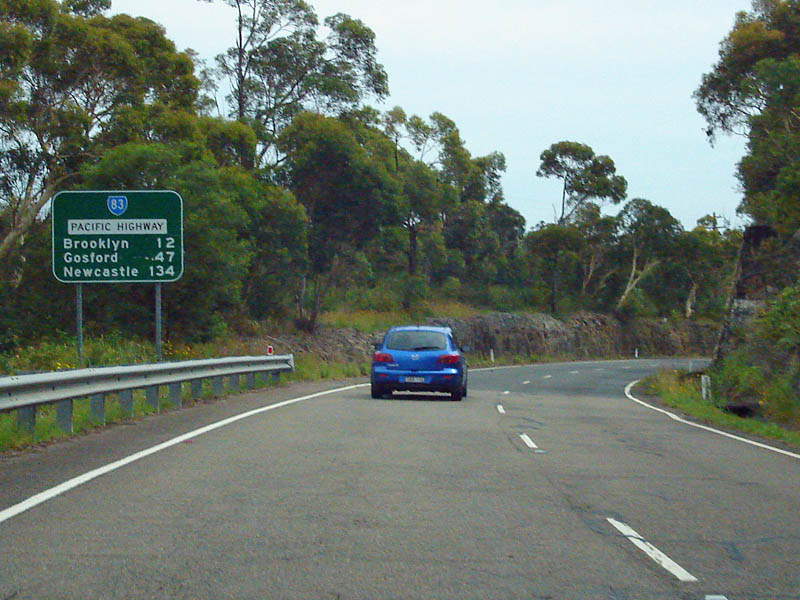 |
Distance Sign: RD sign at Cowan after the Sydney-Newcastle Fwy interchange. December 2008. Image © Paul Rands |
 |
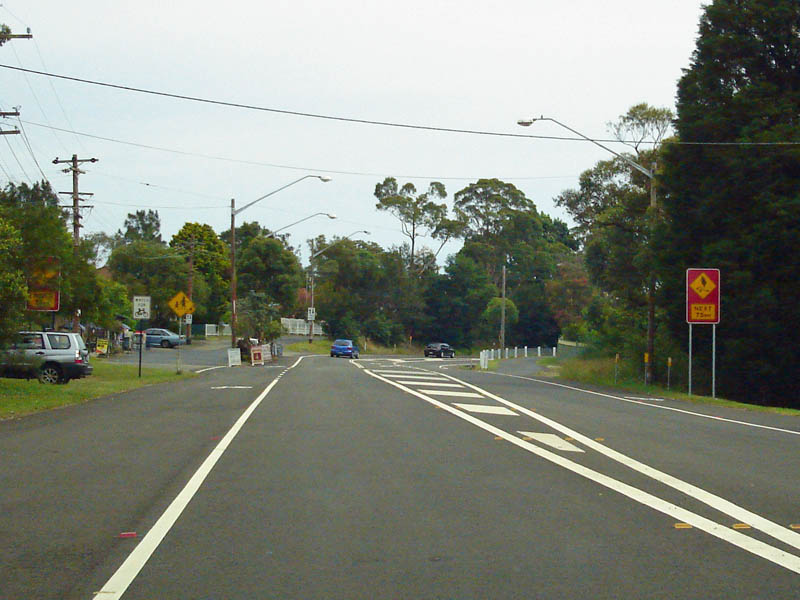
Cowan Town Centre: Northbound through the town of Cowan, this section of the highway used to be striped as 4 lanes. December 2008. Image © Paul Rands |
 |
Approaching Fraser Road: SR83 as it approaches Fraser Rd in Cowan. December 2008. Image © Paul Rands |
 |
Advance Directional Sign: AD sign approaching Brooklyn Road in Brooklyn. December 2008. Image © Paul Rands |
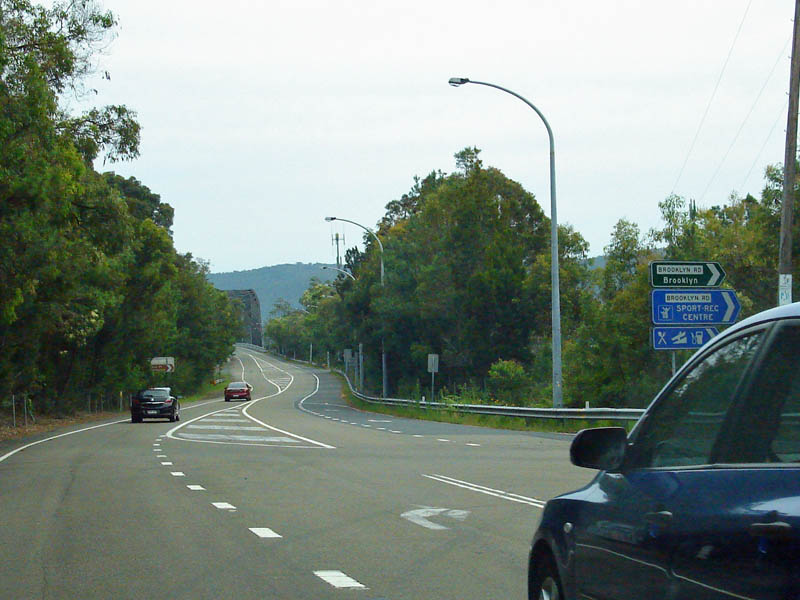 |
Brooklyn Road Intersection: Corner of Pacific Hwy and Brooklyn Rd in Brooklyn. December 2008. Image © Paul Rands |
 |
Peats Ferry Bridge: Peats Ferry Bridge over the Hawkesbury River at Brooklyn. Taken from the Kangaroo Point parking area, which is formed by part of the old Peats Ridge Ferry approach road. December 2008. Image © Paul Rands |
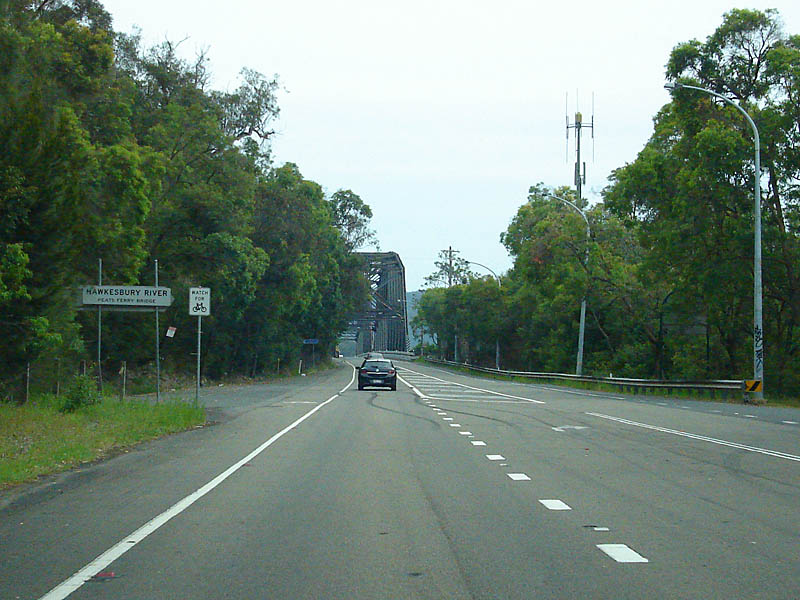 |
Approaching Peats Ferry Bridge: Northbound at Brooklyn approaching Peats Ferry Bridge. Note the extra pavement, left of the shot, that is a remnant from a temporary ramp from the Sydney-Newcastle Tollway on to the Peats Ferry Bridge before the freeway bridge was built alongside the original bridge. December 2008. Image © Paul Rands |
 |
Peats Ferry Bridge: Northbound at Brooklyn. Over the years this bridge has been used in numerous commercials and was once striped for 3 lanes of traffic. December 2008. Image © Paul Rands |
 |
Peats Ferry Bridge Deck: Northbound as the Peats Ferry Bridge crosses the Hawkesbury River at Brooklyn. December 2008. Image © Paul Rands |
| Click here for the continuation of SR83 between Hawkesbury River and Kariong | |
1 Roads & Traffic Authority, Schedule of Classified Roads (Version 2008)
2 Roads & Traffic Authority, Heritage and Conservation Register
3 Sam Laybutt (Ozroads)
4 Department of Main Roads, The Roadmakers
5 Department of Main Roads, Annual Report, 1956
6 Commissioner of Motor Transport, Annual Report, 1961
7 NSW State Coroner's Office, Inquest touching the death of Adam Holt, Roslyn Bragg, Travis Bragg, Madison Holt and Jasmine Holt.
Last updated: 17-Dec-2019 0:55
This site © Paul Rands. All rights reserved. Some portions © (copyright) by their respective and credited owners. Permission must be obtained before using any images from this site. For details, please email by clicking here.