|
|
|
|
|

|
Illawarra HIghway (National Route 48) - Robertson to Sutton Forest (Decommissioned) |
Statistics:
Route Numbering:


General Information:
The Illawarra Highway is a key link in the state's road network, connecting the Illawarra with the Southern Highlands, the Hume Highway and via the Hume Highway: Melbourne and southwestern New South Wales.
Consisting mostly of single carriageway undivided road, the route traverses Macquarie Pass, which is a narrow and windy section of road built to climb the Illawarra Escarpment. The route primarily services small rural and semi-rural communities.
Multiplexes along the route include:
| Robertson to Sutton Forest | Sutton Forest to Robertson | |||
| Preview: | Description: | Preview: | Description: | |
 |
McGraths Road: Illawarra Hwy (NR48) at the junction with McGraths Rd in Burrawang, April 2006. The old road between Robertson and Moss Vale used to travel via Burrawang's town centre. Image © Paul Rands |
 |
Black Advance Directional Sign: Black AD sign on Canyonleigh Rd at Sutton Forest approaching Hoddles Cross Roads, which is the interchange with Hume Hwy (NH31), April 2006. Image © Paul Rands |
|
 |
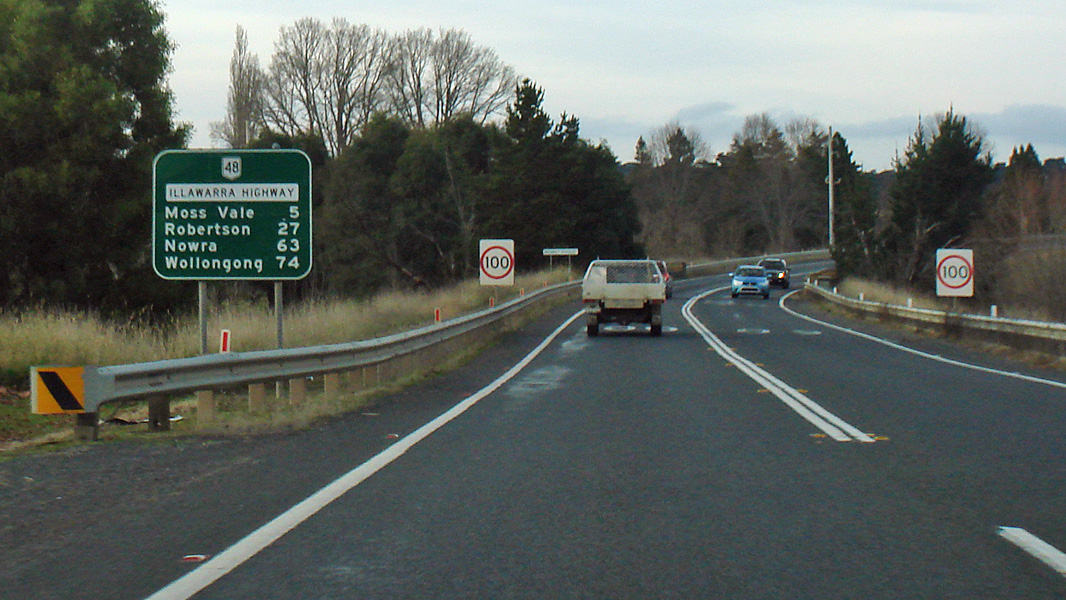
Distance Sign: Reassurance directional sign at Burrawang, April 2006. Image © Paul Rands |
 |
Hoddles Cross Roads: Hoddles Cross Roads at Sutton Forest, which is the interchange with Illawarra Hwy (NR48), Hume Hwy (NH31) and Canyonleigh Rd, April 2006. This is the western terminus of NR48. Image © Paul Rands |
|
 |
Church Street: Illawarra Hwy (NR48) junction Church St in Burrawang, April 2006. The old road between Robertson and Moss Vale used to travel via Burrawang's town centre. Image © Paul Rands |
 |
Intersection Directional Sign: ID sign on the Hume Hwy (NH31) (Hoddles Crossroads) interchange at Sutton Forest, June 2013. Image © Paul Rands |
|
 |
Alphanumeric RD Sign: RD sign on Illawarra Hwy (NR48) at Burrawang, December 2007. Click here for a photo from April 2006 of the old sign. Image © Paul Rands |
 |
Hoddles Cross Roads: Hoddles Cross Roads at Sutton Forest, which is the interchange with Illawarra Hwy (NR48), Hume Hwy (NH31) and Canyonleigh Rd, June 2013. Click here for a photo of this location from April 2006. This is the western terminus of NR48. Image © Paul Rands |
|
 |
Advance Directional Sign: AD sign at Avoca approaching Sheepwash Rd (SR80), April 2006. Image © Paul Rands |
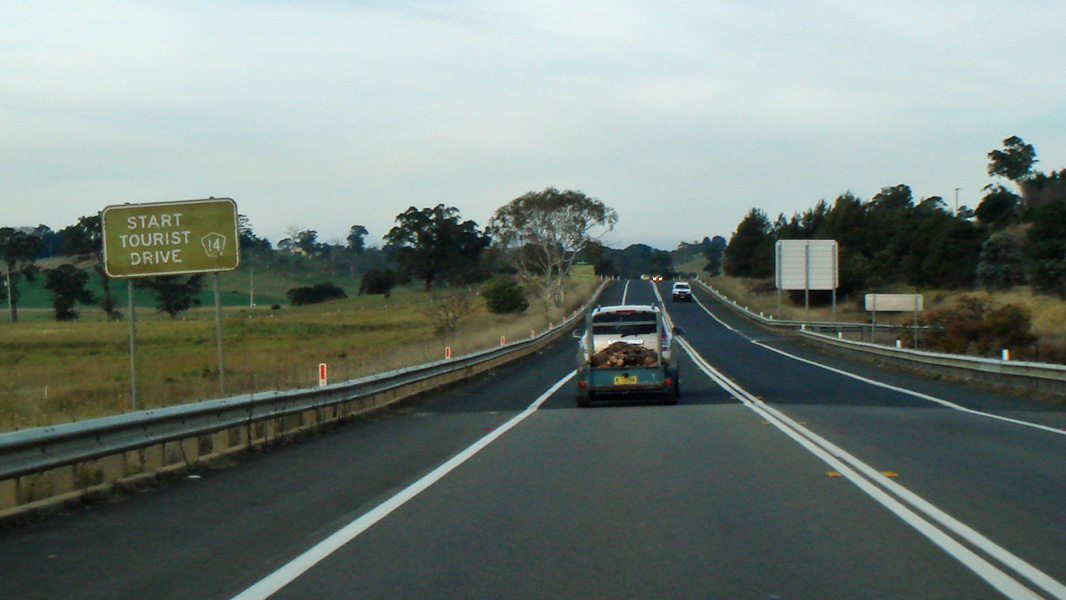 |
Start TD14: Sign denoting the start of Tourist Drive 14, Sutton Forest, June 2013. Image © Paul Rands |
|
 |
Sheepwash Road: Illawarra Hwy (NR48) at the Sheepwash Rd (SR80) intersection in Avoca, April 2006.The SR80 duplex ends at this junction. Image © Paul Rands |
 |
Reassurance Directional Sign: Tourism themed distance sign at Sutton Forest, June 2013. Image © Paul Rands |
|
 |
Advance Directional Sign: AD sign on the unnumbered section of Sheepwash Rd at Avoca approaching the SR80 section of Sheepwash Rd and Illawarra Hwy (NR48), April 2006. Image © Paul Rands |
 |
Reassurance Directional Sign: Distance sign at Sutton Forest, June 2013. Image © Paul Rands |
|
 |
Distance Sign: RD sign at Avoca after the Sheepwash Rd (SR80) junction, April 2006. Image © Paul Rands |
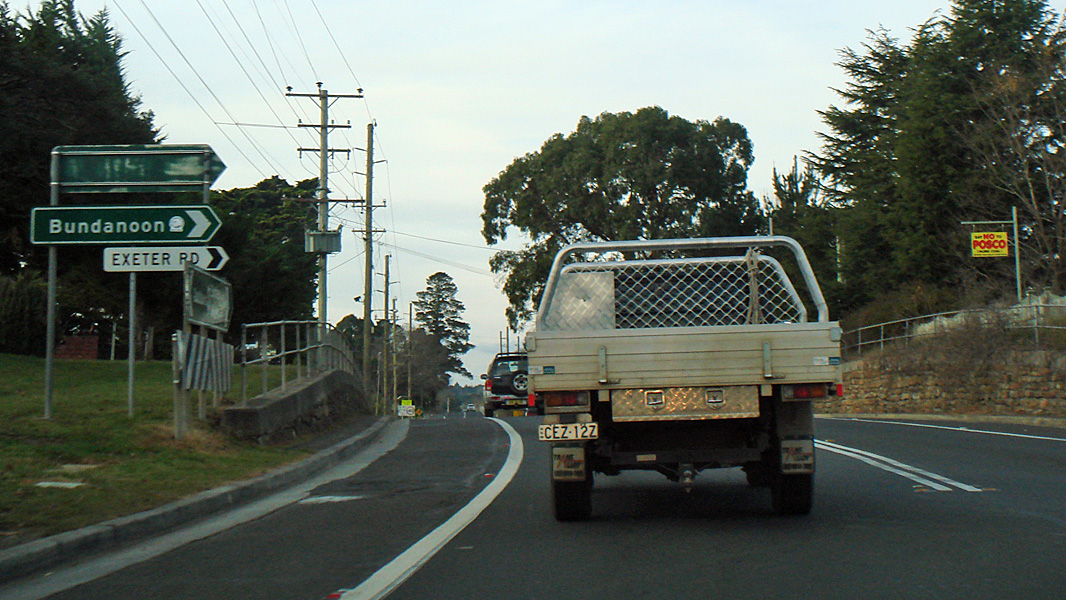 |
Exeter Road: Corner of Illawarra Hwy (NR48) and Exeter Rd, Sutton Forest, June 2013. Image © Paul Rands |
|
 |
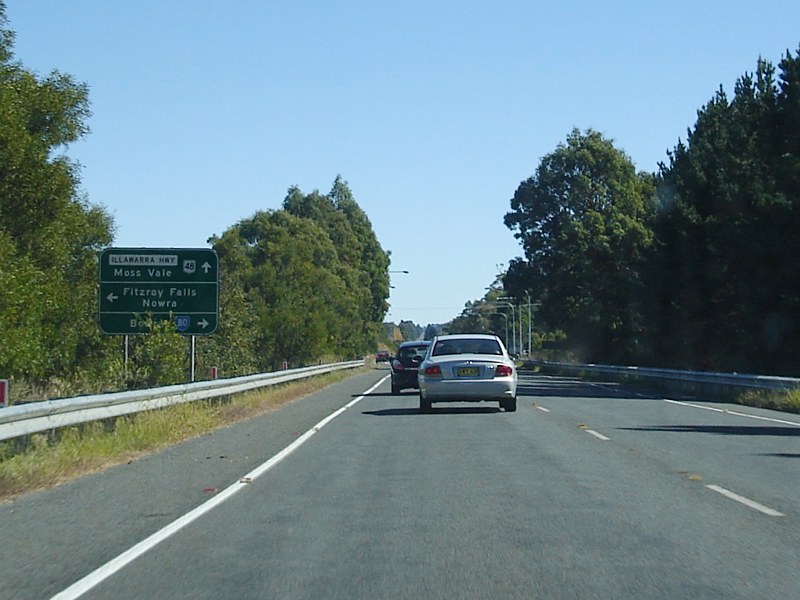
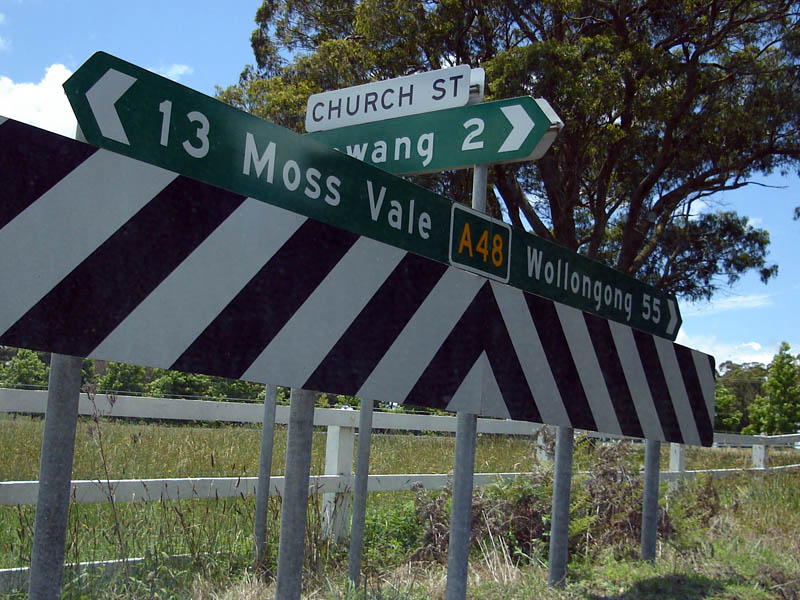
Advance Directional Sign: AD sign at Moss Vale approaching Nowra Rd (SR79), April 2006. The SR79 duplex starts at this junction. Image © Paul Rands |
 |
Reassurance Directional Sign: Distance sign at Sutton Forest, June 2013. Image © Paul Rands |
|
 |
Nowra Road: Illawarra Hwy (NR48) at the junction with Nowra Rd (SR79) in Moss Vale, April 2006. The SR79 duplex starts at this junction. Image © Paul Rands |
 |
Entering Moss vale: Illawarra Hwy (NR48) as it enters Moss Vale, June 2013. Image © Paul Rands |
|
 |
Entering Moss Vale: Illawarra Hwy (NR48) as it enters the Moss Vale town centre, April 2006. Image © Paul Rands |
 |
Advance Directional Sign: AD sign approaching Waite St (TD17) in Moss Vale, June 2013. Image © Paul Rands |
|
 |
Advance Directional Sign: AD sign at Moss Vale approaching Suttor Rd and Arygle St (SR79), April 2006. Image © Paul Rands |
 |
Moss Vale Town Centre Illawarra Hwy (NR48) as passes through Moss Vale, June 2013. The bridge is the Main Southern Railway. Image © Paul Rands |
|
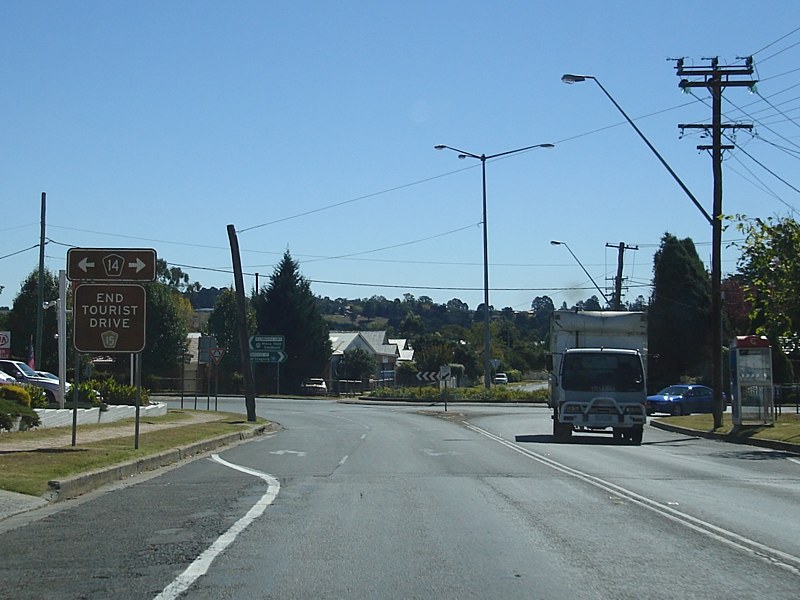 |
End Tourist Drive 15: Illawarra Hwy (NR48) at the junction with Suttor Rd & Argyle St (TD14) in Moss Vale, April 2006. The TD15 duplex ends at this intersection and the TD14 duplex starts at this junction. Image © Paul Rands |
 |
Moss Vale Town Centre: Illawarra Hwy (NR48) as passes through Moss Vale, April 2006. Image © Paul Rands |
|
 |
Suttor Road & Argyle Street: Illawarra Hwy (NR48) at the junction with Suttor Rd & Argyle St (TD14) in Moss Vale, April 2006. The TD15 duplex ends at this intersection and the TD14 duplex starts at this junction. Image © Paul Rands |
 |
Advance Directional Sign: AD sign at Moss Vale approaching Argyle St (SR79) and Suttor Rd, June 2013. NR48 turns right at this junction. Image © Paul Rands |
|
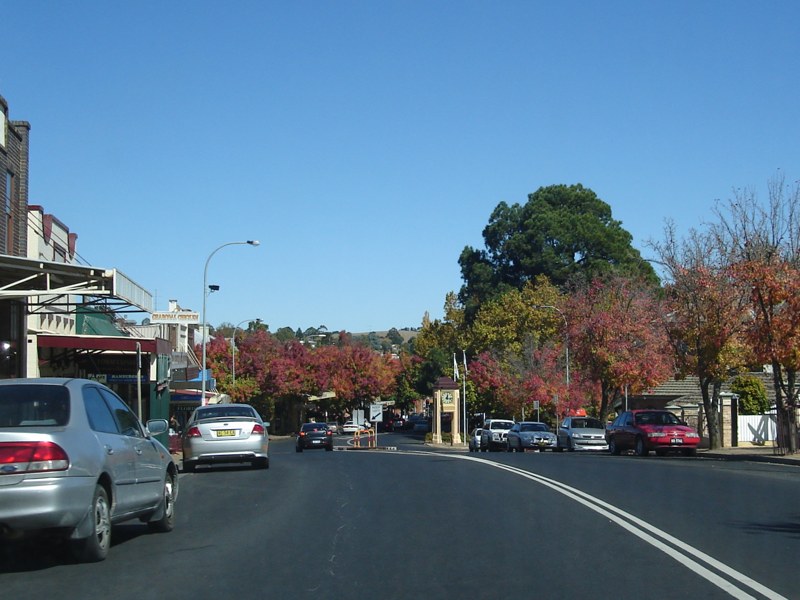 |
Moss Vale Town Centre: Illawarra Hwy (NR48) as passes through Moss Vale, April 2006. Image © Paul Rands |
 |
Start Tourist Drive 15: Start TD15 sign at Moss Vale, near the showground, June 2013. Image © Paul Rands |
|
 |
Moss Vale Town Centre: Illawarra Hwy (NR48) as passes through Moss Vale near White St, April 2006. Image © Paul Rands |
 |
Reassurance Directional Sign: Distance sign at Moss Vale, June 2013. Image © Paul Rands |
|
 |
Main Southern Railway: Illawarra Hwy (NR48) as it passes under the Main Southern Railway in Moss Vale, April 2006. Image © Paul Rands |
 |
Church Street: Illawarra Hwy (NR48) junction Church St in Burrawang, December 2007. Note the alphanumeric route number. Image © Paul Rands |
|
 |
Advance Directional Sign: AD sign approaching Waite St (TD17) in Moss Vale, April 2006. Image © Paul Rands |
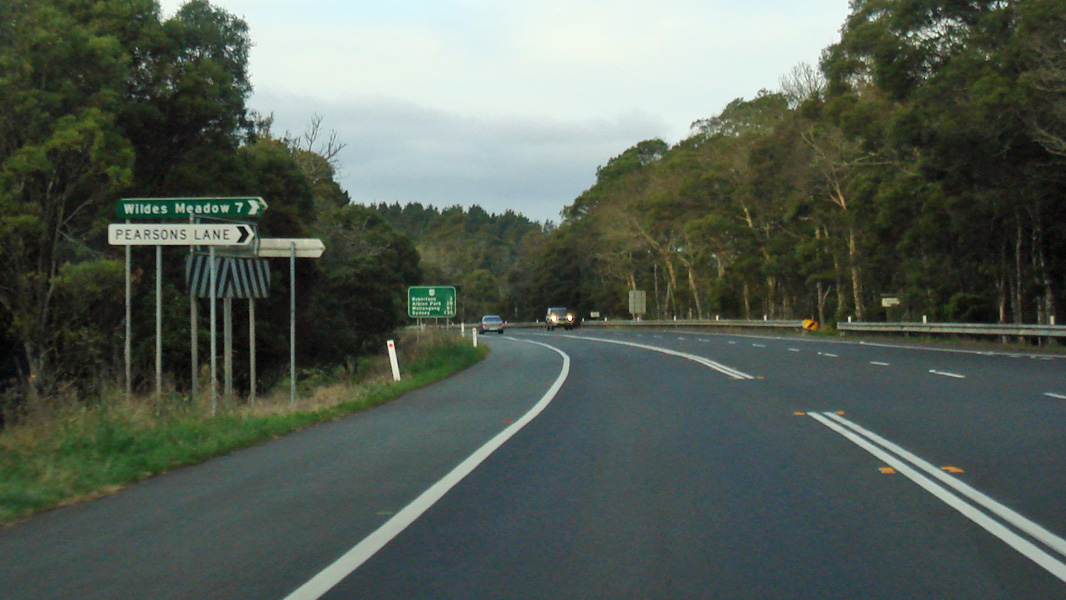 |
Pearsons Lane: Corner of Illawarra Hwy (NR48) and Pearsons Ln at Robertson, June 2013. Image © Paul Rands |
|
 |
Entering Sutton Forest: Illawarra Hwy (NR48) as it enters the town of Sutton Forest, April 2006. Image © Paul Rands |
 |
Advance Directional Sign: AD sign at Robertson approaching Caalong St (TD15), June 2013. Image © Paul Rands |
|
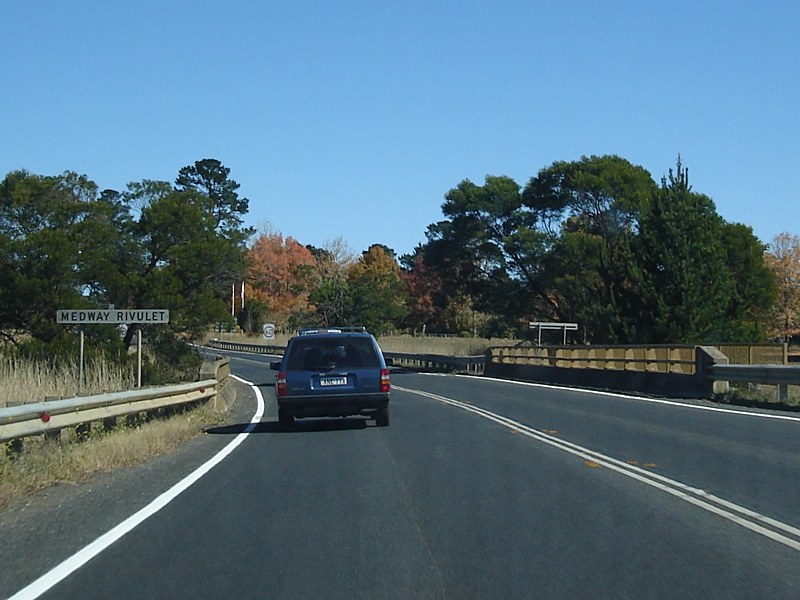 |
Medway Rivulet: Illawarra Hwy (NR48) as it crosses Medway Rivulet at Sutton Forest, April 2006. Image © Paul Rands |
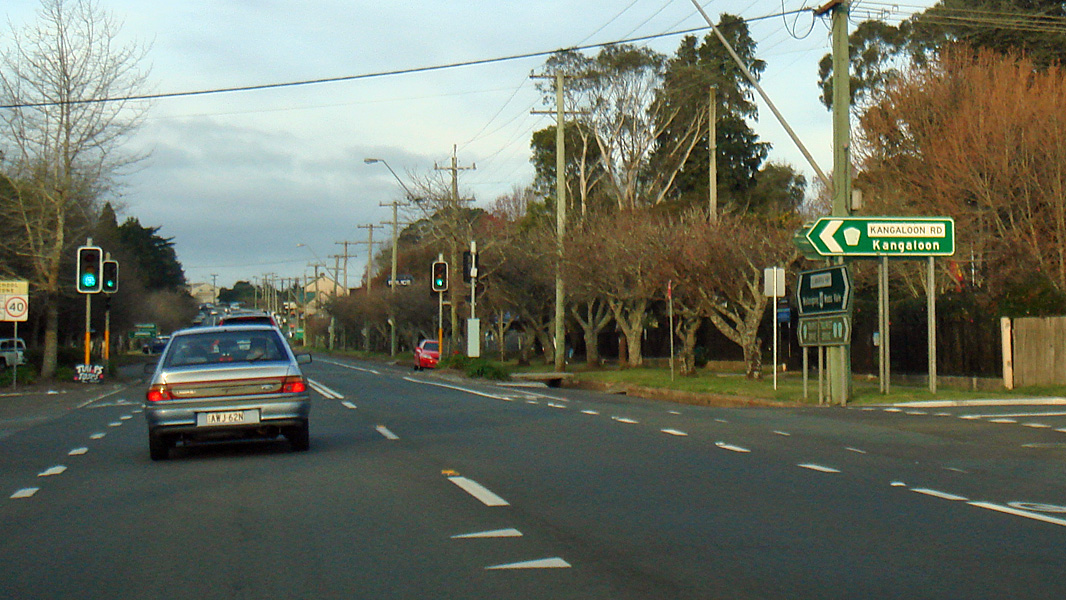 |
Kangaloon Road: Corner of Illawarra Hwy (NR48) and Kangaloon Rd at Robertson, June 2013. Image © Paul Rands |
|
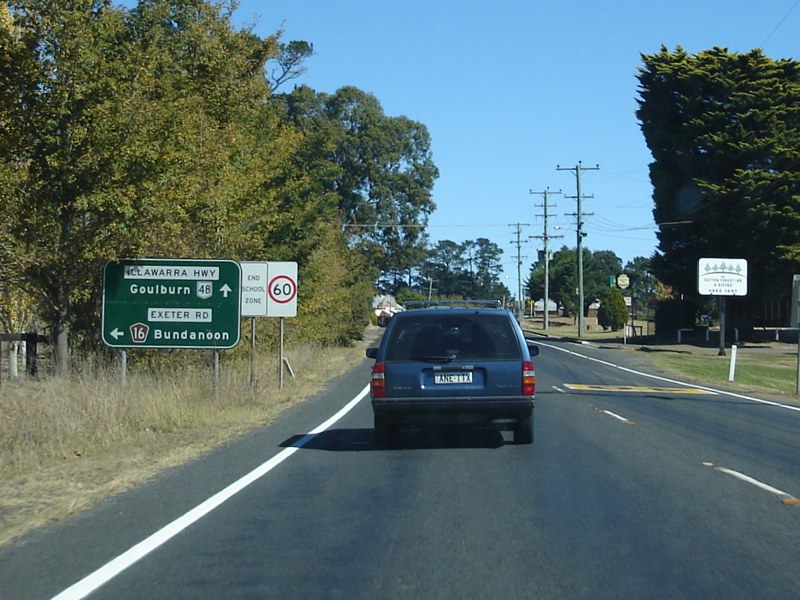 |
Advance Directional Sign: AD sign at Sutton Forest approaching Exeter Rd (TD16), April 2006. Image © Paul Rands |
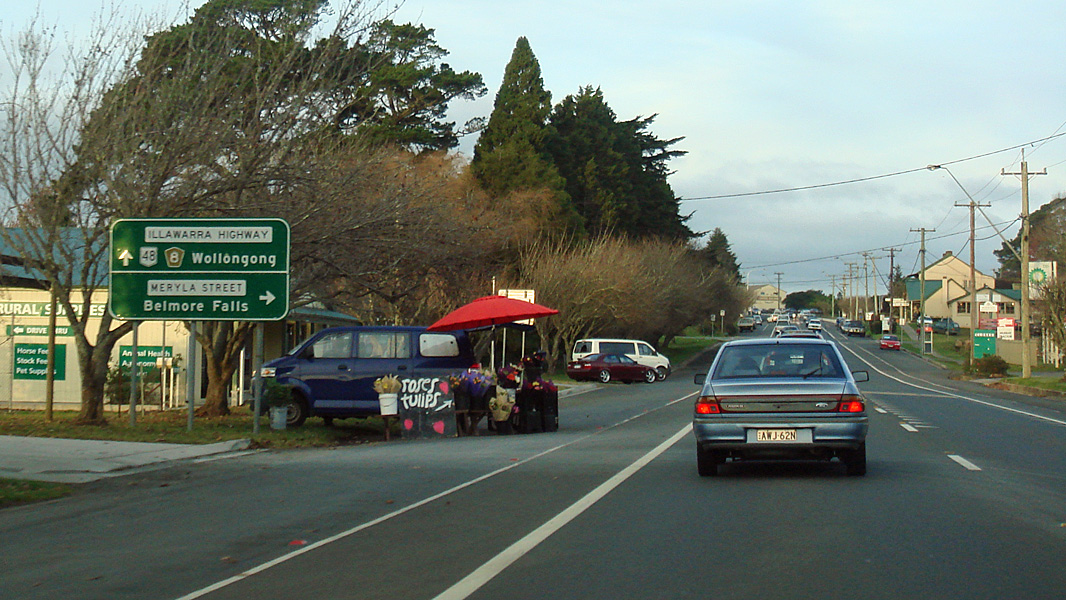 |
Advance Directional Sign: AD sign at Robertson approaching Meryla St, June 2013. Image © Paul Rands |
|
 |
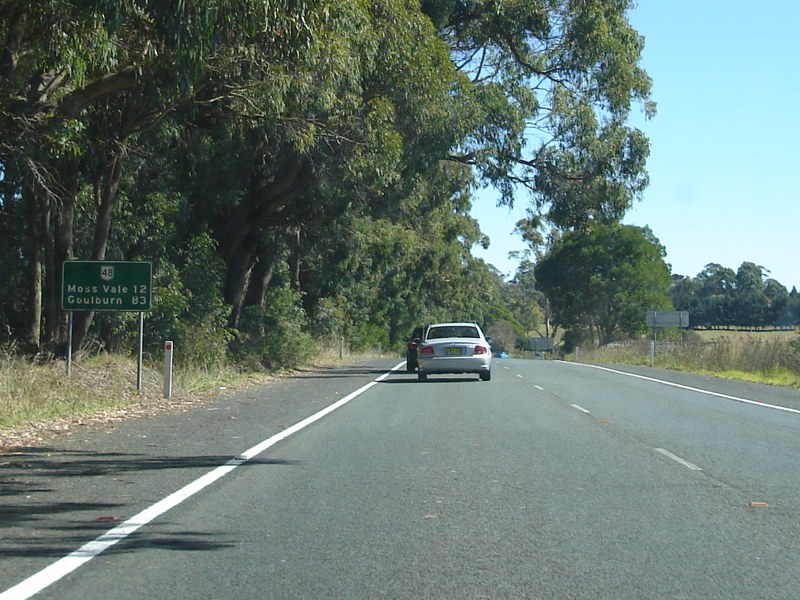
Distance Sign: RD sign as the Illawarra Hwy (NR48) as it leaves Sutton Forest, April 2006. Image © Paul Rands |
 |
Meryla St: Corner of Illawarra Hwy (NR48) and Meryla St in Robertson, June 2013. Image © Paul Rands |
|
 |
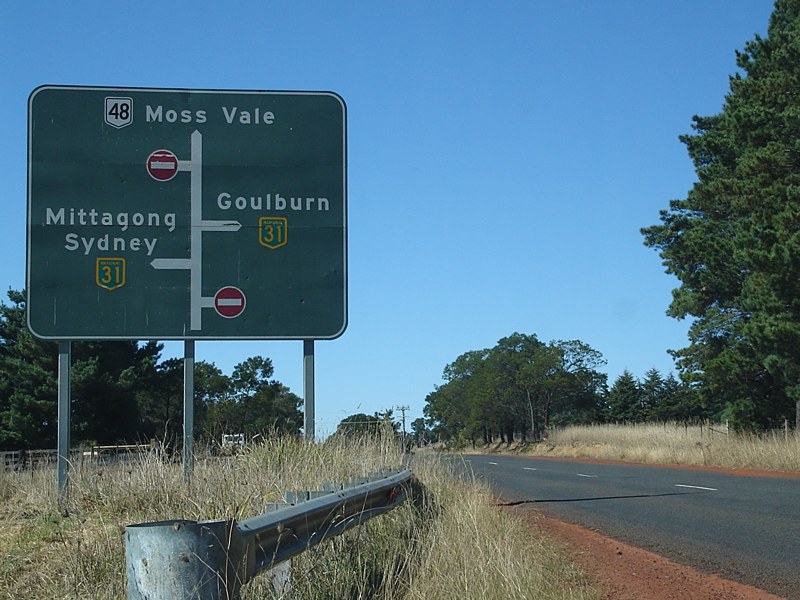
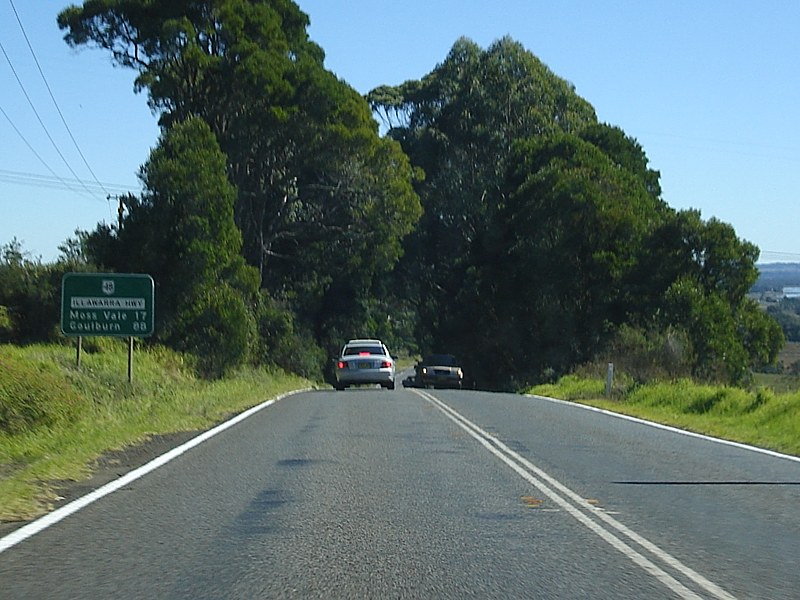
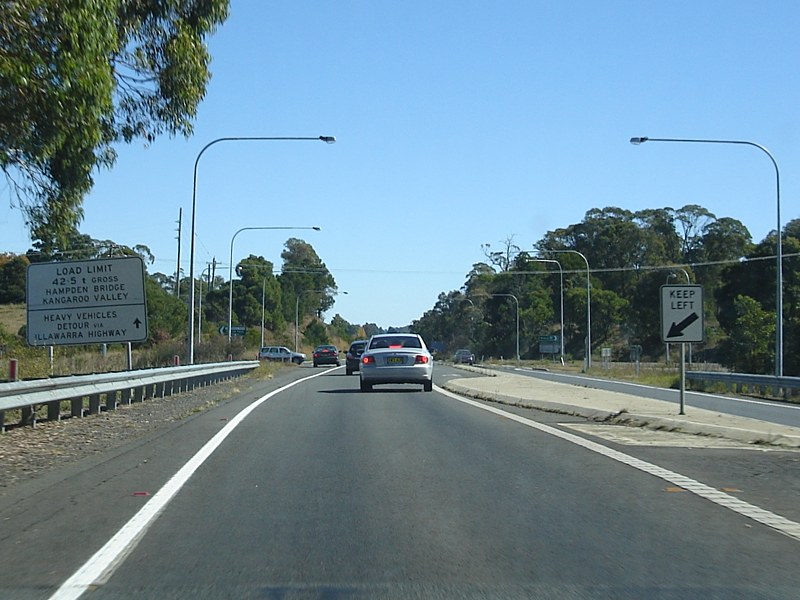
Advance Directional Sign: AD sign at Sutton Forest approaching Hoddles Cross Roads, which is the interchange with Hume Hwy (NH31) and Canyonleigh Rd, April 2006. Image © Paul Rands |
 |
Reassurance Directional Sign: Distance sign at the eastern end of Robertson town centre, June 2013. Image © Paul Rands |
|
 |
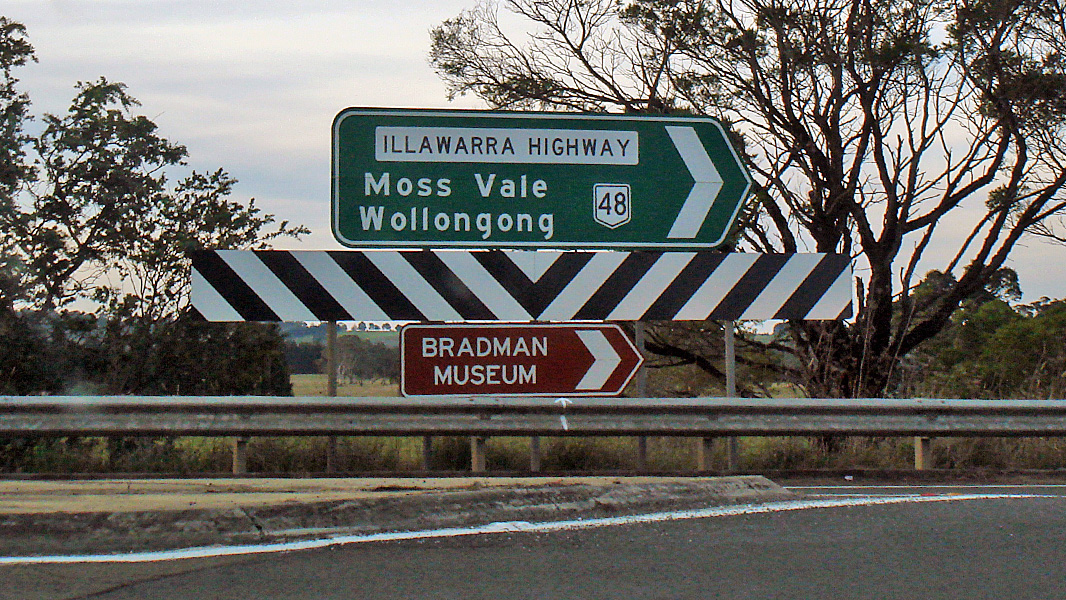
Hoddles Cross Roads: Illawarra Hwy (NR48) at Sutton Forest at Hoddles Cross Roads, which is the interchange with Hume Hwy (NH31) and Canyonleigh Rd, April 2006. This is the western terminus of NR48. Image © Paul Rands |
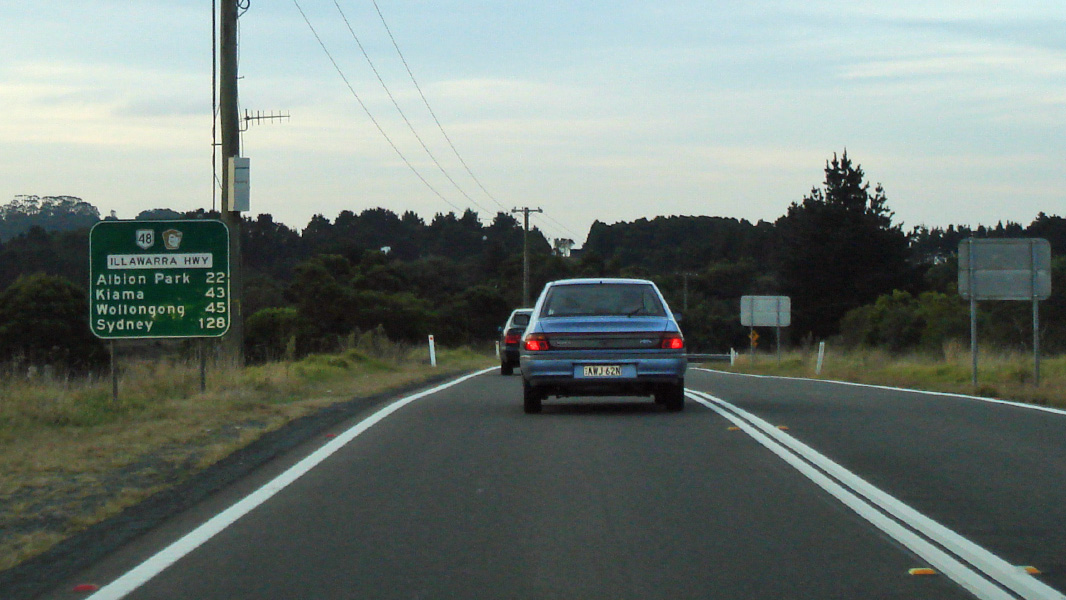 |
Reassurance Directional Sign: Distance sign after Jamberoo Mtn Rd at Robertson, June 2013. Image © Paul Rands |
|
 |
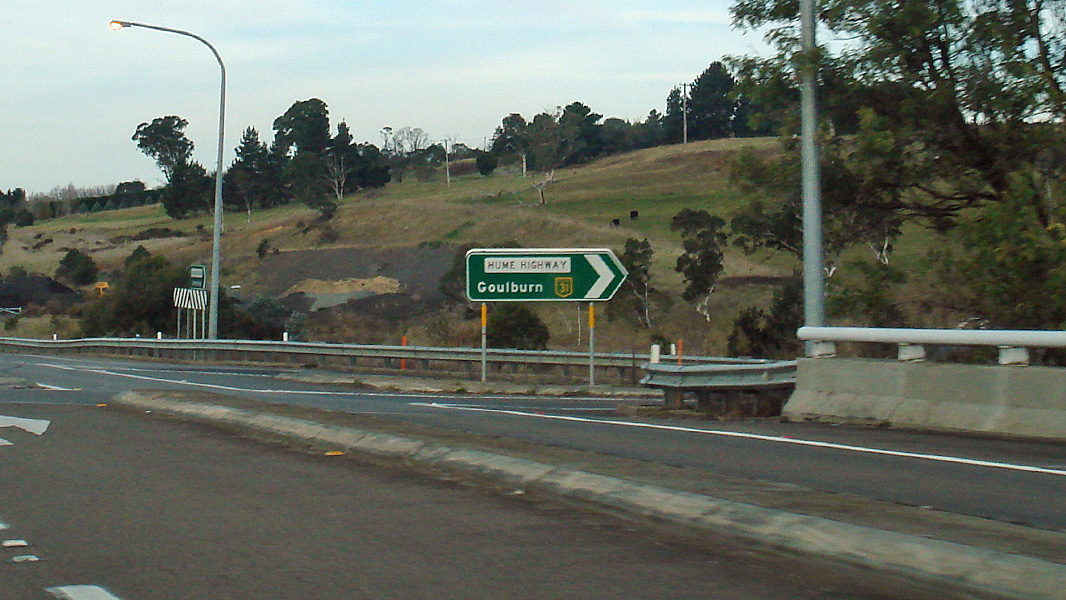
Hoddles Cross Roads: Illawarra Hwy (NR48) at Sutton Forest at Hoddles Cross Roads, which is the interchange with Hume Hwy (NH31) and Canyonleigh Rd, April 2006. This is the western terminus of NR48. Image © Paul Rands |
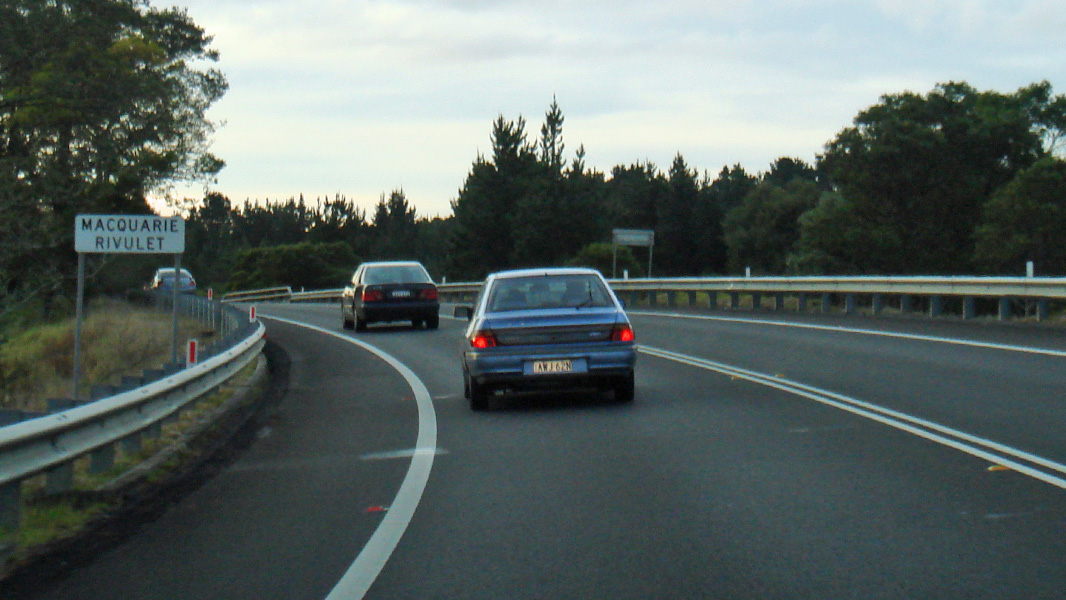 |
Macquarie Rivulet: Illawarra Hwy at Robertson as it crosses Macquarie Rivulet, June 2013. Image © Paul Rands |
|
 |
Hoddles Cross Roads: Illawarra Hwy (NR48) at Sutton Forest at Hoddles Cross Roads, which is the interchange with Hume Hwy (NH31) and Canyonleigh Rd, April 2006. This is the western terminus of NR48. Image © Paul Rands |
 |
Flashing Warning Sign: Flashing warning sign on Illawarra Hwy (NR48) at Robertson, June 2013. Image © Paul Rands |
|
| Click here for the continuation of National Route 48 between Robertson and Sutton Forest | ||||
1 Roads & Traffic Authority
Last updated: 26-Feb-2017 14:07
This site © Paul Rands. All rights reserved. Some portions © (copyright) by their respective and credited owners. Permission must be obtained before using any images from this site. For details, please email by clicking here.