|
|
|
|
|
 |
Western Distributor, The Crescent, City West Link, Dobroyd Parade, Wattle Street, Parramatta Road & Western Motorway (Metroad 4) - Sydney to Concord (Decommissioned) |
Statistics:
Route Numbering:

General Information:
Metroad 4 is the main route between the Blue Mountains and Sydney's western suburbs and Sydney's CBD. Except within the inner western suburbs of Sydney, the route parellels and in some cases uses one Australia's earliest road routes, Parramatta Road / Great Western Highway.
Road conditions vary from freeway standard through to suburban arterial. With a minimum of 2 lanes in each direction.
The route is duplexed with State Route 40 from Rozelle to Pyrmont.
The ANZAC Bridge opened in 1995 and was formerly the Glebe Island Bridge. (ANZAC stands for Australian and New Zealand Army Corps). 2
The bridge is the longest cable-stayed bridge in Australia, with a main deck length of 805 metres, including a 345 metre span between the towers. The two 128 metre towers support 128 cables, and is eight lanes wide. 2
On Remembrance Day, 11 November 1998, the New South Wales Government bestowed the bridge to the NSW Returned Serviceman’s League for re-naming as ‘The Anzac Bridge’ and unveiled a monument of a digger bowed in silent reflection. The monument is located at the western end of the bridge on the northern side. A second bronze statue, of a New Zealand digger, followed on the southern side in April 2008. 2
A handful of sand from Gallipoli rests under the foot of the digger as a permanent connection with comrades who fell and remain at the Gallipoli Battlefield in Turkey. 2
The Western Distributor is a network of motorway feeder roads linking the Sydney Harbour Bridge, Sydney CBD, Cross City Tunnel to the main arterial roads to the Western suburbs of Sydney, such as Parramatta Road (via City West Link) and Victoria Road (SR40).
When it was built, it was intended to be the southern end of the F3 Freeway, as it was where the North West Freeway was planned to finish, however due to protests from inner city residents, this plan never came to fruition. The Western Distributor was opened in stages starting in September 1972 1
History:
The photos below are of the Western Distributor. The section from the Sydney Harbour Bridge through to Pyrmont is not numbered, however, simply points to Metroad 4. 1
Some signs label it as "To Metroad 4" and others simply as Metroad 4, most likely for consistency.
| Western Distributor (Non Metroad 4) | |
| Preview: | Description: |
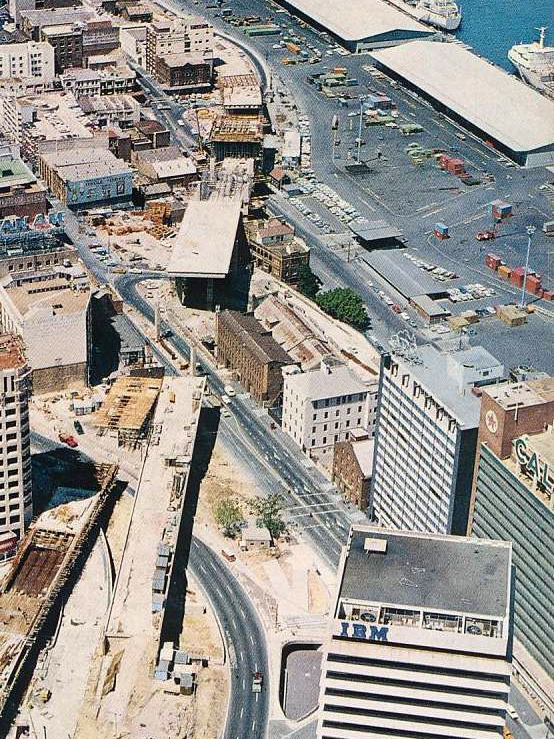 |
Western
Distributor Construction: Construction photo of the Western Distributor in Sydney and also Day Street. 1972. Image © DMR, supplied by Tiptruck |
 |
Tolls: The Western Distributor starts just after the Sydney Harbour Bridge toll plaza, shown here, September 2006. Image © Paul Rands |
 |
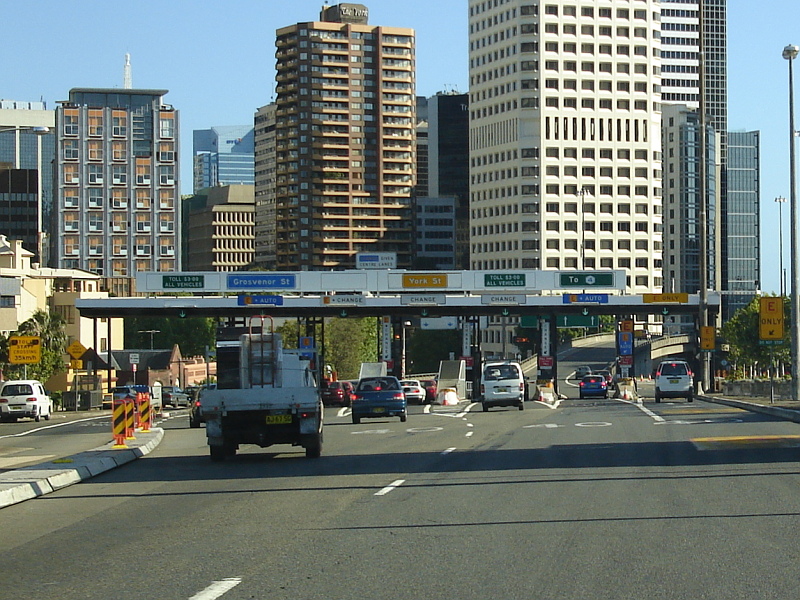
Sign
Gantry: Southbound through the interchange with York and Grosvenor Streets in Millers Point. September 2006. Image © Paul Rands |
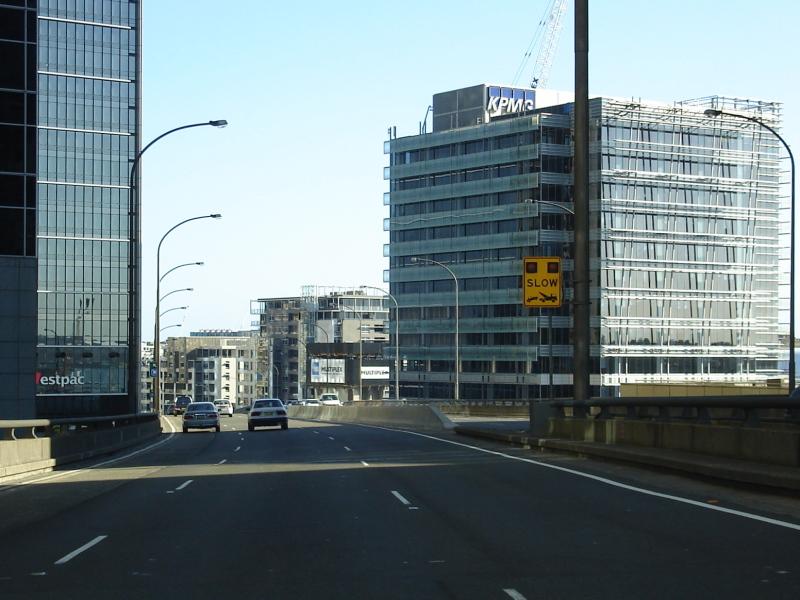 |
Southbound in the Sydney CBD: Image © Paul Rands |
 |
Southbound at Darling Harbour: Image © Paul Rands |
 |
Approaching Market Street
Overpass: Image © Rob Tilley |
 |
Tunnel: Southbound on the Western Distributor as it passes under the IBM building near Darling Harbour, September 2006. Image © Paul Rands |
 |
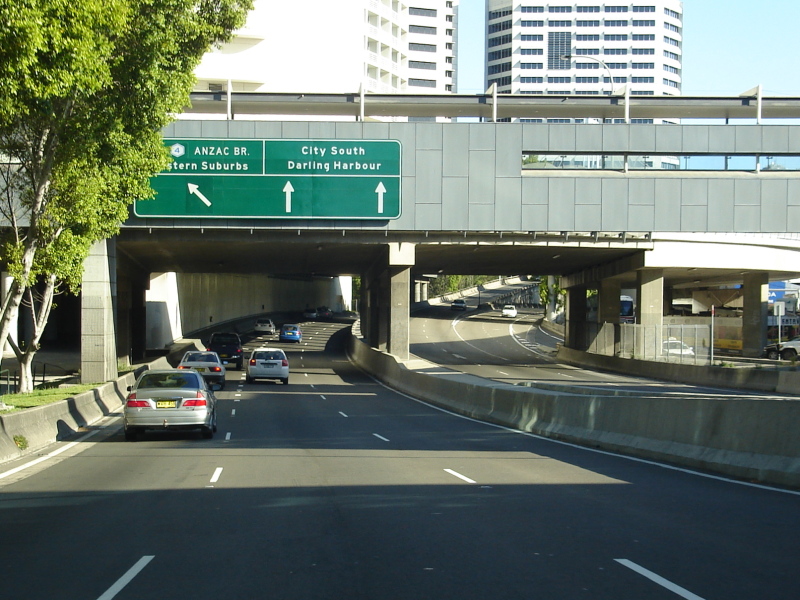
Druitt
Street Underpass: Still on the Western Distributor as it passes under Druitt Street to head west, September 2006. Image © Paul Rands |
The photos below are of the actual Metroad 4 section from Pyrmont to Concord.
| Pyrmont to Concord | Concord to Pyrmont | |||
| Preview: | Description: | Preview: | Description: | |
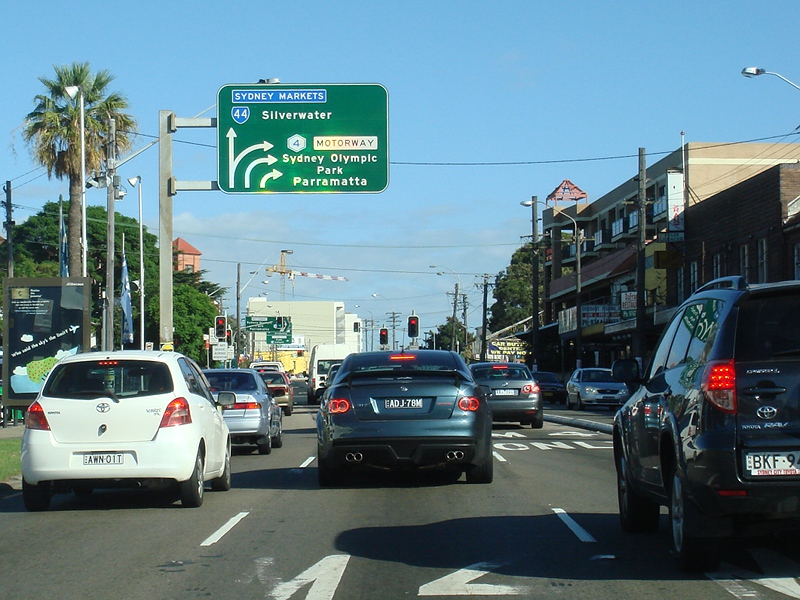
 |
Harris Street Interchange: Image © Rob Tilley |
 |
Gantry on Parramatta Road, Five Dock: April 2005, this photo is of the Wattle Street / City West Link Signage on Parramatta Road, eastbound. Image © Paul Rands |
|
 |
Advance Directional Sign: Image © Rob Tilley |
 |
Parramatta Road intersection: Image © Paul Rands |
|
 |
Supplemental Advance Directional Sign: Supplemental AD sign approaching Pyrmont Bridge Rd at Pyrmont, July 2013. Image © Paul Rands |
 |
Metroad
4 Trailblazer: Eastbound near Hawthorne Canal, September 2006. Image © Paul Rands |
|
 |
Pyrmont Bridge Road Interchange: Looking northwest at Pyrmont, September 2006. Image © Paul Rands |
 |
Supplementary
AD Sign: Sign giving directions to Balmain via Balmain Road, eastbound at Leichhardt, September 2006. Image © Paul Rands |
|
 |
ANZAC Bridge: Westbound approaching ANZAC Bridge (formerly Glebe Island Bridge) at Pyrmont. September 2006. Image © Paul Rands |
 |
Norton
Street AD: Advance directional sign for Norton Street in Leichhardt, taken from the James Street signals, September 2006. Image © Paul Rands |
|
 |
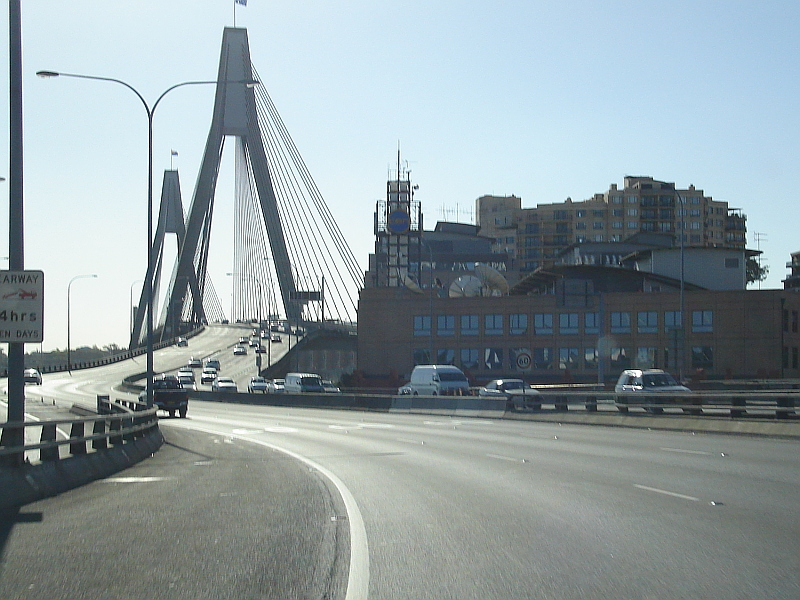
ANZAC
Bridge: Westbound on the deck of the ANZAC Bridge at Pyrmont. September 2006. Image © Paul Rands |
 |
Approaching
Balmain Road: Eastbound approach and AD sign at Lilyfield, September 2006. Image © Paul Rands |
|
 |
Statue: One of the commemorative statues that flank ANZAC Bridge, Rozelle, November 2010. Image © Rob Tilley |
 |
Balmain
Road intersection: Eastbound at Lilyfield, September 2006. Image © Paul Rands |
|
 |
Victoria Road & The Crescent: Victoria Rd (Metroad 4) approaching The Crescent (Metroad 4) and the SR40 section of Victoria Rd at Rozelle, November 2010. Click here for a photo of this location from September 2006. Image © Paul Rands |
 |
View of the Sydney Skyline: Spectacular eastbound view of the Sydney Skyline near the Balmain Road intersection at Lilyfield, September 2006. Image © Paul Rands |
|
 |
Victoria Road & The Crescent: Intersection directional sign at junction of Victoria Rd (Metroad 4) approaching The Crescent (Metroad 4) and the SR40 section of Victoria Rd at Rozelle, November 2010. Image © Rob Tilley |
 |
Advance
Directional Sign: Citybound AD sign approaching the intersection with The Crescent at Lilyfield, September 2006. Image © Paul Rands |
|
 |
Supplemental Advance Directional Sign: Supplemental AD sign at Rozelle approaching James Craig Rd, July 2013. Image © Paul Rands |
 |
Advance
Directional Sign: Citybound AD sign on the City West Link near the intersection with The Crescent at Lilyfield, September 2006. Image © Paul Rands |
|
 |
Advance Directional Sign: AD sign at Rozelle approaching James Craig Rd, July 2013. Image © Paul Rands |
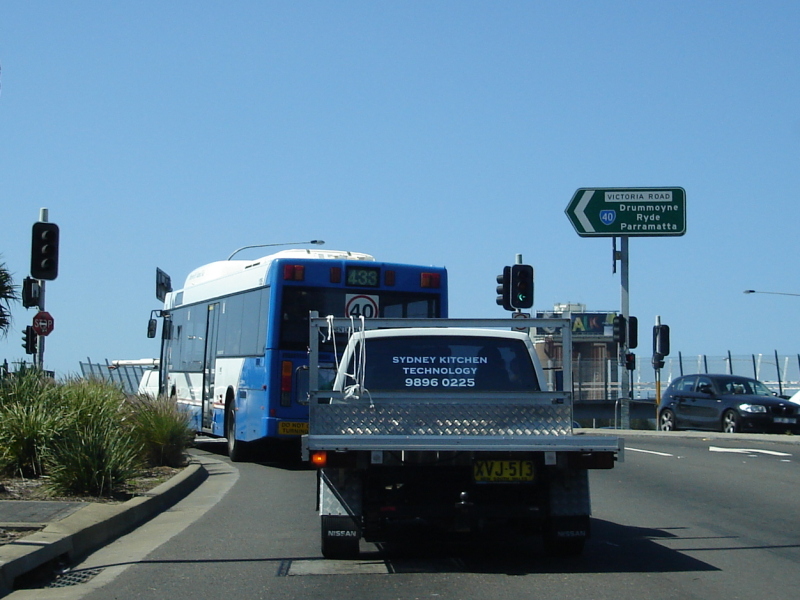 |
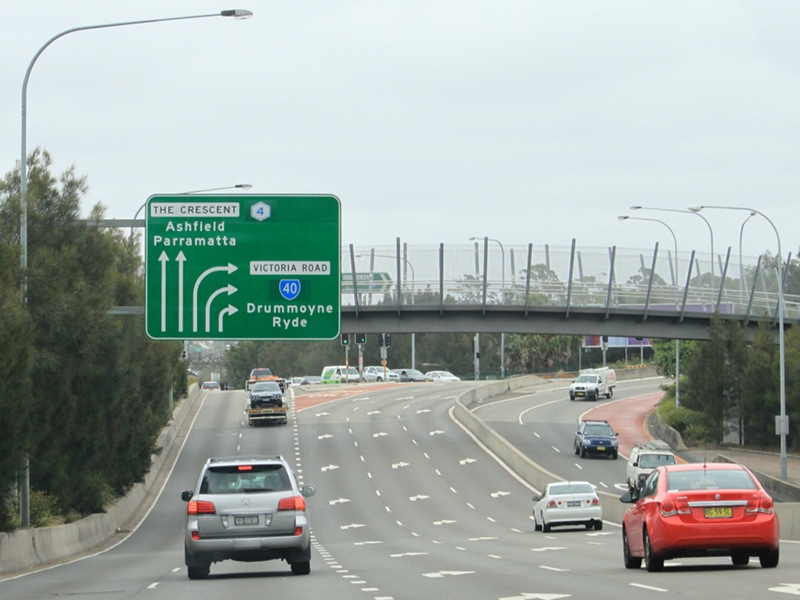
Victoria
Road Intersection: Heading northeast from City West Link onto SR40, September 2006. Image © Paul Rands |
|
 |
James Craig Road: Corner of The Crescent and James Craig Rd at Rozelle, July 2013. Image © Paul Rands |
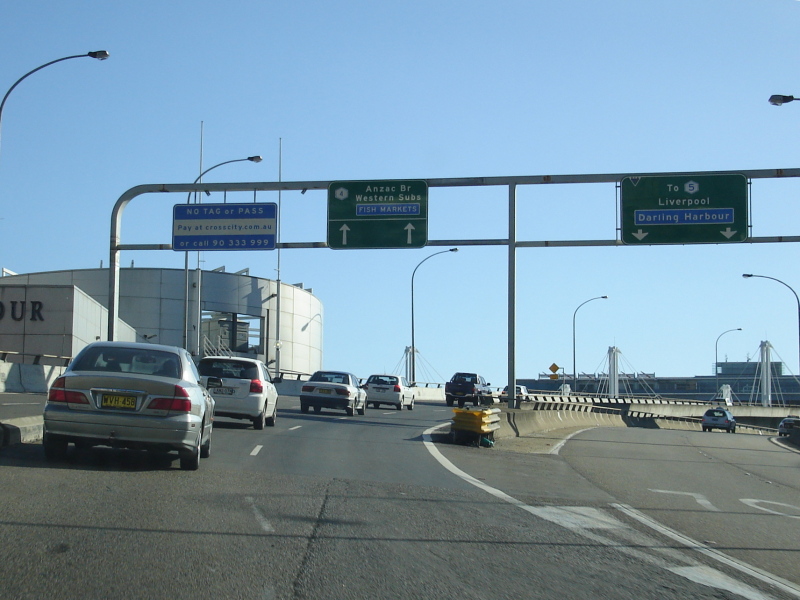
 |
ANZAC
Bridge: Eastbound at Pyrmont as you cross the ANZAC Bridge, June 2007. Image © David Whiteman |
|
 |
Advance Directional Sign: AD sign on The Crescent (Metroad 4) approaching the unnumbered section of The Crescent and City West Link (Metroad 4) at Rozelle, November 2010. Image © Rob Tilley |
 |
Intersection
Directional Sign: Variable lane allocation signage at Pyrmont, as you approach the Cross City Tunnel & Bathurst Street. August 2007. Image © David Whiteman |
|
 |
The Crescent & City West Link: Metroad 4 section of The Crescent at the unnumbered section of The Crescent and City West Link (Metroad 4) at Rozelle, November 2010. Image © Rob Tilley |
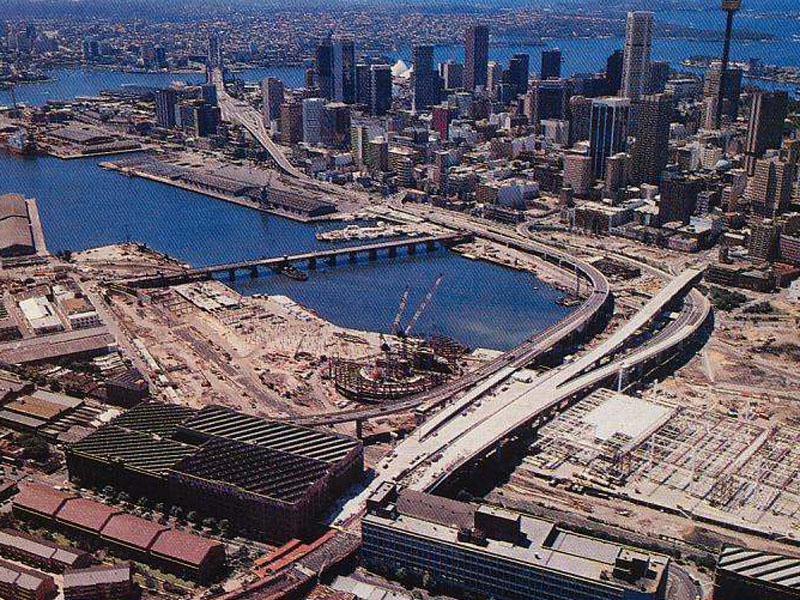 |
Early
Western Distributor Photo: Aerial shot of the Western Distributor as it passes over Ultimo, from the early 1980s. Image © DMR, supplied by Tiptruck |
|
 |
Typical Conditions: Typical road scene along the City West Link at Lilyfield, September 2006. Image © Paul Rands |
|||
 |
Advance Directional Sign: Image © Paul Rands |
|||
 |
Advance Directional Sign: Large AD sign approaching the Balmain Road intersection at Lilyfield, September 2006. Image © Paul Rands |
|||
 |
Norton Street Intersection: Looking in a westerly direction as you approach the Norton Street junction, with James Street in the distance, November 2010. Image © Rob Tilley |
|||
 |
Intersection Directional Sign: ID sign at the James Street junction in Leichhardt, November 2010. Image © Rob Tilley |
|||
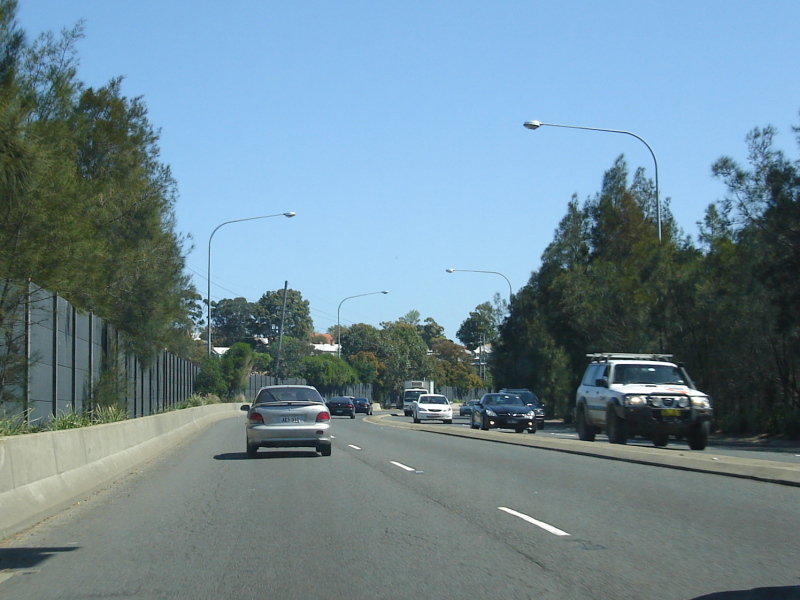
 |
Typical Conditions: Westbound on City West Link as you approach Iron Cove near the Hawthorne Canal at Haberfield, September 2006. Image © Paul Rands |
|||
 |
Advance Directional Sign: Image © Paul Rands |
|||
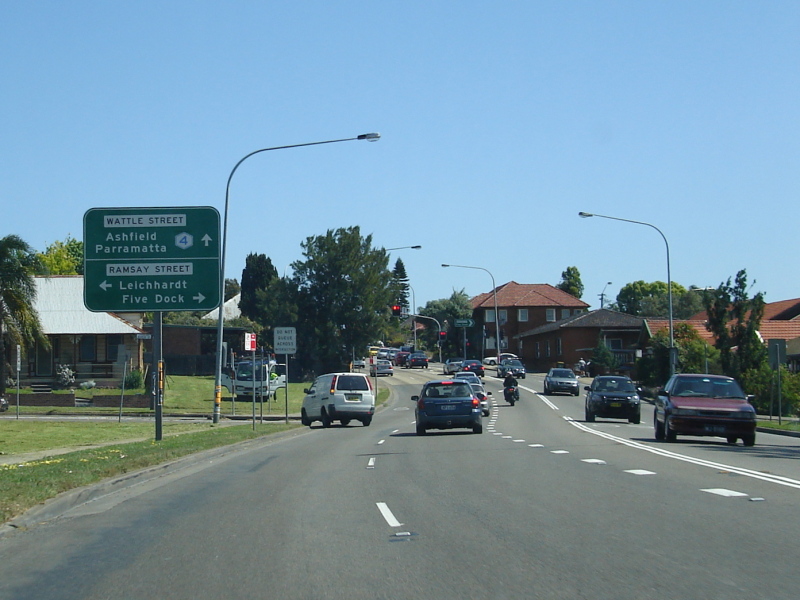
 |
Advance Directional Sign: AD on Wattle Street approaching Parramatta Road at Haberfield, September 2006. Image © Paul Rands |
|||
 |
Parramatta Road Westbound: Approaching Great North Road at Five Dock, November 2010. Image © Rob Tilley |
|||
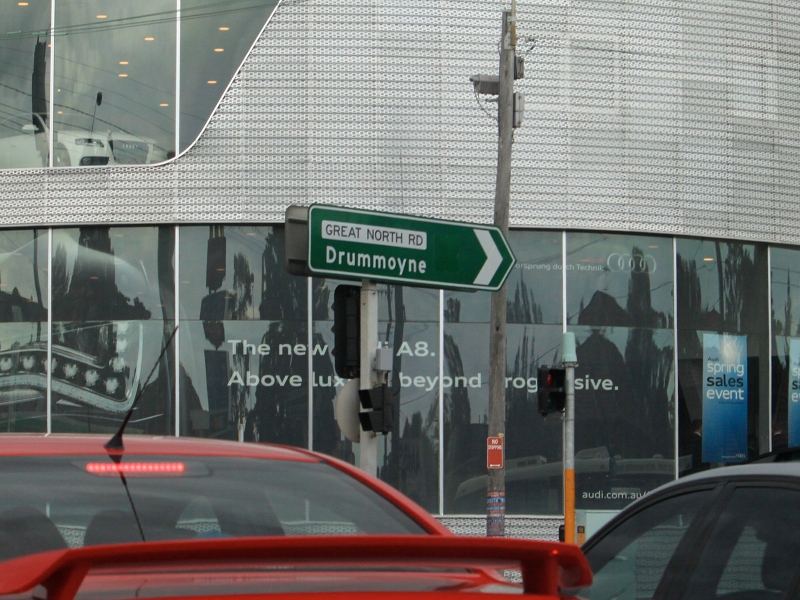 |
Great North Road: Intersection directional sign at the corner of Parramatta Rd (Metroad 4) and Great North Rd in Five Dock, November 2010. Image © Rob Tilley |
|||
 |
Intersection Directional Sign: ID sign at Shaftesbury Rd in Burwood, November 2010. Image © Rob Tilley |
|||
 |
Advance Directional Sign: AD sign on Parramatta Rd (Metroad 4) at Burwood approaching Broughton St, April 2010. Image © Paul Rands |
|||
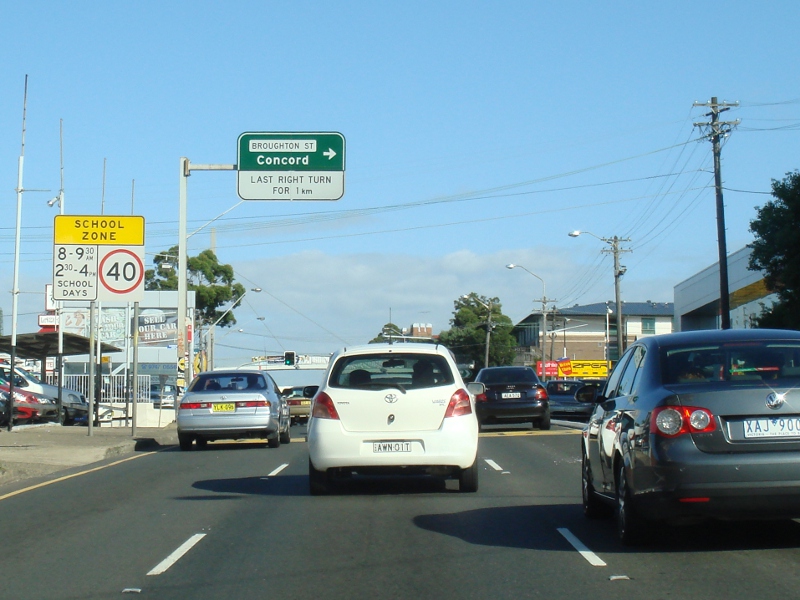
 |
Broughton Street: Corner of Parramatta Rd (Metroad 4) and Broughton St in Burwood, April 2010. Image © Paul Rands |
|||
 |
Advance Directional Sign: Westbound diagrammatic AD sign approaching the intersection with the Western Motorway at Strathfield, April 2010. Click here for a photo of this location from September 2006. Image © Paul Rands |
|||
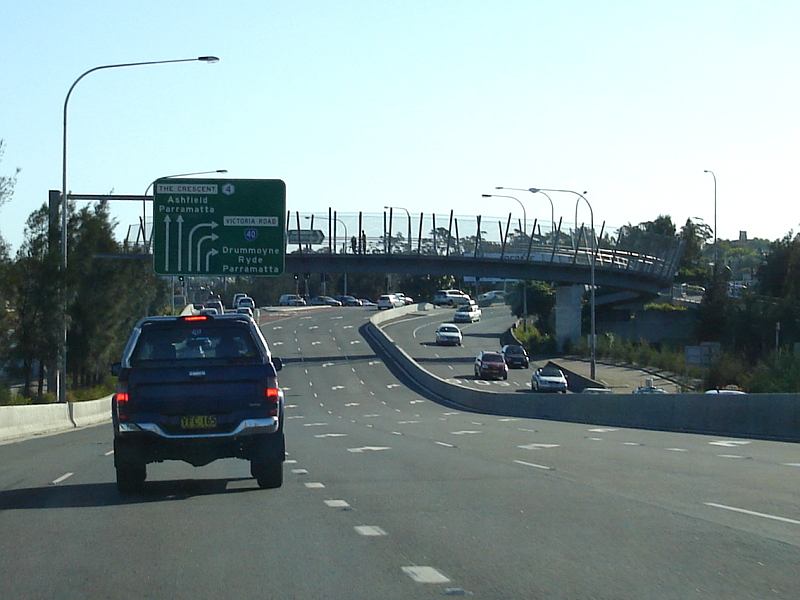
 |
Western
Motorway Intersection: Westbound at Strathfield at the junction of Parramatta Road & Western Motorway, November 2010. Click here for a photo of this location from April 2010. Image © Rob Tilley |
|||
| Click here for the continuation of Metroad 4 between Concord and South Wentworthville | ||||
1 Sam
Laybutt (ozroads.com.au)
2 Roads & Traffic Authority
Last updated: 08 Nov 2019 01:09
This site © Paul Rands. All rights reserved. Some portions © (copyright) by their respective and credited owners. Permission must be obtained before using any images from this site. For details, please email by clicking here.