|
|
|
|
|

|
Northbourne Avenue, Vernon Circle, Commonwealth Avenue, State Circle, Capital Circle, Canberra Avenue, Hume Place and Monaro Highway (National Route 23) - Fyshwick to Gilmore |
Statistics:
Route Numbering:
General Information:
In the ACT, NR23 serves as the main connector route through suburban Canberra.
The route varies from multi-laned dual carriageway in the urban areas of North and South Canberra to rural highway further south of the city. It passes directly past Australia's Parliament House and other significant areas containing offices for the administration of the country. It also passes through suburban areas, industrial areas at Fyshwick and Hume, plus farming zones and bushland.
Between the spans on the southern side of the Commonwealth Avenue Bridge over Lake Burley Griffin, there's two granite stones from the 1817 Waterloo Bridge across the River Thames in London. These were presented to Australia after the 1817 Waterloo Bridge was demolished in the 1940s and replaced by a modern structure. A plaque reads, in part, "Stones such as these from the bridge were presented to Australia and other parts of the British world to further historic links in the British Commonwealth of Nations".
History:
Monaro Highway (Cooma Road):
- October 1958: Cooma Road renamed Monaro Highway. This meant the route had a single name between Canberra and the Victorian border. 1
- 1964: Channelisation works at the corner of Monaro Hwy and Jerrabomberra Av after representations by a local petition group. 2
- August 1967: The section of the Monaro Highway within in the ACT was the first road in the Territory in which a speed of more than 50 MPH is permitted. The Department of the Interior announced the new limit would be 60 MPH. 3
- February 1972: Speed limit reduced from 40 MPH to 35 MPH approaching the junction with Hindmarsh Drive. 4
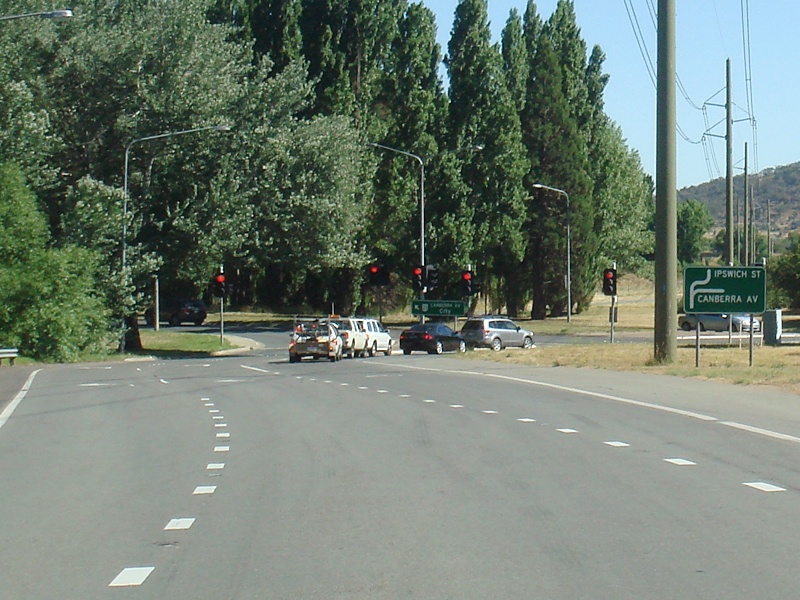
- February 1988: Work started on Eastern Parkway project (Monaro Hwy) with the relocation of Hindmarsh Dr between Jerrabomberra Av and Canberra Av to allow construction of interchange and highway at Canberra Av / Ipswich St junction. 5
- 22 November 1989: Opening of interchange of Canberra Avenue, Ipswich Street and Monaro Highway at Fyshwick. This also included the rerouting of NR23 between Sturt Avenue at the interchange. 6
- 11 November 1992: Monaro Highway name gazetted. 7
- March 2011: Work started on duplicating Monaro Hwy bridge over Canberra Av. 8
- August 2012: Work completed on duplicating Monaro Hwy bridge over Canberra Av. Work included construction of a new southbound carriageway and pavement overlay of the existing Northbound carriageway, construction of two Super T Girder bridges over rail and a cast insitu box girder bridge over Canberra Avenue, installation of bridge safety screens for the bridges over Canberra Avenue, 150 metre reinforced earth retaining wall, the demolition of an existing railway over bridge, modification to an existing reinforced earth retaining wall and relocation of a 1283 millimetre diameter bulk watermain supply across Ipswich Street. The upgrade was the final link in the duplication of the Monaro Highway. 8
| Fyshwick to Gilmore | Gilmore to Fyshwick | |||
| Preview: | Description: | Preview: | Description: | |
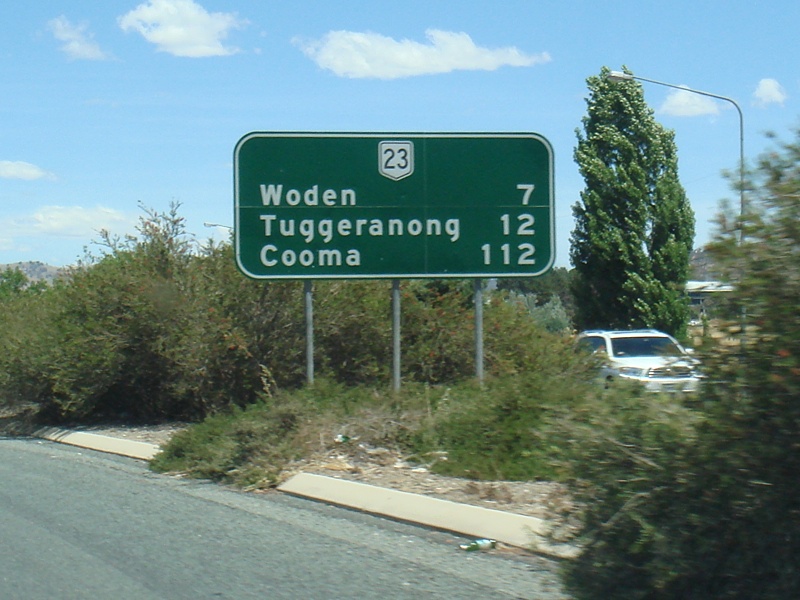 |
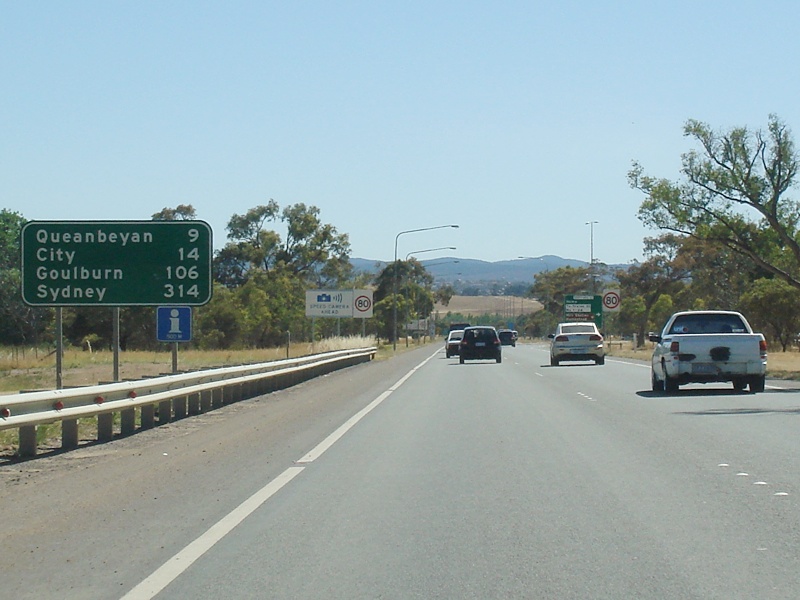
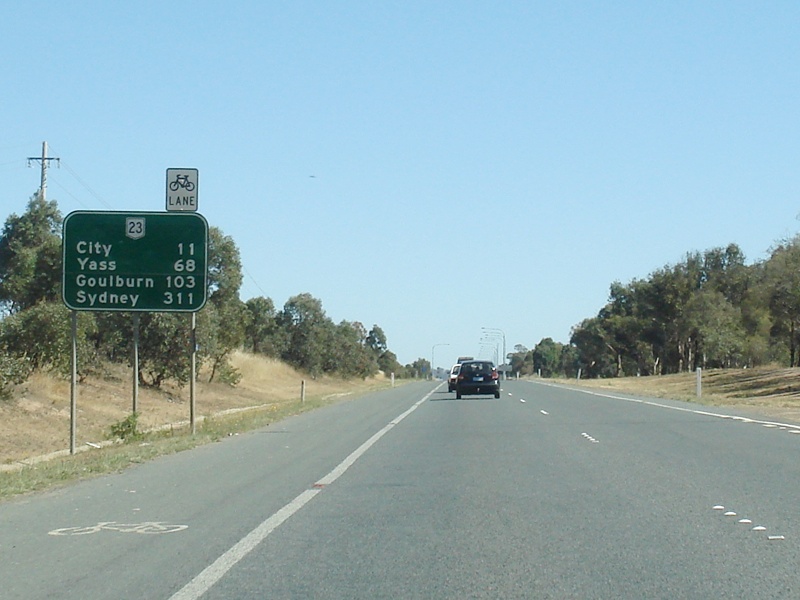
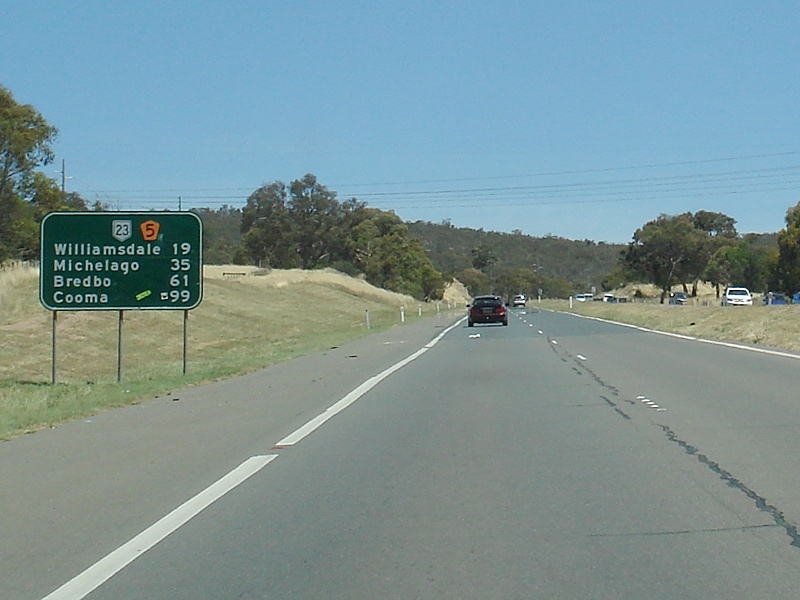
Distance Sign: RD sign in Symonston, just after the Canberra Avenue interchange on Monaro Highway. December 2009. Image © Paul Rands |
 |
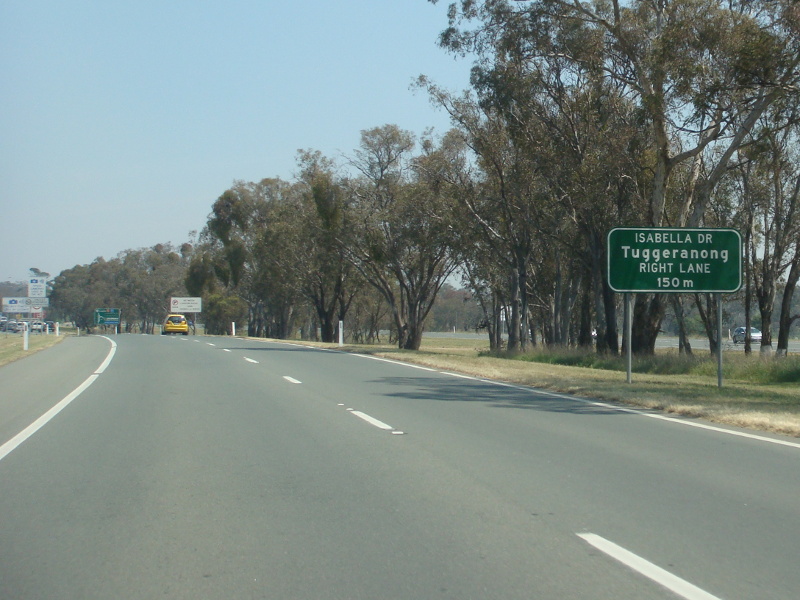
Advance Directional Sign: AD sign in Gilmore approaching Isabella Drive. December 2009. Image © Paul Rands |
|
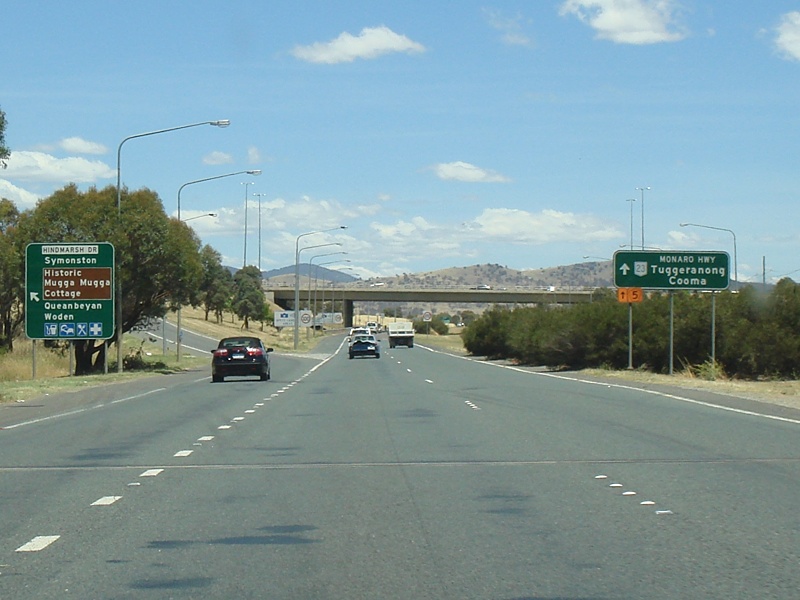 |
Hindmarsh Drive Interchange: Southbound on Monaro Hwy in Symonston at the Hindmarsh Dr interchange. December 2009. Image © Paul Rands |
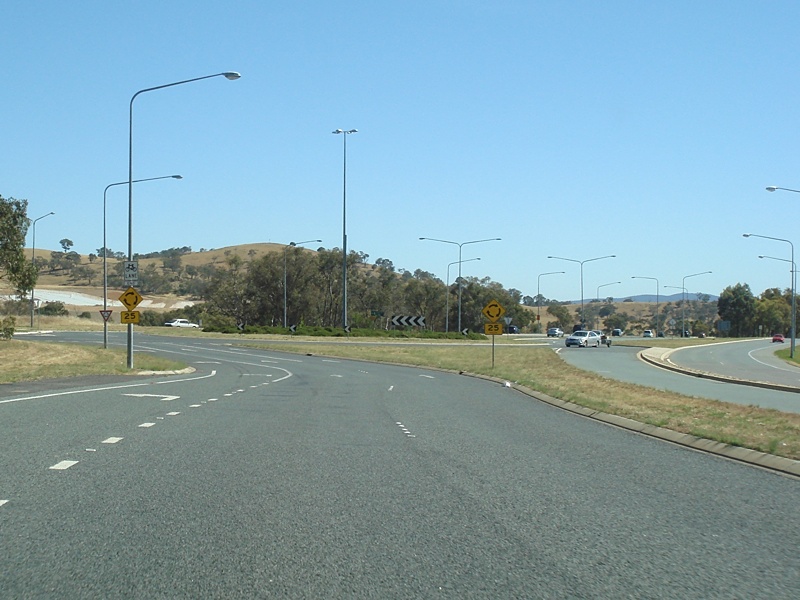 |
Isabella Drive Roundabout: Northbound on Monaro Hwy at the Isabella Dr roundabout. December 2009. Image © Paul Rands |
|
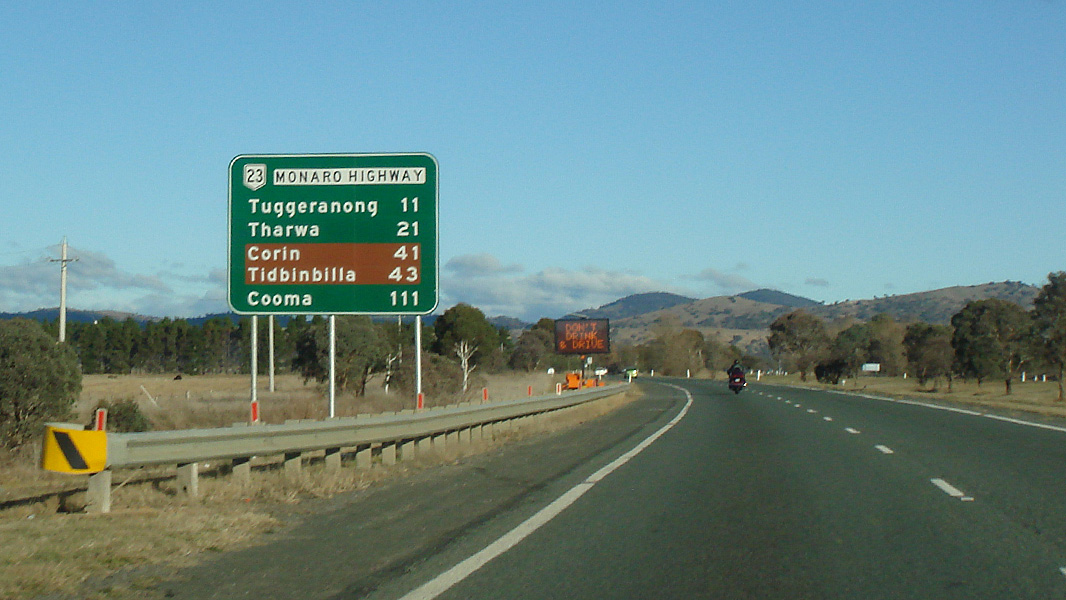 |
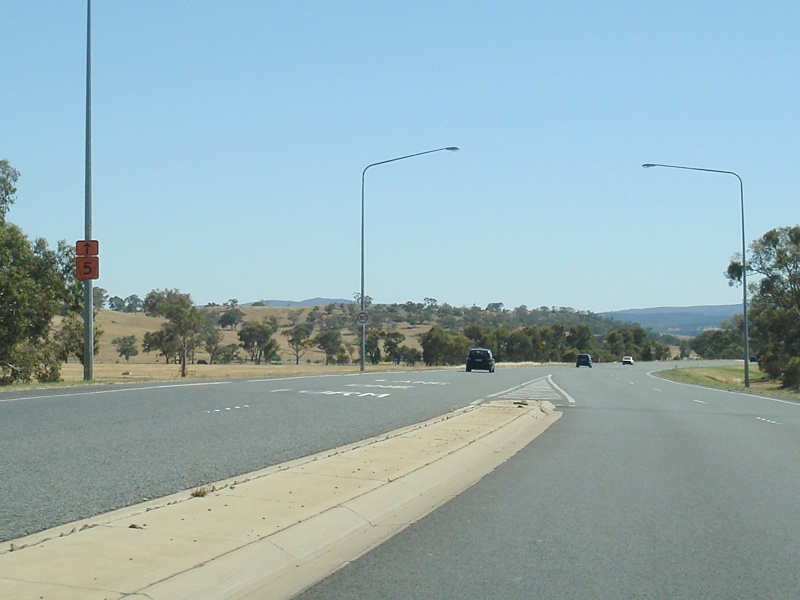
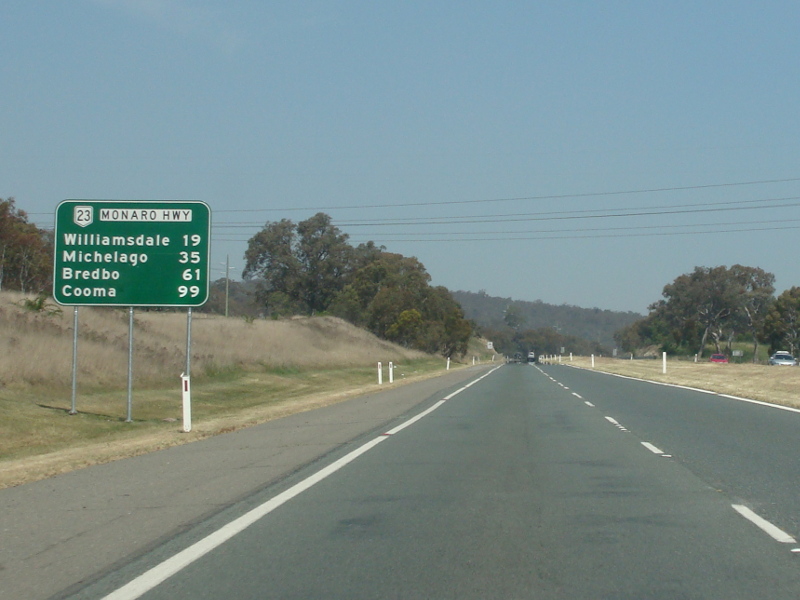
Distance Sign: RD sign in Symonston, just after the Hindmarsh Drive interchange on Monaro Highway. June 2013. Click here for a photo of this location from December 2009. Image © Paul Rands |
 |
Intersection Directional Sign: ID sign assembly at the Isabella Dr roundabout. December 2009. Image © Paul Rands |
|
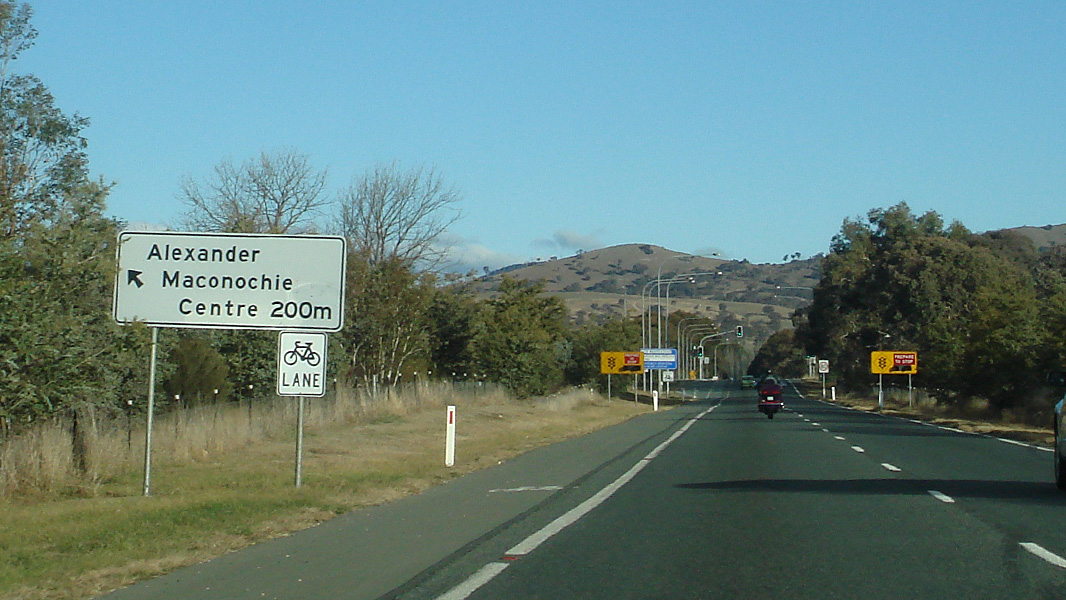 |
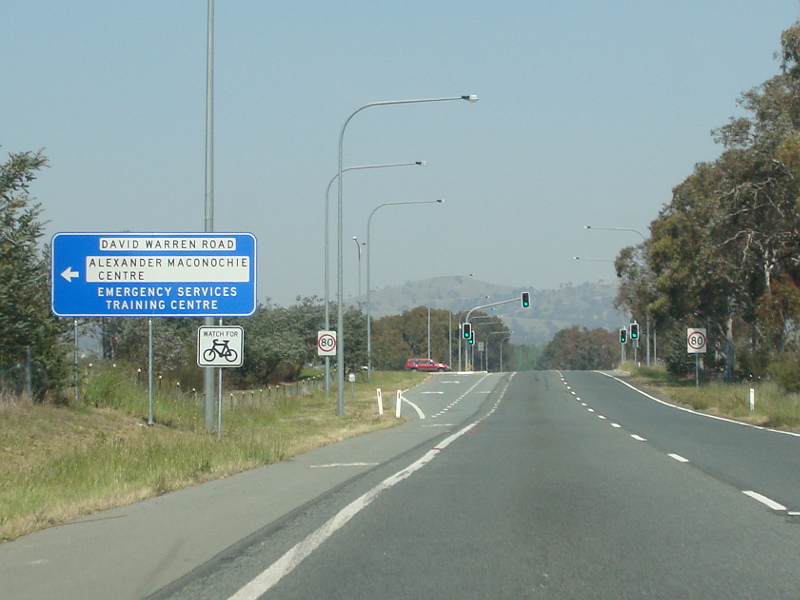
Advance Directional Sign: AD sign at Hume approaching David Warren Rd, June 2013. Image © Paul Rands |
 |
Trailblazer: Tourist Drive 5 trailblazer just northeast of the Isabella Dr roundabout at Hume. December 2009. Image © Paul Rands |
|
 |
David Warren Road : Southbound at Hume at the junction with David Warren Rd. October 2013. Click here for a photo of this location from December 2009. Image © Paul Rands |
 |
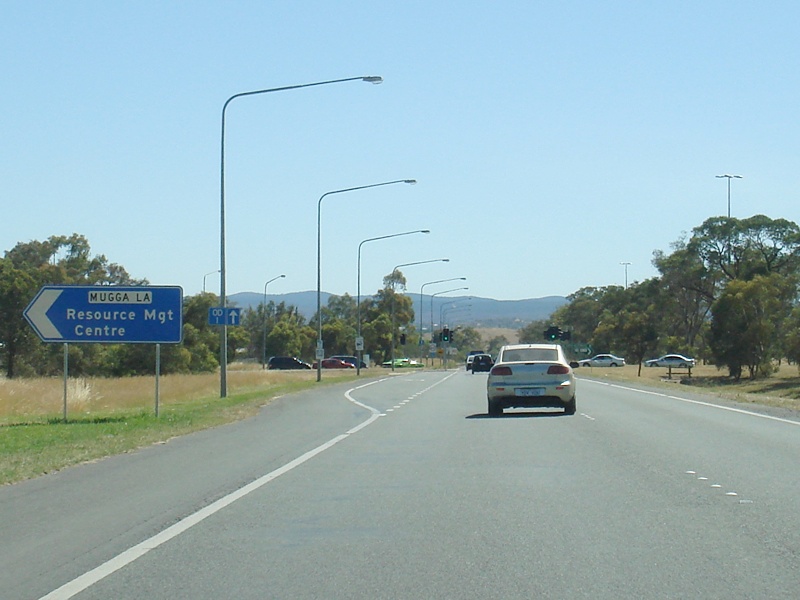
Directional Sign Near Mugga Lane: Directional sign at Hume near Mugga Lane. December 2009. Image © Paul Rands |
|
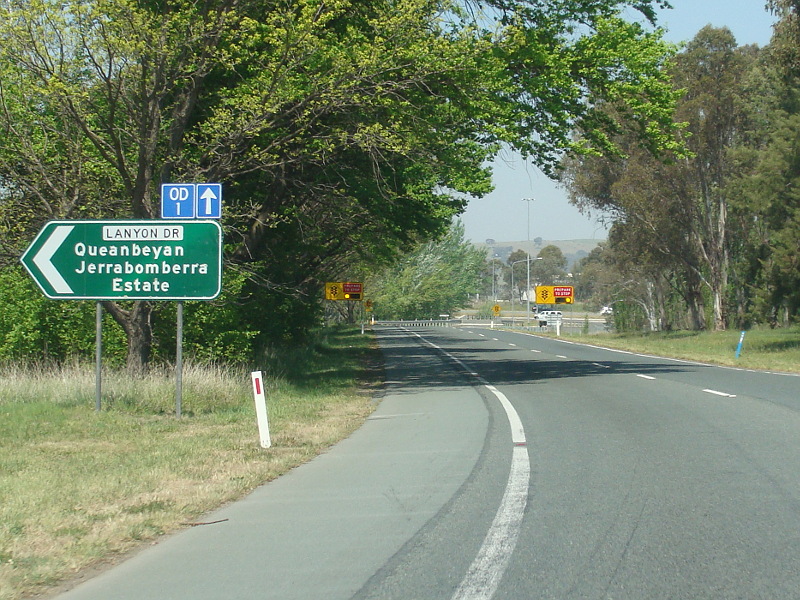 |
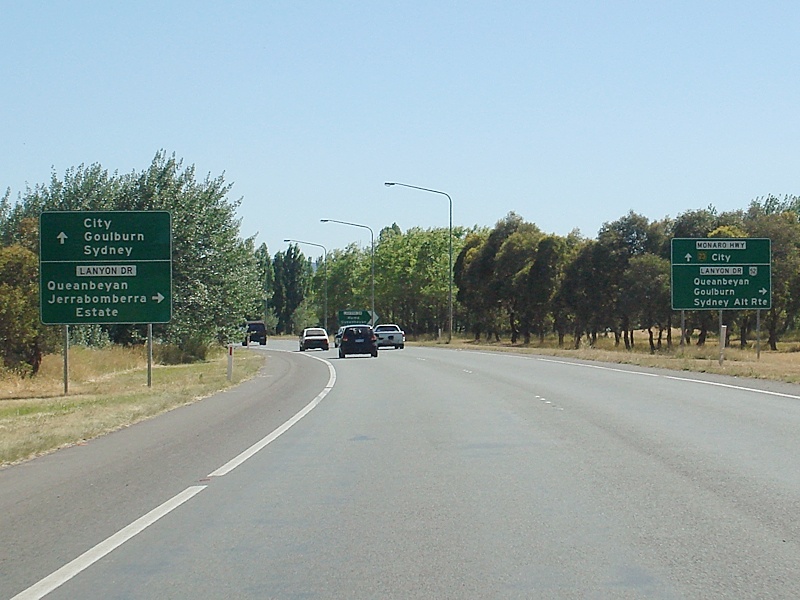
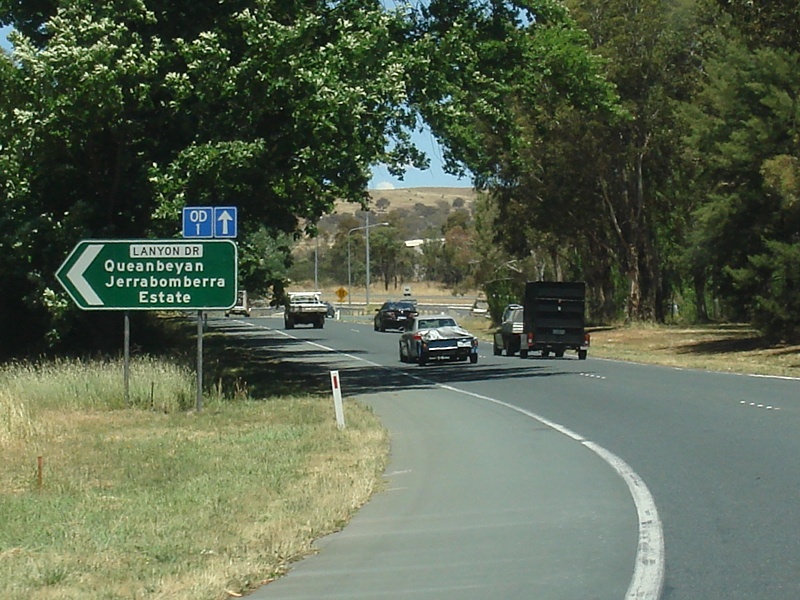
Approaching Lanyon Drive: Intersection directional sign acting as an advance directional sign as Monaro Hwy approaches Lanyon Dr in Hume. October 2013. Click here for a photo of this location from December 2009. Image © Paul Rands |
 |
Mugga Lane Junction: AD sign approaching Mugga Ln in Hume. December 2009. Image © Paul Rands |
|
 |
Advance Directional Sign: AD sign on Lanyon Drive in Hume, approaching Monaro Highway. December 2009. Image © Paul Rands |
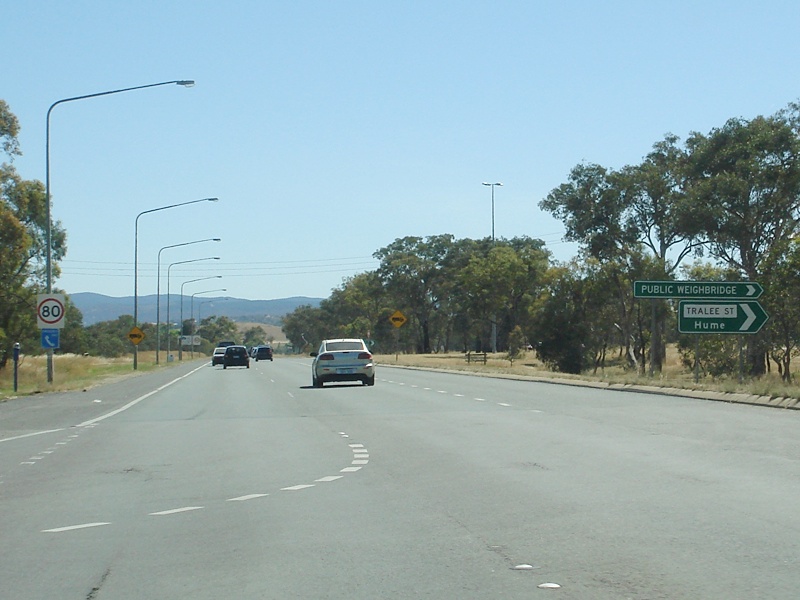 |
Approaching Tralee Street: AD sign approaching Tralee St in Hume. December 2009. Image © Paul Rands |
|
 |
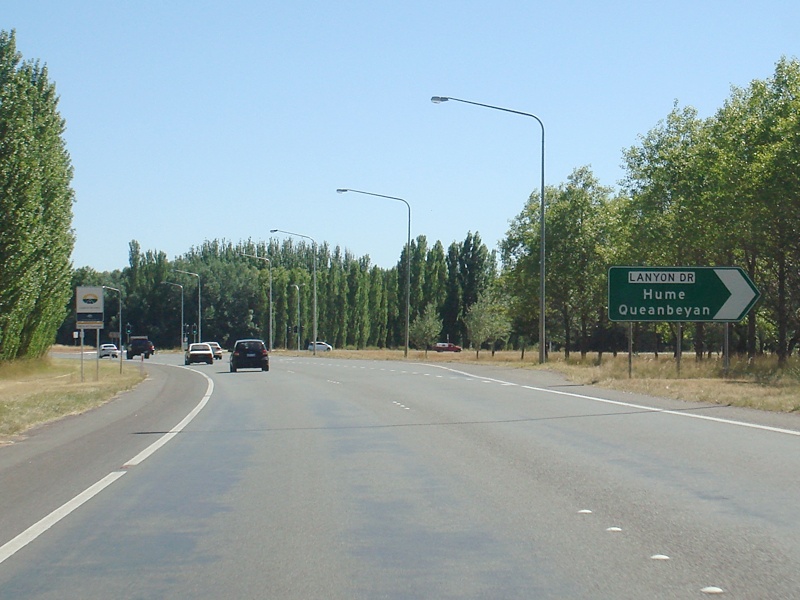
Corner of Lanyon Drive & Monaro Highway: Lanyon Drive southbound slip lane onto Monaro Highway in Hume. December 2009. Image © Paul Rands |
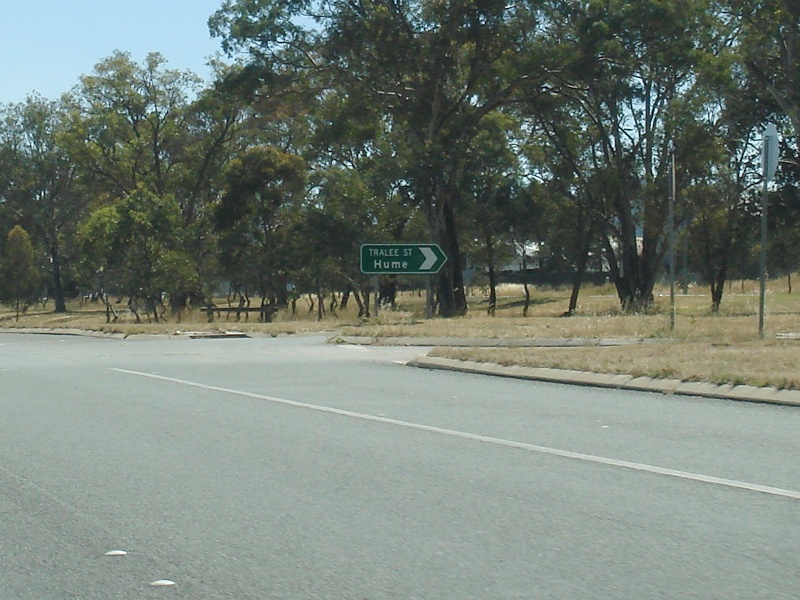 |
Tralee Street Junction: ID sign at the intersection with Tralee St in Hume. December 2009. Image © Paul Rands |
|
 |
No Stopping Zone Sign: Special no stopping zone sign at Hume, October 2013. Image © Paul Rands |
 |
Odometer Check Length Ahead: Sign indicating there will be signs ahead at 1 km intervals which can be used to check the accuracy of a vehicles odometer. December 2009. Image © Paul Rands |
|
 |
Kangaroo Accident Zone: Sign at Hume indicating the area is a high crash area between vehicles and kangaroos. December 2009. Image © Paul Rands |
 |
Distance Sign: Looking northwest at Hume. December 2009. Image © Paul Rands |
|
 |
Sheppard Street Junction: AD sign approaching Sheppard St in Hume. December 2009. Image © Paul Rands |
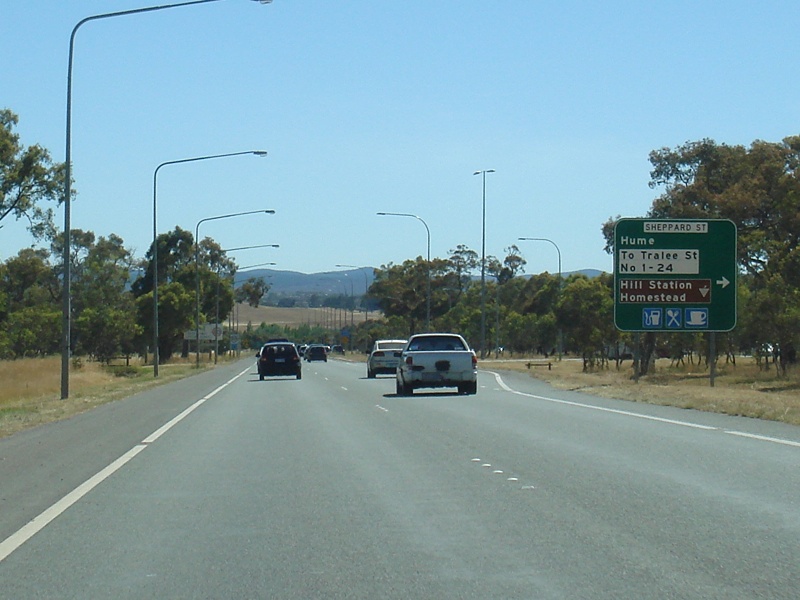 |
Sheppard Street Junction: AD sign approaching Sheppard St in Hume. December 2009. Image © Paul Rands |
|
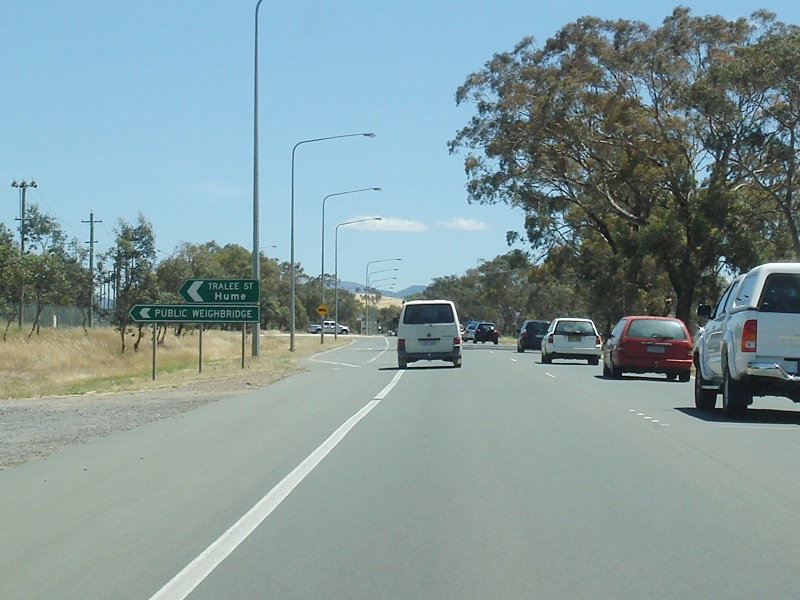 |
Tralee Street Junction: AD sign approaching Tralee St in Hume. December 2009. Image © Paul Rands |
 |
Intersection Directional Sign: ID sign on Monaro Hwy (NR23) facing Sheppard St in Hume. December 2009. Image © Paul Rands |
|
 |
Mugga Lane Junction: AD sign approaching Mugga Ln in Hume. June 2009. Image © Paul Rands |
 |
Start Odometer Check Length: Sign at Hume, which can be used to check the accuracy of a vehicles odometer. December 2009. Image © Paul Rands |
|
 |
Supplemental Advance Directional Sign: Supplemental AD sign in Hume approaching Isabella Drive. October 2013. Image © Paul Rands |
 |
Approaching Lanyon Drive: Intersection directional sign acting as an advance directional sign as Monaro Hwy approaches Lanyon Dr in Hume. December 2009. Note the incorrect NH23 shield, should be a black and white NR23 shield. The NR52 should not be on the sign at all. Image © Paul Rands |
|
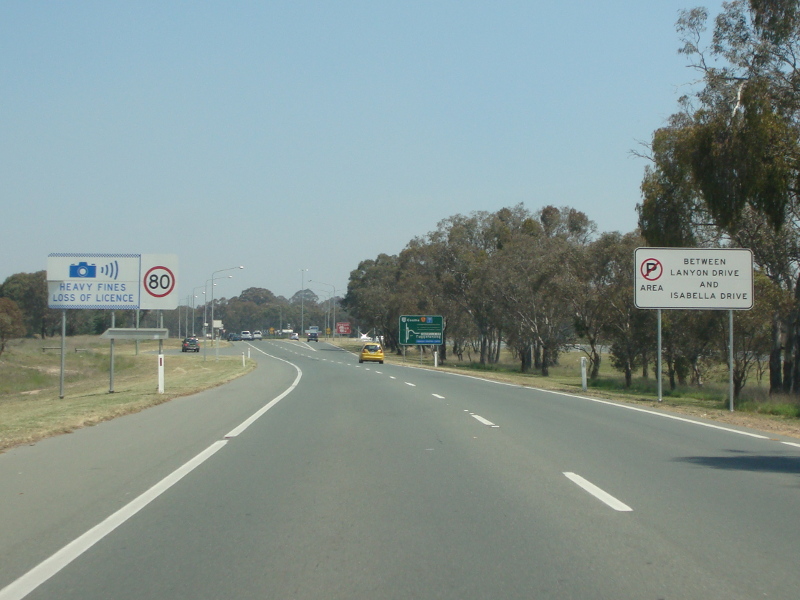 |
No Stopping Zone Sign: Special no stopping zone sign at Hume, October 2013. Image © Paul Rands |
 |
Lanyon Drive Intersection: Looking northbound at Hume approaching Lanyon Drive (formerly Tharwa Road). December 2009. Image © Paul Rands |
|
 |
Advance Directional Sign: AD sign in Gilmore approaching Isabella Drive. December 2009. This sign has since been replaced. Image © Paul Rands |
 |
Distance Sign: RD sign after the Lanyon Drive intersection at Hume. December 2009. Image © Paul Rands |
|
 |
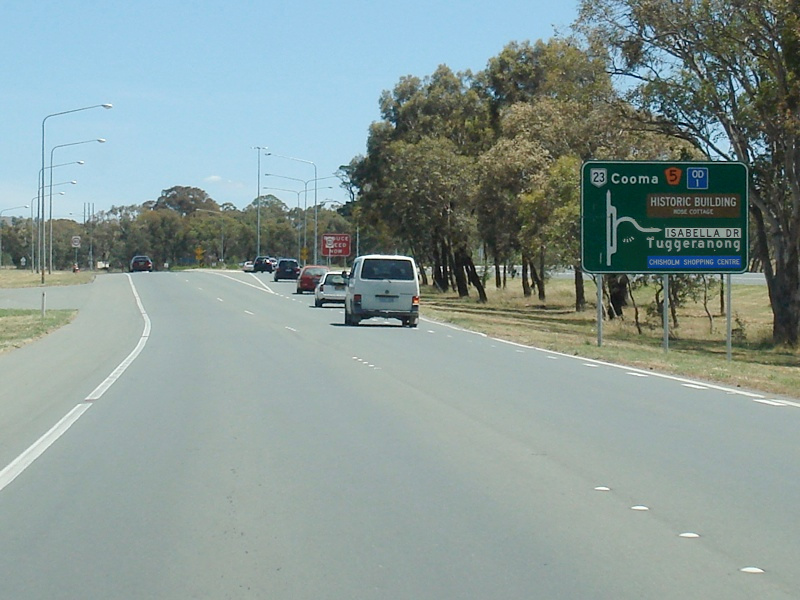
Distance Sign: RD sign after the Isabella Drive intersection at Gilmore. October 2013. Click here for a photo of this location from December 2009. Image © Paul Rands |
 |
Advance Directional Sign: AD sign at Hume approaching David Warren Dr, December 2009. Image © Paul Rands |
|
 |
David Warren Road : Northbound at Hume at the junction with David Warren Rd. December 2009. Image © Paul Rands |
|||
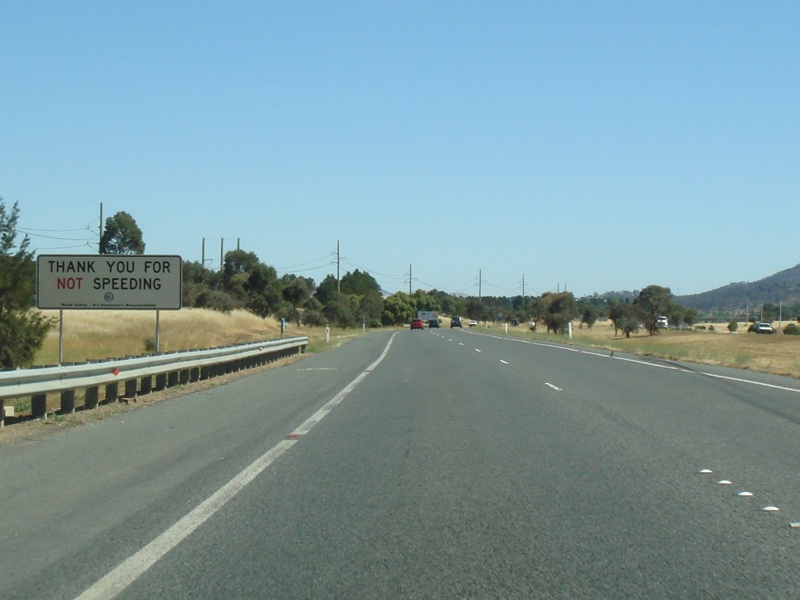 |
Road Safety Sign: Northbound at Symonston. December 2009. Image © Paul Rands |
|||
 |
Hindmarsh Drive Interchange: Monaro Hwy in Symonston at the Hindmarsh Dr interchange. December 2009. Image © Paul Rands |
|||
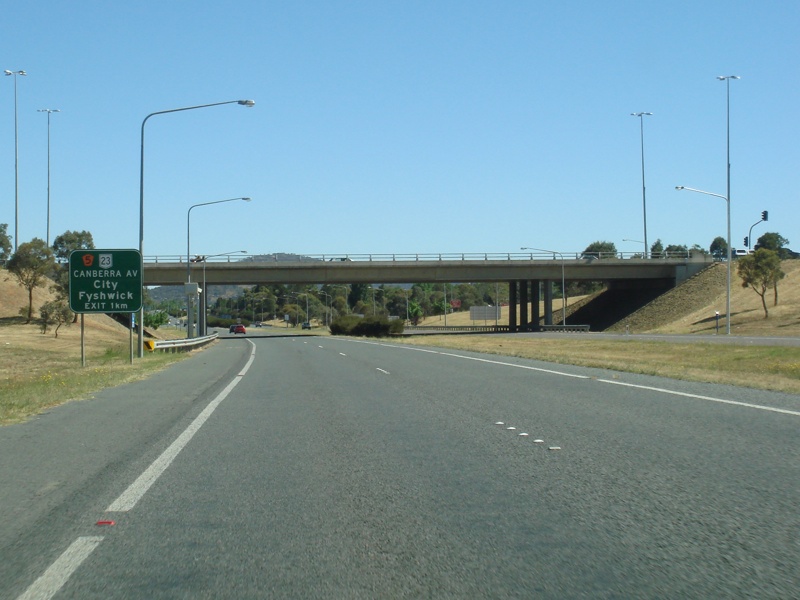 |
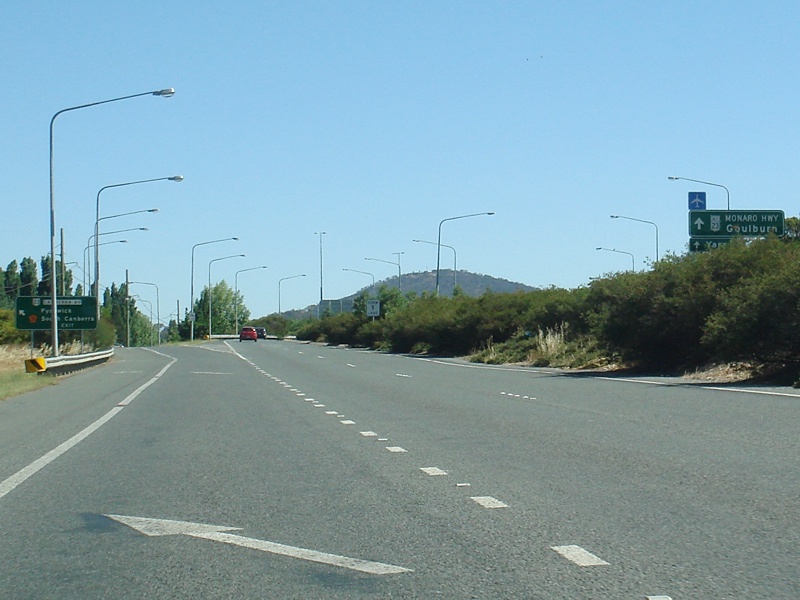
Advance Directional Sign: AD sign for Canberra Avenue at the Hindmarsh Drive interchange in Symonston. December 2009. Image © Paul Rands |
|||
 |
Supplemental Advance Directional Sign: Supplemental AD sign for Canberra Avenue in Narrabundah. December 2009. Image © Paul Rands |
|||
 |
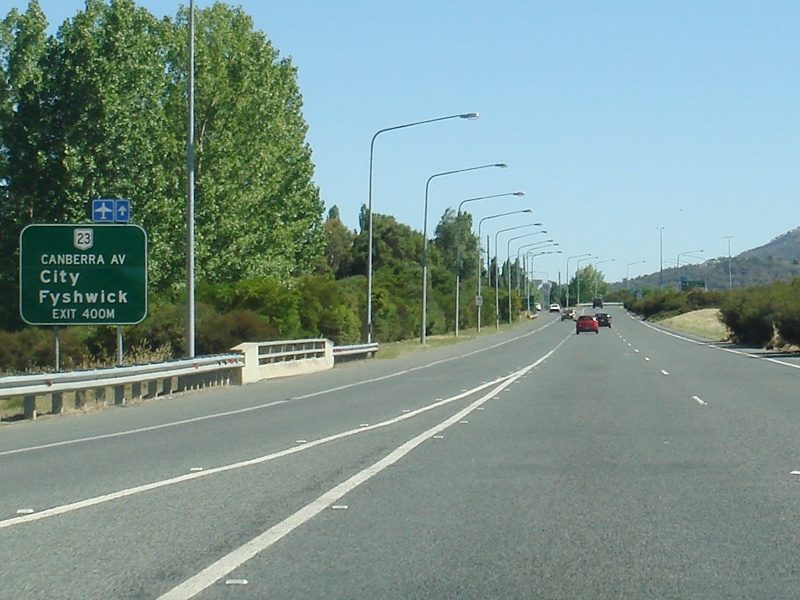
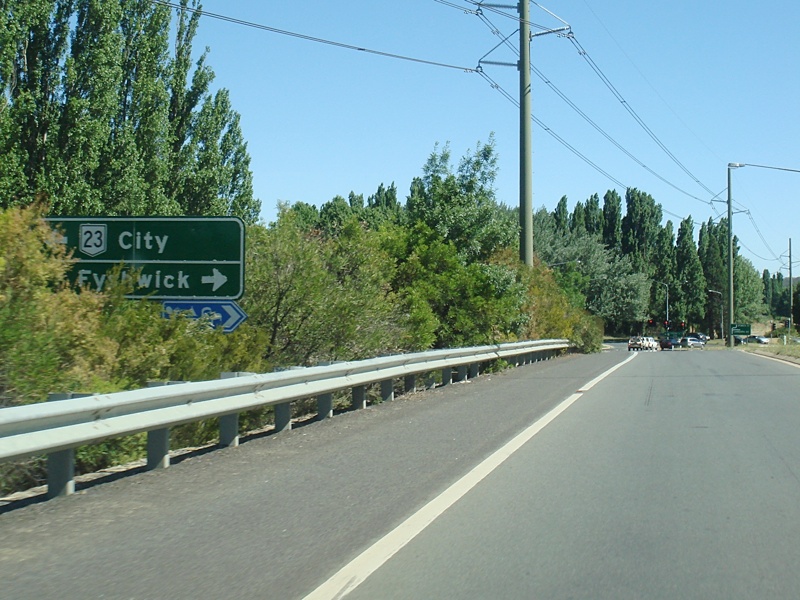
Canberra Avenue Interchange Northbound at Narrabundah at the interchange with Canberra Avenue. NR23 veers off to the left and Monaro Highway continues as ALT-NR23 straight ahead. December 2009. Image © Paul Rands |
|||
 |
Canberra Avenue Interchange Northbound at Narrabundah at the interchange with Canberra Avenue. NR23 veers off to the left and Monaro Highway continues as ALT-NR23 straight ahead. December 2009. Image © Paul Rands |
|||
 |
Advance Directional Sign: AD sign at Narrabundah approaching Canberra Avenue. December 2009. Image © Paul Rands |
|||
 |
Advance Directional Sign: AD sign at Narrabundah approaching Canberra Avenue. December 2009. Image © Paul Rands |
|||
 |
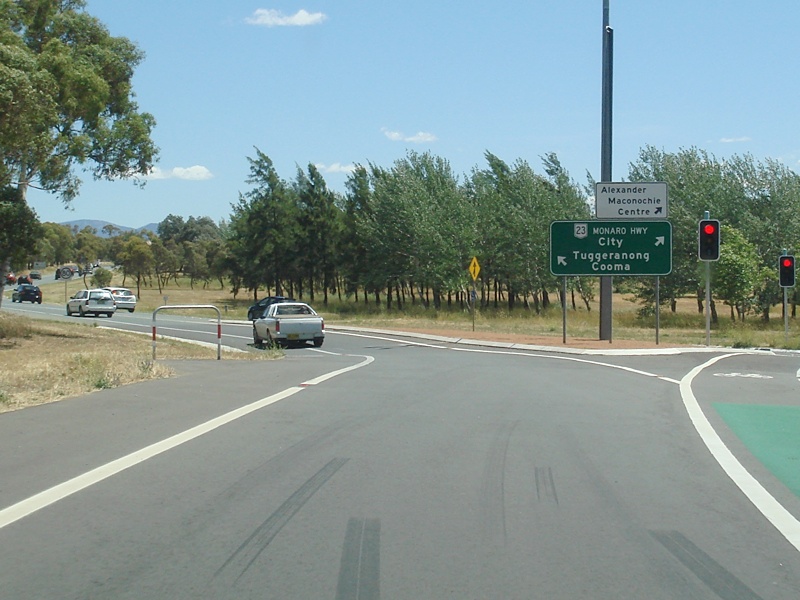
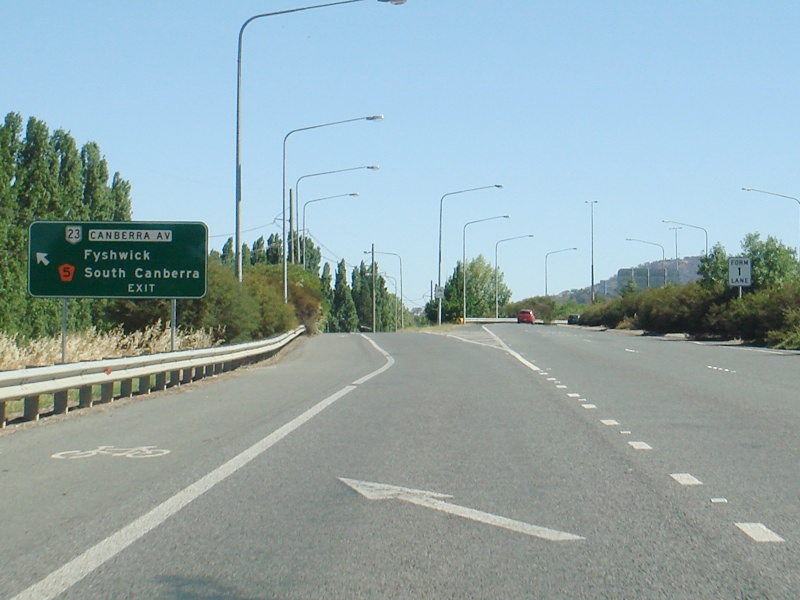
Intersection Directional Sign: ID sign at Narrabundah at the Canberra Avenue intersection. December 2009. Image © Paul Rands |
|||
| Click here for the continuation of NR23 between Gilmore and the New South Wales Border Click here for the continuation of NR23 between Fyshwick and Acton |
||||
1 Canberra Times, Page 3, 21 October 1958
2 Canberra Times, Page 12, 21 February 1964
3 Canberra Times, Page 3, 25 August 1967
4 Canberra Times, Page 1, 23 February 1972
5 Canberra Times, Page 9, 6 February 1988
6 Canberra Times, Page 5, 22 November 1989
7 ACT Planning & Land Authority, Place Name Search, Monaro Highway
8 BMD Constructions, Monaro Highway Duplication
Last updated: 05-Feb-2019 22:24
This site © Paul Rands. All rights reserved. Some portions © (copyright) by their respective and credited owners. Permission must be obtained before using any images from this site. For details, please email by clicking here.