|
|
|
|
|
 |
Tonkin Highway (State Route 4) - Maddington to Noranda (State Route 4) |
Statistics:
Route Numbering:
General Information:
Tonkin Highway links the south-east corridor with the north-east and north-west corridors of the metropolitan areas.1 The highway is a multi-laned limited access dual carriageway and provides direct access to Perth airport and was built in several stages.
The highway was originally named the Beechboro-Gosnells Highway, the name coming from the two suburbs it was originally planned to link. It was eventually renamed Tonkin Highway in honour of former West Australian premier John Tonkin.
History:
Click here for the former alignment between Maddington and Noranda
| Maddington to Noranda | Noranda to Maddington | |||
| Preview: | Description: | Preview: | Description: | |
 |
Distance Sign: Distance sign to the next 3 exits, located after the Gosnells Road West junction. Maddington, November 2008. Image © Paul Rands |
 |
Reassurance Directional Sign: Distance sign at Beechboro, January 2020. Image © Paul Rands |
|
 |
Advance Directional Sign: AD sign approaching Kelvin Road in Maddington. November 2008. Image © Paul Rands |
 |
Advance Directional Sign: AD sign at Morley approaching Morley Dr (SR76), January 2020. Image © Paul Rands |
|
 |
Approaching Kelvin Road: Flashing warning signs approaching the Kelvin Rd intersection, April 2009. Image © Paul Rands |
 |
Reassurance Directional Sign: Distance sign at Morley, January 2020. Image © Paul Rands |
|
 |
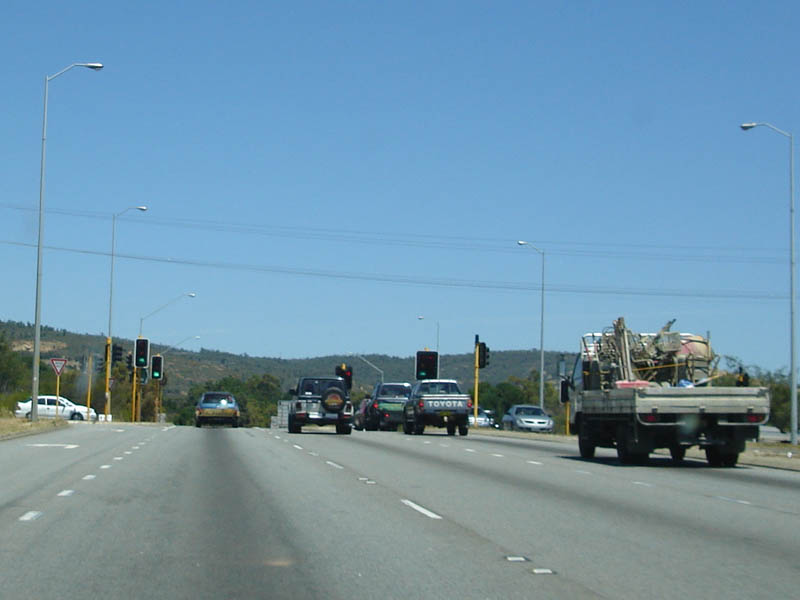
Kelvin Road Intersection: Tonkin Hwy as it passes through the Kelvin Rd intersection at Maddington, November 2008. Image © Paul Rands |
 |
Morley Drive: Tonkin Hwy (SR4) at Morley Dr at Morley, January 2020. Image © Paul Rands |
|
 |
Old No Standing In Road Reserve Sign: Old style sign found on the older sections of SR4 banning parking along the route, Maddington, November 2008. Image © Paul Rands |
 |
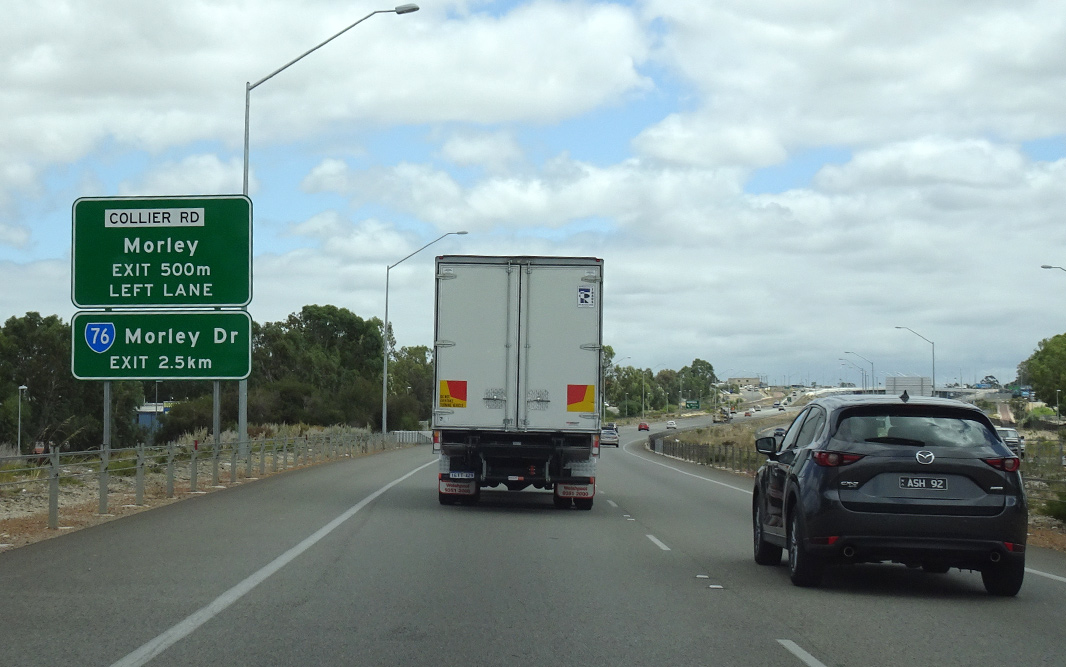
Advance Directional Sign: AD sign at Morley approaching Collier Rd, January 2020. Image © Paul Rands |
|
 |
Advance Directional Sign: Advance directional sign for the Welshpool Road East junction at Wattle Grove. The SR8 shields are on coverplates, hiding the old route number of SR35. November 2008. Image © Paul Rands |
 |
Collier Road: Tonkin Hwy (SR4) at Collier Rd, Bayswater, January 2020. Image © Paul Rands |
|
 |
Approaching Welshpool Road East: Flashing warning signs approaching the junction with Welshpool Road East, April 2009. Image © Paul Rands |
 |
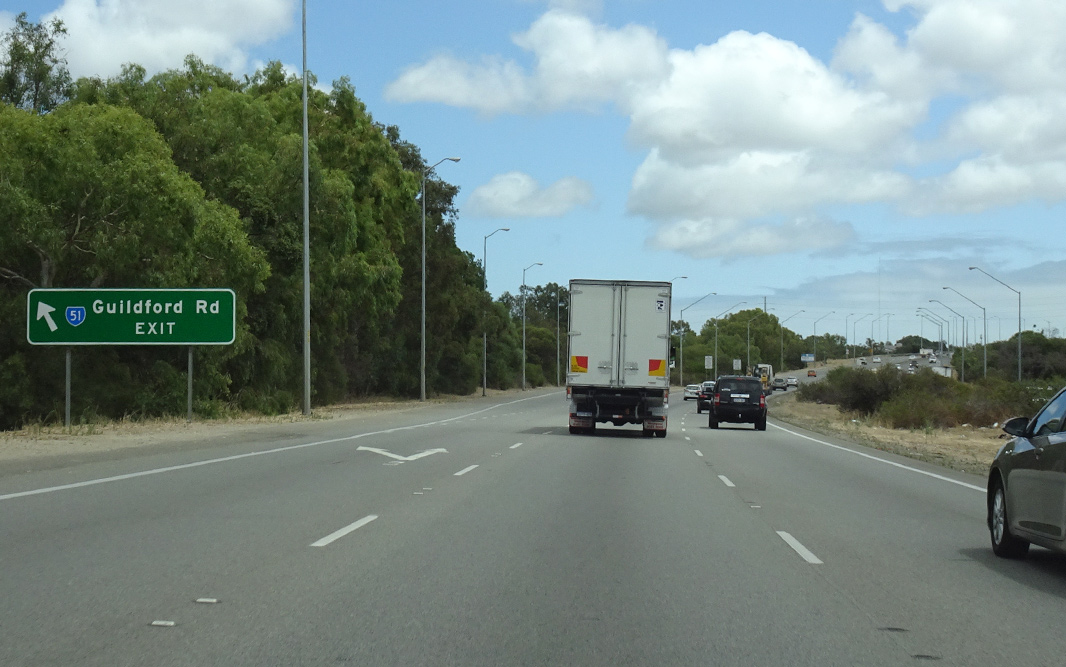
Advance Directional Sign: AD sign at Bayswater approaching Guildford Rd (SR51), January 2020. Image © Paul Rands |
|
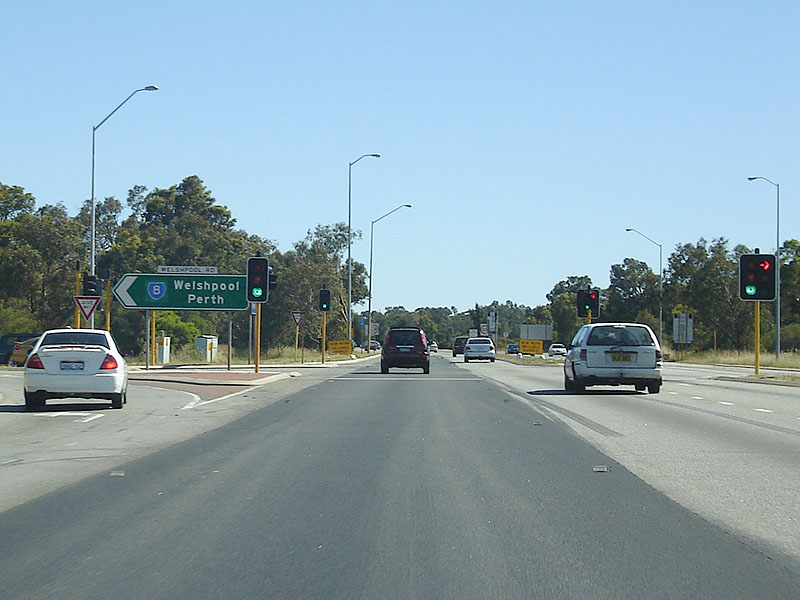 |
Welshpool Road East Intersection: Approaching Welshpool Road East at Wattle Grove, November 2008. Image © Paul Rands |
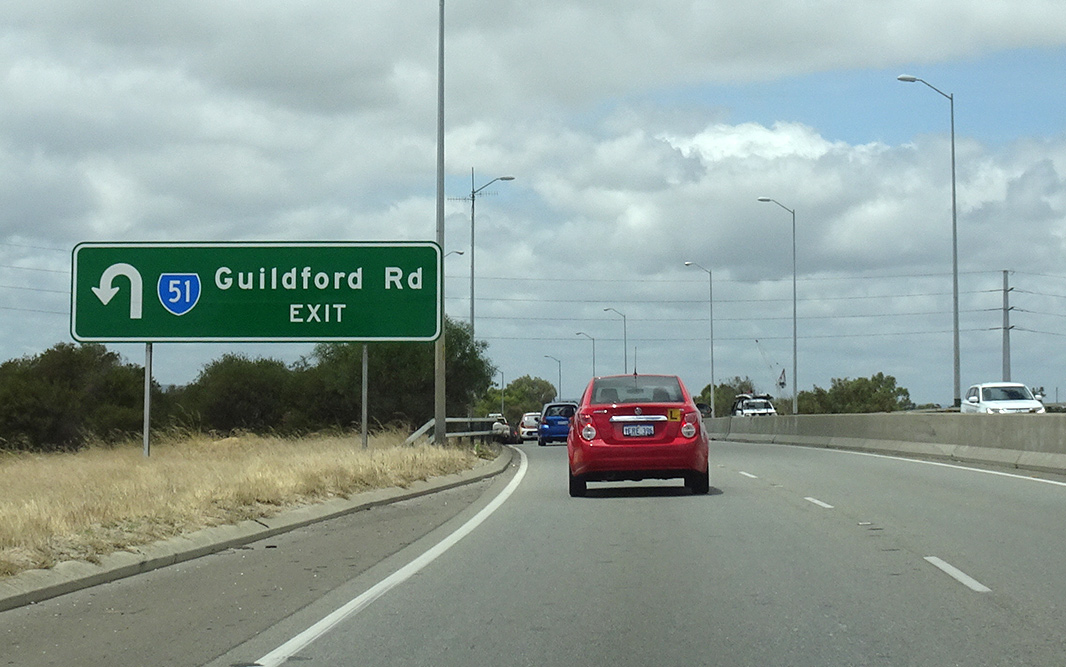 |
Guildford Road: Tonkin Hwy (SR4) at the Guildford Rd (SR51) interchange, Bayswater, January 2020. Image © Paul Rands |
|
 |
SR4 Trailblazer: State Route 4 trailblazer after the Welshpool Rd East (SR8) junction at Wattle Grove, April 2009. Image © Paul Rands |
 |
Guildford Road: Tonkin Hwy (SR4) at the Guildford Rd (SR51) interchange, Bayswater, April 2016. Image © Paul Rands |
|
 |
Distance Sign: Large RD after the Welshpool Road East junction at Wattle Grove, November 2008. Image © Paul Rands |
 |
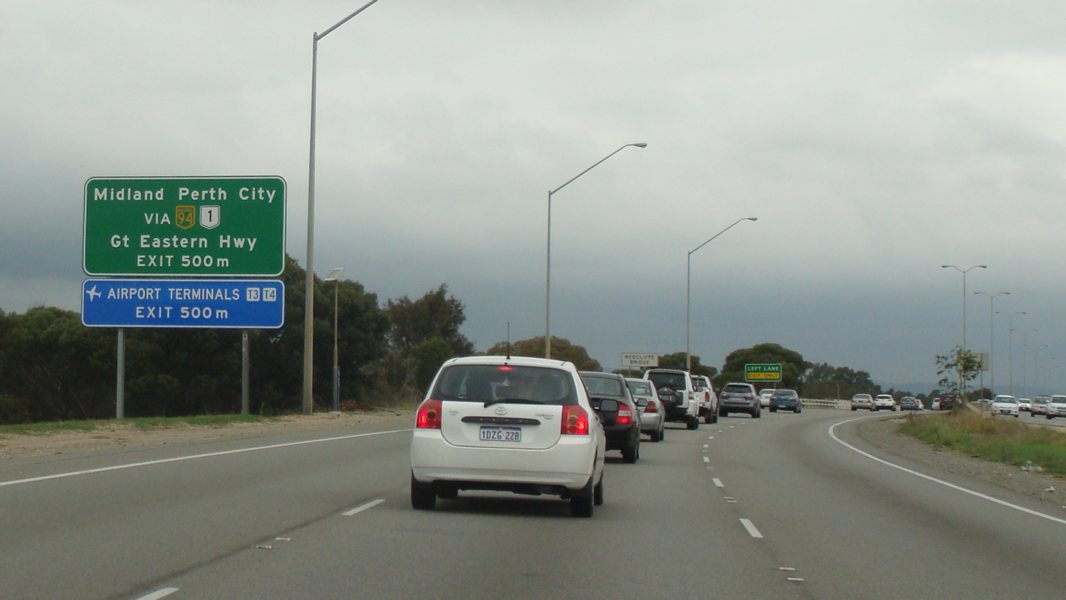
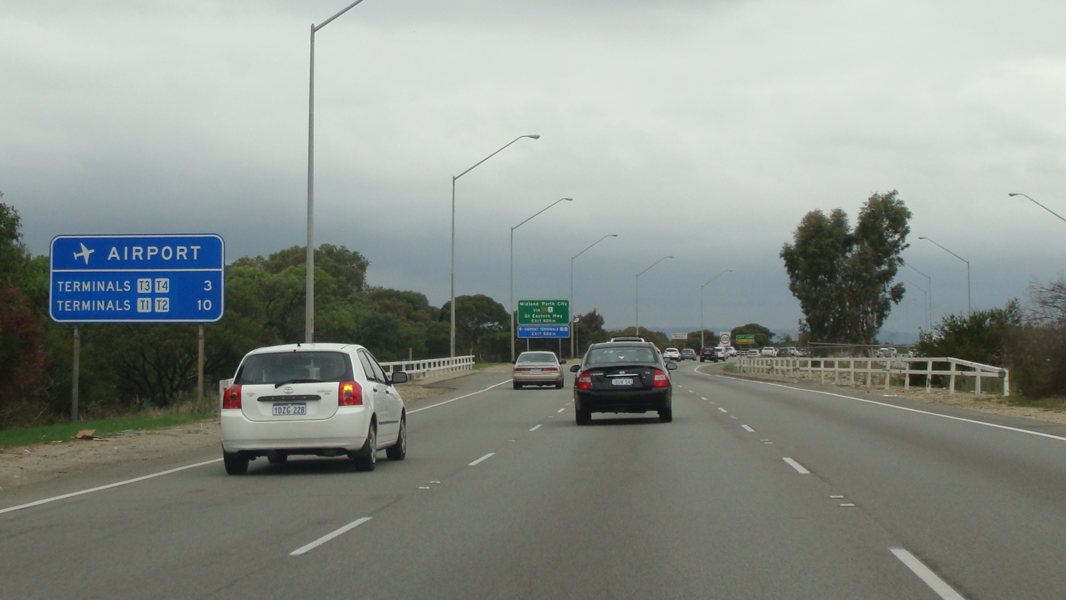
Distance Sign: RD sign showing distances to Perth Airport terminals, Bayswater, January 2020. Click here for a photo of this location by Paul Rands from April 2016. Image © Paul Rands |
|
 |
Distance Sign: RD sign showing distances to Perth Airport terminals, Wattle Grove, April 2016. Image © Paul Rands |
 |
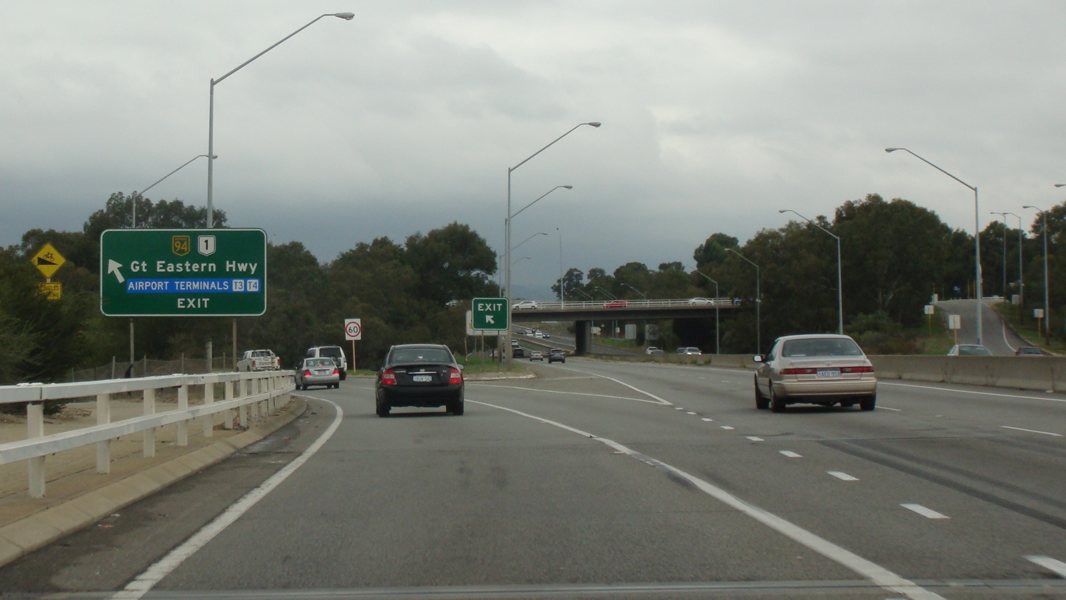
Advance Directional Sign: AD sign approaching Great Eastern Hwy (NR1 / NH94) at Bayswater, April 2016. Image © Paul Rands |
|
 |
Advance Directional Sign: AD sign approaching Hale Road in Wattle Grove, April 2016. Image © Paul Rands |
 |
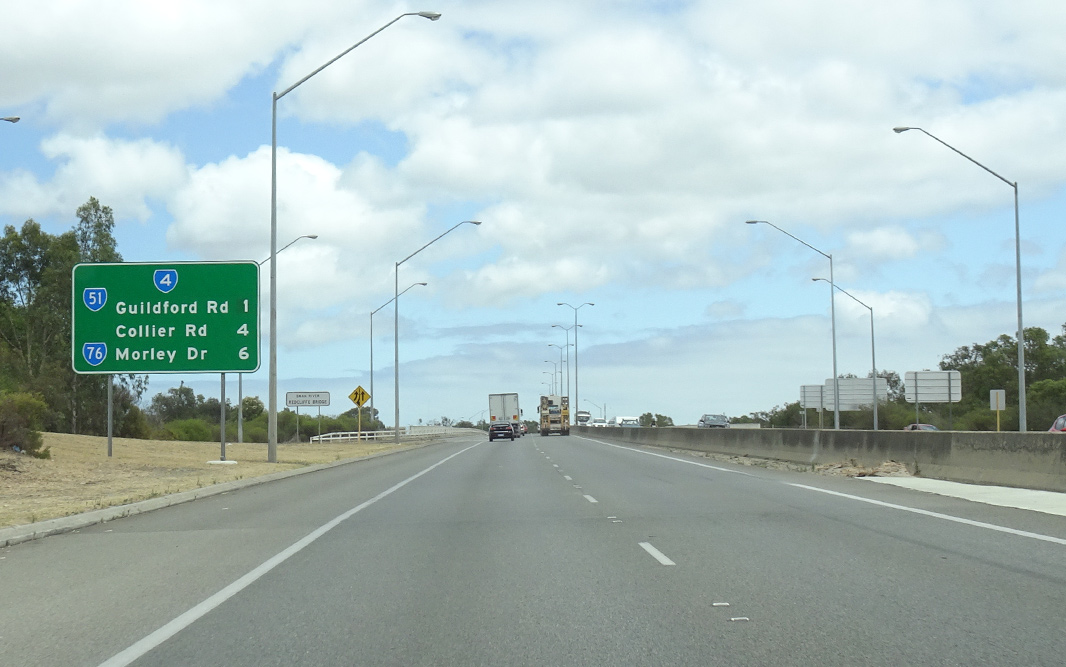
Swan River: Tonkin Hwy (SR4) as it crosses Swan River via Redcliffe Br at Bayswater, January 2020. Click here for a photo of this location by Paul Rands from April 2016. Image © Paul Rands |
|
 |
Hale Road: Tonkin Hwy (SR4) at the junction with Hale Road in Wattle Grove, April 2016. Image © Paul Rands |
 |
Great Eastern Highway: Tonkin Hwy (SR4) at the Great Eastern Hwy (NR1 / NH94) interchange, Ascot, January 2020. Click here for a photo of this location by Paul Rands from April 2016. Image © Paul Rands |
|
 |
Advance Directional Sign: AD sign for the interchange with Roe Hwy (SR3) at Wattle Grove, April 2016. Image © Paul Rands |
 |
Advance Directional Sign: AD sign on the off ramp to Great Eastern Hwy (N1 / NH94) at Ascot, January 2020. Click here for a photo of this location by Paul Rands from April 2016. Image © Paul Rands |
|
 |
Intersection Directional Sign: ID sign at the Roe Hwy (SR3) interchange at Wattle Grove, April 2016. Image © Paul Rands |
 |
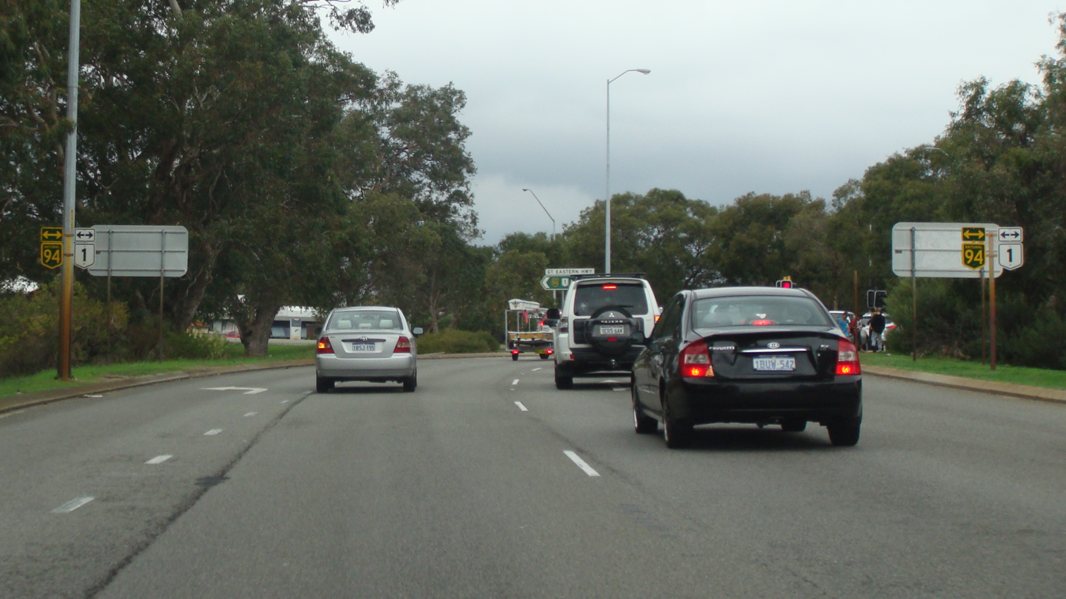
Trailblazer: Trailblazer assembly on the off ramp to Great Eastern Hwy (N1 / NH94) at Ascot, January 2020. Click here for a photo of this location by Paul Rands from April 2016. Image © Paul Rands |
|
 |
Roe Highway Interchange: Tonkin Hwy as it passes under Roe Hwy at Wattle Grove. April 2016. Image © Paul Rands |
 |
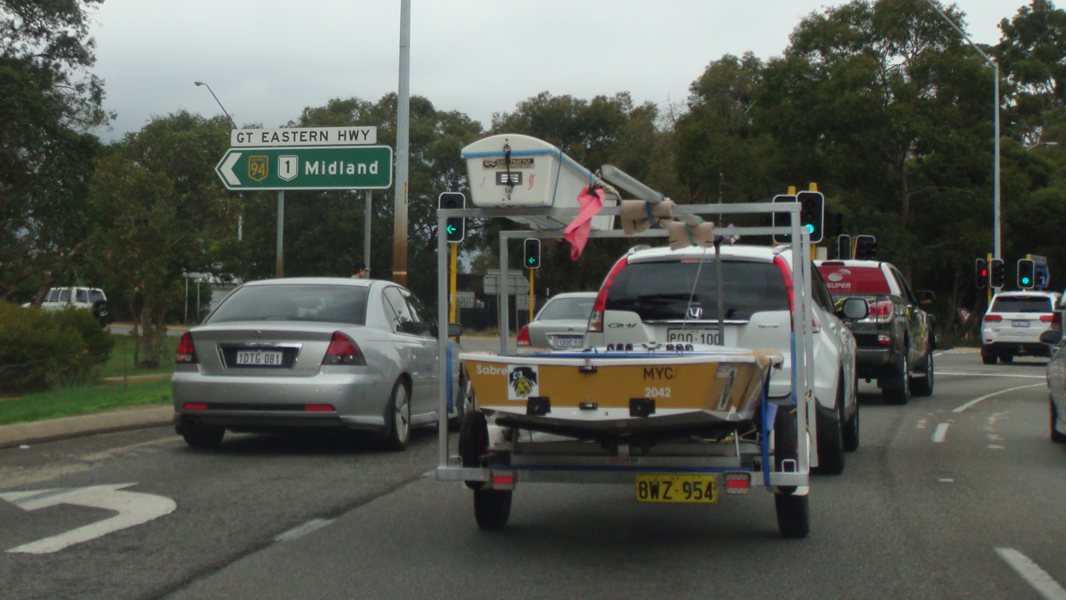
Intersection Directional Sign: ID sign on the off ramp to Great Eastern Hwy (N1 / NH94) at Ascot, January 2020. Click here for a photo of this location by Paul Rands from April 2016. Image © Paul Rands |
|
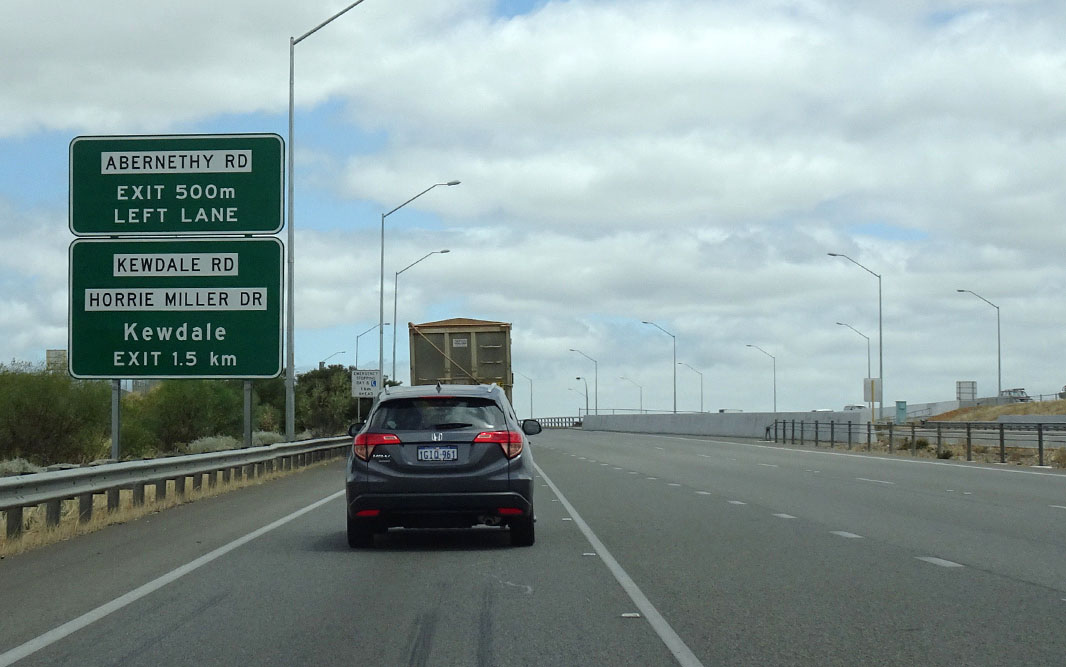 |
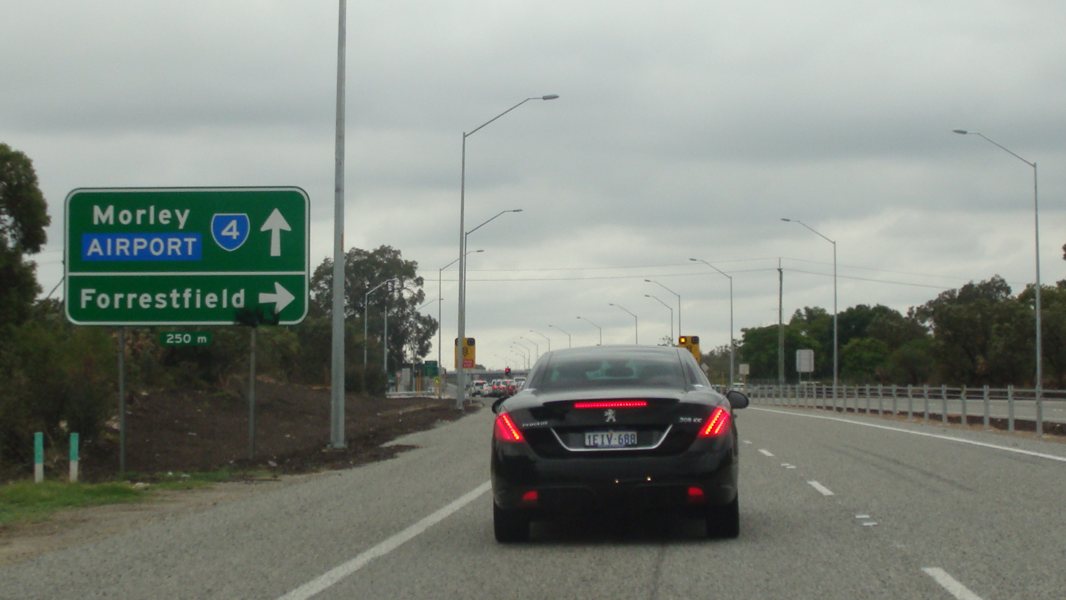
Advance Directional Sign: AD sign approaching the Abernethy Road (SR55) interchange at Kewdale. January 2020. Image © Paul Rands |
 |
Advance Directional Sign: AD sign at Perth Airport approaching Dunreath Dr, April 2016. Image © Paul Rands |
|
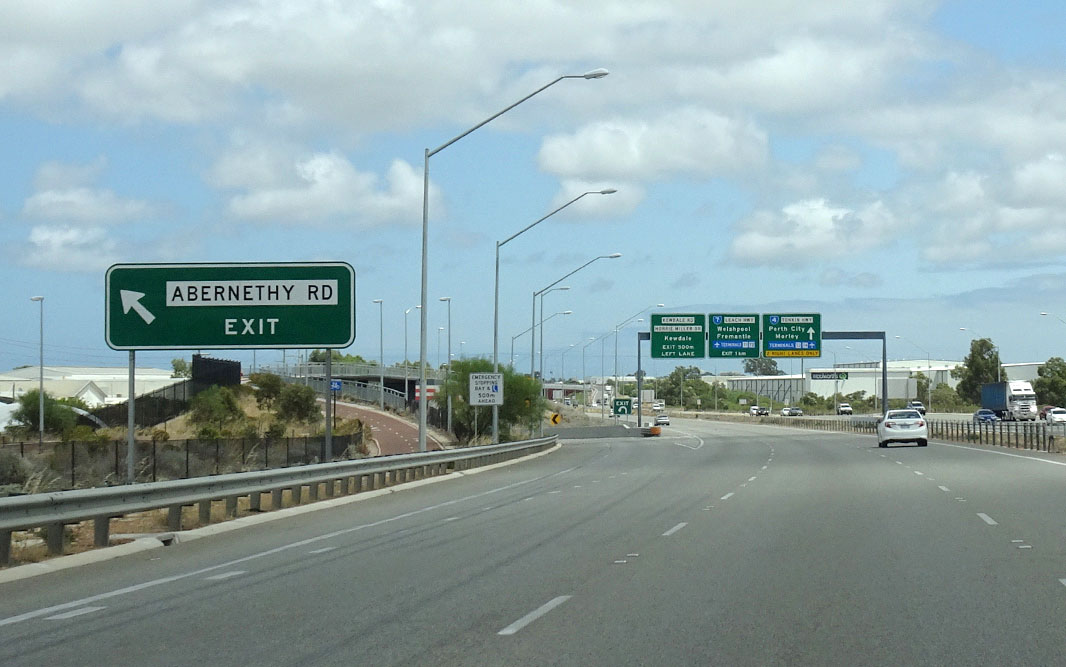 |
Abernethy Road: Abernethy Road (SR55) interchange at Kewdale, January 2020. Image © Paul Rands |
 |
Dunreath Drive: Tonkin Hwy (SR4) at the Dunreath Dr interchange, Perth Airport, April 2016. Image © Paul Rands |
|
 |
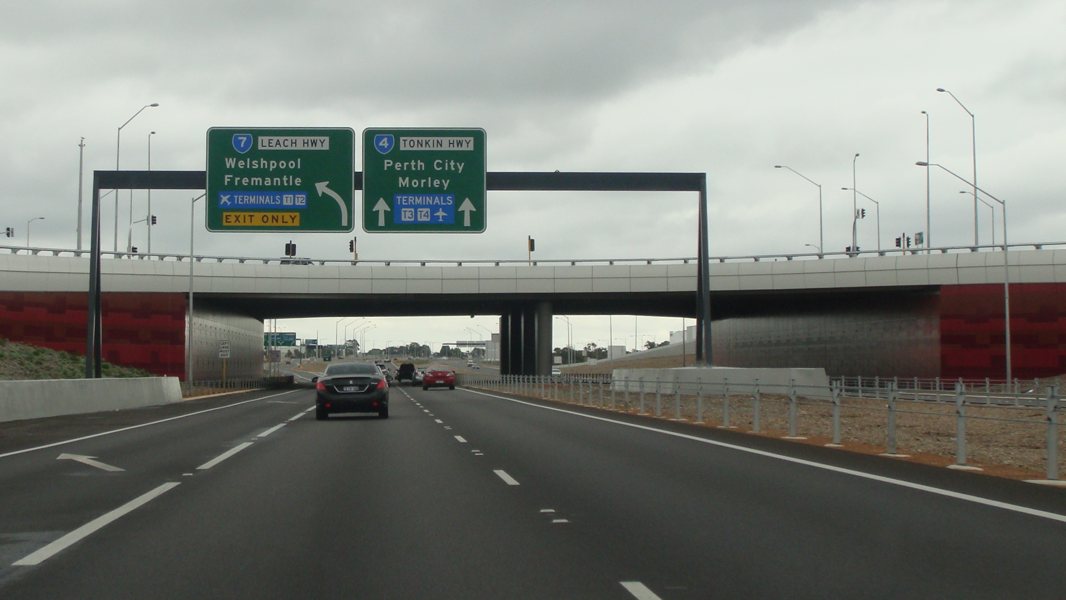
Advance Directional Sign: AD sign at the Abernethry Rd (SR55) interchange at Kewdale for Leach Hwy (SR7). January 2020. Image © Paul Rands |
 |
Airport Drive & Leach Highway: Tonkin Hwy (SR4) at the interchange with Leach Hwy (SR7) and Airport Dr at Perth Airport, April 2016. Image © Paul Rands |
|
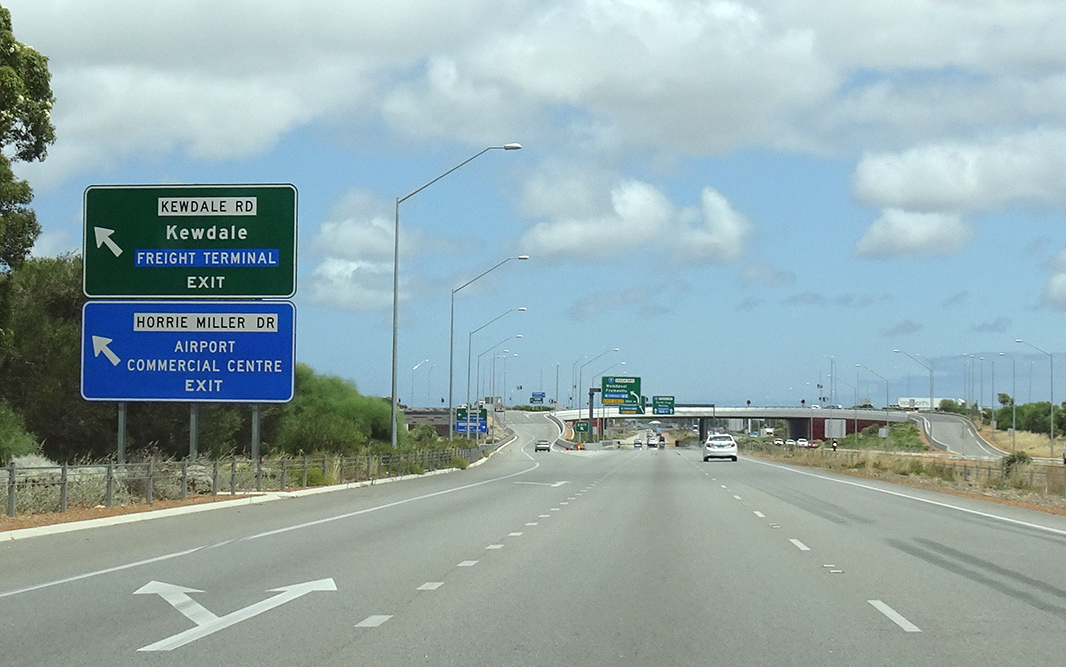 |
Horrie Miller Drive & Kewdale Road: Tonkin Hwy (SR4) at the interchange with Horrie Miller Drive and Kewdale Road in Kewdale, January 2020. Image © Paul Rands |
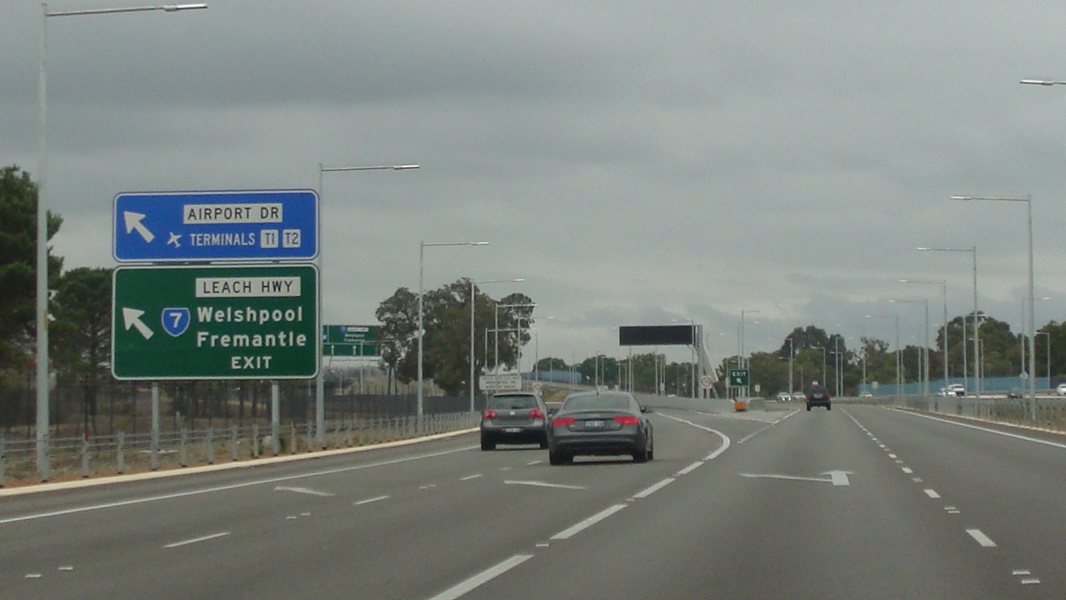 |
Airport Drive & Leach Highway: Tonkin Hwy (SR4) at the interchange with Leach Hwy (SR7) and Airport Dr at Perth Airport, April 2016. Image © Paul Rands |
|
 |
Kewdale Rd / Horrie Miller Dr: Tonkin Hwy as it passes Horrie Miller Drive and Kewdale Road in Kewdale, April 2016. Image © Paul Rands |
 |
Advance Directional Sign: AD sign at Perth Airport approaching Kewdale Rd and Horrie Miller Dr, April 2016. Image © Paul Rands |
|
 |
Advance Directional Sign: AD sign approaching the Leach Hwy (SR7) interchange in Kewdale, January 2020. Image © Paul Rands |
 |
Advance Directional Sign: AD sign at Perth Airport approaching Kewdale Dr and Horrie Miller Dr, April 2016. Image © Paul Rands |
|
 |
Leach hwy Junction: Passing through the Leach Hwy (SR7) interchange in Kewdale, January 2020. Click here for a photo of this location by Paul Rands from April 2016. Image © Paul Rands |
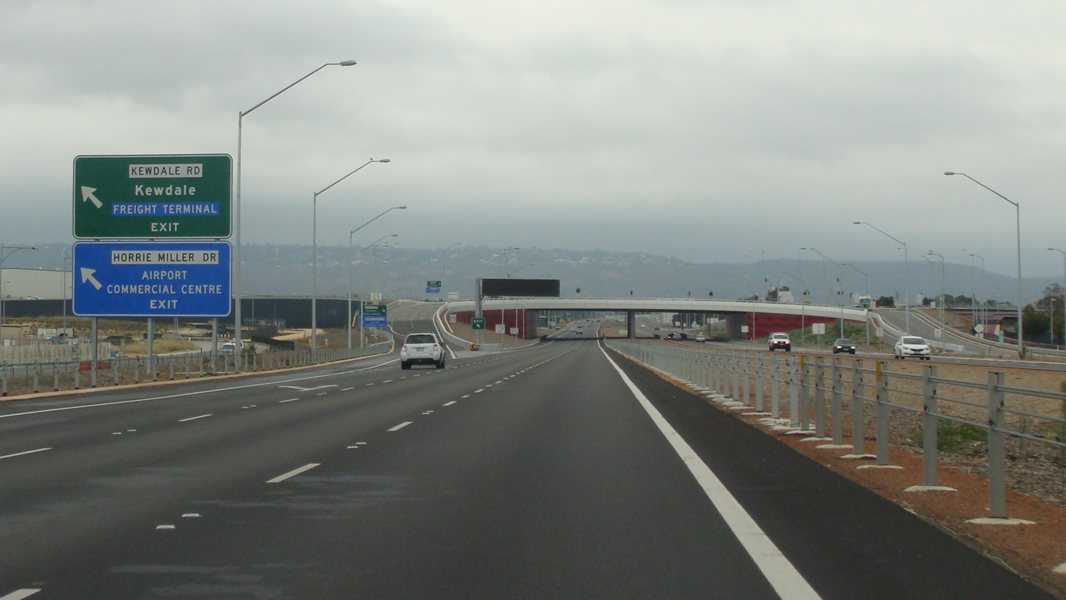 |
Kewdale Road & Horrie Miller Drive: Tonkin Hwy (SR4) at the interchange with Kewdale Rd and Horrie Miller Dr at Perth Airport, April 2016. Image © Paul Rands |
|
 |
Advance Directional Sign: AD sign on the off ramp to the Leach Hwy (SR7) interchange in Cloverdale, November 2008. Image © Paul Rands |
 |
Advance Directional Sign: AD sign at Perth Airport approaching Roe Hwy (SR3), April 2016. Image © Paul Rands |
|
 |
Intersection Directional Sign: ID sign on the ramp with the Leach Hwy (SR7) interchange in Cloverdale, November 2008. Image © Paul Rands |
 |
Advance Directional Sign: AD sign at Forrestfield approaching Roe Hwy (SR3), April 2016. Image © Paul Rands |
|
 |
Advance Directional Sign: AD sign at Redcliffe approaching Dunreath Dr, January 2020. Image © Paul Rands |
 |
Roe Highway: Tonkin Hwy (SR4) at the Roe Hwy (SR3) interchange, Forrestfield, April 2016. Image © Paul Rands |
|
 |
Dunreath Drive: Tonkin Hwy (SR4) at the Dunreath Dr interchange at Redcliffe, January 2020. Image © Paul Rands |
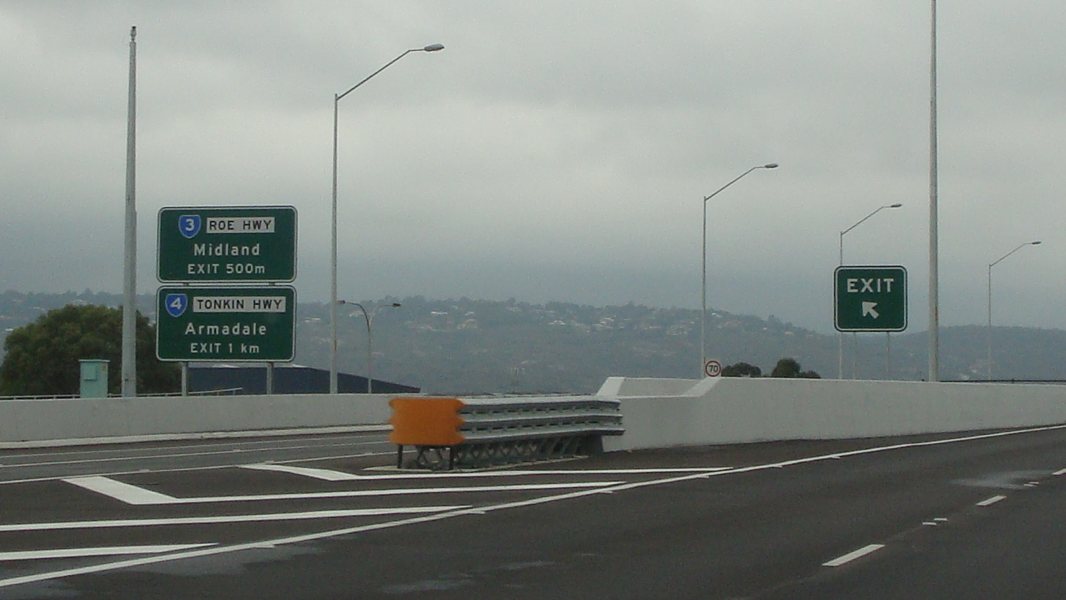 |
Roe Highway: Tonkin Hwy (SR4) at the Roe Hwy (SR3) interchange, Forrestfield, April 2016. Image © Paul Rands |
|
 |
Dunreath Drive: Tonkin Hwy (SR4) at the Dunreath Dr interchange at Redcliffe, April 2016. Image © Paul Rands |
 |
Advance Directional Sign: AD sign on Roe Hwy (SR3) interchange at Forrestfield, April 2016. Image © Paul Rands |
|
 |
Advance Directional Sign: AD sign approaching the interchange with Great Eastern Highway (NR1 / NH94) at Redcliffe, January 2020. Click here for a photo of this location by Paul Rands from April 2016. Image © Paul Rands |
 |
Intersection Directional Sign: ID sign on Roe Hwy (SR3) interchange at Forrestfield, April 2016. Image © Paul Rands |
|
 |
Great Eastern Hwy Interchange: The interchange with the Great Eastern Highway (NR1 / NH94) at Redcliffe, January 2020. Click here for a photo of this location by Paul Rands from April 2016. Image © Paul Rands |
 |
Advance Directional Sign: AD sign at the Roe Hwy (SR3) junction at Forrestfield for Hale Rd, April 2016. Image © Paul Rands |
|
 |
Distance Sign: RD sign after Great Eastern Highway (NR1 / NH94) at Redcliffe. January 2020. Click here for a photo of this location by Paul Rands from April 2016. Image © Paul Rands |
 |
Hale Road: Tonkin Hwy (SR4) at the Hale Rd junction, Forrestfield, April 2016. Image © Paul Rands |
|
 |
Advance Directional Sign: AD sign at Bayswater approaching Guildford Rd (SR51), January 2020. Image © Paul Rands |
 |
Hale Road: Tonkin Hwy (SR4) at the Hale Rd junction, Forrestfield, April 2016. Image © Paul Rands |
|
 |
Guildford Road: Tonkin Hwy (SR4) at the Guildford Rd (SR51) interchange, Bayswater, January 2020. Image © Paul Rands |
 |
Hale Road: Tonkin Hwy (SR4) at the Hale Rd junction, Forrestfield, April 2016. Image © Paul Rands |
|
 |
Advance Directional Sign: AD sign on the off ramp for the Guildford Rd (SR51) interchange at Bayswater. April 2016. Image © Paul Rands |
 |
Advance Directional Sign: AD sign approaching Welshpool Road East (SR8) at Wattle Grove. December 2007. Image © Paul Rands |
|
 |
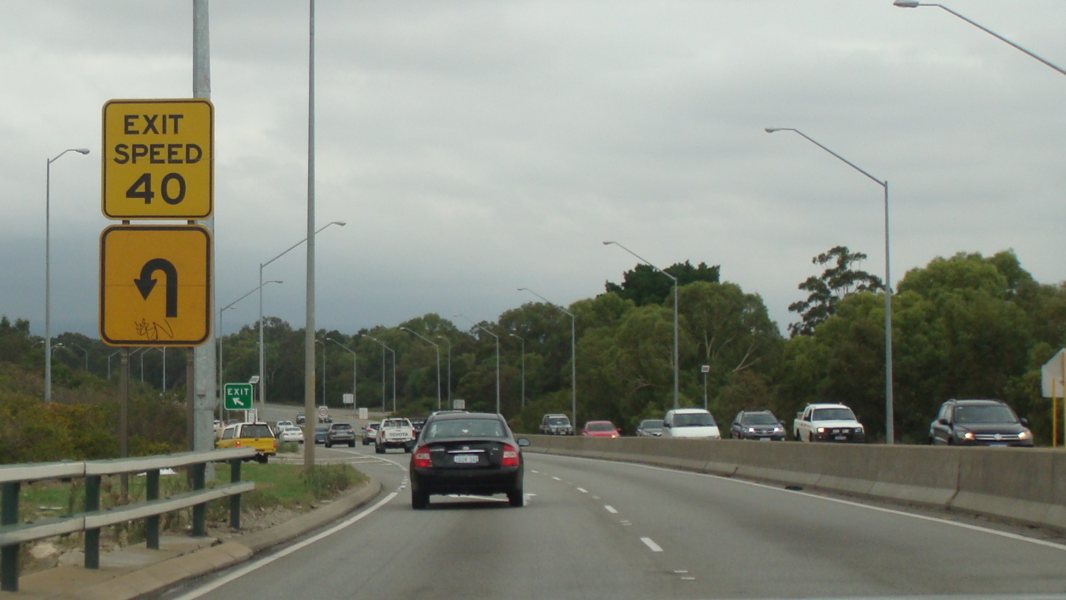
Guildford Road Interchange: Off ramp from Tonkin Hwy at the junction with Guildford Road at Bayswater, April 2016. Image © Paul Rands |
 |
Welshpool Road East Intersection: Looking southeast at Wattle Grove, April 2016. Image © Paul Rands |
|
 |
Advance Directional Sign: AD sign at Bayswater approaching Collier Rd, January 2020. Click here for a photo of this location by Paul Rands from April 2018. Image © Paul Rands |
 |
AD Sign: Advance directional sign approaching Kelvin Road at Maddington, December 2007. Image © Paul Rands |
|
 |
Collier Road: Tonkin Hwy (SR4) at Collier Rd, Bayswater, January 2020. Click here for a photo of this location by Paul Rands from April 2018. Image © Paul Rands |
 |
Kelvin Rd Intersection: Approaching the signalised junction with Kelvin Road in Maddington, December 2007. Image © Paul Rands |
|
 |
Collier Road: Tonkin Hwy (SR4) at Collier Rd, Bayswater, April 2018. Image © Paul Rands |
|||
 |
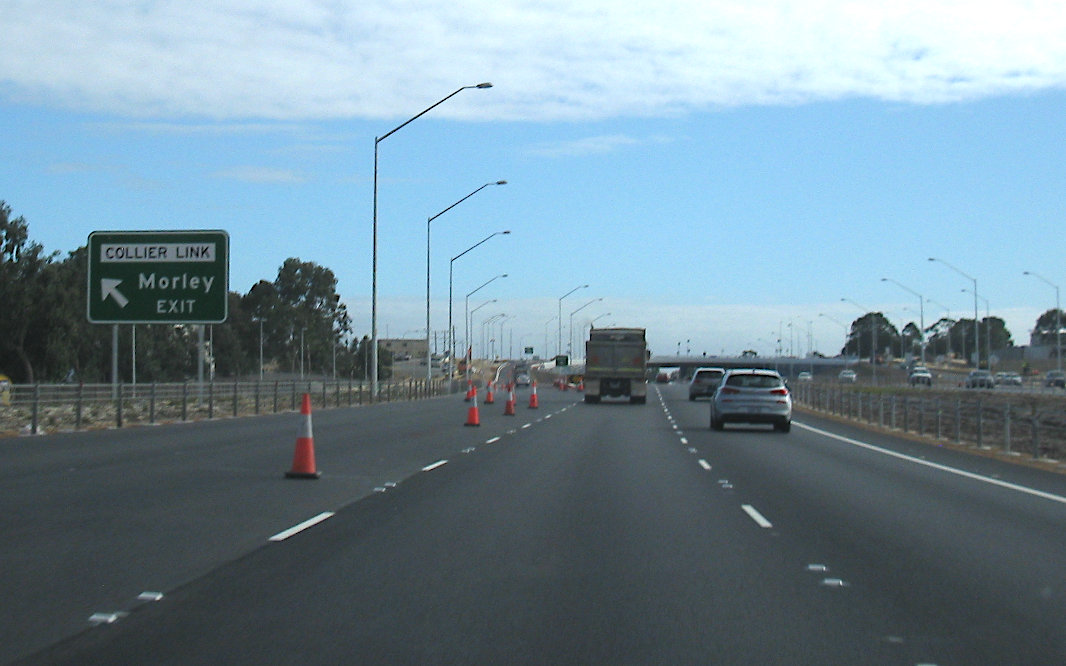
Advance Directional Sign: AD sign at Embleton approaching Morley Dr (SR76), January 2020. Image © Paul Rands |
|||
 |
Morley Drive: Tonkin Hwy (SR4) at Morley Dr at Embleton, January 2020. Image © Paul Rands |
|||
 |
Advance Directional Sign: AD sign at Noranda approaching Reid Hwy (SR3) interchange, January 2020. Image © Paul Rands |
|||
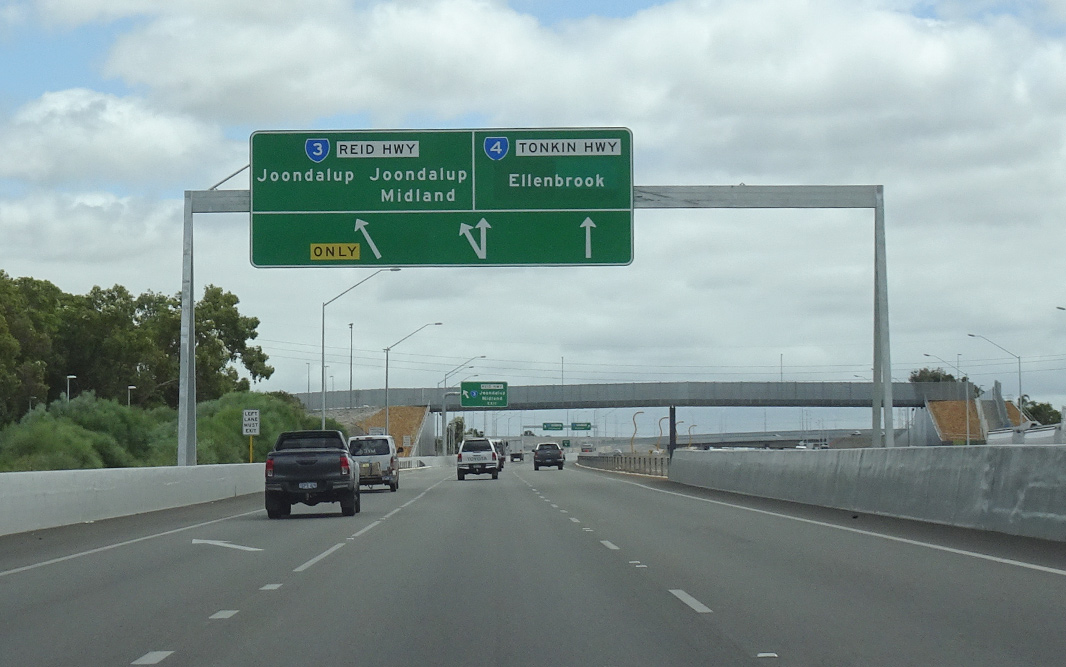 |
Advance Directional Sign: AD sign at Noranda approaching Reid Hwy (SR3) interchange, January 2020. Image © Paul Rands |
|||
 |
Reid Highway: Tonkin Hwy (SR4) at Reid Hwy (SR3) interchange, Noranda, January 2020. Image © Paul Rands |
|||
| Click here for the continuation of State Route 4 between Noranda and Muchea Click here for the continuation of State Route 4 between Maddington and Oakford |
||||
1 Main Roads WA
2 Government of Western Australia, Media Releases, Joint Media Statement - Billion-Dollar Gateway WA Now Underway, 1 February 2013
3 Government of Western Australia, Media Releases, New ramp at Abernethy Road now open, 13 November 2013
4 Main Roads Western Australia, Completed Projects, Tonkin Highway and Kelvin Road intersection, 16 July 2018
5 Main Roads Western Australia, Project Update, NorthLink WA, June 2018
Last updated: 26-Jul-2020 23:35
This site © Paul Rands. All rights reserved. Some portions © (copyright) by their respective and credited owners. Permission must be obtained before using any images from this site. For details, please email by clicking here.