|
|
|
|
|
 |
Forrest Highway, Kwinana Freeway & Mitchell Freeway (State Route 2) - Currumbine To Duncraig |
Statistics:
Route Numbering:
General Information:
The Forrest Highway, along with the Kwinana and Mitchell Freeways, are without a doubt one of the most important road systems in the Perth metropolitan area, and the southwestern part of the state.
Running in a north-south direction, the freeways link the north and southern suburbs of Perth together plus the southern city of Mandurah and the state's southwest, but also act as a coastal link between the northern and southern parts of the state. Built in stages from the late 1950s the route has seen enormous changes / extensions and is continuously undergoing expansion to this day.
Unique to the freeway sections is the passenger railway line down the median of the road corridor, which in parts also travels alongside other modes of public transport such as buses.
The route varies from 2 to 3 lanes wide in each direction, with provision in most of the newer sections to have another 1 to 2 lanes to be added when required. Exits along the route are somewhat close together, this is probably due to the large number of suburbs state route 2 services, south of Baldivis, the spacings are longer.
When first planned, the Mitchell Fwy was called the Yanchep Highway, as its envisaged that eventually the route will connect to the town.
State Route 2 is joined by National Route 1 at Brentwood from the Leach Hwy (SR7) interchange, forming a duplex through to the Canning Hwy (SR6) interchange at Como.
History:
Click here photos of the contruction and the official opening ceremony of the Mitchell Freeway from Hodges Drive interchange to the Burns Beach Road (SR87) interchange
Click here for construction photos of Currambine
extension to the Mitchell Freeway
| Duncraig to Currambine | Currambine To Duncraig | |||
| Preview: | Description: | Preview: | Description: | |
 |
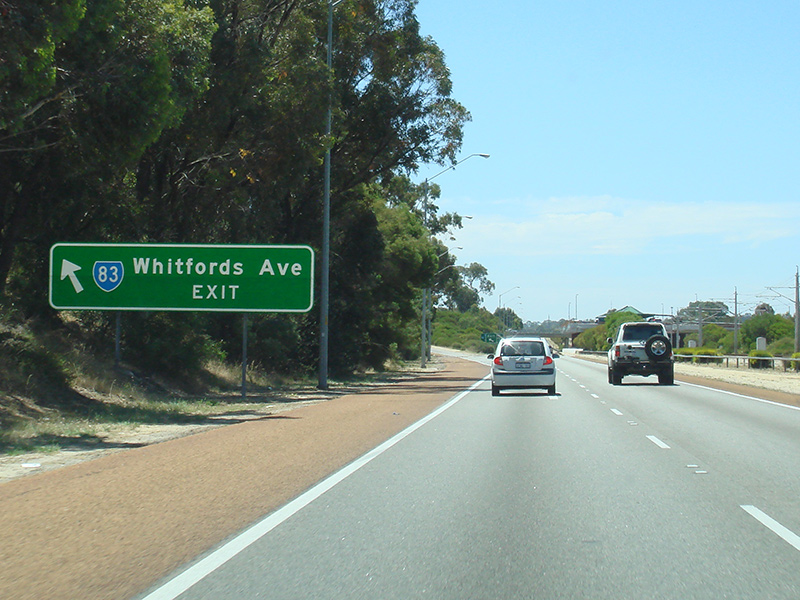
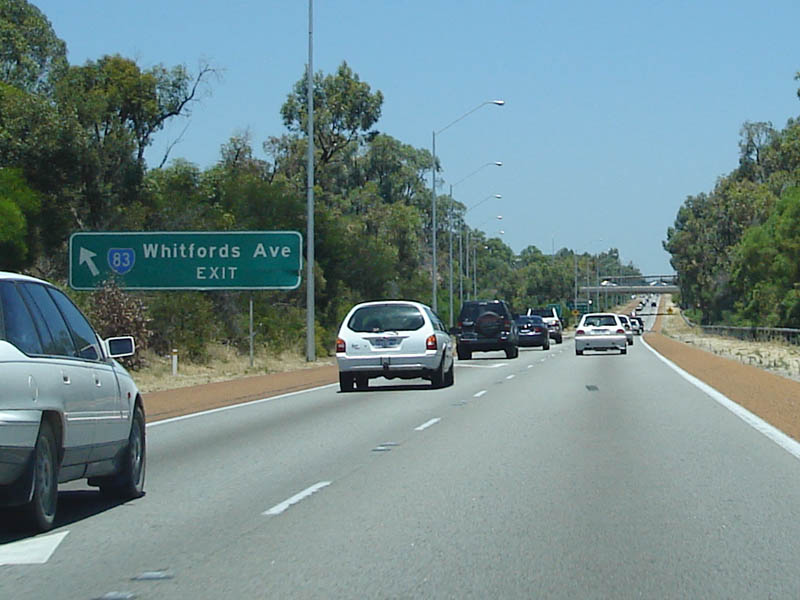
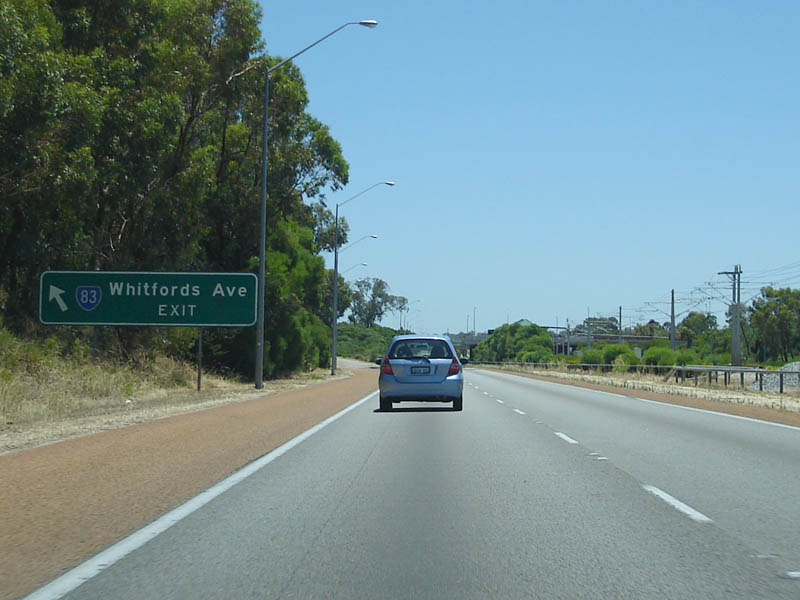
Advance Exit Sign: Approaching Whitfords Av in Padbury. This is typical of WA advance exit signage for freeways. December 2007. Image © Paul Rands |
 |
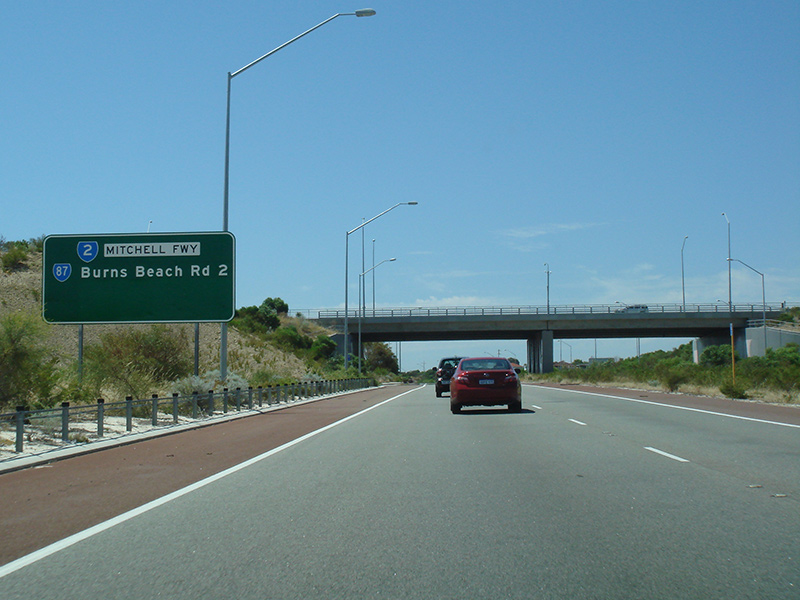
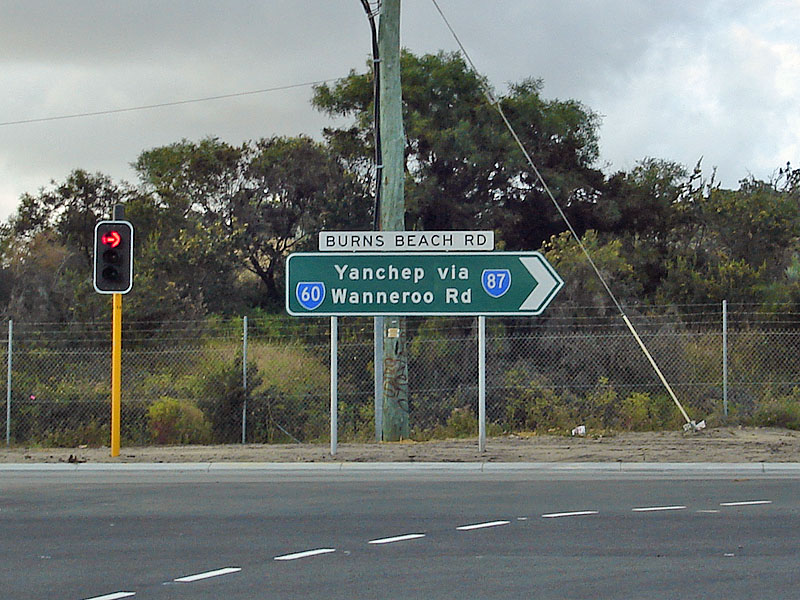
Burns Beach Road Interchange: Image © Paul Rands |
|
 |
Whitfords Av Interchange: Looking northbound at Padbury. December 2012. Click here for a photo of this location from December 2007. Image © Paul Rands |
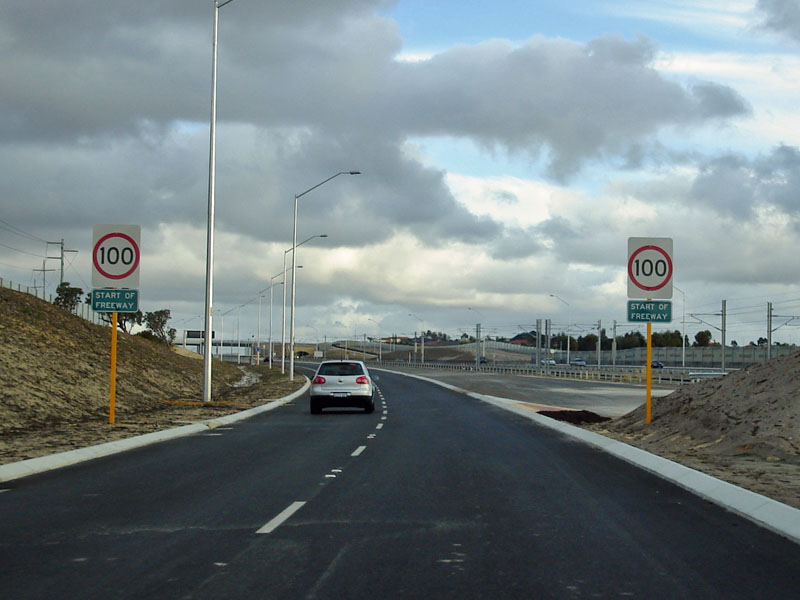 |
Start Freeway: The beginning of the Mitchell Fwy at Joondalup - part of the Burns Beach Road interchange. November 2008. Image © Paul Rands |
|
 |
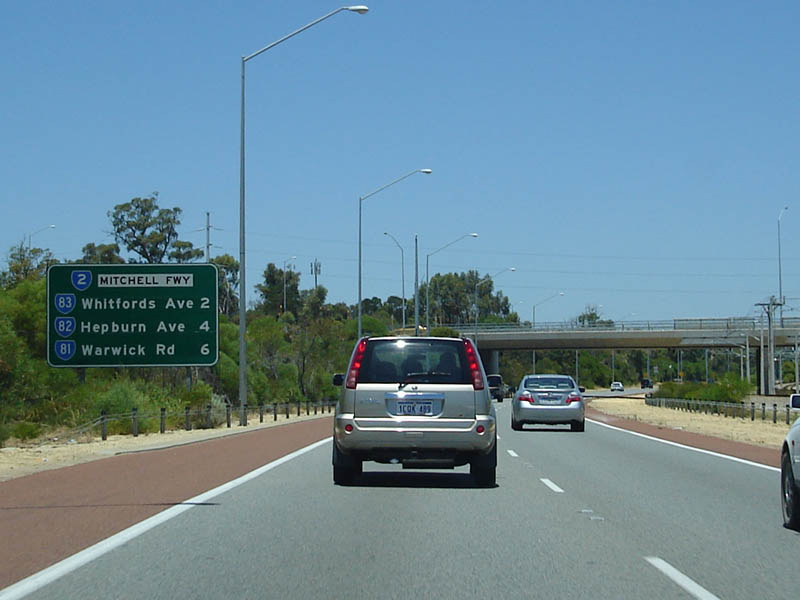
Distance Sign: Northbound through the Whitford Av interchange, with Whitford railway station on the right. December 2012. Click here for a photo of this location from December 2007. Image © Paul Rands |
 |
Variable Message Sign: VMS on the Mitchell Fwy at Joondalup. In addition to this one on the newest segment of the freeway, several others were installed along the entire length of SR2 during October 2008. Image from November 2008. Image © Paul Rands |
|
 |
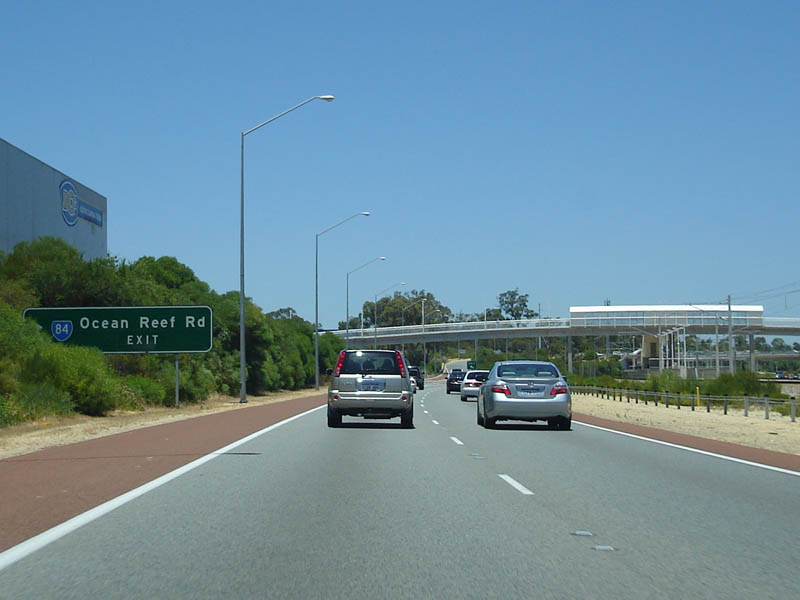
Advance Exit Sign: Approaching Ocean Reef Rd in Craigie. December 2007. Image © Paul Rands
|
 |
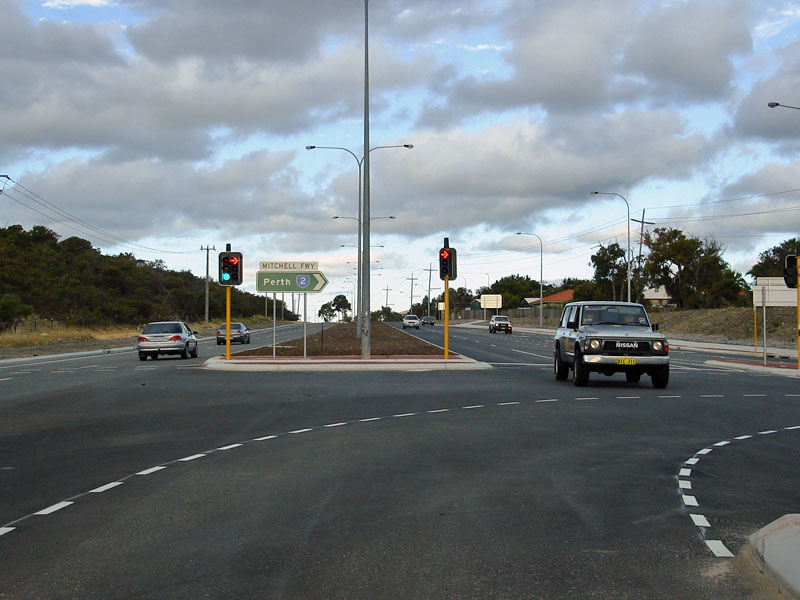
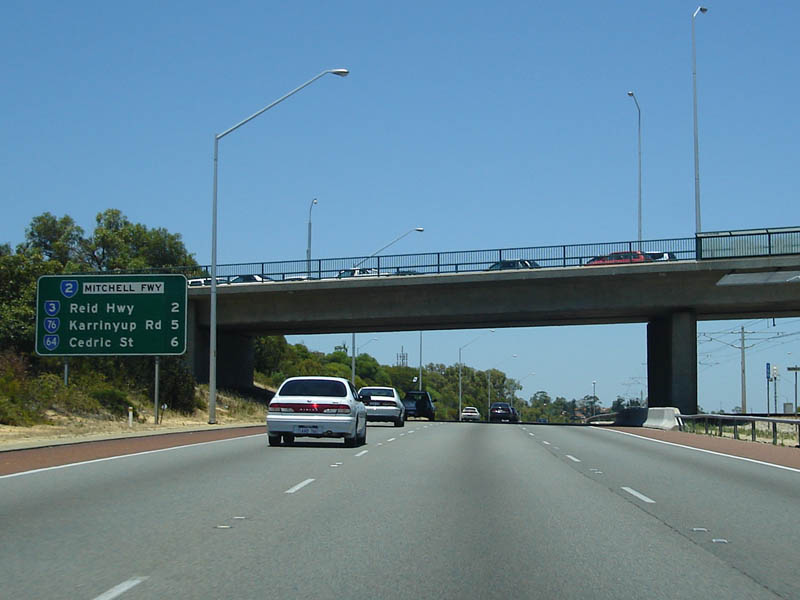
Advance Directional Sign: Image © Paul Rands |
|
 |
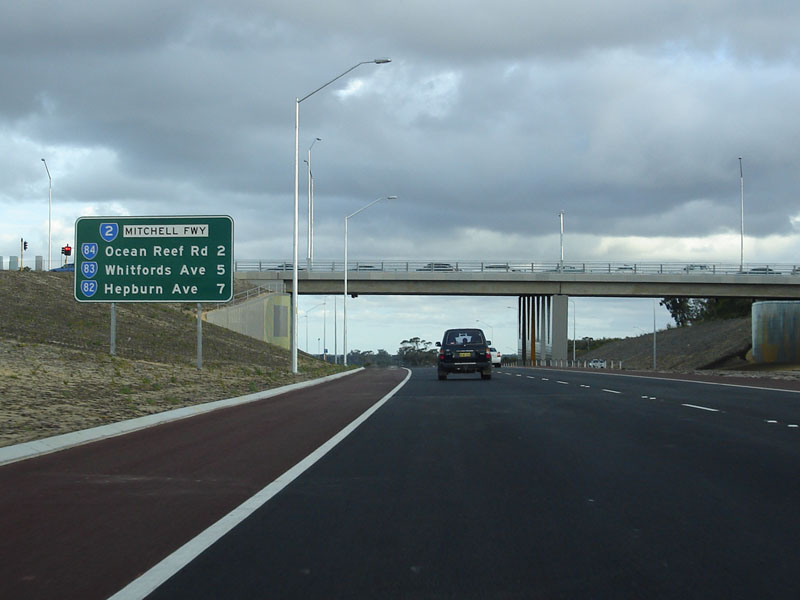
Freeway Green Exit Sign: Older coloured freeway sign at the Ocean Reef Road interchage at Craigie, December 2007. Image © Paul Rands |
 |
Shenton Avenue Interchange: Looking southbound at Joondalup at the Shenton Av interchange. November 2008. Image © Paul Rands |
|
 |
Ocean Reef Rd Interchange: Northbound through the Ocean Reef Rd interchange in Craigie. December 2012. Click here for a photo of this location from December 2007. Image © Paul Rands |
 |
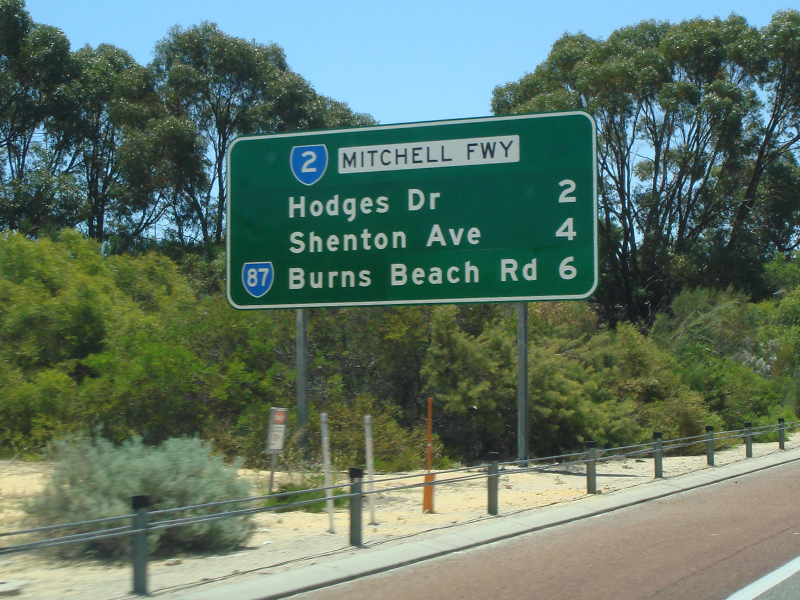
Distance Sign: RD sign with distances to the next 3 interchanges. Southbound at the Shenton Av interchange in Joondalup, November 2008. Image © Paul Rands |
|
 |
Advance Directional Sign: AD sign at Craigie, approaching Hodges Dr, April 2016. Image © Paul Rands |
 |
Advance Directional Sign: AD sign for Hodges Drive, next to the footbridge linking Joondalup and the suburb of Connolly. November 2008. Image © Paul Rands |
|
 |
Advance Directional Sign: AD sign at Craigie, approaching Hodges Dr, December 2012. Image © Paul Rands |
 |
Hodges Drive Interchange: Southbound at the Hodges Dr interchange at Joondalup. November 2008. Image © Paul Rands |
|
 |
Advance Directional Sign: AD sign at Craigie, approaching Hodges Dr, April 2016. Image © Paul Rands |
 |
Advance Directional Sign: Westbound AD sign on Hodges Dr at Edgewater, December 2012. Image © Paul Rands |
|
 |
Hodges Drive Interchange: Northbound at the Hodges Drive interchange at Heathridge, the former northern terminus of the freeway until the 2nd of November 2008. Image taken November 2008. Image © Paul Rands |
 |
Intersection Directional Sign: Eastbound ID sign on the interchange with Hodges Dr at Edgewater, December 2012. Image © Paul Rands |
|
 |
Hodges Drive Interchange: Distance sign showing the next 2 interchanges on the freeway. Heathridge, November 2008. Image © Paul Rands |
 |
Distance Sign: RD sign at the Hodges Dr interchange at Joondalup showing distances to the next 3 interchanges. November 2008. Image © Paul Rands |
|
 |
Advance Directional Sign: AD sign on the off ramp to Hodges Dr at Heathridge, December 2012. Image © Paul Rands |
 |
Hodges Drive Interchange: The southbound on ramp from the Hodges Rd interchange. December 2007. Image © Paul Rands |
|
 |
Intersection Directional Sign: ID sign on the off ramp to Hodges Dr at Heathridge, December 2012. Image © Paul Rands |
 |
Advance Exit Sign: Approaching Ocean Reef Rd in Edgewater. December 2007. Image © Paul Rands
|
|
 |
Intersection Directional Sign: ID sign on the off ramp to Hodges Dr at Heathridge, December 2012. Image © Paul Rands |
 |
ocean Reef Rd Interchange: Ocean Reef Road (SR84) interchange at Edgewater, December 2007. Image © Paul Rands |
|
 |
Intersection Directional Sign: ID sign on the Hodges Dr interchange at Heathridge, December 2012. Image © Paul Rands |
 |
Exit Distance Sign: Southbound carriageway of the Mitchell Freeway as it passes through the Ocean Reef Rd Interchange at Edgewater. Sign is used to indicate distances to the next 3 exits, further past the interchange is a distance sign with town focal points, December 2007. Image © Paul Rands |
|
 |
Advance Directional Sign: AD sign at Connolly for the Shenton Avenue interchange. November 2008. Image © Paul Rands |
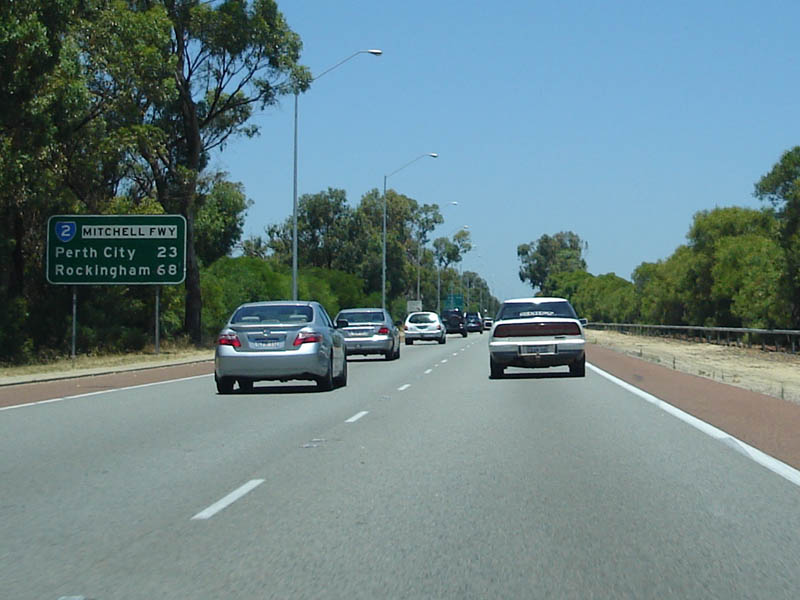 |
Distance Sign: Southbound RD sign after the Ocean Reef Rd interchange at Woodvale, December 2007. Image © Paul Rands |
|
 |
Shenton Avenue Interchange: Looking northbound from the Connolly pedestrian bridge. November 2008. Image © Paul Rands |
 |
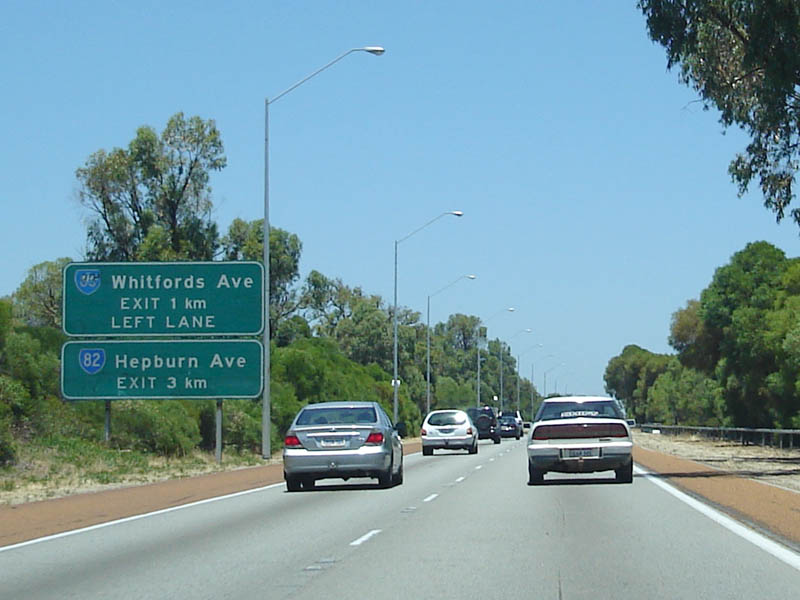
Freeway Green Advance Exit Signs: Southbound signage approaching SR83 - Whitfords Av at Woodvale. April 2016. Click here a photo of this location by Paul Rands featuring a freeway green sign from December 2007. Image © Paul Rands |
|
 |
Distance Sign: RD sign at the Shenton Avenue interchange in Connolly showing the distance to the next interchange. The coverplates on the sign hide destinations ahead for the next extension of the freeway. December 2012. Click here for a photo of this location from November 2008. Image © Paul Rands |
 |
Freeway Green Exit Sign: Older coloured freeway sign at the Whitfords Av interchage at Woodvale, December 2007. Image © Paul Rands
|
|
 |
Shenton Avenue Interchange: Intersection directional sign at the end of the Shenton Av off ramp at Connolly, April 2016. Image © Paul Rands |
 |
Exit Distance Sign: Southbound through the Whitfords Av interchange at Woodvale, December 2007. Image © Paul Rands |
|
 |
End of Freeway 1km: Sign at Currambine indicating the freeway ends in 1 kilometre. November 2008. Image © Paul Rands |
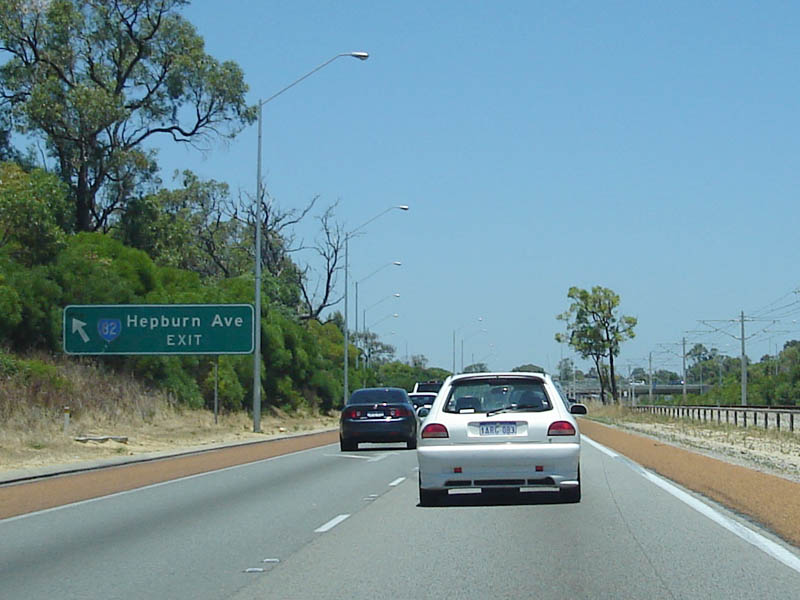 |
Freeway Green Exit Sign: Southbound approaching the Hepburn Av interchange at Kingsley, December 2007. Image © Paul Rands |
|
 |
Currambine Railway Station: View of the Currambine railway station in the centre of the freeway and part of the Burns Beach Road interchange at Currambine. November 2008. Image © Paul Rands |
 |
Hepburn Av Interchange: Southbound carriageway of the Mitchell Highway as it passes through the interchange with Hepburn Avenue at Kingsley, with exit distance sign, December 2007. Image © Paul Rands |
|
 |
End Freeway: Northern terminus of SR2 at Currambine. November 2008. Image © Paul Rands |
 |
Advance Exit Sign: Southbound advance exit sign for Warwick Rd (SR81) interchange at Greenwood. Image © Paul Rands |
|
 |
Advance Directional Sign: AD sign approaching Burns Beach Road (SR87) at Currambine. December 2012. Click here for a photo of this location from November 2008. Image © Paul Rands |
 |
Warwick Road Exit: Southbound approaching Warwick Road in Greenwood, December 2007. Image © Paul Rands |
|
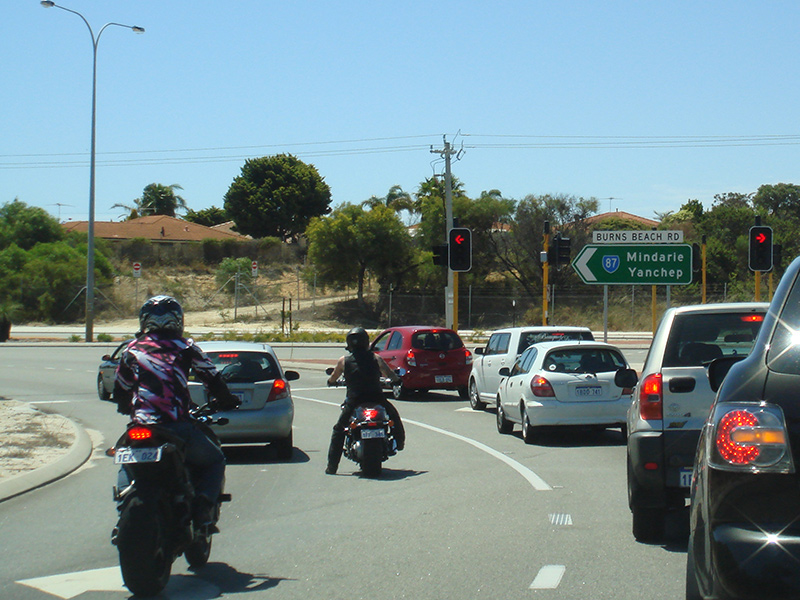 |
Intersection Directional Sign: ID sign on the westbound slip lane to Burns Beach Road (SR87) at Currambine. December 2012. Click here for a photo of this location from November 2008. Image © Paul Rands |
 |
Warwick Road Interchange: Looking southbound at Greenwood. December 2007. Image © Paul Rands |
|
 |
Intersection Directional Sign: ID sign facing the eastbound turning lane to Burns Beach Road (SR87) at Currambine. November 2008. Image © Paul Rands |
|||
| Click here for the continuation of SR2 between Duncraig and Osborne Park | ||||
1 Main Roads WA
Last updated: 23-Jan-2019 0:20
This site © Paul Rands. All rights reserved. Some portions © (copyright) by their respective and credited owners. Permission must be obtained before using any images from this site. For details, please email by clicking here.