|
|
|
|
|
 |
Roe Highway & Great Northern Highway (National Highway 95) - Bindoon to Dalwallinu |
Statistics:
Route Numbering:

General Information:
The Great Northern Highway links the north of WA with Perth and the port of Fremantle and is the main communication route between Perth and Darwin. It also forms part of the infrastructure that links the Murchison, Pilbara and Kimberley Regions to Perth. 1The Great Northern Highway services the State's agricultural, pastoral, mining and tourism industries, and is the main route for the flow of goods and services to and from the State's north. In addition to it being a dedicated National Highway, it also serves as the classified Heavy Haulage and Wide/High Load Route to the north of the State, on which approximately 30% of the traffic is heavy vehicles, often carrying over-width loads such as mining machinery. 1
Its total length within Wheatbelt North Region is 277km and it passes through the Shires of Chittering, Victoria Plains, Moora and Dalwallinu. 1
The NH95 section is all rural highway standard and is among the remotest sealed roads in the world.
Multiplexes along the route include:
History:
Click here for the former alignment between Bindoon and Dalwallinu
| Bindoon to Dalwalliinu | Dalwallinu to Bindoon | |||
| Preview: | Description: | Preview: | Description: | |
 |
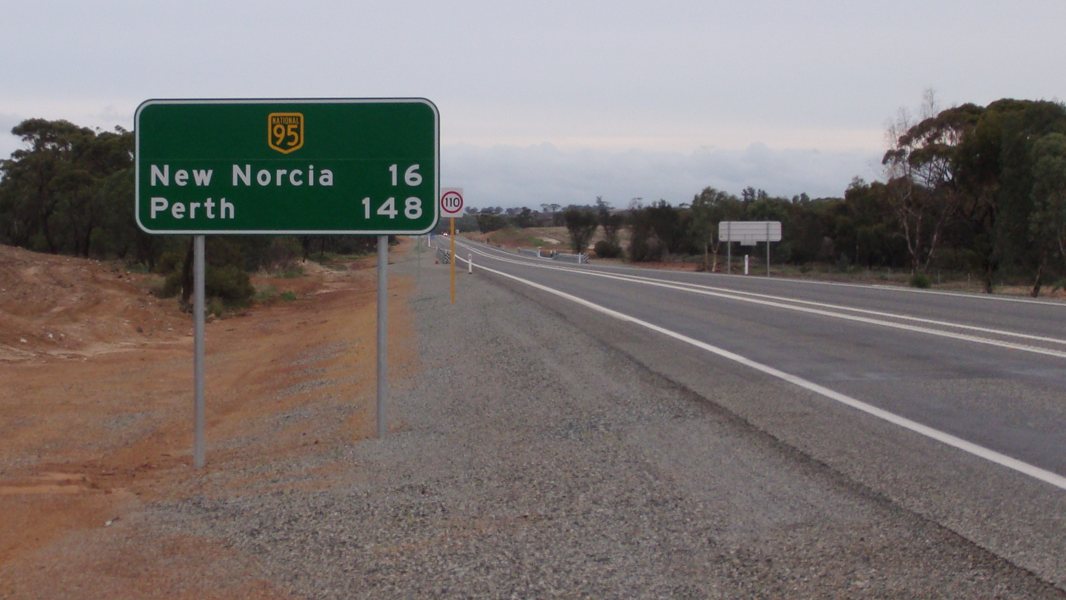
Entering New Norcia: Great Northern Hwy (NH95) as it enters the historic town of New Norcia, April 2016. Image © Paul Rands |
 |
ID Sign: Intersection directional sign facing Clinch Road in Dalwallinu. April 2009. Image © Paul Rands |
|
 |
Intersection Directional Sign: ID sign at the junction with Glentromie-Yerecoin Rd at Glentromie, April 2016. Note the incorrect font. Image © Paul Rands |
 |
ID Sign: Intersection directional sign at Johnston St in Dalwallinu, April 2009. Image © Paul Rands |
|
 |
Trailblazer: NR95 trailblazer at Glentromie, April 2016. Image © Paul Rands |
 |
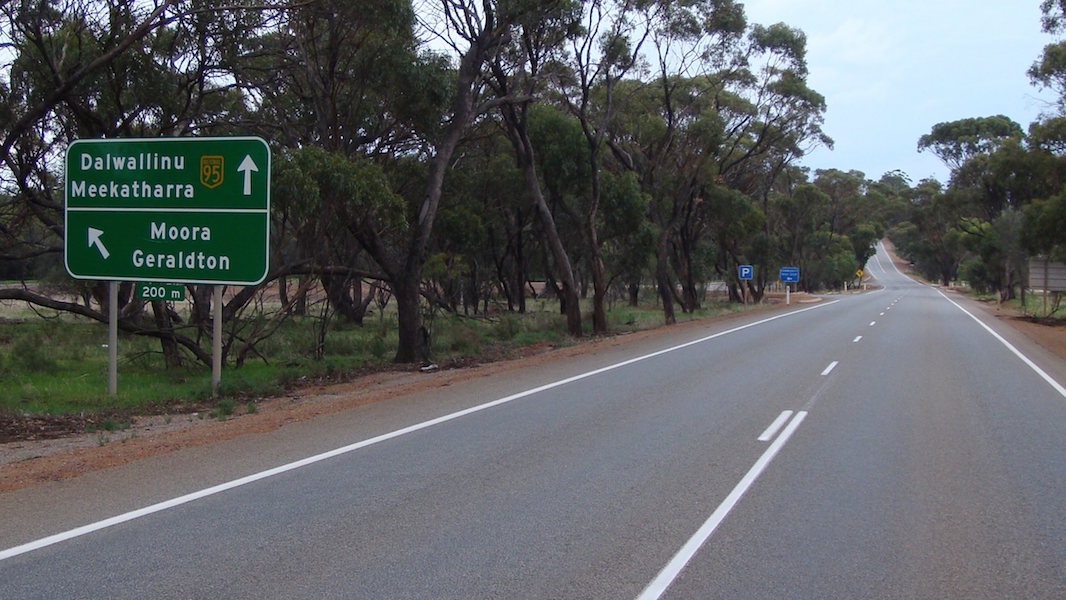
AD Sign: Advance directional sign approaching Dalwallinu Rd in Dalwallinu. April 2009. Image © Paul Rands |
|
 |
Advance Directional Sign: AD sign at Waddington, approaching Waddington-Wongan Hills Rd, April 2016. Image © Paul Rands |
 |
Distance Sign: RD sign as you leave Dalwallinu, April 2009. Image © Paul Rands |
|
 |
Reassurance Directional Sign: Distance sign at Waddington, April 2016. Image © Paul Rands |
 |
Pithara East Rd Junction: Southbound through the Pithara East Road intersection in Pithara, April 2009. Image © Paul Rands |
|
 |
Services Sign: Services sign at Walebing, April 2016. Image © Paul Rands |
 |
Pithara town Centre: Looking southwest through the town of Pithara along Great Northern Hwy (Leahy St). April 2009. Image © Paul Rands |
|
 |
Advance Directional Sign: AD sign at Walebing, approaching Midlands Rd, April 2016. Image © Paul Rands |
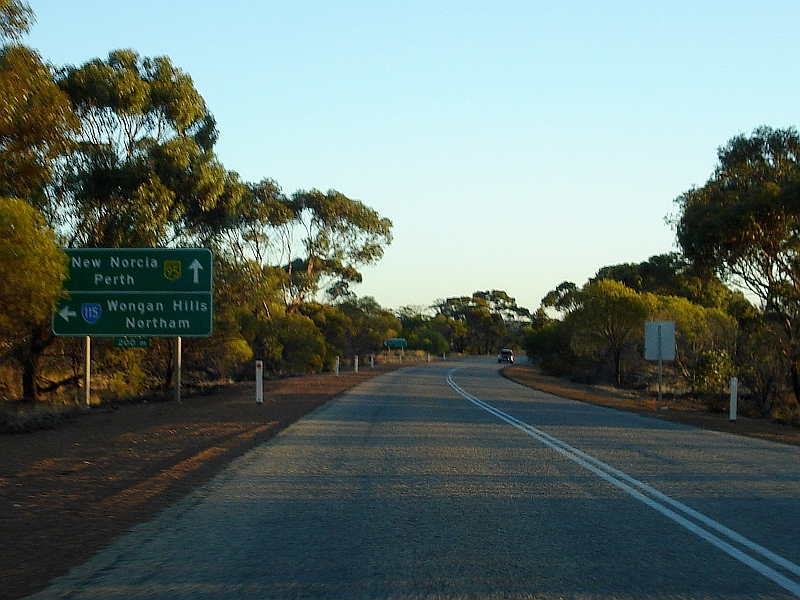 |
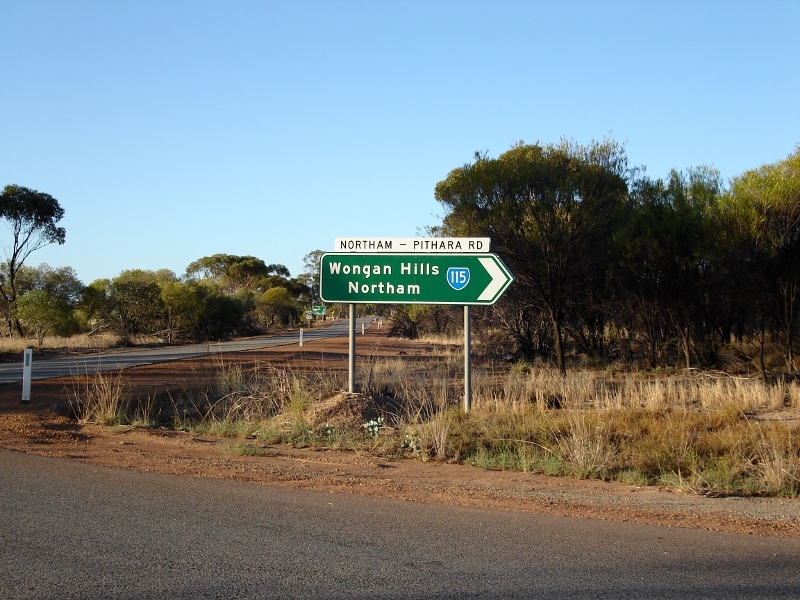
Advance Directional Sign: Southbound approaching Northam-Pithara Road (SR115) at Pithara, April 2009. Image © Paul Rands |
|
 |
Intersection Directional Sign: ID sign assembly at the corner of Gt Northern Hwy (NH95) and Midlands Rd at Walebing, April 2016. Image © Paul Rands |
 |
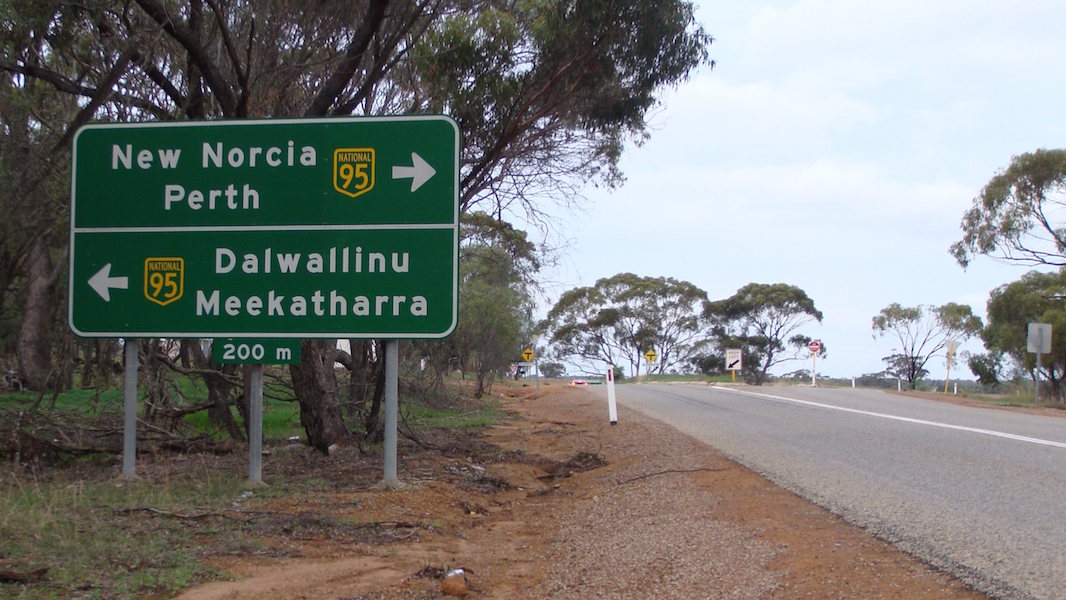
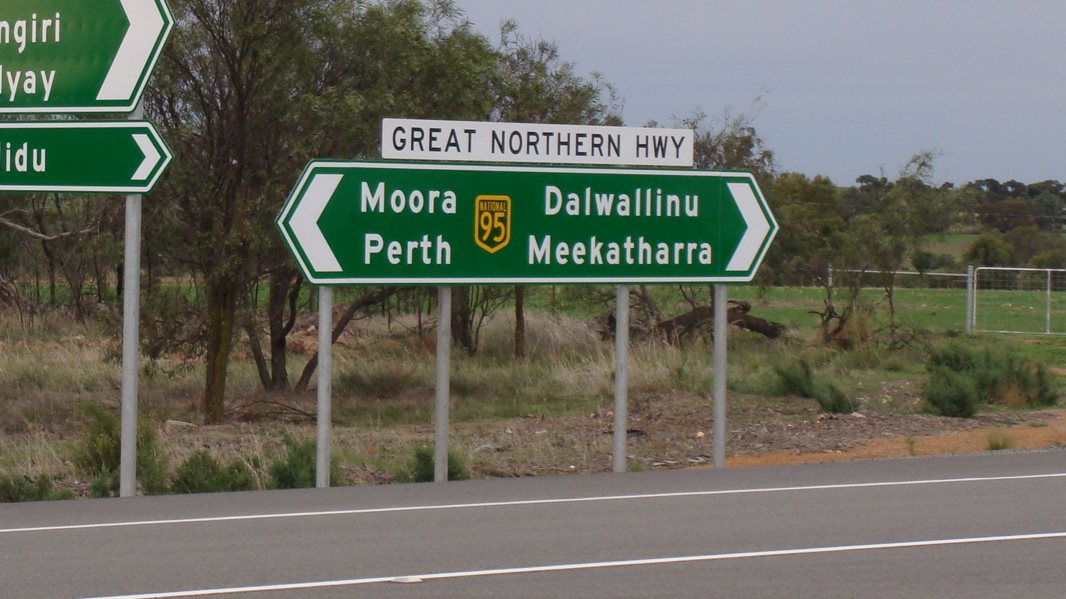
Intersection Directional Sign: ID sign in Pithara at the junction with Northam-Pithara Road (SR115). April 2009. Image © Paul Rands |
|
 |
Advance Directional Sign: AD sign on Midlands Rd at Walebing, approaching Great Northern Hwy (NH95), April 2016. Image © Paul Rands |
 |
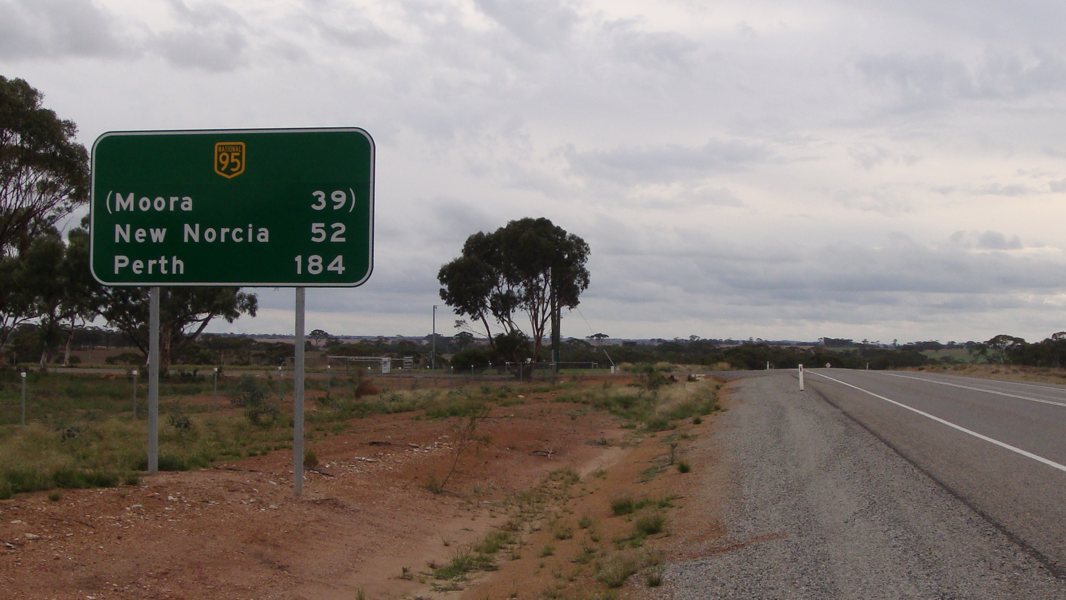
RD Sign: Southbound distance sign after the Northam-Pithara Road (SR115) junction at Pithara, April 2009. Image © Paul Rands |
|
 |
Reassurance Directional Sign: Distance sign at Walebing, April 2016. Image © Paul Rands |
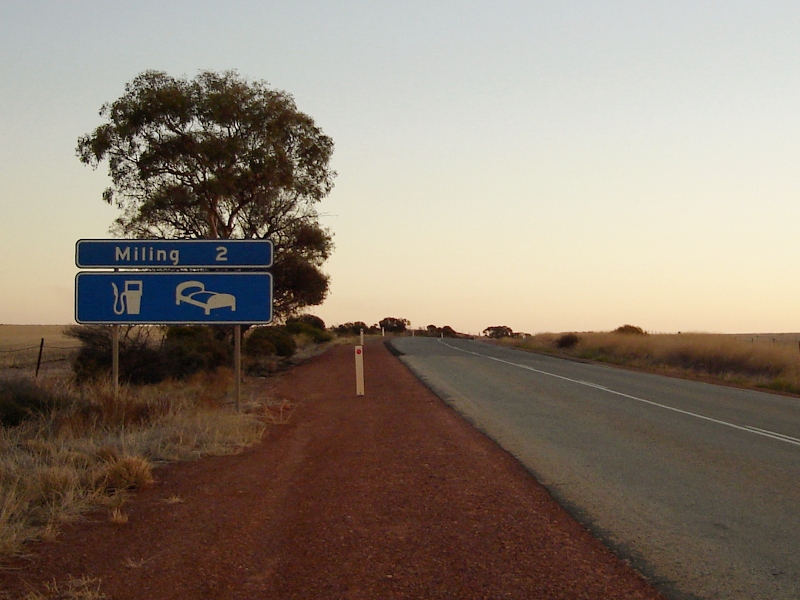 |
Services Sign: Services sign as you approach the town of Miling, April 2009. Image © Paul Rands |
|
 |
Advance Directional Sign: AD sign approaching Te Arakau Rd at Bindi Bindi, April 2016. Image © Paul Rands |
 |
Entering Miling: Entering the small town of Miling, April 2009. Image © Paul Rands |
|
 |
Te Arakau Road: Great Northern Hwy (NH95) at the Te Arakau Rd at Bindi Bindi, April 2016. Image © Paul Rands |
 |
Advance Directional Sign: AD sign approaching Miling-Moora Rd at Miling, April 2016. Image © Paul Rands |
|
 |
Advance Directional Sign: AD sign approaching Miling-Moora Rd at Miling, April 2016. Image © Paul Rands |
 |
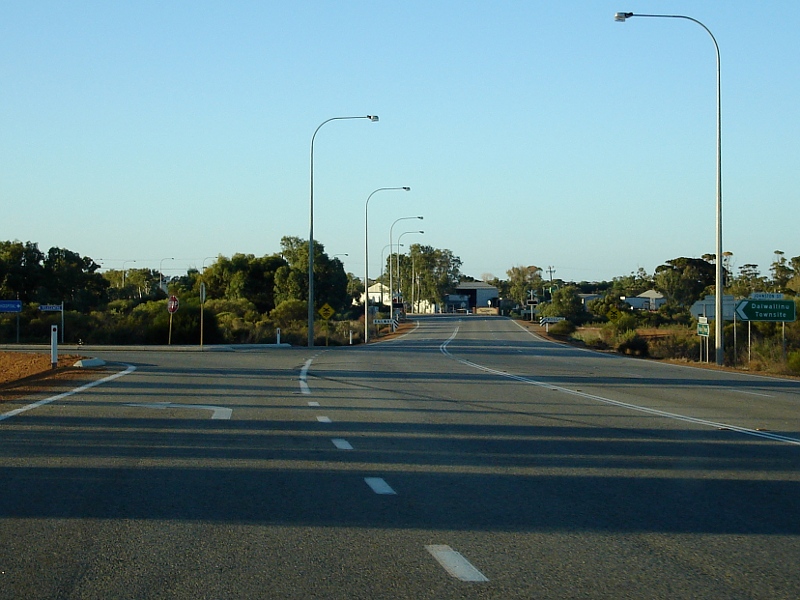
Miling-Moora Road: Great Northern Hwy (NH95) at the Miling-Moora Rd junction, Miling, April 2016. Image © Paul Rands |
|
 |
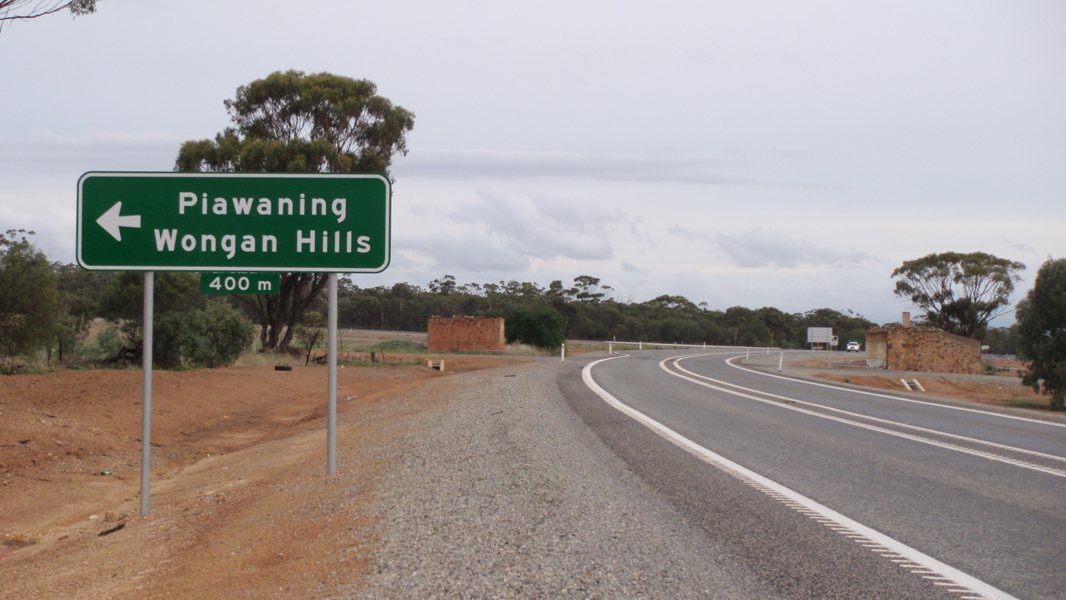
Intersection Directional Sign: ID sign facing Miling-Moora Rd at Moora, April 2016. Image © Paul Rands |
 |
Reassurance Directional Sign: Distance sign at Miling, April 2016. Image © Paul Rands |
|
 |
Reassurance Directional Sign: Distance sign at Miling, April 2016. Image © Paul Rands |
 |
Advance Directional Sign: AD sign approaching Te Arakau Rd at Bindi Bindi, April 2016. Image © Paul Rands |
|
 |
Intersection Directional Sign: ID sign in Pithara at the junction with Northam-Pithara Road (SR115). April 2009. Image © Paul Rands |
 |
Te Arakau Road: Great Northern Hwy (NH95) at the Te Arakau Rd at Bindi Bindi, April 2016. Image © Paul Rands |
|
 |
Distance Sign: Reassurance directional sign, northbound after the Northam-Pithara Road intersection at Pithara. April 2009. Image © Paul Rands |
 |
Advance Directional Sign: AD sign on Te Arakau Rd at Bindi Bindi, approaching Great Northern Hwy (NH95), April 2016. Image © Paul Rands |
|
 |
Entering Pithara: Entering the town of Pithara. April 2009. Image © Paul Rands |
 |
Intersection Directional Sign: ID sign facing Te Arakau Rd at Bindi Bindi, April 2016. Image © Paul Rands |
|
 |
Pithara town Centre: Looking northeast through the town of Pithara along Great Northern Hwy (Leahy St). April 2009. Image © Paul Rands |
 |
Reassurance Directional Sign: Distance sign at Bindi Bindi, April 2016. Image © Paul Rands |
|
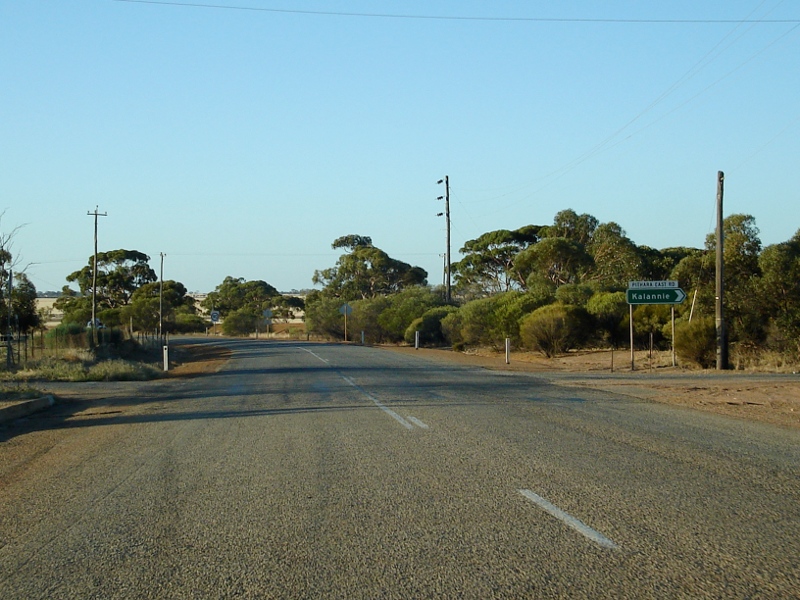 |
Pithara East Road Intersection: Corner of Leahy St (Gt Nthn Hwy) and Pithara East Rd in Pithara. April 2009. Image © Paul Rands |
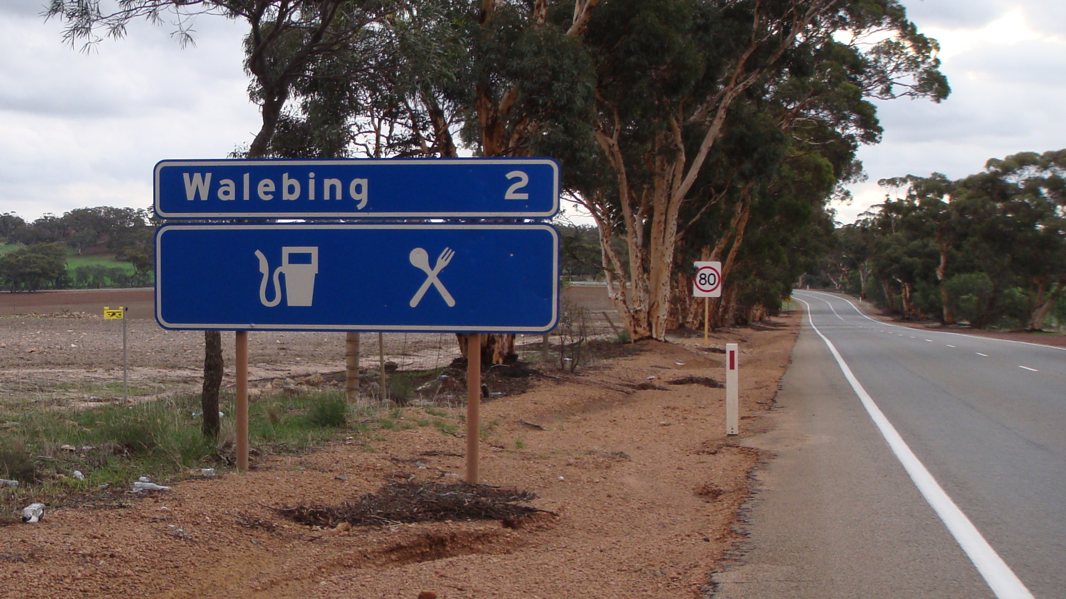 |
Services Sign: Services sign at Walebing, April 2016. Image © Paul Rands |
|
 |
Services Sign: Services sign as you approach the town of Dalwallinu. April 2009. Image © Paul Rands |
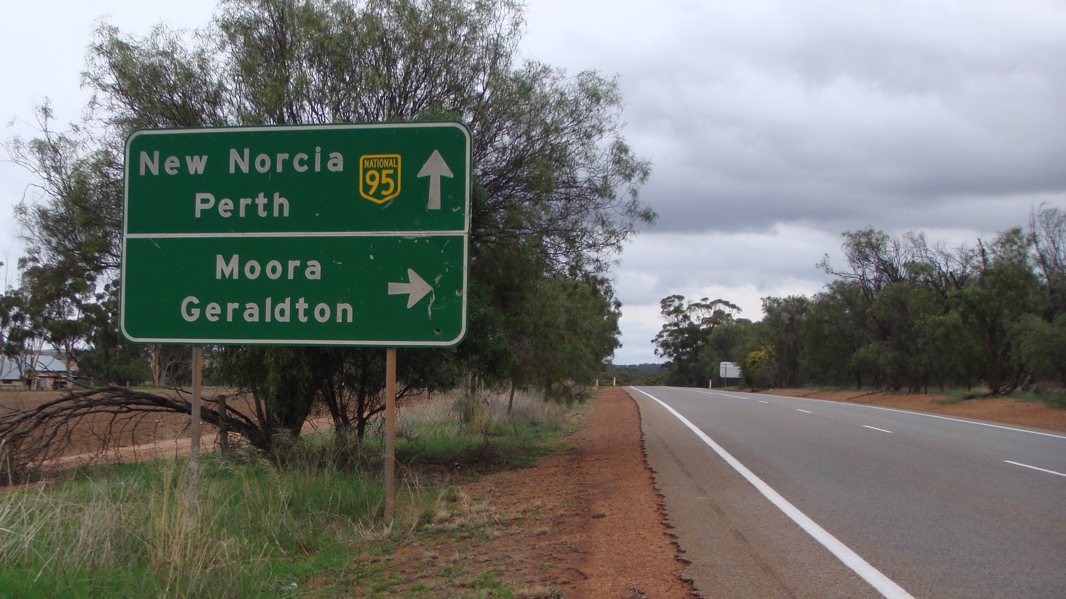 |
Advance Directional Sign: AD sign at Walebing, approaching Midlands Rd, April 2016. Image © Paul Rands |
|
 |
Advance Directional Sign: AD sign approaching Dalwallinu Road in Dalwallinu, April 2009. Image © Paul Rands |
 |
Intersection Directional Sign: ID sign assembly at the corner of Gt Northern Hwy (NH95) and Midlands Rd at Walebing, April 2016. Image © Paul Rands |
|
 |
Black Town Name Sign: Older black coloured town name sign as you enter Dalwallinu, April 2009. Image © Paul Rands |
 |
Fingerboard Assembly: Fingerboard assembly at the corner of Gt Northern Hwy (NH95) and Midlands Rd at Walebing, April 2016. Image © Paul Rands |
|
 |
Advance Directional Sign: Southbound approaching Johnston Street - the main street of Dalwallinu, which was bypassed in 2002, April 2009. Image © Paul Rands |
 |
Walebing: Great Northern Highway (NH95) as it passes through the town of Walebing, April 2016. Image © Paul Rands |
|
 |
Johnston Street Intersection: Corner of Great Northern Hwy (Dalwallinu Bypass) and Johnston St in Dalwallinu, April 2009. Image © Paul Rands |
 |
Reassurance Directional Sign: Distance sign at Walebing, April 2016. Image © Paul Rands |
|
 |
Roadmarking Sign: Sign indicating special type of wider road marking at Walebing, April 2016. Image © Paul Rands |
|||
 |
Roadmarking Sign: Sign indicating special type of wider road marking at Walebing, April 2016. Image © Paul Rands |
|||
 |
Roadmarking Sign: Sign indicating special type of wider road marking at Walebing, April 2016. Image © Paul Rands |
|||
 |
Advance Directional Sign: AD sign at Waddington, approaching Waddington-Wongan Hills Rd, April 2016. Image © Paul Rands |
|||
 |
Intersection Directional Sign: ID sign assembly at the junction with Waddington-Wongan Hills Rd at Waddington, April 2016. Image © Paul Rands |
|||
 |
Reassurance Directional Sign: Distance sign at Waddington, April 2016. Image © Paul Rands |
|||
 |
Intersection Directional Sign: Fingerboards at the junction with Glentromie-Yerecoin Rd at Glentromie, April 2016. Image © Paul Rands |
|||
 |
Intersection Directional Sign: ID sign at the junction with Glentromie-Yerecoin Rd at Glentromie, April 2016. Image © Paul Rands |
|||
 |
Trailblazer: NR95 trailblazer at Glentromie, April 2016. Image © Paul Rands |
|||
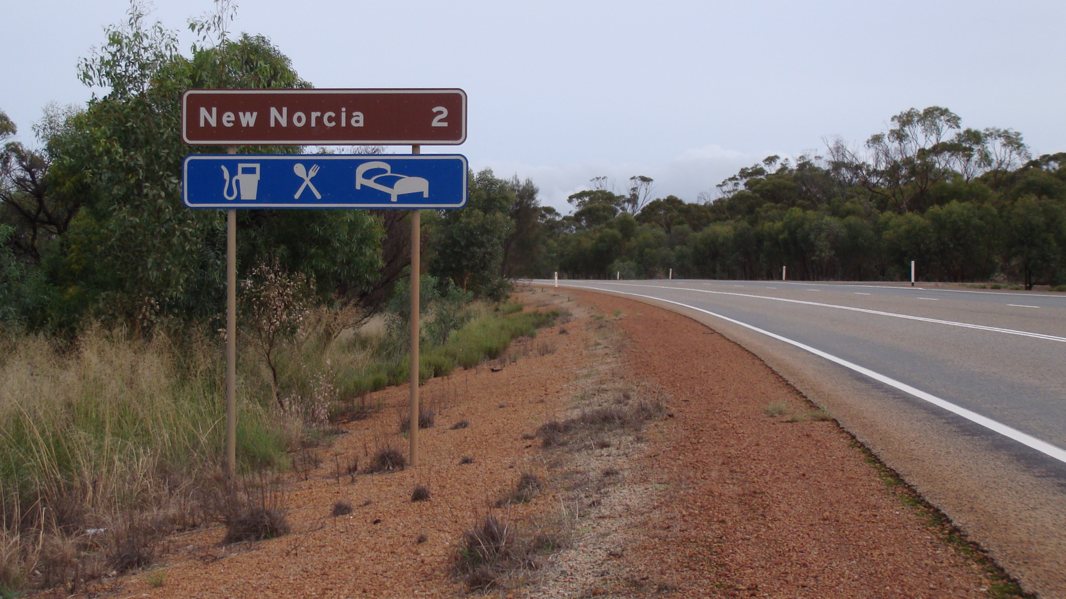 |
Services & Tourism Sign: Services and tourism sign at New Norcia, April 2016. Image © Paul Rands |
|||
 |
Entering New Norcia: Great Northern Hwy (NH95) as it enters the historic town of New Norcia, April 2016. Image © Paul Rands |
|||
 |
New Norcia: Great Northern Hwy (NH95) passing through the historic town of New Norcia, April 2016. Image © Paul Rands |
|||
 |
New Norcia: Great Northern Hwy (NH95) passing through the historic town of New Norcia, April 2016. Image © Paul Rands |
|||
 |
Gillingarra-New Norcia Road: Great Northern Hwy (NH95) at the junction with Gillingarra-New Norcia Rd at New Norcia, April 2016. Image © Paul Rands |
|||
 |
Moore River East: Great Northern Hwy (NH95) as it crosses Moore River East at New Norcia, April 2016. Image © Paul Rands |
|||
| Click here for the continuation of NH95 between Bindoon and Perth | ||||
1 Main Roads WA
2 Australian Department of Infrastructure, Transport, Regional Development and Local Government
3 Main Roads Western Australia, Projects, Great Northern Highway - Batty Bog Road to Walebing Upgrade
4 Main Roads Western Australia, Projects, Miling Straight
5 Main Roads Western Australia, Projects, New Norcia Bypass - Complete
6 Main Roads Western Australia, Projects, Miling Bypass
7 Government of Western Australia, Media Statements, Work underway on two key Great Northern Highway upgrades, 24 April 2018
Last updated: 05-Jan-2019 23:30
This site © Paul Rands. All rights reserved. Some portions © (copyright) by their respective and credited owners. Permission must be obtained before using any images from this site. For details, please email by clicking here.