|
|
|
|
|
| M1 A1 | Princes Highway, West Gate Freeway, CityLink, Monash Freeway & Princes Freeway (M1 / A1) - Mt Waverley to Berwick |
Statistics:
Route Numbering:

 1
1General Information:
M1 / A1 is a major route that crosses roughly from east to west in Victoria. The standard varies from single carriageway rural highway to full freeway standard.
Monash Freeway:
The Monash Freeway runs from Melbourne's inner eastern suburbs and ends at Berwick, where it joins with the Prince Freeway. The route was previously known as the South Eastern Freeway. 3 It was also known as the South Eastern Arterial. 4
History:
Click here for construction photos of the interchange with Eastlink (M3)
Click here for photos of Monash Fwy (M1) before it was upgraded to 4 lanes each way
| Mount Waverley to Berwick | Berwick to Mount Waverley | |||
| Preview: | Description: | Preview: | Description: | |
 |
Supplemental Advance Directional Sign: Supplemental AD sign at Glen Waverley for the Ferntree Gully Rd (MR22) interchange, January 2017. Click here for a photo by Paul Rands of this location from September 2009. Springvale Rd (MR40) is shown on this sign as Ferntree Gully Rd intersects with Springvale Rd, which is a major north-south arterial route. |
 |
Advance Directional Sign: AD sign at Narre Warren approaching Princes Hwy (ALT-NR1 & C101), January 2013. Image © Michael Greenslade |
|
 |
Ferntree Gully Road Interchange: Monash Fwy (M1) at the Ferntree Gully Rd (MR22) interchange at Glen Waverley, January 2017. Click here for a photo by Paul Rands of this location from September 2009. Image © Huang Milton Collection |
 |
Princes Highway: Princes Fwy (M1) at the interchange with Princes Hwy (ALT-NR1 & C101) at Narre Warren, January 2013. M1 becomes Monash Fwy at this location. Image © Michael Greenslade |
|
 |
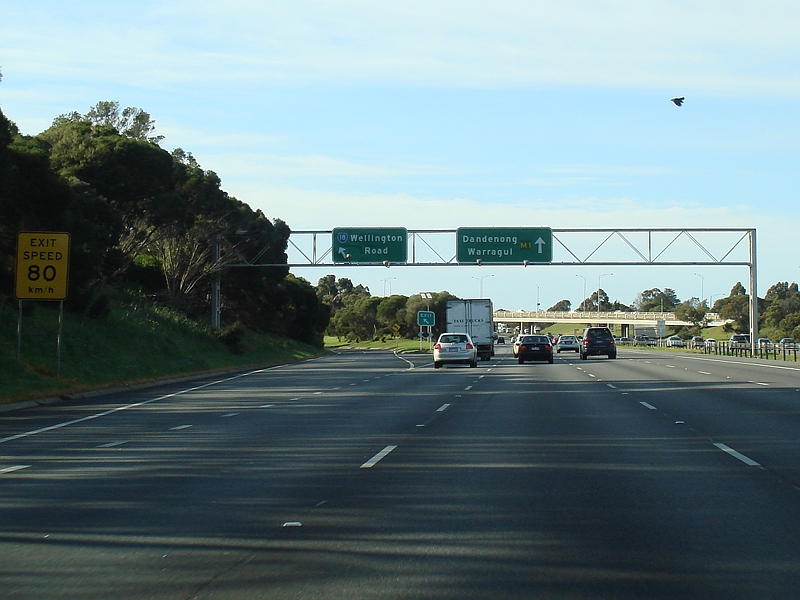
Advance Directional Sign: AD sign at Wheelers Hill for the Wellington Rd (MR18) interchange, September 2009. Image © Paul Rands |
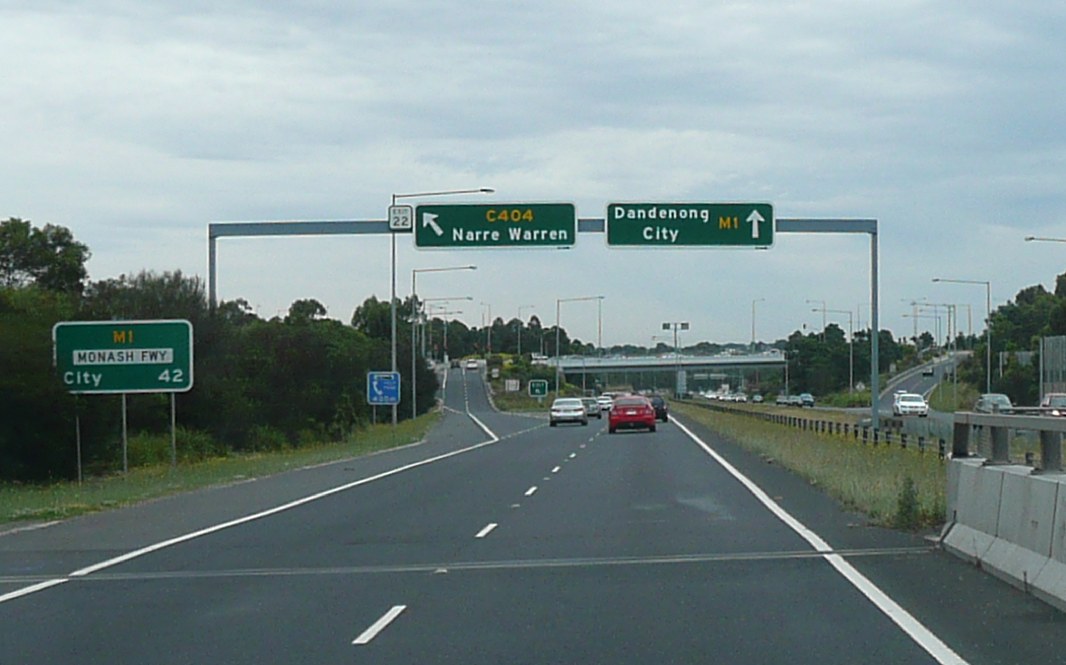 |
Narre Warren Road North: Monash Fwy (M1) at Narre Warren Rd (C404) at Narre Warren, January 2013. Image © Michael Greenslade |
|
 |
Supplemental Advance Directional Sign: Supplemental AD sign at Wheelers Hill for the Wellington Rd (MR18) interchange, September 2009. Image © Paul Rands |
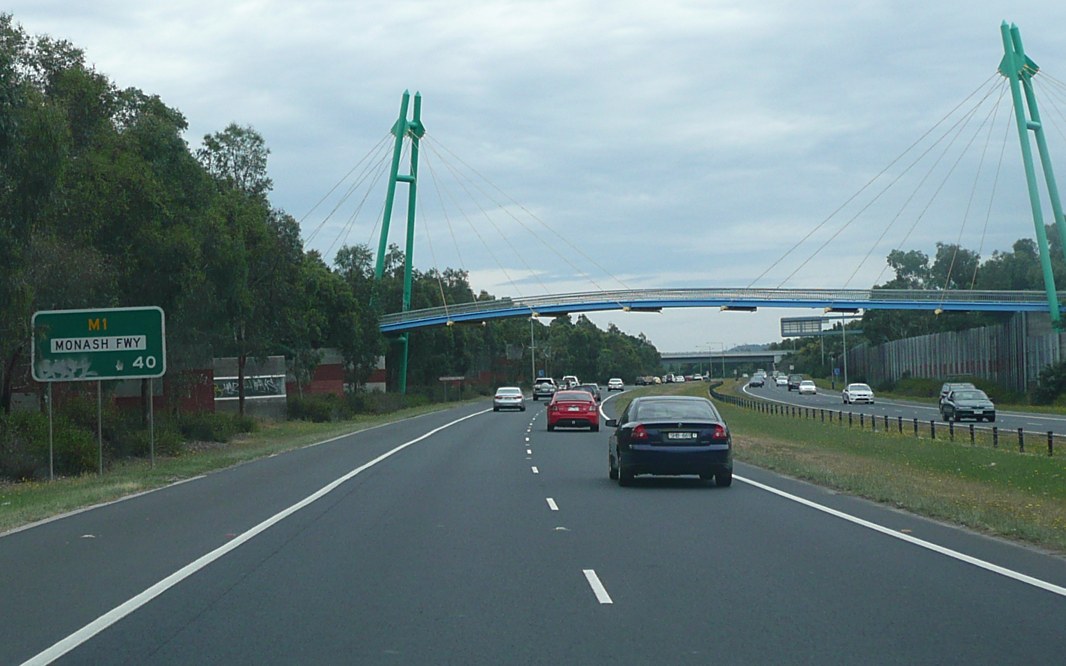 |
Reassurance Directional Sign: Distance sign at Narre Warren, January 2013. Image © Michael Greenslade |
|
 |
Wellington Road Interchange: Monash Fwy (M1) at the interchange with Wellington Rd (MR18) at Wheelers Hill, September 2009. Image © Paul Rands |
 |
Advance Directional Sign: AD sign at Endeavour Hills approaching South Gippsland Fwy (M420), January 2013. Image © Michael Greenslade |
|
 |
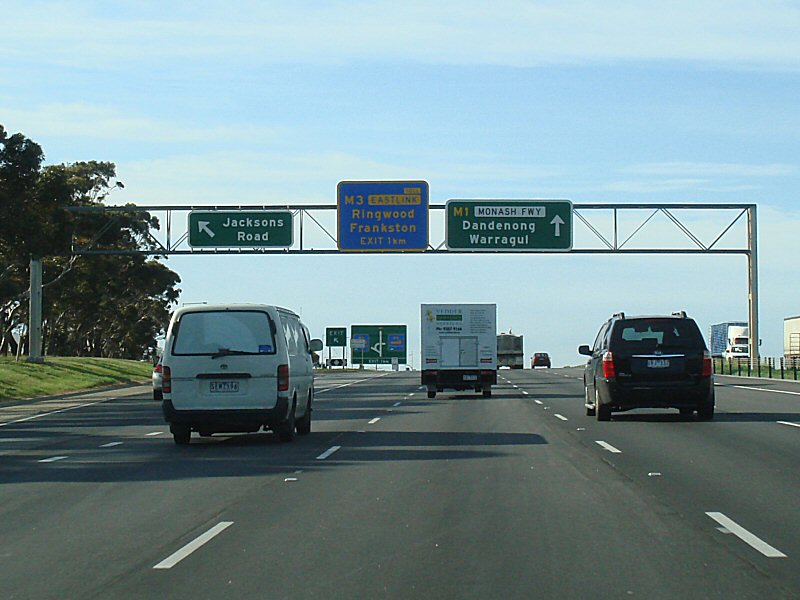
Advance Directional Sign: AD sign for the interchanges with Jacksons Rd and Eastlink (M3), Mulgrave, September 2009. Image © Paul Rands |
 |
South Gippsland Freeway: Monash Fwy (M1) at South Gippsland Fwy (M420) interchange at Endeavour Hills, January 2013. Image © Michael Greenslade |
|
 |
Advance Directional Sign: Image © Paul Rands |
 |
Stud Road: Monash Fwy (M1) at Stud Rd (MR9) at Dandenong North, January 2013. Image © Michael Greenslade |
|
 |
Jacksons Road Interchange: Monash Fwy (M1) at Mulgrave at the interchange with Jacksons Rd, September 2009. Image © Paul Rands |
 |
Advance Directional Sign: AD sign at Dandenong North approaching Eastlink (M3), January 2013. Image © Michael Greenslade |
|
 |
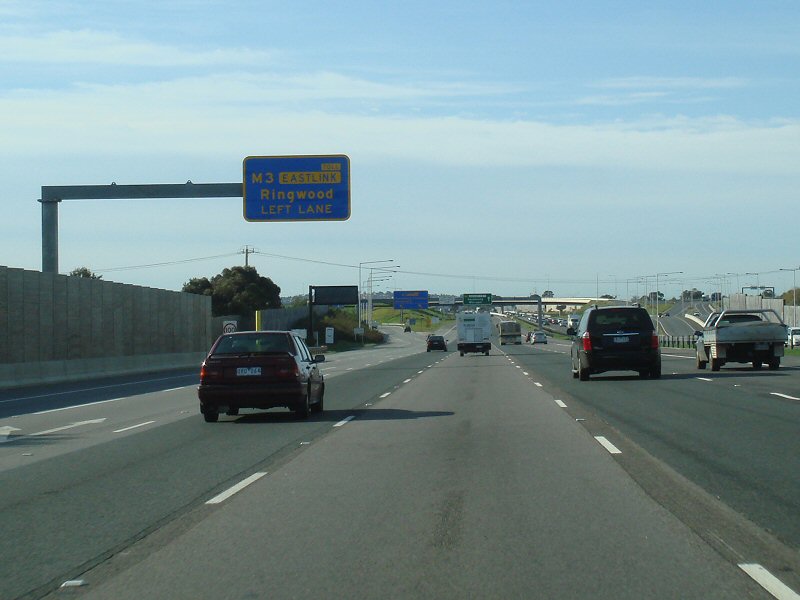
Advance Directional Sign: AD sign for the interchange with Eastlink (M3), Dandenong North, September 2009. Image © Paul Rands |
 |
Eastlink: Monash Fwy (M1) at the Eastlink (M3) interchange at Dandenong North, January 2013. Image © Michael Greenslade |
|
 |
Eastlink Interchange: Monash Fwy (M1) at the interchange with Eastlink (M3) at Dandenong North, September 2009. Image © Paul Rands |
|||
 |
Eastlink Interchange: Monash Fwy (M1) at the interchange with Eastlink (M3) at Dandenong North, September 2009. Image © Paul Rands |
|||
 |
Eastlink Interchange: Monash Fwy (M1) at the interchange with Eastlink (M3) at Dandenong North, September 2009. Image © Paul Rands |
|||
 |
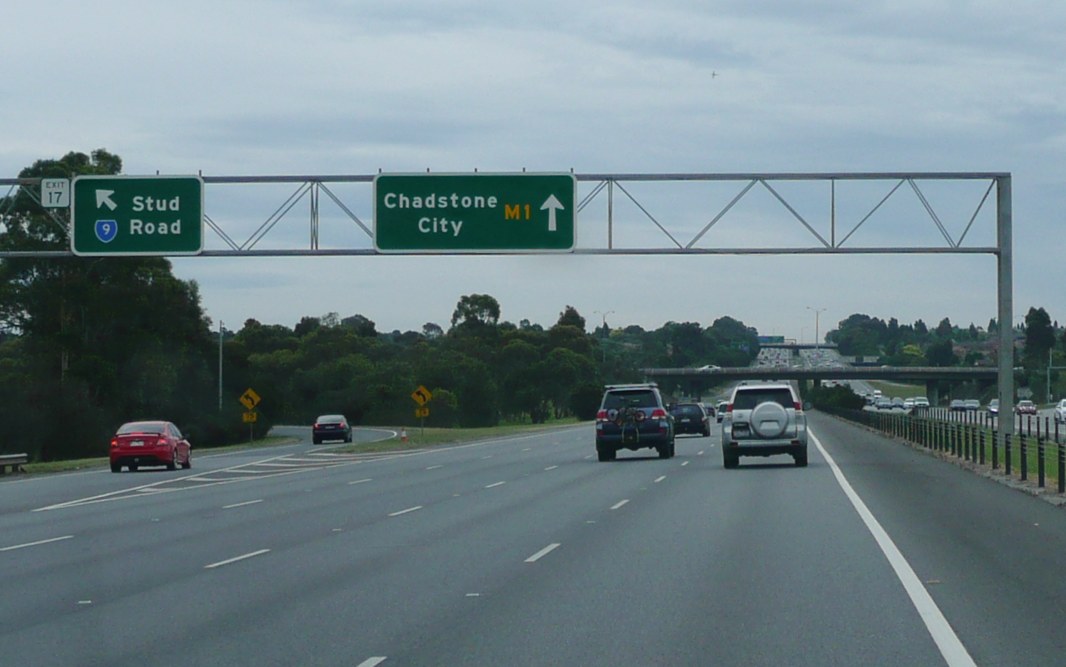
Advance Directional Sign: AD sign at Dandenong North for the Stud Rd (MR9) interchange, January 2017. Click here for a photo by Paul Rands of this location from September 2009. Image © Huang Milton Collection |
|||
 |
Supplemental Advance Directional Sign: Supplemental AD sign at Dandenong North near the Brady Rd overpass, for the Stud Rd (MR9) interchange, January 2017. Click here for a photo by Paul Rands of this location from September 2009. Image © Huang Milton Collection |
|||
 |
Stud Road Interchange: Monash Fwy (M1) at the Stud Rd (MR9) interchange at Dandenong North, January 2017. Click here for a photo by Paul Rands of this location from September 2009. Image © Huang Milton Collection |
|||
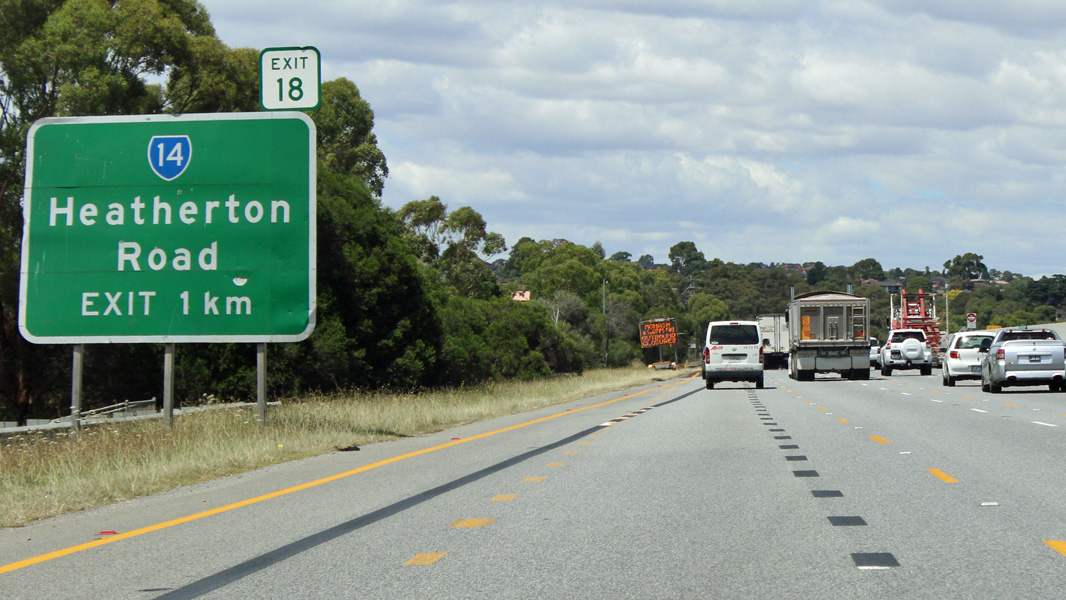 |
Advance Directional Sign: AD sign on Monash Fwy (M1) at Dandenong North, for the Heatherton Rd (MR14) interchange, January 2017. Click here for a photo by Paul Rands of this location from September 2009. Image © Huang Milton Collection |
|||
 |
Supplemental Advance Directional Sign: Supplemental AD sign on Monash Fwy (M1) at Endeavour Hills, for the Heatherton Rd (MR14) interchange, January 2017. Click here for a photo by Paul Rands of this location from September 2009. Image © Huang Milton Collection |
|||
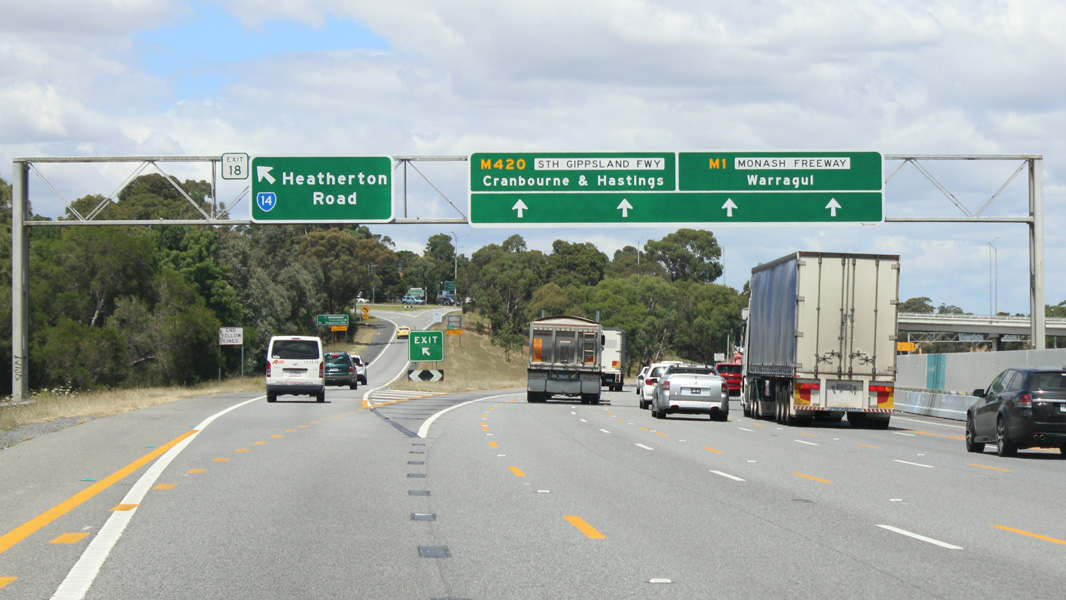 |
Heatherton Road Interchange: Monash Fwy (M1) at Endeavour Hills at the interchange with Heatherton Rd (MR14), January 2017. Click here for a photo by Paul Rands of this location from September 2009. Image © Huang Milton Collection |
|||
 |
Advance Directional Sign: AD sign beside the Heatherton Rd (MR14) overpass at Endeavour Hills, for the interchange with South Gippsland Fwy (M420), January 2017. Click here for a photo by Paul Rands of this location from September 2009. Image © Huang Milton Collection |
|||
 |
Supplemental Advance Directional Sign: Supplemental AD sign beside the Power Rd overpass at Endeavour Hills, for the interchange with South Gippsland Fwy (M420), January 2017. Click here for a photo by Paul Rands of this location from September 2009. Image © Huang Milton Collection |
|||
 |
South Gippsland Freeway Interchange: Monash Fwy (M1) at the interchange with South Gippsland Fwy (M420) at Endeavour Hills, January 2017. Click here for a photo by Paul Rands of this location from September 2009. Image © Huang Milton Collection |
|||
 |
South Gippsland Freeway Interchange: Monash Fwy (M1) at the interchange with South Gippsland Fwy (M420) at Endeavour Hills, January 2017. Click here for a photo by Paul Rands of this location from September 2009. Image © Huang Milton Collection |
|||
 |
South Gippsland Freeway Interchange: Monash Fwy (M1) at the interchange with South Gippsland Fwy (M420) at Endeavour Hills, September 2009. M1 drops to 3 lanes in each direction from this interchange. Image © Paul Rands |
|||
 |
Advance Directional Sign: AD sign on Monash Fwy (M1) at Endeavour Hills for the Belgrave-Hallam Rd interchange, January 2017. Click here for a photo by Paul Rands of this location from September 2009. Image © Huang Milton Collection |
|||
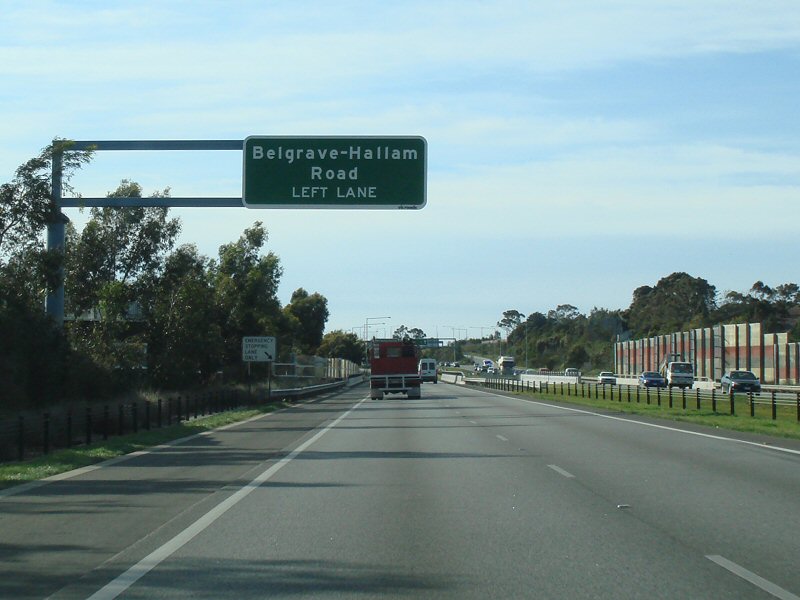 |
Supplemental Advance Directional Sign: Supplemental AD sign on Monash Fwy (M1) at Endeavour Hills for the Belgrave-Hallam Rd interchange, September 2009. Image © Paul Rands |
|||
 |
Belgrave-Hallam Road Interchange: Monash Fwy (M1) at Endeavour Hills at the Belgrave-Hallam Rd interchange, January 2017. Click here for a photo by Paul Rands of this location from September 2009. Image © Huang Milton Collection |
|||
 |
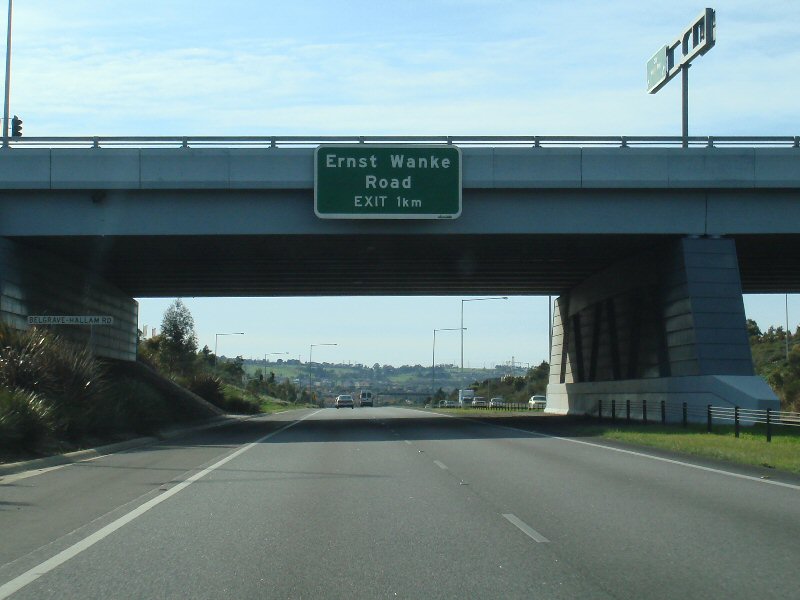
Advance Directional Sign: Bridge mounted AD sign for Ernst Wanke Road, at the Belgrave-Hallam Rd interchange at Endeavour Hills, January 2017. Click here for a photo by Paul Rands of this location from September 2009. Image © Huang Milton Collection |
|||
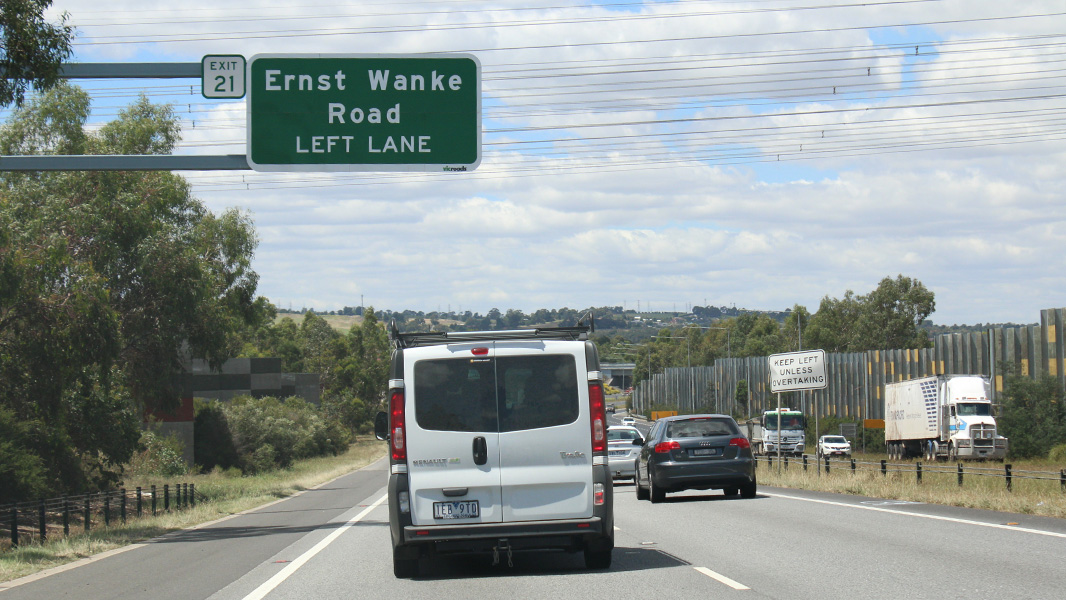 |
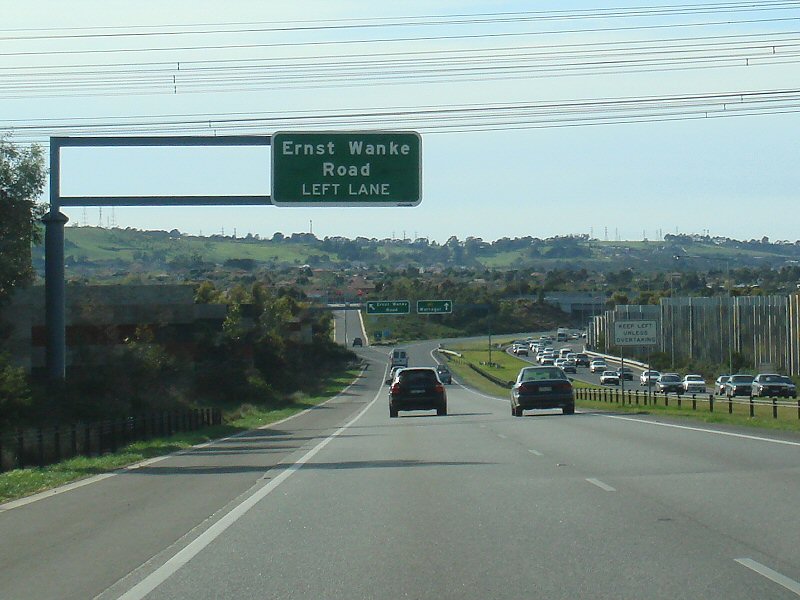
Supplemental Advance Directional Sign: Supplemental AD sign for Ernst Wanke Road, at Narre Warren North, January 2017. Click here for a photo by Paul Rands of this location from September 2009. Image © Huang Milton Collection |
|||
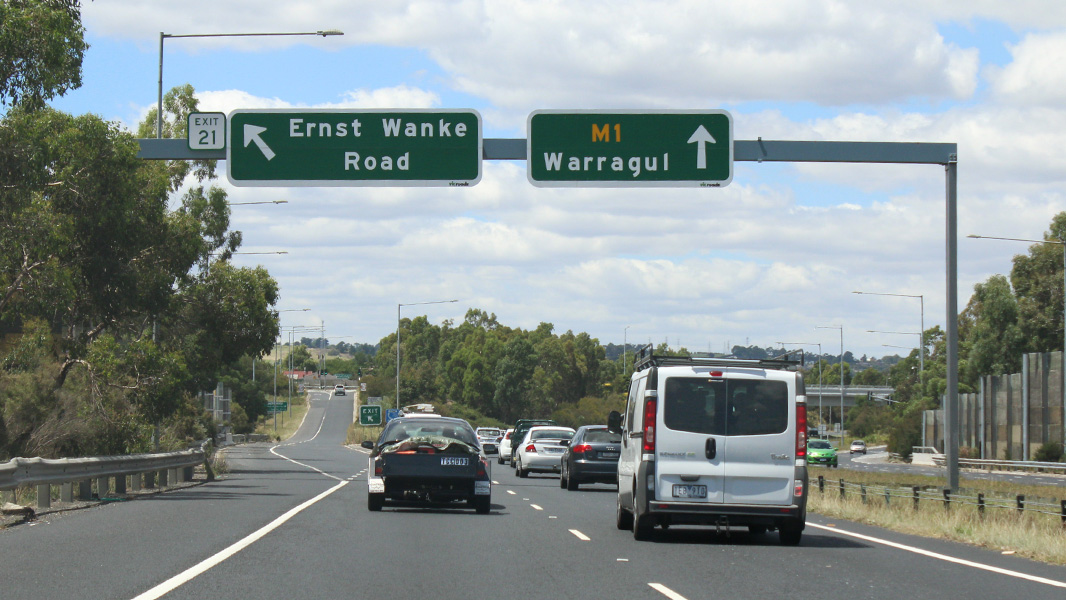 |
Ernst Wanke Road Interchange: Monash Fwy (M1) at the interchange with Ernst Wanke Rd at Narre Warren North, January 2017. Click here for a photo by Paul Rands of this location from September 2009. Image © Huang Milton Collection |
|||
 |
Advance Directional Sign: Bridge mounted AD sign on the Josephine Av overpass at Narre Warren for the interchange with Narre Warren North Rd (C404), January 2017. Click here for a photo by Paul Rands of this location from September 2009. Image © Huang Milton Collection |
|||
 |
Supplemental Advance Directional Sign: Supplemental AD sign at Narre Warren for the interchange with Narre Warren North Rd (C404), January 2017. Click here for a photo by Paul Rands of this location from September 2009. Image © Huang Milton Collection |
|||
 |
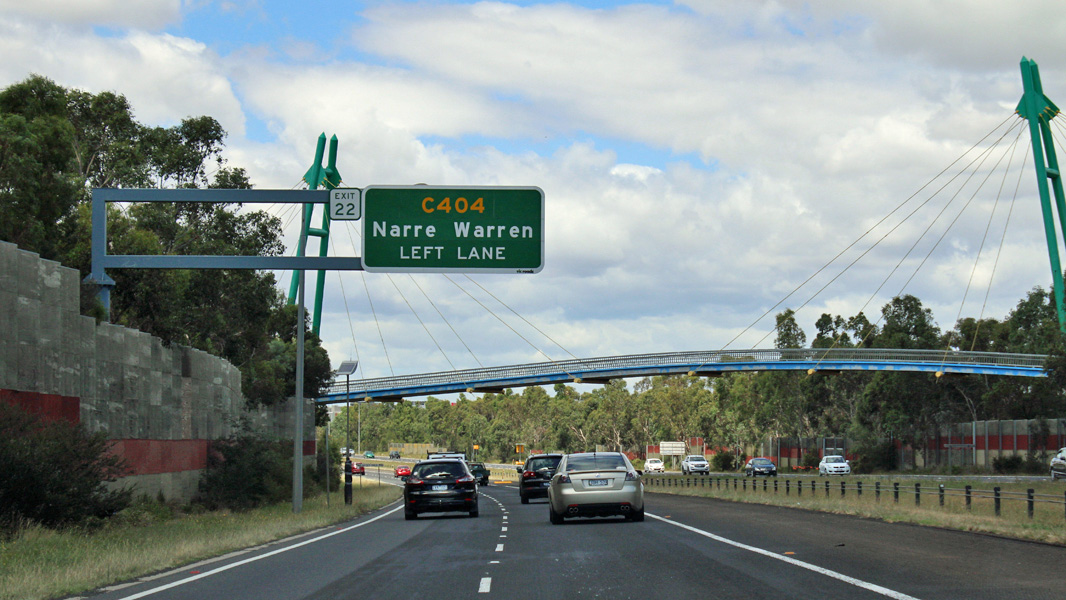
Narre Warren North Road Interchange: Monash Fwy (M1) at the interchange with Narre Warren North Road (C404), January 2017. Click here for a photo by Paul Rands of this location from September 2009. Image © Huang Milton Collection |
|||
 |
Advance Directional Sign: AD sign mounted the Narre Warren North Road (C404) bridge at Narre Warren, for the interchange with Princes Hwy (C101), January 2017. Click here for a photo by Paul Rands of this location from September 2009. Image © Huang Milton Collection |
|||
 |
Advance Directional Sign: AD sign at Berwick, for the interchange with Princes Hwy (C101), January 2017. Click here for a photo by Paul Rands of this location from September 2009. Image © Huang Milton Collection |
|||
 |
Princes Highway Interchange: Monash Fwy (M1) at the interchange with Princes Fwy (M1) and Princes Hwy (C101) at Berwick, January 2017. Click here for a photo by Paul Rands of this location from September 2009. Image © Huang Milton Collection |
|||
| Click here for the continuation of M1 between Berwick & Nar Nar Goon Click here continuation of M1 between Hawthorn & Chadstone |
||||
1 Viseth Uch
2 Vicroads Road Management Plan, 30 October 2004
3 Parliament of Victoria, Vichansard, Scoresby Freeway Funding, 23 May 2001
4 Parliament of Victoria, Vichansard, Transport: Monash Freeway upgrade, Gardiners Creek, 20 June 2001
5 Office of the Minister For Transport, Media Release, $175 Million Hallam Bypass to be Completed One Year Ahead of Schedule, 1 November 2001
6 Office of the Minister for Roads & Ports, Media Release, Princes Freeway Noise Walls Complete, 29 March 2010
Last updated: 06-Jan-2020 14:02
This site © Paul Rands. All rights reserved. Some portions © (copyright) by their respective and credited owners. Permission must be obtained before using any images from this site. For details, please email by clicking here.