|
|
|
|
|

|
Brooker Highway, Midland Highway & Bass Highway (National Highway 1) - Campbell Town to Oatlands |
Statistics:
Route Numbering:

General Information:
Highway 1 is a circumferential route right around Australia, but there is also a small segment located in Tasmania, which more or less travels down the centre of the state. In Tasmania, National Highway 1 is made up of the Brooker Highway between Granton and Hobart, the Midland Highway between Granton and Launceston, and also the Bass Highway between Burnie and Launceston.
The occurrence of NH1 is a bit of an anomaly and stands out compared to all other routes in the state being alpha-numeric. In the late 1970s when the Tasmanian authorities decided to introduce an alphanumeric numbering system (the first Australian state to do so), the Federal Government who funded National Highways, stopped the Tasmanian government from allocating an alphanumeric number to the route.
From Launceston, the Midland Hwy passes through Perth, Epping Forest, Campbell Town, Ross, Oatlands, Bagdad, Brighton, Bridgewater and into Hobart.
The Midland Highway's highest elevation along its length is 493m and the lowest point is at -0.495m.
The Midland Highway connects with the Bass Highway, the Domain Highway, the East Derwent Highway, the East Tamar Highway, the Esk Main Road, the Huon Highway Southern Outlet, the Illawarra Road, the Lake Highway, the Lyell Highway, the Mud Walls Road, the Tasman Highway and the West Tamar Highway.
History:
Click here for the former alignment between Campbell Town and Oatlands
| Campbell Town To Oatlands | Oatlands to Campbell Town | |||
| Preview: | Description: | Preview: | Description: | |

|
Advance Directional
Sign: AD sign at Campbell Town for the truck inspection station, July 2018. Image © Paul Rands |

|
Intersection
Directional Sign: ID sign at Ross facing Auburn Rd, July 2018. The white ID signs at Ross are the last of their kind on NH1 between Launceston and Hobart. Image © Paul Rands |
|

|
Advance Directional
Sign: AD sign at Campbell Town for the truck inspection station, July 2018. Image © Paul Rands |
|
Intersection
Directional Sign: ID sign at Ross facing Ashby Rd, July 2018. The white ID signs at Ross are the last of their kind on NH1 between Launceston and Hobart. Image © Paul Rands |
|

|
Truck Checking Station: Midland Hwy (NH1) at the Campbell Town truck checking station, July 2018. Image © Paul Rands |

|
Intersection
Directional Sign: ID sign facing Chiswick Rd (C305) in Ross, October 2013. Image © Mick Jeffery |
|
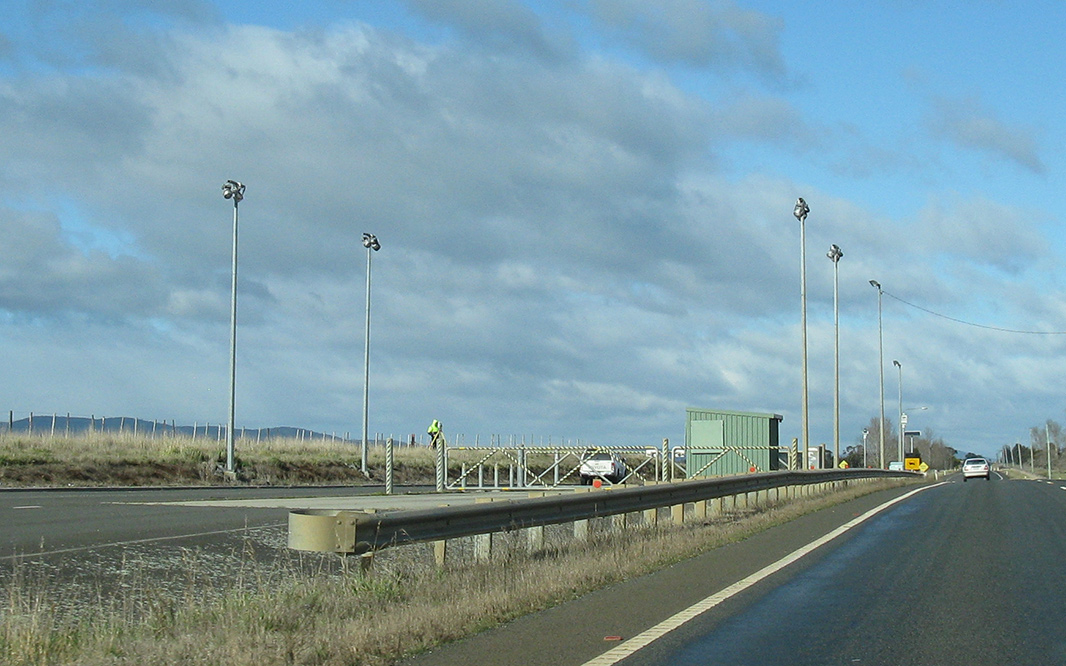
|
Truck Checking Station: Midland Hwy (NH1) at the Campbell Town truck checking station, July 2018. Image © Paul Rands |

|
Elizabeth River: Midland Hwy (NH1) as it crosses Elizabeth River via The Red Bridge, July 2018. Image © Paul Rands |
|
 |
Black Kilometre Plate: Black kilometre plate at Campbell Town, July 2018. Image © Paul Rands |

|
Campbell Town: Midland Hwy (NH1) as it passes through the the town of Cambpell Town, July 2018. Image © Paul Rands |
|

|
Entering
Campbell Town: Midland Hwy (NH1) as it enters the town of Campbell Town, July 2018. Image © Paul Rands |

|
Advance
Directional Sign: AD sign at Campbell Town approaching Pedder St (C522) and Truelands Rd, July 2018. Image © Paul Rands |
|

|
Advance
Directional Sign: AD sign at Campbell Town approaching Pedder St (C522), July 2018. Image © Paul Rands |
|
Reassurance
Directional Sign: Distance sign at Campbell Town, July 2008. Image © Jamie Scuglia |
|

|
Pedder
Street: Corner of Midland Hwy (NH1) and Pedder St, Campbell Town, July 2018. Image © Paul Rands |
|||

|
Campbell
Town: Midland Hwy (NH1) as it passes through the the town of Cambpell Town, July 2018. Image © Paul Rands |
|||

|
Elizabeth
River: Midland Hwy (NH1) as it crosses Elizabeth River via The Red Bridge, July 2018. Image © Paul Rands |
|||
|
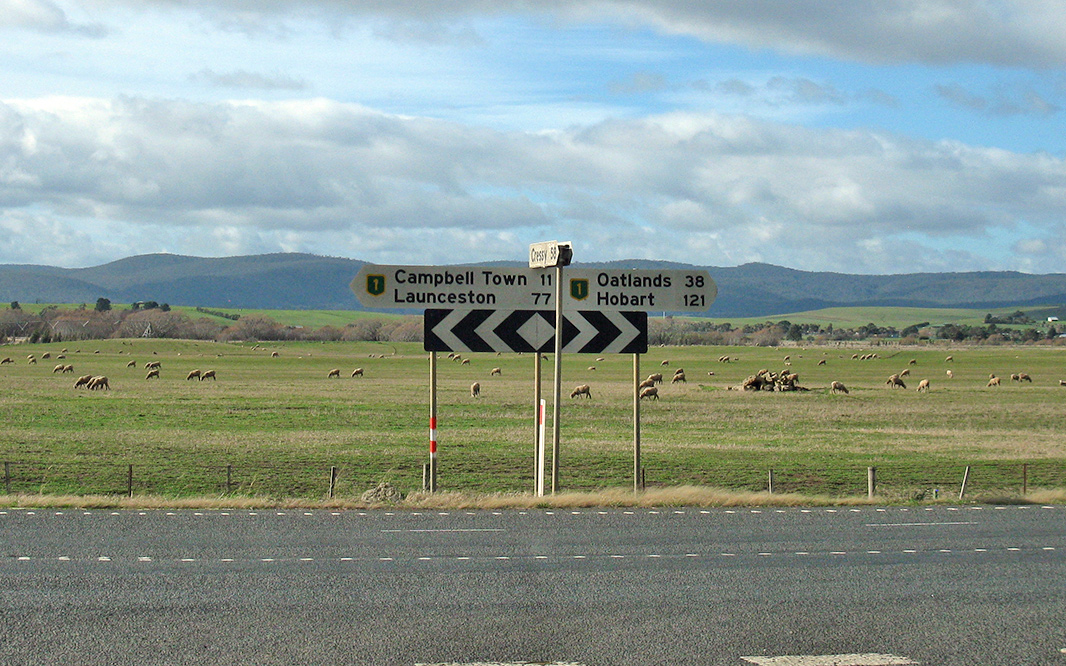
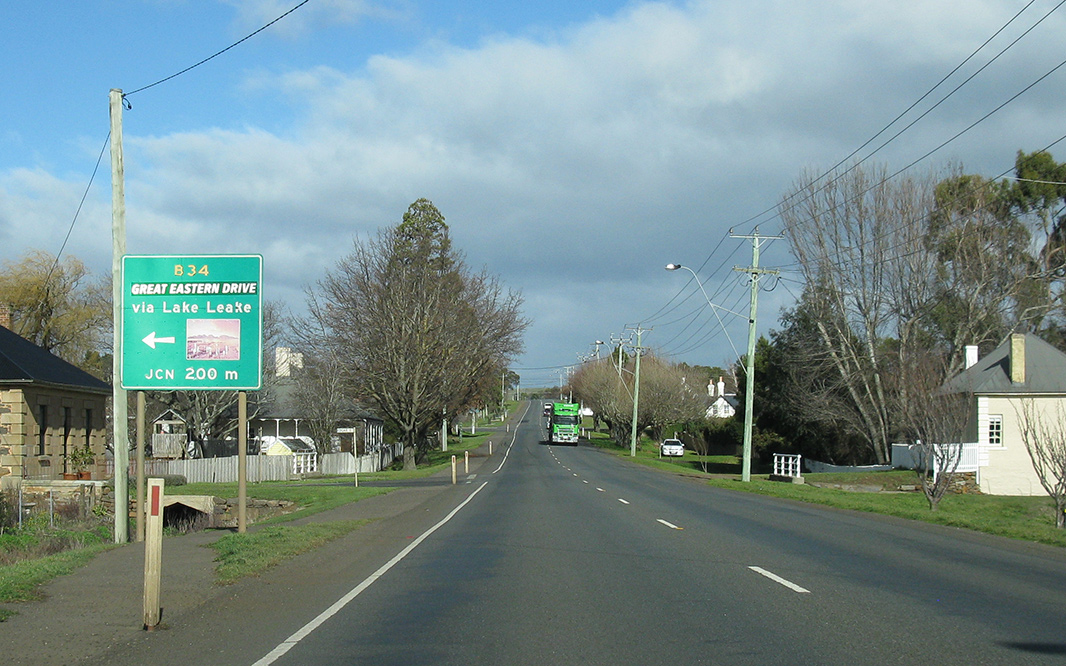
Advance
Directional Sign: AD sign at Campbell Town approaching Lake Leake Hwy (B34), July 2018. Image © Paul Rands |
|||

|
Lake
Leake Highway: Corner of Midland Hwy (NH1) and Lake Leake Hwy (B34) at Campbell Town, July 2018. Image © Paul Rands |
|||

|
Reassurance
Directional Sign: Distance sign at Campbell Town, July 2018. Image © Paul Rands |
|||

|
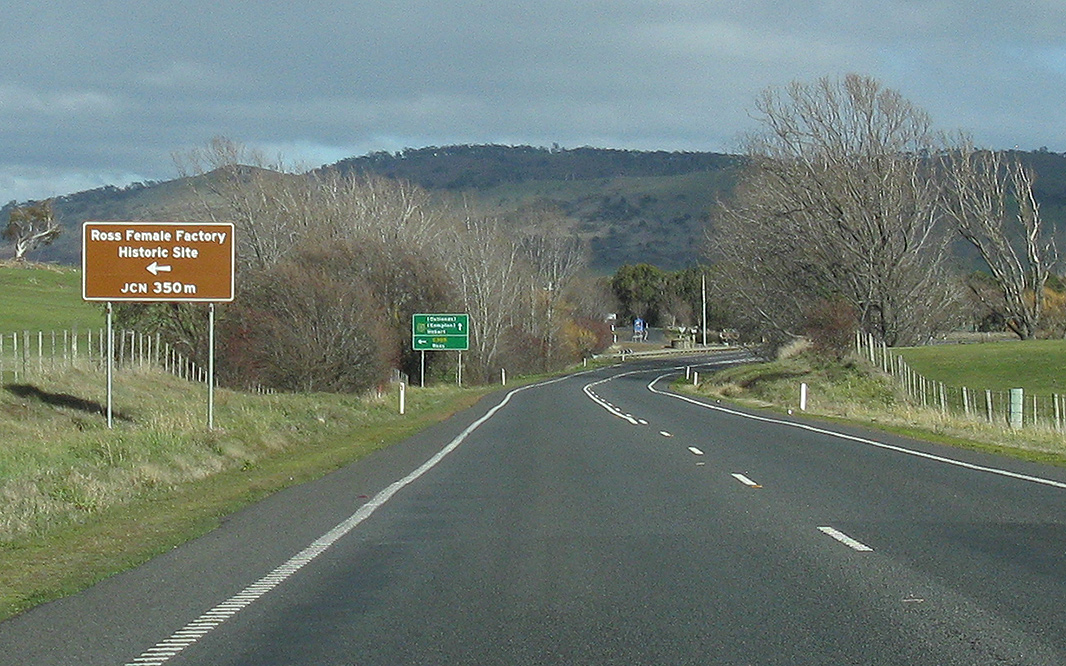
Bypassed
Town Sign: Bypassed town AD sign at Ross approaching Chiswick Rd (C305), July 2018. Image © Paul Rands |
|||

|
Advance
Directional Sign: AD sign at Ross approaching Chiswick Rd (C305), July 2018. Image © Paul Rands |
|||
|
Supplemental
Advance Directional Sign: Supplemental AD sign at Ross approaching Chiswick Rd (C305), July 2018. Image © Paul Rands |
|||

|
Advance
Directional Sign: AD sign at Ross approaching Chiswick Rd (C305), July 2018. Image © Paul Rands |
|||

|
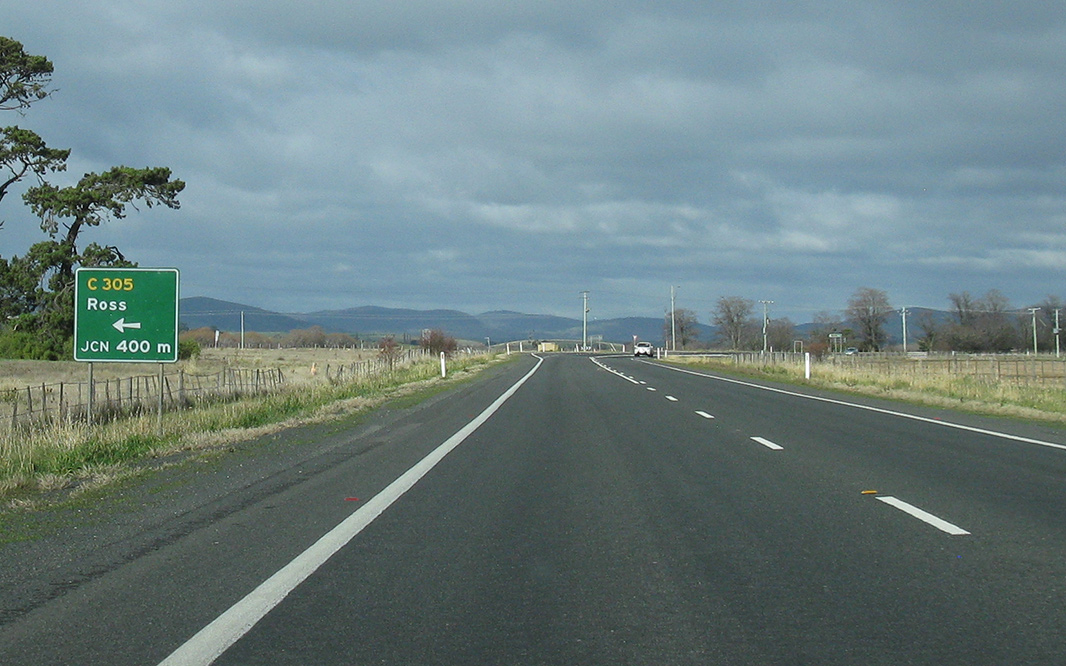
Chiswick
Road: Corner of Midland Hwy (NH1) and Chiswick Rd (C305) at Ross, July 2018. Image © Paul Rands |
|||

|
Macquarie
River: Midland Hwy (NH1) crossing Macquarie River, Ross, July 2018. Image © Paul Rands |
|||

|
Advance
Directional Sign: AD sign at Ross approaching Ashby Rd, July 2018. Image © Paul Rands |
|||

|
Ashby
Road: Corner of Midland Hwy (NH1) and Ashby Rd at Ross, July 2018. The white ID signs at Ross are the last of their kind on NH1 between Launceston and Hobart. Image © Paul Rands |
|||

|
Advance
Directional Sign: AD sign at Ross approaching Auburn Rd, July 2018. Image © Paul Rands |
|||

|
Auburn
Road: Corner of Midland Hwy (NH1) and Auburn Rd at Ross, July 2018. The white ID signs at Ross are the last of their kind on NH1 between Launceston and Hobart. Image © Paul Rands |
|||
|
Advance
Directional Sign: AD sign at Ross approaching Roseneath Rd (C305), July 2018. Image © Paul Rands |
|||

|
Roseneath
Road: Corner of Midland Hwy (NH1) and Roseneath Rd (C305) at Ross, July 2018. Image © Paul Rands |
|||

|
Reassurance
Directional Sign: Distance sign at Ross, July 2018. Image © Paul Rands |
|||

|
Advance
Directional Sign: AD sign at Ross approaching Mona Vale Rd, July 2018. Image © Paul Rands |
|||

|
Advance
Directional Sign: AD sign at Tunbridge approaching Main Rd, July 2018. Image © Paul Rands |
|||

|
Main Road: Corner of Midland Rd (NH1) and Main Rd, Tunbridge, July 2018. Main Rd is a former aligment of the main Launceston to Hobart road. Image © Paul Rands |
|||

|
Tunbridge Tiers Road: Corner of Midland Hwy (NH1) and Tunbridge Tiers Rd (C526) at Tunbridge, July 2018. Image © Paul Rands |
|||

|
Blackman River Overflow: Midland Hwy (NH1) crossing an overflow of Blackman River at Tunbridge, July 2018. Image © Paul Rands |
|||

|
Blackman River: Midland Hwy (NH1) crossing Blackman River at Tunbridge, July 2018. Image © Paul Rands |
|||

|
Advance
Directional Sign: AD sign at Tunbridge approaching Lowes St, July 2018. Image © Paul Rands |
|||

|
Lowes Street: Corner Midland Hwy (NH1) and Lowes St, Tunbridge, July 2018. Image © Paul Rands |
|||
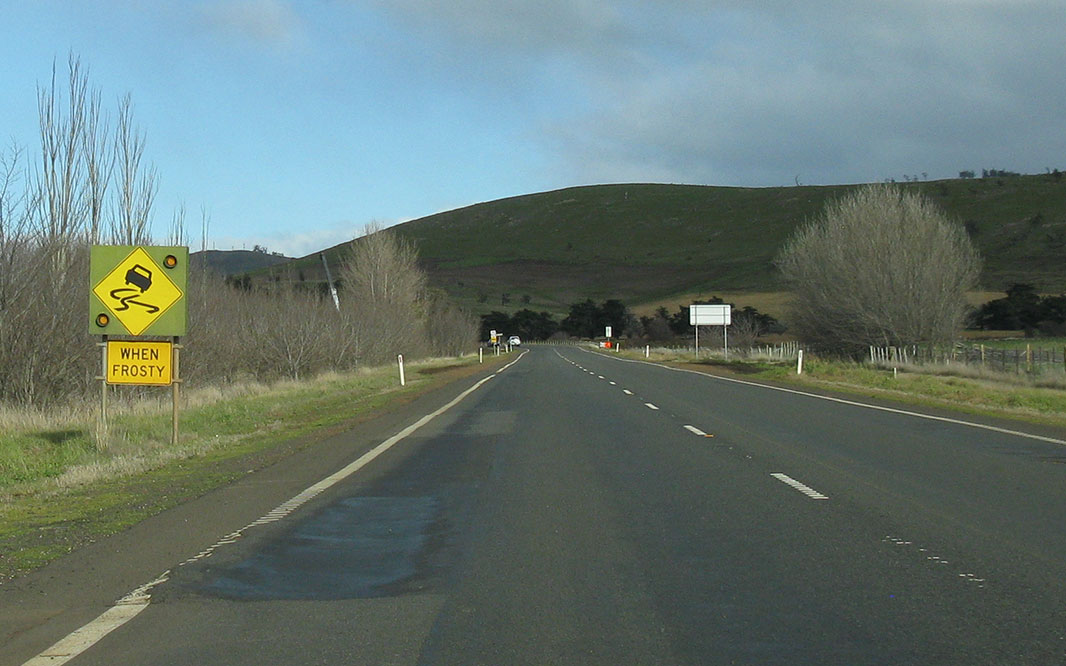
|
Woodbury: Flashing slippery when frosty sign as the Midland Hwy (NH1) passed through Woodbury, July 2018. Image © Paul Rands |
|||
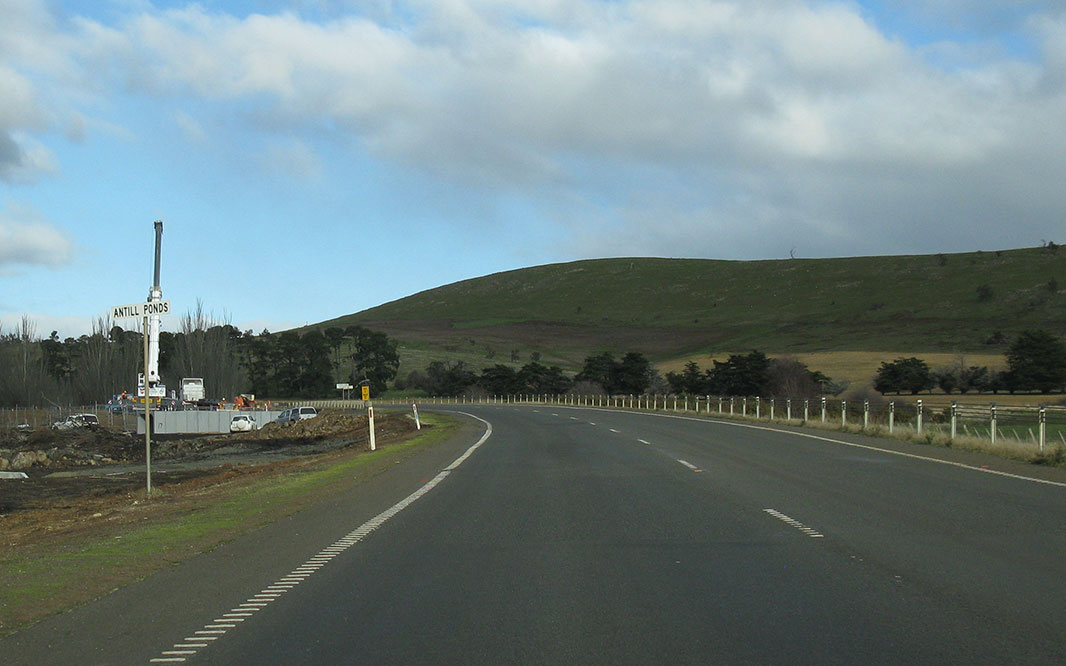
|
Entering Antill Ponds: Midland Hwy (NH1) enterting the town of Antill Ponds, July 2018. Image © Paul Rands |
|||

|
Currajong Rivulet: Midland Hwy (NH1) as ot crosses Currajong Rivulet at Antill Ponds, July 2018. Image © Paul Rands |
|||
|
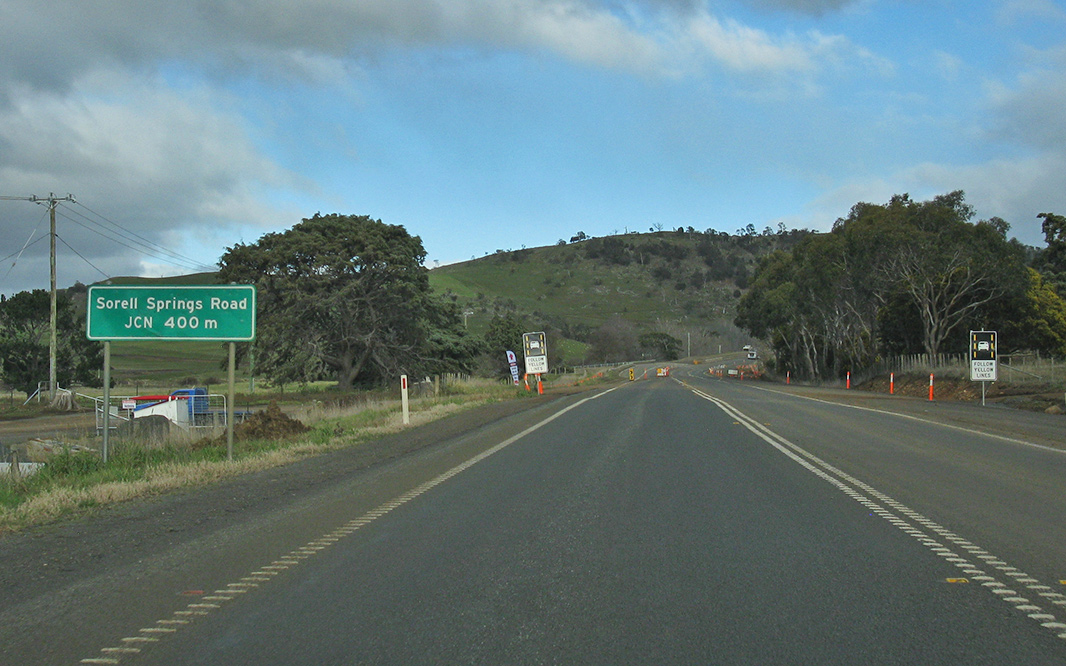
Advance Directional Sign: AD sign at Antill Ponds approaching Sorell Springs Rd, July 2018. Image © Paul Rands |
|||

|
Black
Fingerboards: Black fingerboard assembly on the Midland Hwy (NH1) at the junction with Sorell Springs Rd at Antill Ponds, July 2018. This sign has since been removed due to road upgrades. Image © Paul Rands |
|||
| Click
here for the continuation of NH1 between Launceston and Campbell Town Click here for the continuation of NH1 between Oatlands and Brighton |
||||
1 Tasmanian Wool Centre, Ticky Tacky Bridge
Last updated: 16-Jul-2020 22:48
This site © Paul Rands. All rights reserved. Some portions © (copyright) by their respective and credited owners. Permission must be obtained before using any images from this site. For details, please email by clicking here.