|
|
|
|
|
| M1 A1 B1 | Princes Highway, South Eastern Freeway, Glen Osmond Road, Fullarton Road, Dequetteville Terrace, Hackney Road, Main Road, Park Road, Robe Terrace, Main North Road, Port Wakefield Road, Port Wakefield Highway, Augusta Highway & Eyre Highway (M1 / A1 / B1) - Tailem Bend to Murray Bridge |
Statistics:
Route Numbering:


General Information:
Highway 1 runs right around Australia, however with the introduction of alphanumeric routes, hig hway 1 takes on all different identifications depending on its importance and road design.
In South Australia, it's numbered with several designations:
The Princes Highway links Adelaide, Melbourne and Sydney. The highway was first proclaimed from Sydney to Melbourne in the 1920s, it was later extended through western Victoria and eventually to Adelaide.
Towns along this section of Highway include Mount Gambier, Millicent, Kingston SE, Meningie, Tailem Bend, Murray Bridge, Nairne, Mount Barker and Adelaide. The route varies from 2 lane rural highway standard to full freeway standard and includes the Adelaide-Crafers Freeway which features twin 600 metre tunnels.
History:
Princes Highway (M1, A1 & B1) (Includes Jubilee Hwy and South Eastern Fwy):
| Preview: | Description: |
 |
Distance Sign: RD sign at Murray Bridge after the Adelaide Road (B55) interchange, looking east. September 2009. Image © Paul Rands |
 |
Supplemental Advance Directional Sign: Tourist orientated supplemental AD sign at Murray Bridge, for the Swanport Road Interchange. September 2009. Image © Paul Rands |
 |
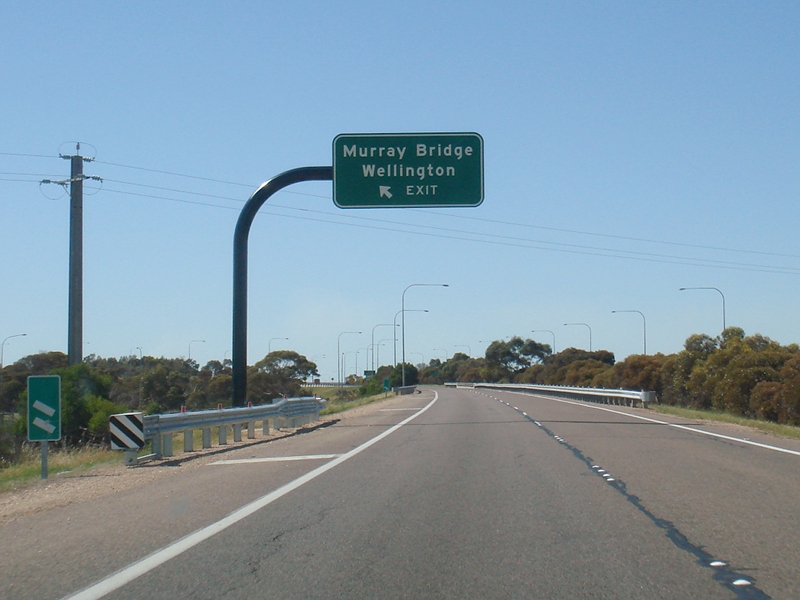
Advance Directional Sign: AD sign, eastbound at Murray Bridge, for the Swanport Road Interchange. September 2009. Image © Paul Rands |
 |
End Freeway 1km: Sign indicating the freeway ends in 1km, eastbound at Murray Bridge. September 2009. Image © Paul Rands |
 |
Supplemental Advance Directional Sign: Supplemental AD sign at Murray Bridge, for the Swanport Road Interchange. September 2009. Image © Paul Rands |
 |
Swanport Road Interchange: Looking northeast at the Swanport Road Interchange at Murray Bridge. September 2009. Image © Paul Rands |
 |
End Freeway: The end of freeway conditions at Murray Bridge, just before the Swanport Bridge over the River Murray. September 2009. Image © Paul Rands |
 |
End Divided Road: The 4 lane divided freeway conditions change to 1 lane in each direction to cross the River Murray via Swanport Bridge. September 2009. Image © Paul Rands |
 |
Swanport Bridge: Looking northeast at the Swanport Bridge at Murray Bridge. September 2009. Image © Paul Rands |
 |
Frank Jackman Lookout Intersection: Corner of Princes Hwy and the entrance to Frank Jackman Lookout at Long Flat. September 2009. Image © Paul Rands |
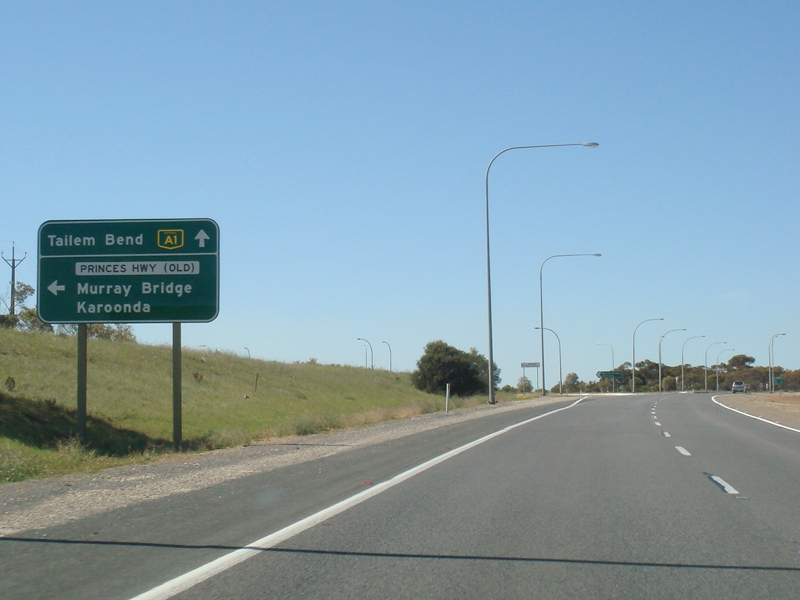 |
Advance Directional Sign: AD sign approaching the unnumbered section of Old Princes Hwy at Long Flat. September 2009. Image © Paul Rands |
 |
Old Princes Highway Junction: Corner of Princes Hwy (A1) and Old Princes Hwy at Long Flat. September 2009. Image © Paul Rands |
 |
Distance Sign: RD sign looking southeast at Monteith. September 2009. Image © Paul Rands |
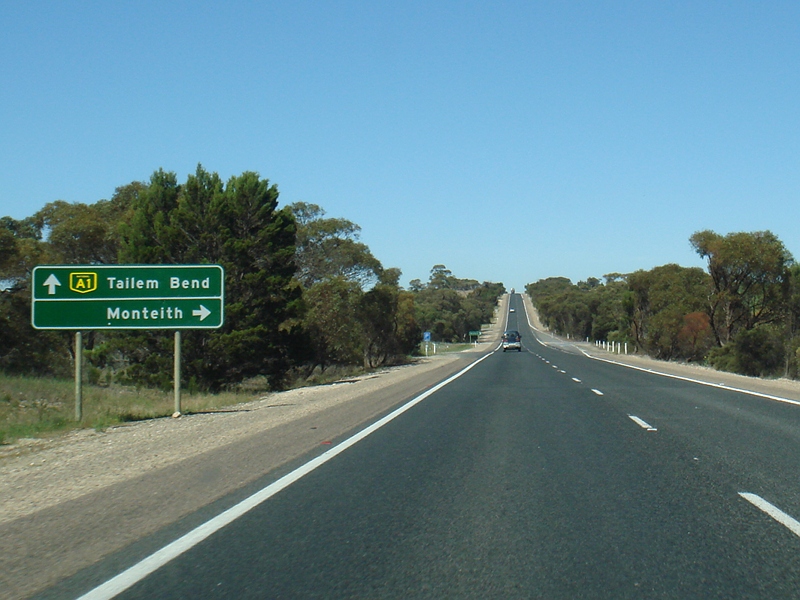 |
Advance Directional Sign: AD sign approaching McCulloch Road at Monteith. September 2009. Image © Paul Rands |
 |
McCulloch Road Junction: Corner of Princes Hwy and McCulluch Rd in Monteith. September 2009. Image © Paul Rands |
 |
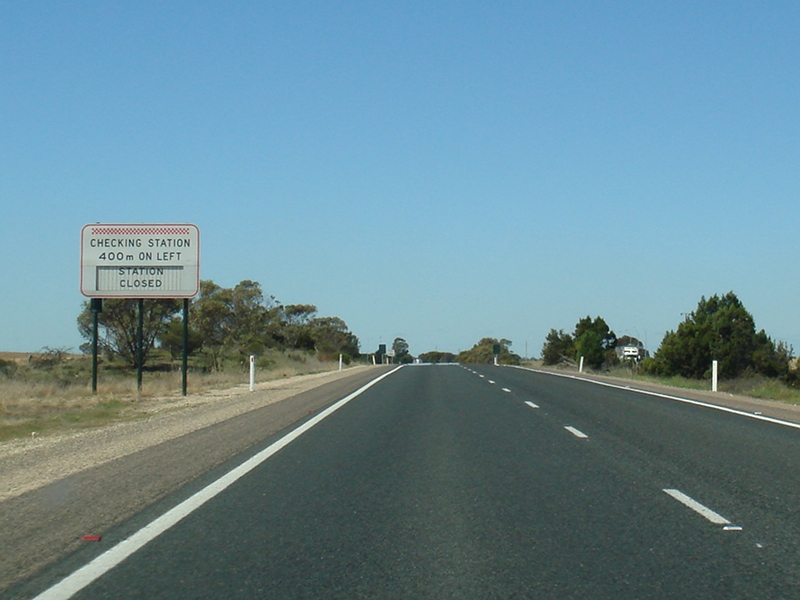
Checking Station Ahead: Sign indicating heavy vechicle checking station ahead, Moneith. September 2009. Image © Paul Rands |
 |
Checking Station Ahead: Variable sign indicating heavy vechicle checking station ahead, Moneith. September 2009. Image © Paul Rands |
 |
Heavy Vehicle Checking Station Entrance: Variable sign at the entrance to the Monteith heavy vehicle checking station. September 2009. Image © Paul Rands |
 |
Monteith Heavy Vehicle Checking Station: Looking southeast at Monteith at the heavy vehicle checking station. September 2009. Image © Paul Rands |
 |
Advance Directional Sign: AD sign approaching Monteith Rd in Monteith. September 2009. Image © Paul Rands |
 |
Services Sign: Services orientated advance directional sign approaching Westbrook Park in Tailem Bend. September 2009. Image © Paul Rands |
 |
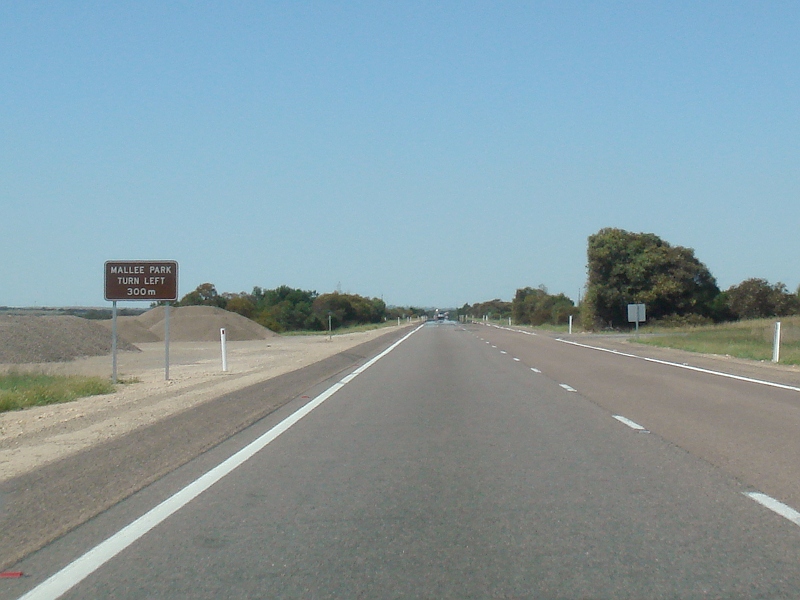
Advance Directional Sign: AD sign approaching Old Tailem Town, a pioneer village tourist attraction at Tailem Bend. September 2009. Image © Paul Rands |
 |
Services Sign: Services sign at Tailem Bend. September 2009. Image © Paul Rands |
 |
Old Tailem Town Junction: Princes Hwy at Tailem Bend at the junction with Old Tailem Town. September 2009. Image © Paul Rands |
 |
Services Sign: Diagrammatic services sign showing the location of local services at Tailem Bend. December 2001. Image © Jamie Scuglia |
 |
North Terrace junction: Corner of North Tce and Princes Hwy, looking southeast at Tailem Bend. September 2009. Image © Paul Rands |
 |
South Terrace junction: Corner of South Tce and Princes Hwy, looking southeast at Tailem Bend. September 2009. Image © Paul Rands |
 |
South Terrace & Jervois Ferry Road junction: Corner of South Tce, Jervois Ferry Rd and Princes Hwy, looking southeast at Tailem Bend. September 2009. Image © Paul Rands |
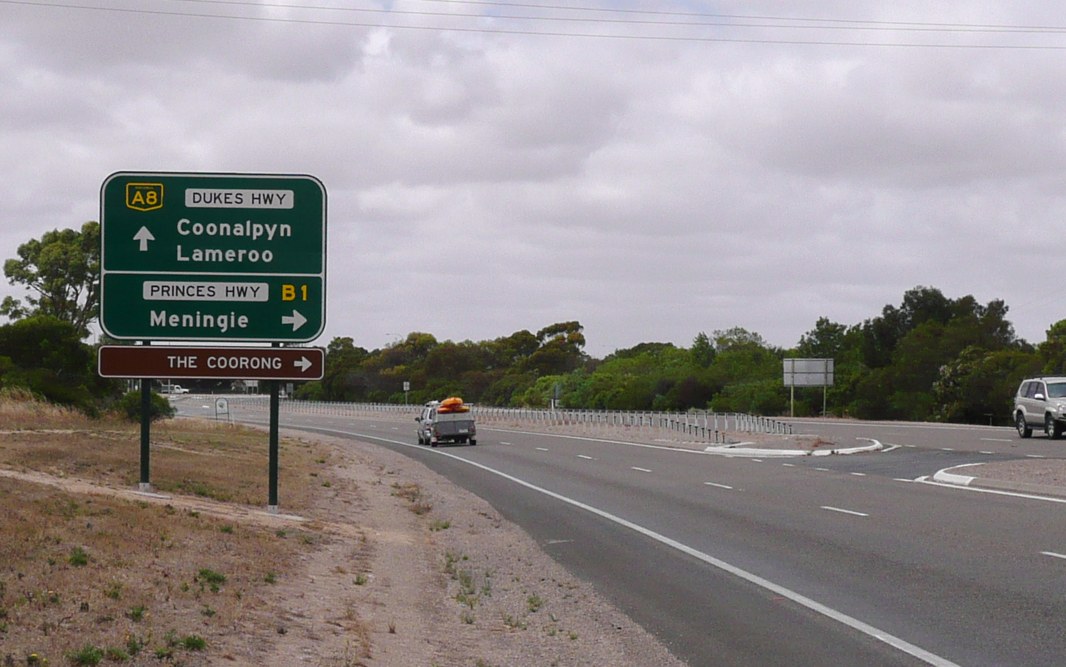 |
Advance Directional Sign: AD sign approaching Dukes Hwy (A8) at Tailem Bend, January 2014. Click here for a photo of this sign by Paul Rands in its original location, closer to the intersection, from September 2009. Image © Michael Greenslade |
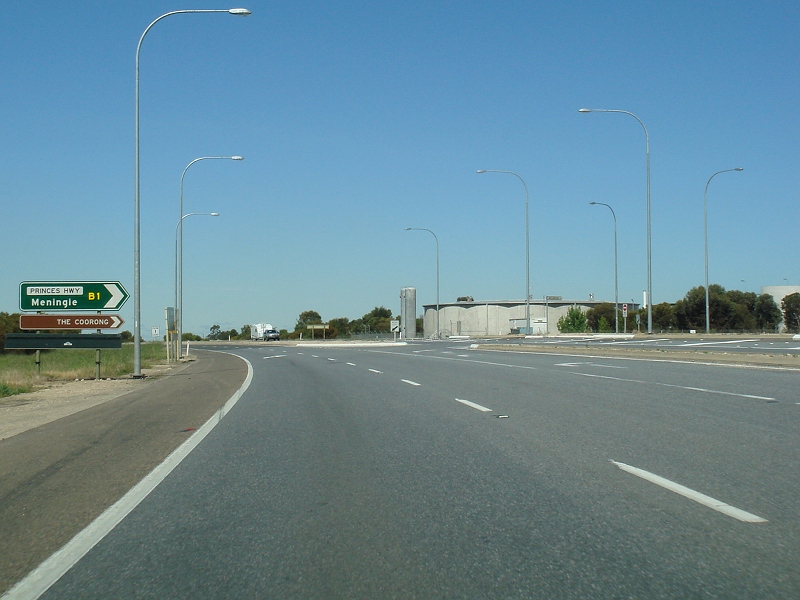 |
Dukes Highway Intersection: Junction of Princes Hwy and Dukes Hwy (A8) at Tailem Bend. September 2009. Princes Hwy turns right at the intersection and becomes B1, the only section of Highway 1 given a B-prefixed route number in the country. Image © Paul Rands |
| Click here for the continuation of M1 between Murray Bridge & Mt Barker Click here for the continuation of Princes Highway as B1 between Kingston SE & Tailem Bend |
|
Last updated: 05-Jan-2020 8:34
This site © Paul Rands. All rights reserved. Some portions © (copyright) by their respective and credited owners. Permission must be obtained before using any images from this site. For details, please email by clicking here.