|
|
|
|
|

|
Logan Motorway (Metroad 6) (Decommissioned) - Former Alignment |
Statistics:
Route Numbering:

General Information:
Metroad 6 is a motorway standard route that passes through the City of Logan local government area, south of Brisbane.
The route features 2 lanes in each direction, with central divider, and electronic tolling points at Meadowbrook
The route started life as Logan Arterial Road - a super-2 expressway.
History:
This page covers the former Logan Motorway toll plazas and remnant Metroad 4 signage.
| Drewvale to Loganholme | Loganholme to Drewvale | |||
| Preview: | Description: | Preview: | Description: | |
 |
Toll Charges Sign: Toll charges sign at Tanah Merah, March 2006. Image © Paul Rands |
 |
Intersection Directional Sign: ID sign on Station Rd Meadowbrook with remnant Metroad 4 shield. October 2016 Image © Dean Sherry |
|
 |
Lane Sign: Sign indicating which tolling options are available for each lane at the toll plaza, Tanah Merah, March 2006. Image © Paul Rands |
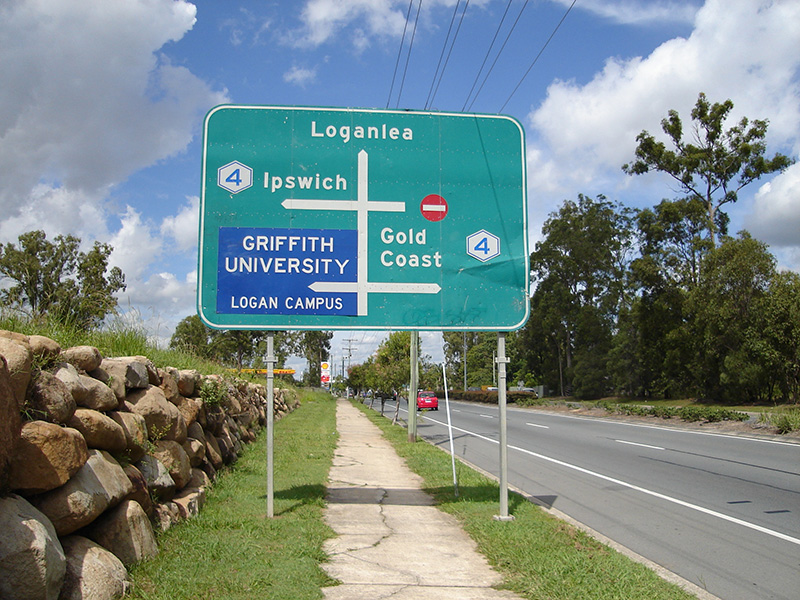 |
Freeway Green Advance Directional Sign: Freeway green AD sign from 1988 on Loganlea Rd approaching University Dr and Logan Mwy (Metroad 6) at Meadowbrook, with old Metroad 4 shields, March 2006. The interchange has since been remodeled and this sign replaced. Image © Paul Rands |
|
 |
Wide Loads Sign: Signs at Meadowbrook approaching the toll plaza requiring wide loads to use the left lane only, March 2006. Image © Paul Rands |
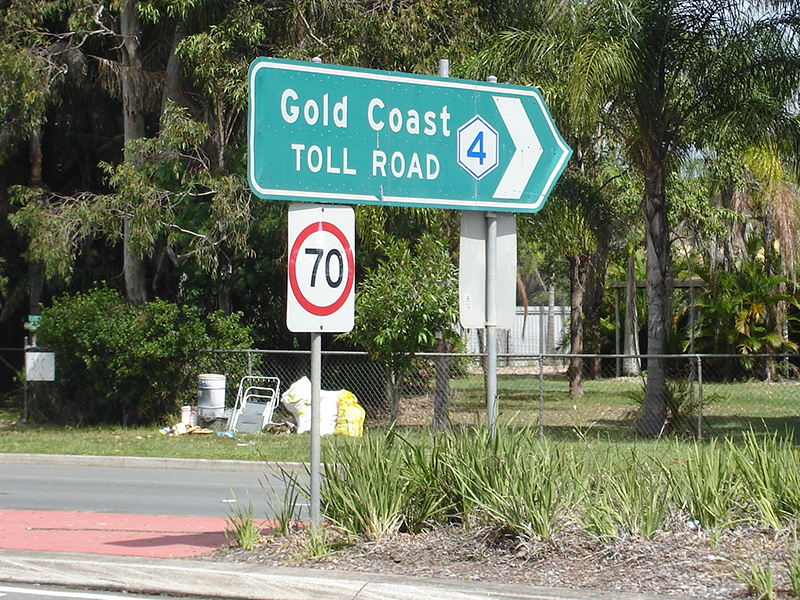 |
Freeway Green Intersection Directional Sign: Freeway green ID sign from 1988 on Loganlea Rd Meadowbrook at the junction with University Dr and Ellerslie Rd, March 2006. The interchange has since been remodeled and this sign removed. Image © Paul Rands |
|
 |
Meadowbrook Toll Plaza: Logan Mwy (Metroad 6) at the Meadowbrook toll plaza, March 2006. Image © Paul Rands |
 |
Freeway Green Intersection Directional Sign: Freeway green ID sign from 1988 on Loganlea Rd Meadowbrook at the junction with Logan Mwy (Metroad 6), March 2006. The interchange has since been remodeled and this sign removed. Image © Paul Rands |
|
 |
Toll Payment Sign: Sign after the Meadowbrook toll plaza displaying a number to pay your toll if you are not equipped with an e-tag, March 2006. Image © Paul Rands |
|||
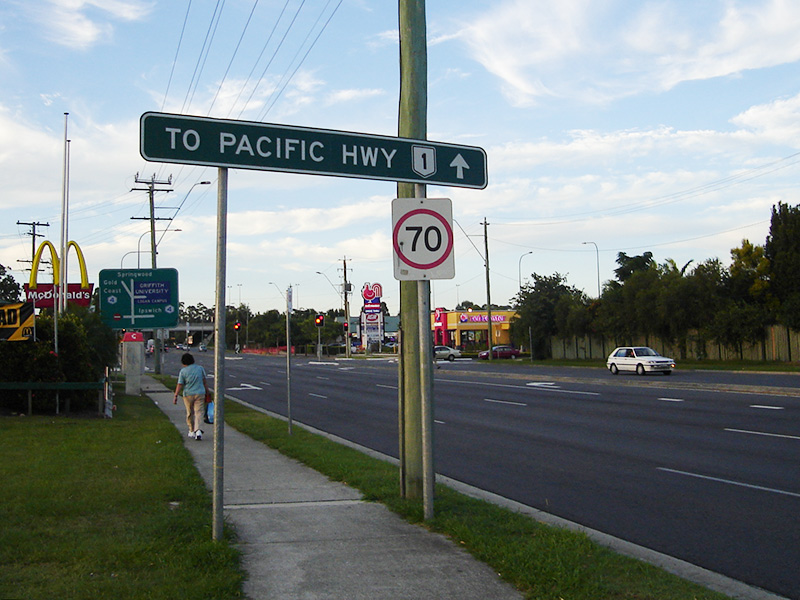 |
Remnant Sign: Remnant sign on Loganlea Rd at Meadowbrook, approaching Logan Mwy (Metroad 6) mentioning Pacific Hwy (NR1), the route in question hasn't been called that for a number of years before the image was taken, March 2006. Image © Paul Rands |
|||
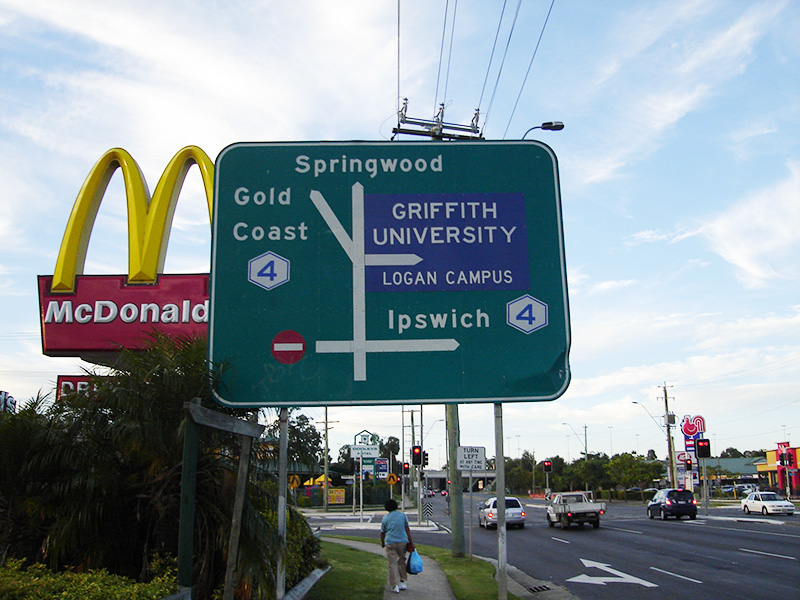 |
Freeway Green Advance Directional Sign: Freeway greeen AD sign from 1988 on Loganlea Rd at Meadowbrook approaching the Logan Mwy (Metroad 6) interchange, March 2006. The sign still shows the former Metroad 4 shields. The interchange has since been remodeled and this sign replaced. Image © Paul Rands |
|||
1 Department of Transport and Main Roads
2 Queensland Motorways, About Us, History, Logan Motorway
3 Queensland Government, Ministerial Media Statements, Paradise Found - Ahead of Time and Under Budget, 11 March 2007
4 Queensland Government, Ministerial Media Statements, Free-flowing Tolling Takes Shape at Stapylton Road Interchange, 29 May 2009
5 The Courier Mail, Gateway Motorway e-tolls drive users away, 07 September 2009
Last updated: 14-Feb-2019 21:59
This site © Paul Rands. All rights reserved. Some portions © (copyright) by their respective and credited owners. Permission must be obtained before using any images from this site. For details, please email by clicking here.