|
|
|
|
|
| M2 A2 | Gateway Motorway, Logan Motorway, Ipswich Motorway, Warrego Highway, Landsborough Highway & Barkly Highway (M2/A2) - Dinmore to Toowoomba |
Statistics:
Route Numbering:

General Information:
M/A2 is the main link from Brisbane to the northern territory. It varies from motorway standard in the Brisbane metropolitan area, to dual carriageway rural highway standard between Brisbane and Toowoomba, and rural highway standard beyond Toowoomba.
History:
Click here for the former A2 alignment through the Toowoomba area.
| Dinmore to Toowoomba | Toowoomba to Dinmore | |||
| Preview: | Description: | Preview: | Description: | |
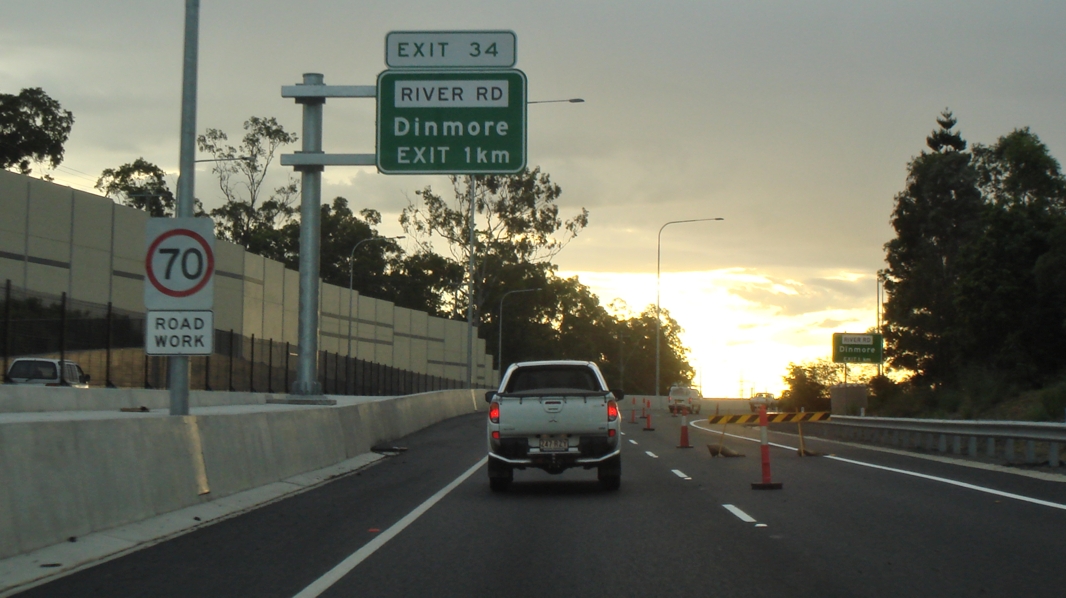 |
Advance Directional Sign: AD sign at Dinmore, approaching River Rd, March 2012. Image © Paul Rands |
 |
Welcome To Darren Lockyer Way: Sign indicating the beginning of Darren Lockyer Way, Whitcott, January 2019. Image © Dean Sherry |
|
 |
Supplemental Advance Directional Sign: Supplemental AD sign at Dinmore, approaching River Rd, March 2012. Image © Paul Rands |
 |
Withcott
Town Centre: Warrego Hwy as it passes through Withcott, October 2005. Image © Paul Rands |
|
 |
River Road: Warrego Hwy (M2) at the interchange with River Rd at Dinmore, March 2012. Image © Paul Rands |
 |
Approaching
Murphy's Creek Road: AD sign approaching the intersection with Murphy's Creek Road at Withcott, April 2005. Image © Rob Tilley |
|
 |
River Road: Warrego Hwy (M2) at the interchange with River Rd at Dinmore, March 2012. Image © Paul Rands |
 |
Intersection
Directional Sign: Typical Queensland fingerboard facing Postmans Ridge Rd (former Warrego Hwy) at Helidon Spa, April 2011. Image © Rob Tilley |
|
 |
Start Darren Lockyer Way: Sign indicating beginning of section of Warrego Hwy named after football player Darren Lockyer, at Dinmore, March 2012. Image © Paul Rands |
 |
Entering
the Gatton Council Area: Council area sign on the Warrego Highway at Helidon, April 2005. Image © Rob Tilley |
|
 |
Ashburn Road: Warrego Hwy (M2) at the interchange with Ashburn Rd in Bundamba, March 2012. Image © Paul Rands |
 |
Advance
Directional Sign: AD sign on the Warrego Hwy at Helidon, approaching the interchange with Turner Street and Gatton-Helidon Road, April 2005. Image © Rob Tilley |
|
 |
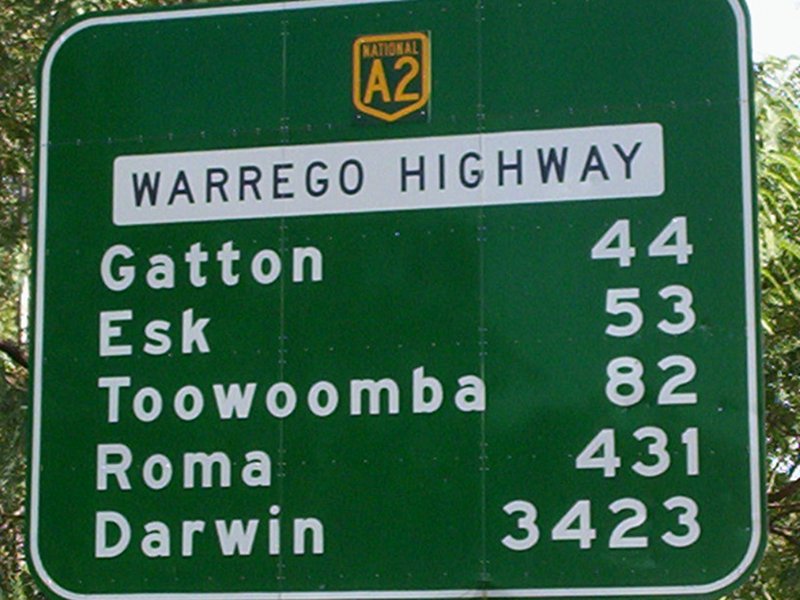
Reassurance Directional Sign: Distance sign at Bundamba before the bridge over Bremer River, November 2013. Image © Michael Greenslade |
 |
Supplemental
Advance Directional Sign: Supplemental AD sign on the Warrego Hwy at Helidon, approaching the interchange with Turner Street and Gatton-Helidon Road, April 2011. Image © Rob Tilley |
|
 |
Bremer River: Warrego Hwy (M2) as it crosses Bremer River at Bundamba, March 2012. Image © Paul Rands |
 |
Supplemental
Advance Directional Sign: Supplemental AD sign on the Warrego Hwy at Helidon, approaching the interchange with Turner Street and Gatton-Helidon Road, April 2011. Image © Rob Tilley |
|
 |
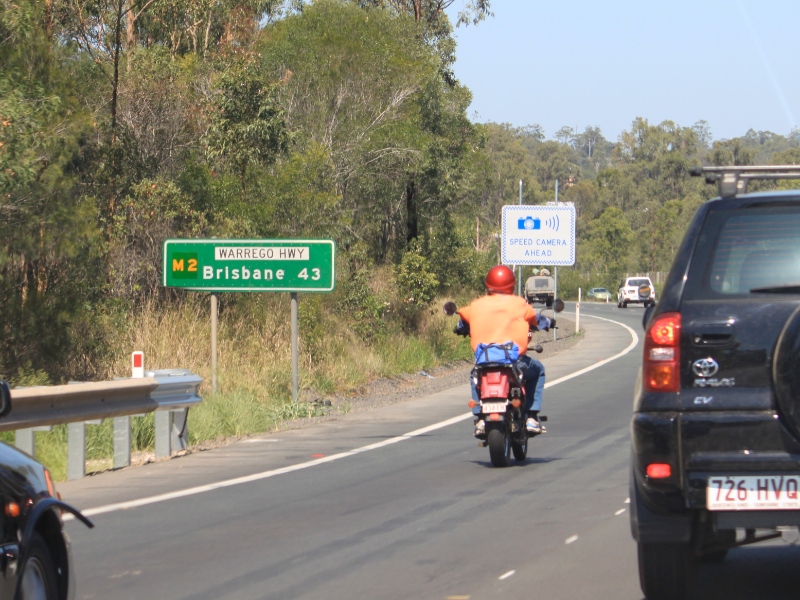
Advance Directional Sign : AD sign approaching Mt Crosby Rd (SR37) at Bundamba, March 2012. Image © Paul Rands |
 |
Intersection
Directional Sign: ID sign on the Warrego Hwy at Helidon, at the interchange with Turner Street and Gatton-Helidon Road, April 2011. Image © Paul Rands |
|
 |
Supplemental Advance Directional Sign : Supplemental AD sign approaching Mt Crosby Rd (SR37) at Bundamba, March 2012. Image © Paul Rands |
 |
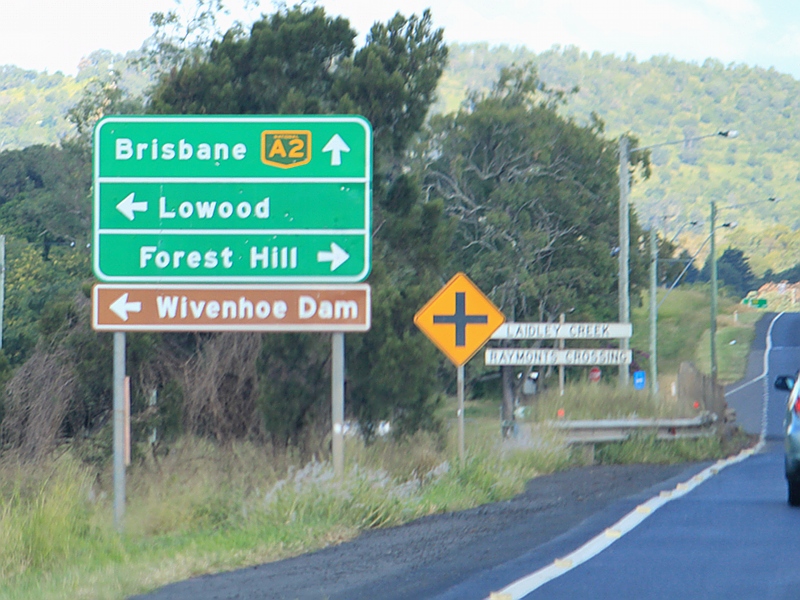
Approaching Gatton-Esk
Rd & Gatton-Helidon Rd: Advance directional sign approaching the interchange with Gatton-Esk Road and Gatton-Helidon Road at Gatton, April 2005. Image © Rob Tilley |
|
 |
Supplemental Advance Directional Sign : Supplemental AD sign approaching Mt Crosby Rd (SR37) at North Tivoli, March 2012. Image © Paul Rands |
 |
Advance Directional
Sign : AD sign on Warrego Hwy (A2) approaching Forest Hill-Fernvale Rd at Crowley Vale, April 2011. Image © Rob Tilley |
|
 |
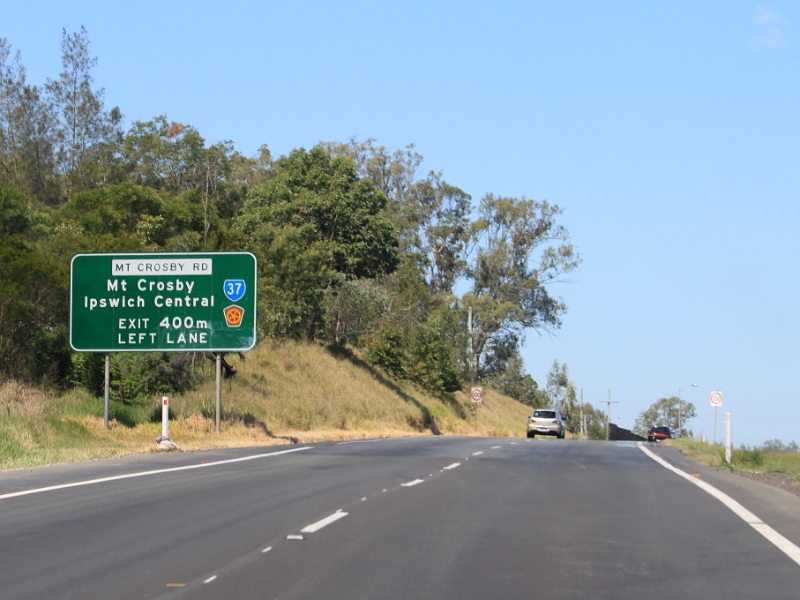
Advance Directional Sign : AD sign approaching Mt Crosby Rd (SR37) at North Tivoli, March 2012. Image © Paul Rands |
 |
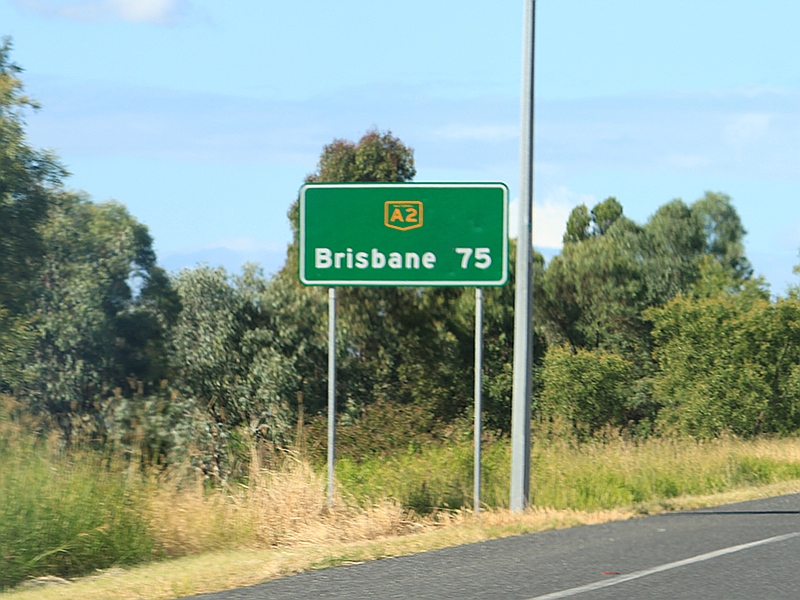
Distance Sign: Reassurance directional sign at Glenmore Grove, April 2011. Image © Rob Tilley |
|
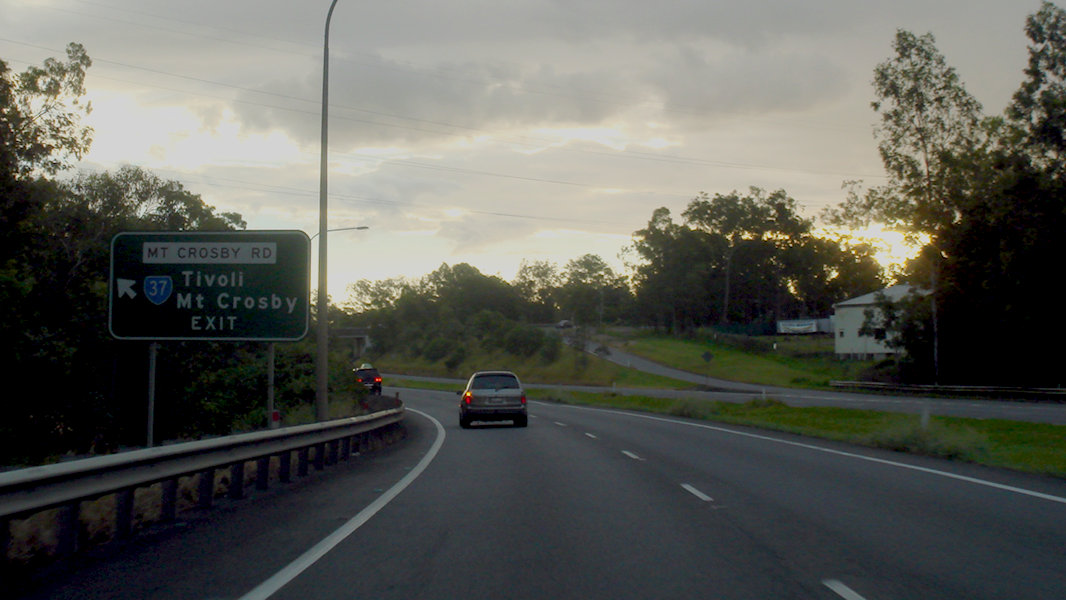 |
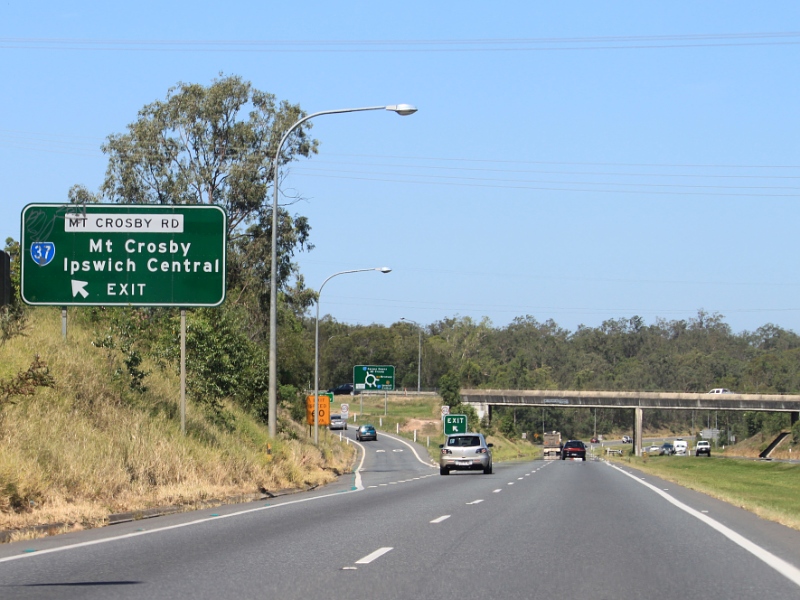
Mount Crosby Road: Warrego Hwy (M2) at the Mt Crosby Rd (SR37) interchange at North Tivoli, March 2012. Image © Paul Rands |
 |
Distance Sign: RD sign at Plainland, April 2011. Image © Rob Tilley |
|
 |
Entering Tivoli: Warrego Hwy (M2) as it enters the suburb of Tivoli, and an AD sign for the Francis St interchange, March 2012. Image © Paul Rands |
 |
Advance Directional
Sign : AD sign approaching Lowood-Minden Rd and Tallegalla Rd at Minden, April 2011. Image © Rob Tilley |
|
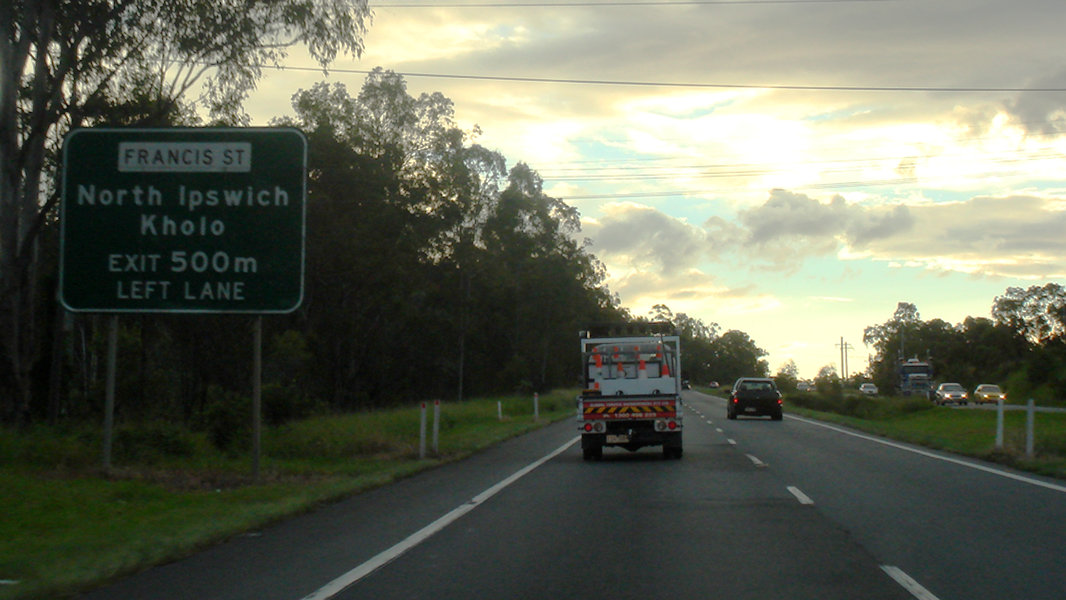 |
Advance Directional Sign: AD sign for the Francis St interchange at Tivoli, March 2012. Image © Paul Rands |
 |
Advance Directional Sign: AD sign on Queen St Marburg approaching Warrego Hwy (A2), June 2009. Image © Michael Greenslade |
|
 |
Francis Street: Warrego Hwy (M2) at the Francis St interchange at Tivoli, March 2012. Image © Paul Rands |
 |
Advance Directional
Sign : AD sign at Haigslea approaching Haigslea-Malabar Rd and Claus Rd, April 2011. Image © Rob Tilley |
|
 |
Pine Mountain Road: Warrego Hwy (M2) at the Pine Mtn Rd (SR38) interchange at Brassall, March 2012. M2 becomes A2 at this location. Image © Paul Rands |
 |
Distance Sign: RD sign at Haigslea, April 2011. Image © Rob Tilley |
|
 |
Distance Sign: RD sign after the interchange with Pine Mountain Road (SR38) at Brassall, May 2005. Image © Paul Rands |
 |
Advance Directional
Sign : AD sign at Haigslea approaching Haigslea-Amberley Rd, April 2011. Image © Rob Tilley |
|
 |
Advance Directional Sign: AD sign at Walloon approaching Haigslea-Amberley Rd (SR93) interchange, Feburary 2017. Image © Michael Greenslade |
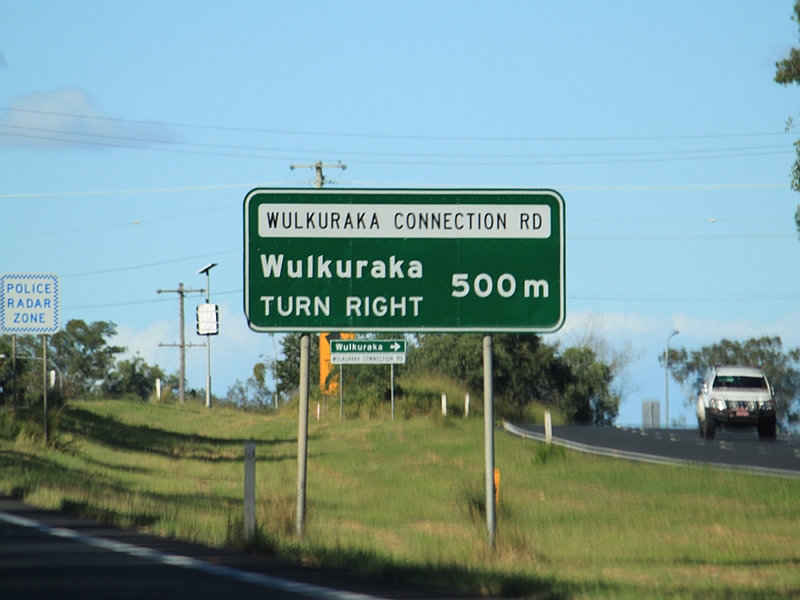 |
Advance Directional
Sign: AD sign on Warrego Hwy (A2) approaching Wulkuraka Connection Rd at Karrabin, April 2011. Image © Rob Tilley |
|
 |
Advance Directional Sign: AD sign at Minden approaching Tallegalla Rd and Lowood-Minden Rd, June 2009. Image © Michael Greenslade |
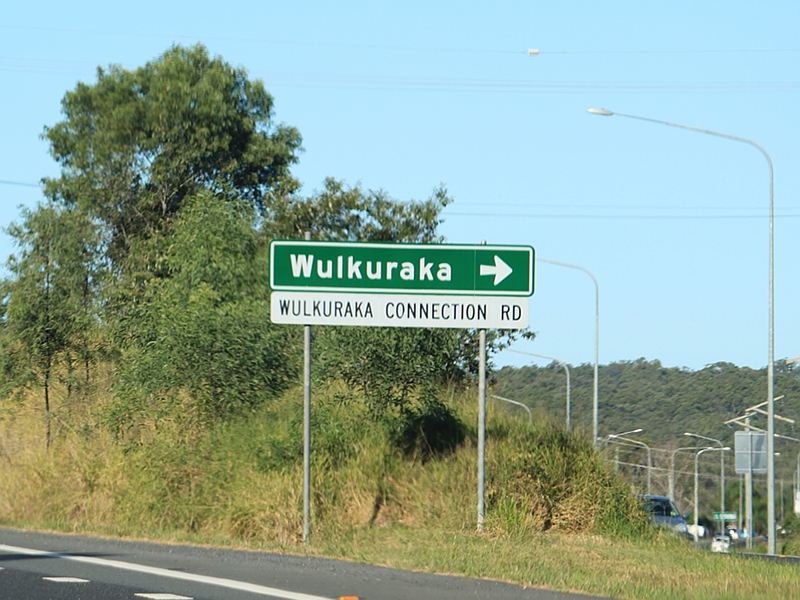 |
Advance Directional
Sign: AD sign on Warrego Hwy (A2) approaching Wulkuraka Connection Rd at Karrabin, April 2011. Image © Rob Tilley |
|
 |
Advance Directional Sign: AD sign at Gatton approaching Eastern Dr (SR80), April 2004. Image © Michael Greenslade |
 |
Advance Directional
Sign : AD sign on Warrego Hwy (A2) approaching Brisbane Valley Hwy (NR17) at Blacksoil, April 2011. Image © Rob Tilley |
|
 |
Supplemental Advance Directional Sign: Supplemental AD sign approaching Toowoomba Connection Rd (A21) and Paynters Loop Rd at Helidon, January 2019. Image © Dean Sherry |
 |
Brisbane Valley
Highway: AD sign acting as an ID sign at the Brisbane Valley Hwy (NR17) junction at Blacksoil, April 2011. Image © Rob Tilley |
|
 |
Advance Directional Sign: AD sign approaching Toowoomba Connection Rd (A21) and Paynters Loop Rd at Helidon, January 2019. A2 through Toowoomba CBD becomes A21 once the Toowoomba Bypass opens in September 2019. Image © Dean Sherry |
 |
Advance Directional
Sign : AD sign approaching Eleaza Dr at Blacksoil, April 2011. Image © Rob Tilley |
|
 |
Eleaza Drive: Corner of Warrego Hwy (A2) and Eleaza Dr at Blacksoil, November 2009. Image © Rob Tilley |
|||
 |
Distance Sign: RD sign on Warrego Hwy (A2) at Blacksoil, November 2009. Image © Rob Tilley |
|||
 |
Advance Directional
Sign : AD sign on Warrego Hwy (A2) approaching Pine Mountain Rd (SR38) at Muirlea, November 2009. Image © Rob Tilley |
|||
 |
Pine Mountain
Road : Warrego Hwy (A2) at the Pine Mtn Rd interchange, November 2009. Warrego Hwy becomes M2 at this interchange. Image © Rob Tilley |
|||
 |
Distance Sign: RD sign at Muirlea after the Pine Mtn Rd (SR38) interchange, November 2009. Image © Rob Tilley |
|||
 |
Advance Directional
Sign : AD sign on Warrego Hwy (M2) approaching Kholo Rd at Muirlea, November 2009. Image © Rob Tilley |
|||
 |
Advance Directional
Sign : AD sign on Warrego Hwy (M2) approaching Kholo Rd at Muirlea, November 2009. Image © Rob Tilley |
|||
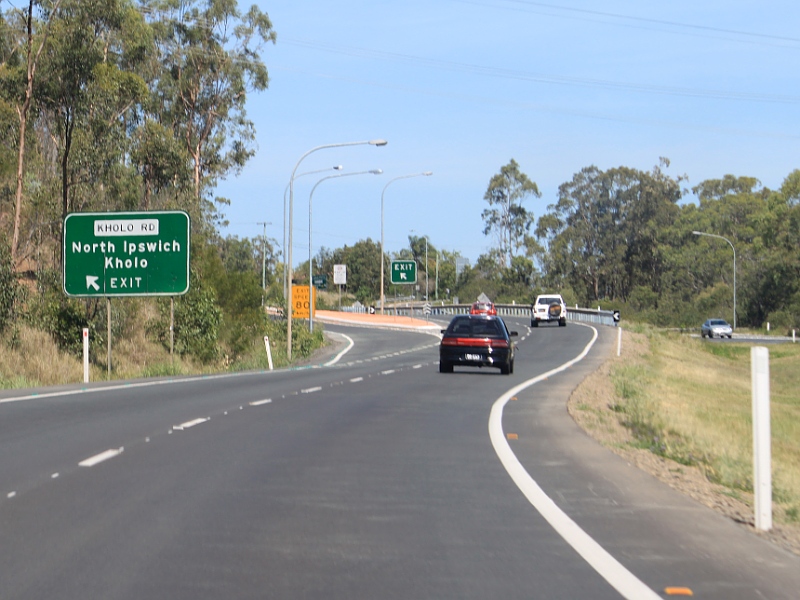 |
Kholo Road
Interchange : Warrego Hwy (M2) at the Kholo Rd interchange in Muirlea, November 2009. Image © Rob Tilley |
|||
 |
Advance Directional
Sign : AD sign at Tivoli approaching the Mt Crosby Rd (SR37) interchange, November 2009. Image © Rob Tilley |
|||
 |
Supplemental
Advance Directional Sign: Supplemental AD sign at Tivoli approaching Mt Crosby Rd (SR37), November 2009. Image © Rob Tilley |
|||
 |
Supplemental
Advance Directional Sign: Supplemental AD sign at Tivoli approaching Mt Crosby Rd (SR37), which is duplexed with the Cobb & Co Tourist Drive, November 2009. Image © Rob Tilley |
|||
 |
Supplemental
Advance Directional Sign: Supplemental AD sign at Tivoli approaching Mt Crosby Rd (SR37), which is duplexed with the Cobb & Co Tourist Drive, November 2009. Image © Rob Tilley |
|||
 |
Mt Crosby
Road Interchange: Warrego Hwy (M2) at the Mt Crosby Rd (SR37) interchange at Tivoli, November 2009. Image © Rob Tilley |
|||
 |
Distance Sign: RD sign at Karalee, November 2009. Image © Rob Tilley |
|||
| Click
here for the continuation of A2 between Toowoomba and Chinchilla Click here for the continuation of M2 between Dinmore and Rochedale |
||||
1 The State Road Network Map, 30
June 2008
2 Queensland Roads, Edition No 5, (Toowoomba Range Tunnels Report), March 2008
3 QMR, Strategic Tourism Routes Revision
12
4 Ministerial Media Statements, Federal
Government own worst enemy on roads: Lucas, 25 July 2006
5 Ministerial Media Statements, Haigslea
intersection easier to negotiate, 22 May 2008
Last updated: 21-Oct-2021 14:00
This site © Paul Rands. All rights reserved. Some portions © (copyright) by their respective and credited owners. Permission must be obtained before using any images from this site. For details, please email by clicking here.