|
|
|
|
|
| M1 A1 | Pacific Motorway, Gateway Motorway & Bruce Highway (M1 / A1) - Maryborough to Gin Gin |
Statistics:
Route Numbering:


General Information:
The M1 / A1 corridor is the main coastal route from the NSW border to the northern tip of the east coast of Australia, and links major cities and towns with Brisbane, and beyond the NSW border, Sydney.
Bruce Highway:
Bruce Highway is named after former Minister of Public Works, Henry Bruce 2 and connects Brisbane with all coastal regions north of the city.
The route is freeway standard from the Gateway Motorway interchange to Curra, north of Cooroy. From there, the route alternates between single and dual carriageway, and passes through rural, residential, industrial and commercial areas.
History:
Bruce Highway:
- October 1934: Bruce Highway named after Minister for Works. 3
- November 1934: Bruce Highway declared. 4
- May 1940: Original Wallaville Bridge completed. 5
- 1962: By this time, the highway was bitumen sealed between Brisbane and Cairns. 6
- December 1979: Sandy Creek bridge between Maryborough and Gin Gin opened. 5
- September 2011: To improve flood immunity of the highway south of Childers, a new and improved road alignment and a higher bridge over the Isis River were completed. 7
- July 2013: Work started on upgrade of the Bruce Highway between Cabbage Tree Creek and Carmans Road, about 10km north of Gin Gin. The upgrade included realigning a 6.7-kilometre section of the highway to improve the horizontal and vertical alignment of the road and eliminate some tight curves. 8 Also included was overtaking lanes for each direction of traffic, and two heavy vehicle stopping places for northbound and southbound motorists. The Bruce Highway and Monduran Road intersection was also upgraded. 8 accesses.
- August 2014: Completion of a new northbound overtaking lane 1.2km in length, including merge tapers, 5km north of Howard. 9
| Maryborough to Gin Gin | Gin Gin to Maryborough | |||
| Preview: | Description: | Preview: | Description: | |
 |
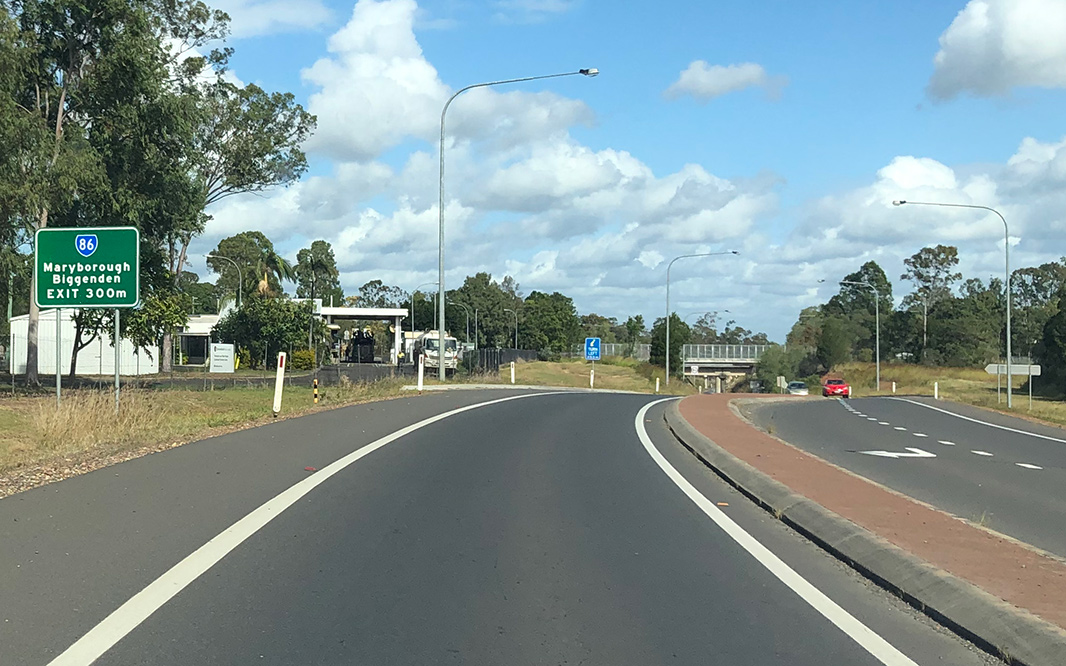
Advance
Directional Sign: AD sign approaching Walker St in Maryborough West, December 2009. Image © Rob Tilley |
 |
Advance Directional Sign: AD sign at Gin Gin approaching Bundaberg-Gin Gin Rd (SR3), June 2019. Image © Dean Sherry |
|
 |
Reassurance
Directional Sign: Distance sign after Walker St at Maryborough West, December 2009. Image © Rob Tilley |
 |
Advance Directional Sign: AD sign at Gin Gin approaching Bundaberg-Gin Gin Rd (SR3), June 2019. Image © Dean Sherry |
|
 |
Start Limited
Access Road: Sign indicating a section of highway that has controlled property access, Maryborough West, December 2009. Image © Rob Tilley |
 |
Bundaberg-Gin Gin Road: Corner of Bruce Hwy (A1) and Bundaberg-Gin Gin Rd (SR3) at Gin Gin, June 2019. Image © Dean Sherry |
|
 |
Advance
Directional Sign: AD sign at Maryborough West approaching Industrial Av, December 2009. Image © Rob Tilley |
 |
Reassurance Directional Sign: Distance sign at Gin Gin, June 2019. Image © Dean Sherry |
|
 |
Deadmans Gully: Railway overpass near Deadmans Gully at Maryborough West, December 2009. Image © Rob Tilley |
 |
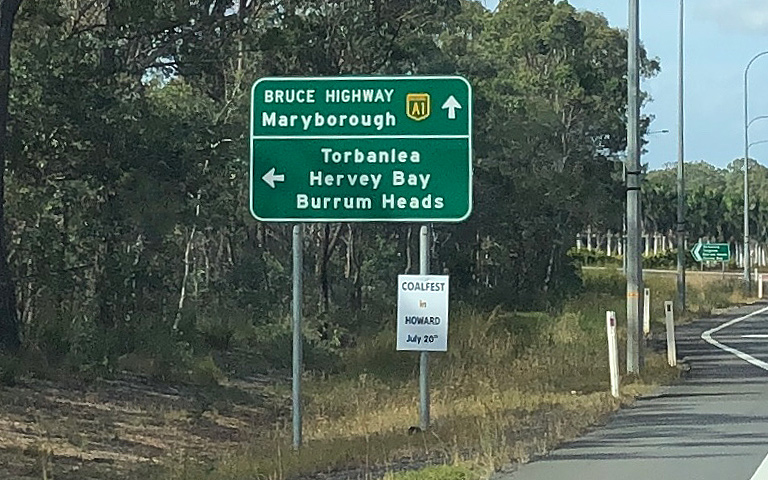
Advance
Directional Sign: AD sign approaching Zillman Rd at Wallaville, June 2019. Click here for a photo of this location by Rob Tilley from June 2010. Image © Dean Sherry |
|
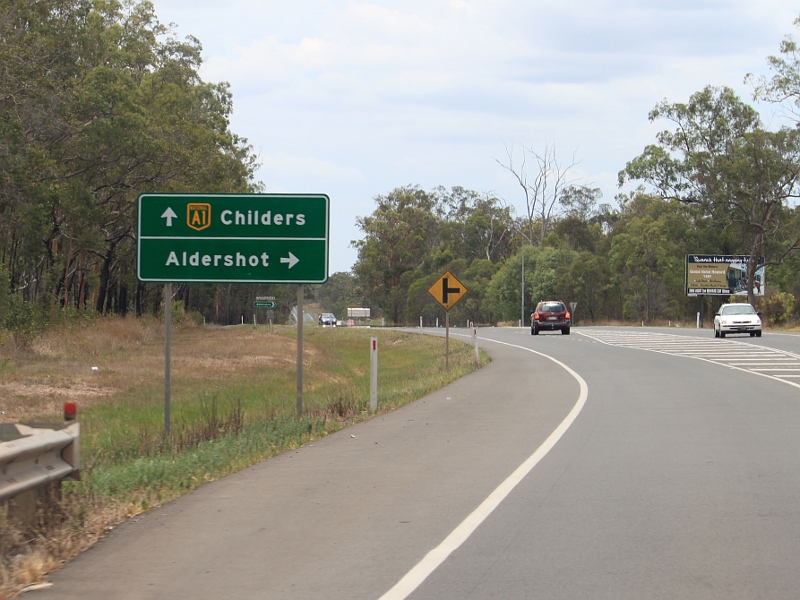 |
Advance
Directional Sign: AD sign approaching Herrenberg St at Aldershot, December 2009. Image © Rob Tilley |
 |
Zillman Road: Corner of Bruce Hwy (A1) and Zillman Rd at Wallaville, June 2010. Image © Rob Tilley |
|
 |
Herrenberg
Street: Corner of Bruce Hwy (A1) and Herrenberg St at Aldershot, December 2009. Image © Rob Tilley |
 |
Advance
Directional Sign: AD sign approaching Mittlehausers Rd at Wallaville, June 2019. Click here for a photo of this location by Rob Tilley from June 2010. Image © Dean Sherry |
|
 |
Advance
Directional Sign: AD sign approaching Top Mines Rd and Torbanlea-Pialba Rd (Gympie St) at Torbanlea, December 2009. Image © Rob Tilley |
 |
Advance
Directional Sign: AD sign approaching Booyal-Dallamil Rd at Booyal, June 2010. Image © Rob Tilley |
|
 |
Advance
Directional Sign: AD sign on Torbanlea-Pialba Rd (Gympie St) approaching Top Mines Rd and Bruce Hwy (A1) at Torbanlea, March 2006. Image © Paul Rands |
 |
Trailblazer: A1 and Pacific Coast Way trailblazer at Booyal, June 2019. Image © Dean Sherry |
|
 |
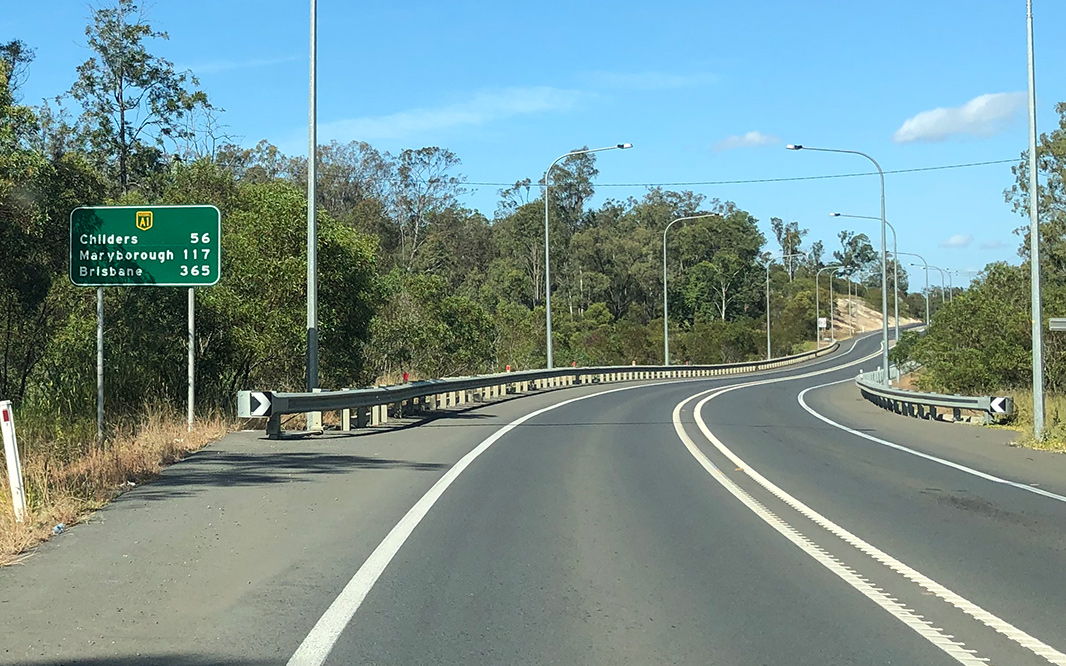
Distance Sign: Reassurance Directional Sign on Bruce Hwy (A1) at Torbanlea, December 2009. Image © Rob Tilley |
 |
Reassurance
Directional Sign: Distance sign at Booyal, June 2019. Click here for a photo of this location by Rob Tilley from June 2010. Image © Dean Sherry |
|
 |
Burrum River: Bruce Hwy (A1) as crosses the Burrum River at Torbanlea, March 2006. Image © Paul Rands |
 |
Advance
Directional Sign: AD sign approaching Kevin Livingstone Dr and North-South Rd at Isis Central, June 2010. Image © Rob Tilley |
|
 |
Advance
Directional Sign: AD sign approaching Thomas St and Lower Thomas St at Howard, December 2009. Image © Rob Tilley |
 |
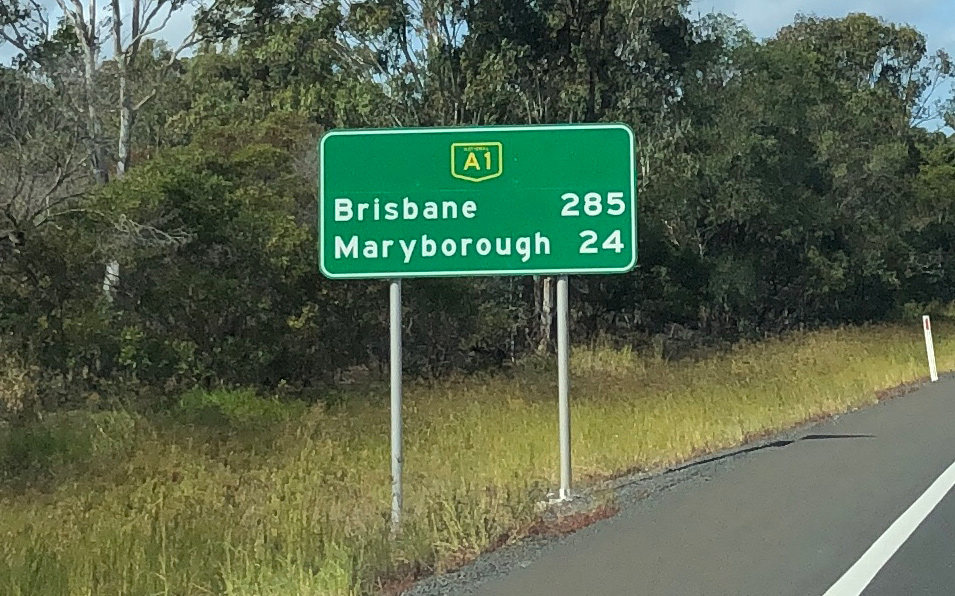
Reassurance Directional Sign: Distance sign at Apple Tree Creek, June 2019. Image © Dean Sherry |
|
 |
Intersection
Directional Sign: ID sign at the junction with Lower Thomas St and Thomas St in Howard, June 2010. Image © Rob Tilley |
 |
Advance
Directional Sign: AD sign approaching Isis Hwy (SR3) interchange at Childers, June 2019. Click here for a photo of this location by Rob Tilley from June 2010. Image © Dean Sherry |
|
 |
Distance Sign: RD sign after the junction with Thomas St & Lower Thomas St at Howard, December 2009. Image © Rob Tilley |
 |
Intersection
Directional Sign: ID sign at the Isis Hwy (SR3) interchange at Childers, June 2010. Image © Rob Tilley |
|
 |
Advance
Directional Sign: AD sign approaching Howard Heights Rd & William St at Howard, December 2009. Image © Rob Tilley |
 |
Distance Sign: RD sign at Apple Tree Ck after the Isis Hwy (SR3) interchange, December 2009. Image © Rob Tilley |
|
 |
Intersection
Directional Sign: ID sign at the corner of Bruce Hwy (A1), Howard Heights Rd and William St at Howard, October 2006. Image © Rob Tilley |
 |
Entering
Childers: Bruce Hwy (A1) as it enters the town of Childers, June 2010. Image © Rob Tilley |
|
 |
Distance Sign: Reassurance directional sign as Bruce Hwy (A1) leaves Howard, December 2009. Image © Rob Tilley |
 |
Advance
Directional Sign: AD sign approaching Isis Hwy (SR52) at Childers, December 2009. Image © Rob Tilley |
|
 |
Isis River: Bruce Hwy (A1) as it crosses the Isis River at the town of Isis River, March 2006. Image © Paul Rands |
 |
Isis Highway: Corner of Bruce Hwy (A1) and Isis Hwy (SR52) at Childers, June 2019. Click here for a photo of this location by Rob Tilley from December 2009. Image © Dean Sherry |
|
 |
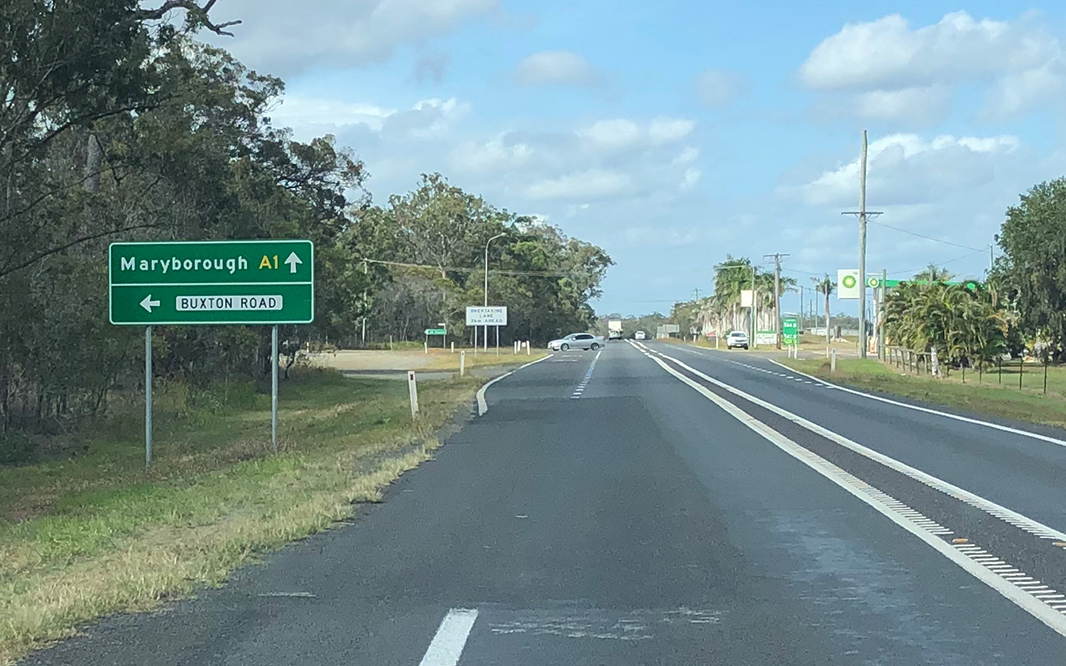
Services Sign: Services sign approaching Buxton Rd at Isis River, December 2009. Image © Rob Tilley |
 |
Start Limited
Access Road: Sign indicating a section of highway that has controlled property access, Childers, December 2009. Image © Rob Tilley |
|
 |
Advance
Directional Sign: AD sign approaching Buxton Rd at Isis River, December 2009. Click here for a photo of this location from March 2006. Image © Rob Tilley |
 |
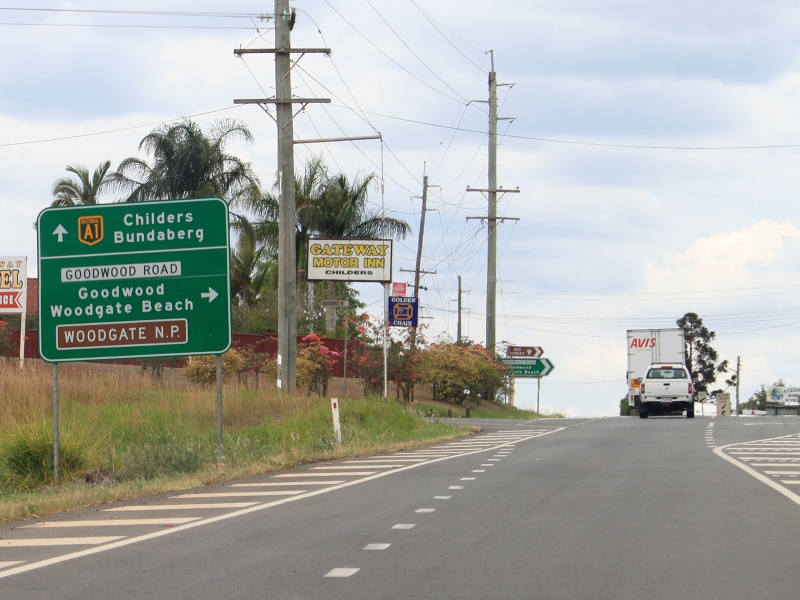
Advance
Directional Sign: AD sign at Childers approaching Goodwood Rd, December 2009. Image © Rob Tilley |
|
 |
Entering
Childers: Bruce Hwy (A1) as it enters the town of Childers, June 2010. Image © Rob Tilley |
 |
Intersection
Directional Sign: ID signs at the Goodwood Rd junction in Childers, June 2019. Click here for a photo of this location by Rob Tilley from December 2009. Image © Dean Sherry |
|
 |
Advance
Directional Sign: AD sign approaching Goodwood Rd at Childers, June 2019. Click here for a photo of this location by Rob Tilley from December 2009. Image © Dean Sherry |
 |
Distance Sign: RD sign at Childers, after Goodwood Rd, June 2019. Click here for a photo of this location by Rob Tilley from December 2009. Image © Dean Sherry |
|
 |
Goodwood Road: Corner of Bruce Hwy (A1) and Goodwood Rd at Childers, December 2009. Image © Rob Tilley |
 |
Advance
Directional Sign: AD sign approaching Buxton Rd at Isis River, June 2019. Click here for a photo of this location by Rob Tilley from December 2009. Image © Dean Sherry |
|
 |
End Limited
Access Road: Sign indicating the end of a section of highway that has controlled property access, December 2009. Image © Rob Tilley |
 |
Supplemental
Advance Directional Sign: Supplemental AD Sign at Howard approaching William St (TD12) and Howard Heights Rd at Howard, June 2019. Click here for a photo of this location by Rob Tilley from December 2009. Image © Dean Sherry |
|
 |
Childers Town
Centre: Bruce Hwy (A1) as it passes through the Childers town centre, March 2006. Image © Paul Rands |
 |
Supplemental
Advance Directional Sign: Supplemental AD Sign at Howard approaching William St (TD12) and Howard Heights Rd at Howardn, June 2019. Click here for a photo of this location by Rob Tilley from December 2009. Image © Dean Sherry |
|
 |
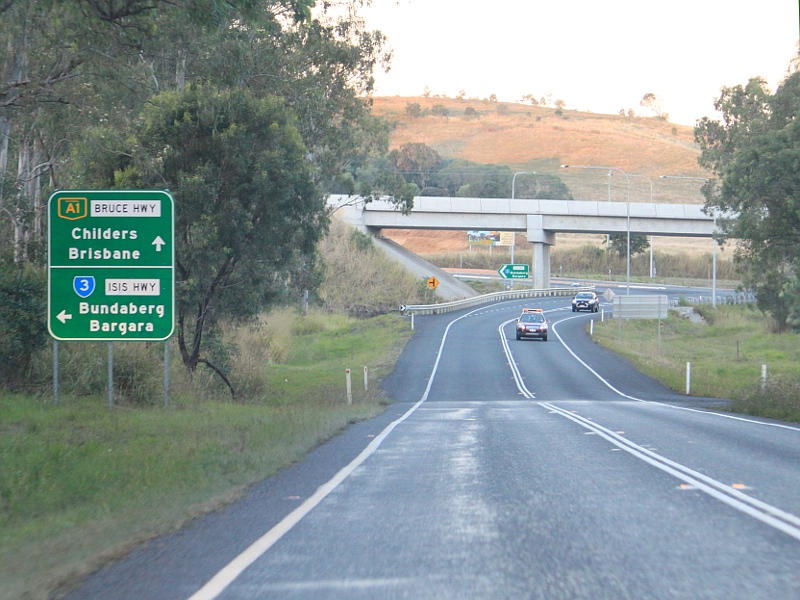
Advance
Directional Sign: AD sign approaching Isis Hwy (SR52) at Childers, March 2006. Image © Paul Rands |
 |
Advance
Directional Sign: AD Sign at Howard approaching William St (TD12) and Howard Heights Rd at Howard, June 2019. Click here for a photo of this location by Rob Tilley from December 2009. Image © Dean Sherry |
|
 |
Isis Highway: Corner of Isis Hwy (SR52) and Bruce Hwy (A1) at Childers, March 2006. Image © Paul Rands |
 |
William Street
& Howard Heights Road interchange: Bruce Hwy (A1) at the interchange with William St and Howard Heights Rd at Howard, December 2009. Image © Rob Tilley |
|
 |
Intersection
Directional Sign: ID sign at the junction with Isis Hwy (SR52) at Childers, December 2009. Image © Rob Tilley |
 |
Distance Sign: RD sign at Howard after the William St (TD12) and Howard Heights Rd, June 2019. Click here for a photo of this location by Rob Tilley from December 2009. Image © Dean Sherry |
|
 |
Distance Sign: Reassurance directional sign at Childers, December 2009. Image © Rob Tilley |
 |
Advance
Directional Sign: AD sign approaching Thomas St and Lower Thomas St in Howard, June 2019. Click here for a photo of this location by Rob Tilley from December 2009. Image © Dean Sherry |
|
 |
End of Cane
Railway Crossings Sign: Sign indicating the end of railway crossings that cross the road carrying sugar cane trains, Childers, March 2006. Image © Paul Rands |
 |
Distance Sign: RD sign at Howard, after Thomas St or Lower Thomas St, December 2009. Image © Rob Tilley |
|
 |
Supplemental
Advance Directional Sign: Supplemental AD sign approaching the SR3 section of Isis Hwy at Apple Tree Creek, March 2006. Image © Paul Rands |
 |
Advance
Directional Sign: AD sign approaching Top Mines Rd and Torbanlea-Pialba Rd (Gympie St) at Torbanlea, June 2019. Click here for a photo of this location by Rob Tilley from December 2009. Image © Dean Sherry |
|
 |
Supplemental
Advance Directional Sign: Supplemental AD sign approaching the SR3 section of Isis Hwy at Apple Tree Creek, March 2006. Image © Paul Rands |
 |
Top Mines Road
& Torbanlea-Pialba Road: Bruce Hwy (A1) at the junction with Top Mines Rd and Torbanlea-Pialba Rd (Gympie St) at Torbanlea, December 2009. Image © Rob Tilley |
|
 |
Advance
Directional Sign: AD sign approaching the SR3 section of Isis Hwy at Apple Tree Creek, December 2009. Image © Rob Tilley |
 |
Distance Sign: Reassurance directional sign at Torbanlea, June 2019. Click here for a photo of this location by Rob Tilley from December 2009. Image © Dean Sherry |
|
 |
Supplemental
Advance Directional Sign: Supplemental AD sign approaching the SR3 section of Isis Hwy at Apple Tree Creek, December 2009. Image © Rob Tilley |
 |
Trailblazer: A1 and Pacific Coast Way trailblazer at Torbanlea, June 2019. Image © Dean Sherry |
|
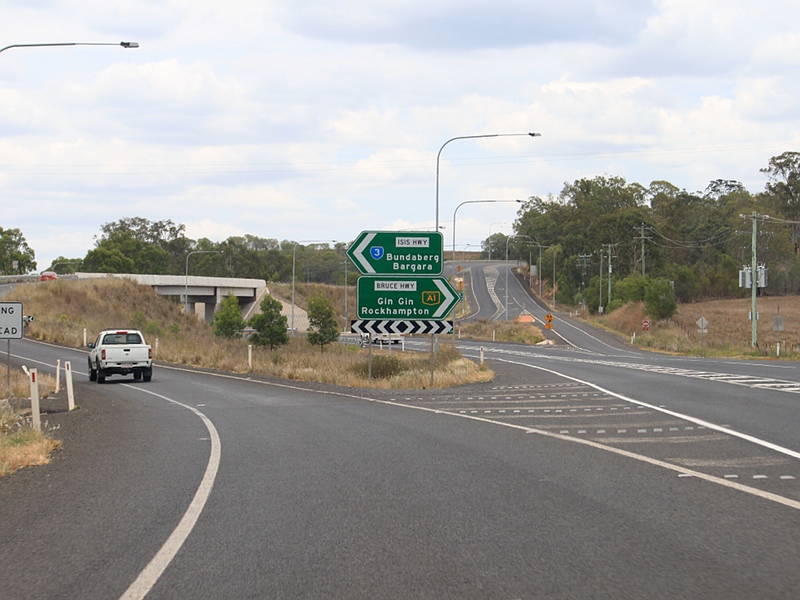 |
Isis Highway
Interchange: Bruce Hwy (A1) at the interchange with Isis Hwy (SR3) at Apple Tree Creek, December 2009. Image © Rob Tilley |
 |
Advance
Directional Sign: AD sign approaching Herrenberg St at Aldershot, December 2009. Image © Rob Tilley |
|
 |
Intersection
Directional Sign: ID sign at the junction with Herrenberg St at Aldershot, December 2009. Image © Rob Tilley |
|||
 |
Advance
Directional Sign: AD sign approaching Industrial Av in Maryborough West, December 2009. Image © Rob Tilley |
|||
 |
Advance
Directional Sign: Advance Directional Sign approaching Walker St at Maryborough West, June 2019. Click here for a photo of this location by Rob Tilley from December 2009. Image © Dean Sherry |
|||
 |
Walker Street
Interchange: Bruce Hwy (A1) at the interchange with Walker St at Maryborough West, June 2019. Click here for a photo of this location by Rob Tilley from December 2009. Image © Dean Sherry |
|||
 |
Advance
Directional Sign: AD sign approaching Alice St and Alma St, Maryborough, June 2019. Click here for a photo of this location by Rob Tilley from December 2009. Image © Dean Sherry |
|||
 |
Start Motorway
Sign: Start Motorway sign being used to indicate the beginning of a section of limited access road at Maryborough, December 2009. Image © Rob Tilley |
|||
 |
Reassurance Directional Sign: Distance sign at Maryborough, June 2019. Image © Dean Sherry |
|||
 |
Alice Street
& Alma Street interchange: Bruce Hwy (A1) at the interchange with Alice St and Alma St in Maryborough, June 2019. Click here for a photo of this location by Rob Tilley from December 2009. Image © Dean Sherry |
|||
 |
Alice Street
& Alma Street interchange: Bruce Hwy (A1) at the interchange with Alice St and Alma St in Maryborough, June 2019. Image © Dean Sherry |
|||
 |
RD sign: Distance sign as Bruce Hwy (A1) as it leaves Maryborough, December 2009. Image © Rob Tilley |
|||
| Click here for the
continuation of A1 between Gin Gin and Gladstone Click here for the continuation of A1 between Gympie and Maryborough |
||||
1
Department of Transport and Main Roads, The State Road Network of
Queensland, 30 June 2010
2 Bulldust, Beef & Beyond
3 Nambour Chronicle, 26 October 1934
4 Nambour Chronicle, 23 November 1934
5 Tyler Bullock
6 Department of Environment and
Heritage Protection, North Coast Roadside Rest Areas
7 Department of Transport and Main
Roads, Bruce Highway Upgrade Isis River Bridge, 15 February 2011
8 Department of Transport and Main
Roads, Bruce Highway - Cabbage Tree Creek to Carmans Road,
Project Overview, June 2013
9 Department of Transport and Main
Roads, Projects, Bruce Highway overtaking lane north of Howard
Last updated: 08-Jul-2020 10:01
This site © Paul Rands. All rights reserved. Some portions © (copyright) by their respective and credited owners. Permission must be obtained before using any images from this site. For details, please email by clicking here.