|
|
|
|
|
 |
Western Distributor, Victoria Road, James Ruse Drive, Cumberland Highway, Old Windsor Road, Hawkesbury Valley Way, East Market Street, March Street, Kurrajong Road, Bells Line of Road, Chifley Road, Eddy Street, Lithgow Street, Mort Street & Main Street (State Route 40) - Bilpin to Lithgow (Decommissioned) |
Statistics:
Route Numbering:
General Information:
State Route 40 is major route of New South Wales. The eastern section is an arterial road linking various western and inner western suburbs with Sydney's CBD. The western section is an alternative route over the Blue Mountains, connecting the state's west to Sydney.
The eastern part of the route has several features along it such as Iron Cove Bridge, Western Distributor (which is a series of viaducts connecting to several streets in the CBD of Sydney) and the Gladesville Bridge. Both the Western Distributor and Gladesville Bridge (and the associated Burns Bay Road (former SR21)) were to form part of the F3 Freeway from Sydney to the Hunter Region of NSW.
The western section of the route is quite windy and hilly once off the Cumberland Plain, as it crosses the Great Dividing Range. The line it follows dates back to the 1800s. The route passes through residential and commercial areas, as well as some rural and large tracts of forested areas.
The James Ruse Drive section of SR40 is named after the first landholder in the Parramatta area. 2
History:
| Bilpin to Lithgow | Lithgow to Bilpin | |||
| Preview: | Description: | Preview: | Description: | |
 |
Entering Berambing: Bells Line of Road as it enters the town of Berambing, December 2005. Image © Paul Rands |
 |
Supplemental Advance Directional Sign: Supplemental AD sign in Lithgow used to help motorists to negotiate a fairly complicated urban area, November 2010. Image © Rob Tilley |
|
 |
Distance Sign: Tourism based distance sign at Mount Tomah, west of Skyline Road and the botanic gardens, December 2005. Image © Paul Rands |
 |
Reassurance Directional Sign: DIstance sign in Lithgow town centre, November 2010. Image © Rob Tilley |
|
 |
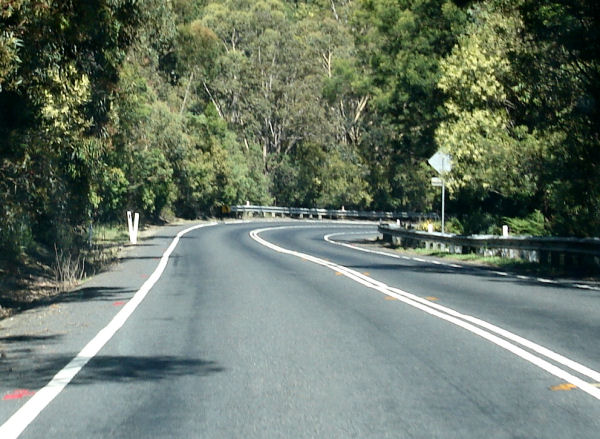
Mount Tomah: Bells Line of Road as it passes through the Mount Tomah area, December 2005. Image © Paul Rands |
 |
Advance DIrectional Sign: AD sign approaching the unnumbered section of Main St in Lithgow, November 2010. Image © Rob Tilley |
|
 |
Mount Tomah: Bells Line of Road as it passes through the Mount Tomah area, December 2005. Image © Paul Rands |
 |
Intersection Directional Sign: ID sign at the junction with Main St, Lithgow, November 2010. SR40 turns right at this junction. Image © Rob Tilley |
|
 |
Mount Tomah: Bells Line of Road as it passes through the Mount Tomah area, December 2005. Image © Paul Rands |
 |
Intersection DIrectional Sign: ID sign at the junction with Lithgow St in Lithgow, November 2010. SR40 turns left at this junction. Image © Rob Tilley |
|
 |
Mount Tomah: Bells Line of Road as it passes through the Mount Tomah area, December 2005. Image © Paul Rands |
 |
Corner of Mort & Eskbank Streets: Intersection directional signs at the signalised intersection near the community college in Lithgow, December 2005. Image © Paul Rands |
|
 |
Mount Charles: Bells Line of Road as it crosses Mt Charles, December 2005. Image © Paul Rands |
 |
Intersection Directional Sign: ID sign without route number near Mort St in Lithgow, November 2010. Image © Rob Tilley |
|
 |
Mount Banks: Bells Line of Road as it passes the entrance to the Mount Banks picnic area, December 2005. Image © Paul Rands |
 |
Distance Sign: RD sign at leaving Lithgow, November 2010. Image © Rob Tilley |
|
 |
Mount Banks: Bells Line of Road as it passes through the Mount Banks area, December 2005. Image © Paul Rands |
 |
Advance Directional Sign: AD sign for the Petra Av turn off to Zig Zag Railway, Clarence, November 2010. Image © Rob Tilley |
|
 |
Advance Directional Sign: AD sign at Mt Wilson approaching Mt Wilson Rd, December 2005. Image © Paul Rands |
 |
Distance Sign: RD sign at Clarence, November 2010. Image © Rob Tilley |
|
 |
Mount Wilson: Bells Line of Road as it passes through the Mount Wilson area, December 2005. Image © Paul Rands |
 |
Supplemental Advance Directional Sign: Supplemental AD sign for the Petra Av turn off to Zig Zag Railway, Clarence, November 2010. Image © Rob Tilley |
|
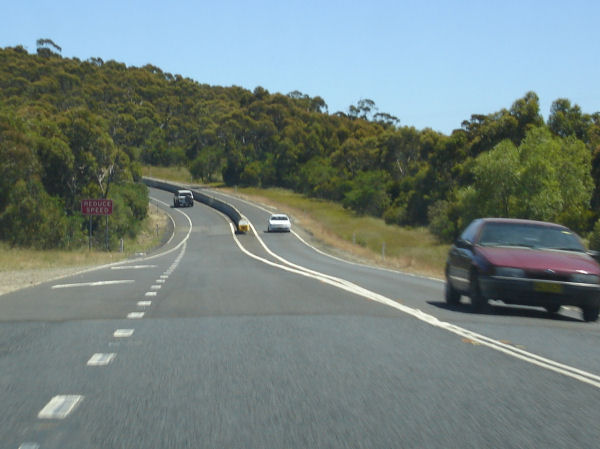 |
Bell Range: Approaching the divided section of Bells Line of Road (SR40), which was divided in the 1990s to reduce centre crossover crashes, December 2005. Image © Paul Rands |
 |
Advance Directional Sign: AD sign for the Petra Av turn off to Zig Zag Railway, Clarence, November 2010. Image © Rob Tilley |
|
 |
Bell Range: The divided section of Bells Line of Road (SR40), which was divided in the 1990s to reduce centre crossover crashes, December 2005. Image © Paul Rands |
 |
Petra Avenue: Corner of Bells Line of Road (SR40) and Petra Av in Clarence, November 2010. Image © Rob Tilley |
|
 |
Bell Range: The divided section of Bells Line of Road (SR40), which was divided in the 1990s to reduce centre crossover crashes, December 2005. Image © Paul Rands |
 |
Intersection Directional Sign: ID sign at the Petra Av junction in Clarence, November 2010. Note the inverted route shield. This sign has since been replaced. Image © Rob Tilley |
|
 |
Entering Bell: Bells Line of Road as it enters the town of Bell, which was once a semi-major service stop along the route, December 2005. Image © Paul Rands |
 |
Entering Bell: Bells Line of Road (SR40) entering the village of Bell, November 2010. Image © Rob Tilley |
|
 |
Bell: Bells Line of Road as it passes through the town of Bell, which was once a semi-major service stop along the route, December 2005. Image © Paul Rands |
 |
Advance Directional Sign: AD sign approaching Darling Causeway at Bell, November 2010. Image © Rob Tilley |
|
 |
Bell Heavy Vehicle Checking Station Sign: Bells Line of Road (SR40) approaching the Bell heavy vehicle checking station, December 2005. Image © Paul Rands |
 |
Intersection Directional Sign: ID sign at the Darling Causeway junction in Bell, November 2010. The old building in the background is a former Golden Fleece service station that closed in the early 1980s. Image © Rob Tilley |
|
 |
Bell Heavy Vehicle Checking Station Sign: Bells Line of Road (SR40) approaching the Bell heavy vehicle checking station, December 2005. Image © Paul Rands |
 |
Distance Sign: RD sign leaving Bell, November 2010. Image © Rob Tilley |
|
 |
Bell Heavy Vehicle Checking Station: Bells Line of Road (SR40) as it passes the Bell heavy vehicle checking station, December 2005. Image © Paul Rands |
 |
Tourism Distance Sign: Tourism based RD sign leaving Bell, November 2010. Image © Rob Tilley |
|
 |
Advance Directional Sign: AD sign on Bells Line of Road (SR40) at Bell approaching Darling Causeway, December 2005. This is where SR40 becomes Chifley Rd. Image © Paul Rands |
 |
Advance Directional Sign: AD sign approaching Mt Wilson Rd at Mt Wilson, November 2010. Image © Rob Tilley |
|
 |
Darling Causeway & Chifley Road: Bells Line of Road (SR40) at Bell at the junction with Darling Causeway, December 2005. This is where SR40 becomes Chifley Rd and veers right. Image © Paul Rands |
 |
Advance Directional Sign: AD sign approaching Mt Wilson Rd at Mt Wilson, November 2010. Image © Rob Tilley |
|
 |
Entering Dargan: Chifley Road (SR40) as it enters Dargan, December 2005. Note the old timber and wire safety fence. Image © Paul Rands |
 |
Intersection Directional Sign: ID sign at Mt Wilson Rd at Mt Wilson, November 2010. Image © Rob Tilley |
|
 |
Distance Sign: RD sign on Chifley Rd (SR40) at Dargan, December 2005. Image © Paul Rands |
 |
Distance Sign: RD sign at Mt Wilson, November 2010. Image © Rob Tilley |
|
 |
Main Western Railway: Chifley Rd (SR40) as it crosses the Main Western Railway at Dargan, December 2005. Image © Paul Rands |
 |
Intersection Directional sign: ID sign at Pierces Pass Rd, Mt Wilson, November 2010. Image © Rob Tilley |
|
 |
Supplemental Advance Directional Sign: Supplemental AD sign at Clarence approaching Old Bells Line of Road and Petra Av, December 2005. Image © Paul Rands |
 |
Intersection Directional sign: ID sign at Mt Banks Rd, Mt Wilson, November 2010. Image © Rob Tilley |
|
 |
Advance Directional Sign: AD sign at Clarence approaching Old Bells Line of Road, December 2005. Image © Paul Rands |
 |
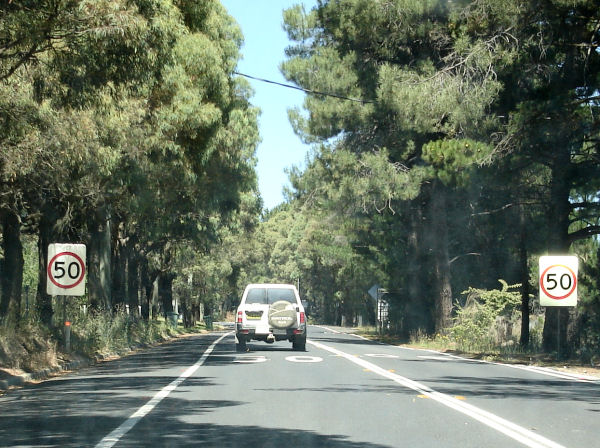
Mount Charles: Bells Line of Road as it crosses over Mt Charles, November 2010. Image © Rob Tilley |
|
 |
Petra Avenue & Old Bells Line of Road: Chifley Rd (SR40) at the Petra Av and Old Bells Line of Rd junction at Clarence, December 2005. Image © Paul Rands |
 |
Entering Mt Tomah: Bells Line of Road entering the Mt Tomah area, November 2010. Image © Rob Tilley |
|
 |
Clarence: Chifley Rd (SR40) as it passes through the Clarence area, December 2005. Image © Paul Rands |
 |
Advance Directional Sign: AD sign approaching Mt Tomah Botanic Garden, November 2010. Image © Rob Tilley |
|
 |
Clarence: Chifley Rd (SR40) as it passes through the Clarence area, December 2005. Image © Paul Rands |
 |
Distance Sign: RD sign at Mt Tomah, November 2010. Image © Rob Tilley |
|
 |
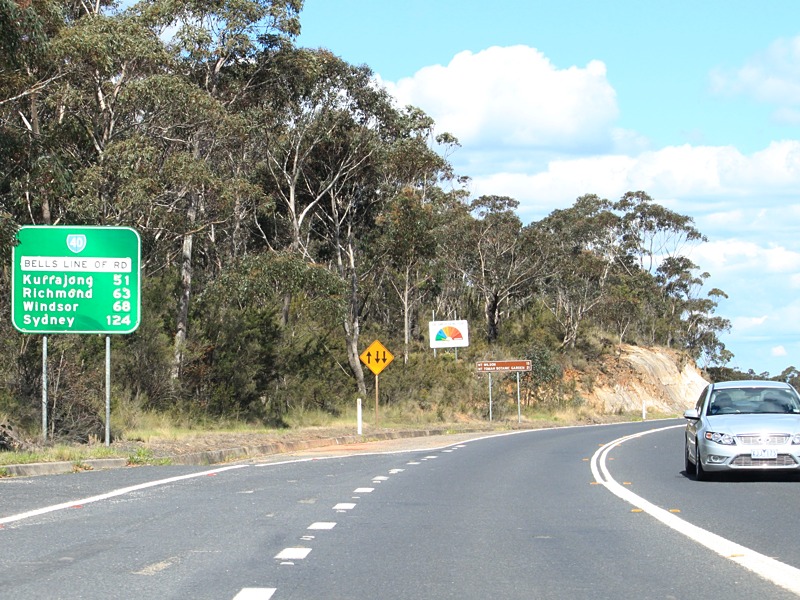
Distance Sign: Reassurance directional sign at Clarence, December 2005. Image © Paul Rands |
|||
 |
Scenic Hill: Chifley Rd (SR40) as it descends Scenic Hill at Clarence, December 2005. Image © Paul Rands |
|||
 |
Scenic Hill: Chifley Rd (SR40) as it descends Scenic Hill at Clarence, December 2005. Image © Paul Rands |
|||
 |
Scenic Hill: Chifley Rd (SR40) as it descends Scenic Hill at Clarence, December 2005. Image © Paul Rands |
|||
 |
Scenic Hill: Chifley Rd (SR40) as it descends Scenic Hill at Clarence, December 2005. Image © Paul Rands |
|||
 |
Scenic Hill: Chifley Rd (SR40) as it descends Scenic Hill at Clarence, December 2005. Image © Paul Rands |
|||
 |
Scenic Hill: Chifley Rd (SR40) as it descends Scenic Hill at Lithgow, December 2005. Image © Paul Rands |
|||
 |
Scenic Hill: Chifley Rd (SR40) as it descends Scenic Hill at Lithgow, December 2005. Image © Paul Rands |
|||
 |
Entering Lithgow: Chifley Rd (SR40) as it enters Lithgow, December 2005. Image © Paul Rands |
|||
 |
Entering Lithgow: Chifley Rd (SR40) as it enters Lithgow, December 2005. Image © Paul Rands |
|||
 |
Lithgow: Chifley Rd (SR40) as it passes through Lithgow, December 2005. Image © Paul Rands |
|||
 |
Mort Street: Eddy St (SR40) as it becomes Mort St (SR40) in Lithgow, December 2005. Image © Paul Rands |
|||
 |
Mort Street: Mort St (SR40) as it passes through Lithgow, bypassing the CBD, December 2005. Image © Paul Rands |
|||
 |
Lithgow Street: Mort St (SR40) at the Lithgow St junction in Lithgow, December 2005. SR40 turns right onto Lithgow St. Image © Paul Rands |
|||
 |
Black Intersection Directional Sign: Black ID sign at the corner of Main St and Lithgow St in Lithgow, December 2005. Image © Paul Rands |
|||
 |
Lithgow: Main St (SR40) as it passes through Lithgow, December 2005. Image © Paul Rands |
|||
 |
Lithgow: Main St (SR40) as it passes through Lithgow, December 2005. Image © Paul Rands |
|||
 |
End State Route 40: Western terminus of SR40, the junction with Great Western Hwy (NR32) and Caroline Av in Lithgow, December 2005. Image © Paul Rands |
|||
| Click here for the continuation of SR40 between Windsor and Bilpin | ||||
1 Roads & Traffic Authority, Schedule of Classified Roads and State & Regional Roads, 31 January 2011
2 Sam Laybutt (OzRoads)
3 Department of Main Roads, The Roadmakers, A History of Main Roads in New South Wales, ISBN 0 7240 0439 4
Last updated: 17-Dec-2019 0:55
This site © Paul Rands. All rights reserved. Some portions © (copyright) by their respective and credited owners. Permission must be obtained before using any images from this site. For details, please email by clicking here.