|
|
|
|
|
| Motorway Link & Pacific Highway (State Route 111) - Swansea To Charlestown (Decommissioned) |
Statistics:
Route Numbering:


General Information:
SR111 is the former route of National Route 1 through the Hunter region. The section south of Swansea was also briefly part of the National Highway system and signed as NH1. The Motorway Link section of SR111 between Wallarah and Doyalson is super 2 expressway standard with a grade separated interchange with Tooheys Road. The rest is mostly dual carriageway highway or urban arterial road standard (either divided or undivided).
The route passes through mostly suburbia, although there are some nature reserves scattered along the southern section of the route. The route is the main arterial through suburban Newcastle and its southern suburbs, connecting eventually with the NSW Central Coast at Doyalson.
The Pacific Hwy section of SR111 features the Swansea Bridge spanning the entrance to Lake Macquarie. More than 27,000 road vehicles use the bridge each day. The bridge opens about 2000 times each year, and around five to six times per day, allowing up to 4500 boats to pass through. The number of openings is significant when you compare Swansea Bridge to other similar opening bridges in NSW eg the Spit Bridge in Sydney opens eight times each day during the summer, allowing more than 100 boats per day to pass, and the Harwood Bridge north of Grafton opens around 200 times a year. 2
History:
Click here for the western section of the former alignment of the Pacific Highway in the Swansea area.
| Swansea to Charlestown | Charlestown to Swansea | |||
| Preview: | Description: | Preview: | Description: | |
 |
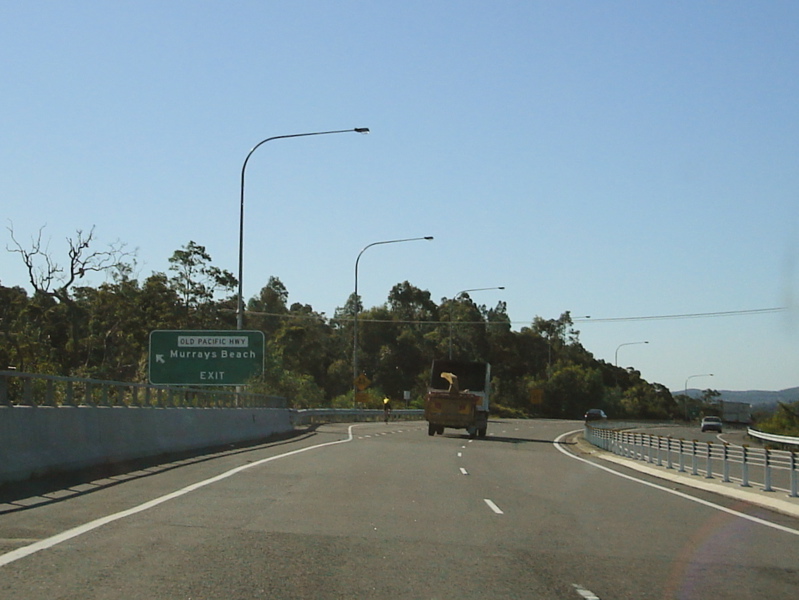
AD Sign: Northbound advance directional sign as you approach the Old Pacific Highway at Swansea. December 2006. Image © Paul Rands |
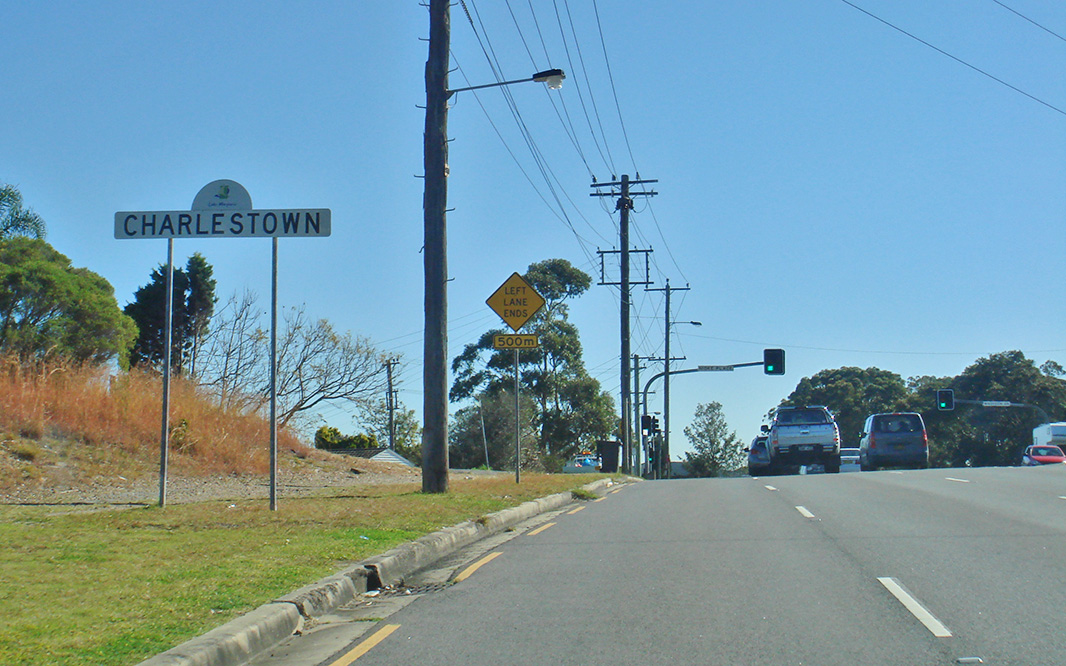 |
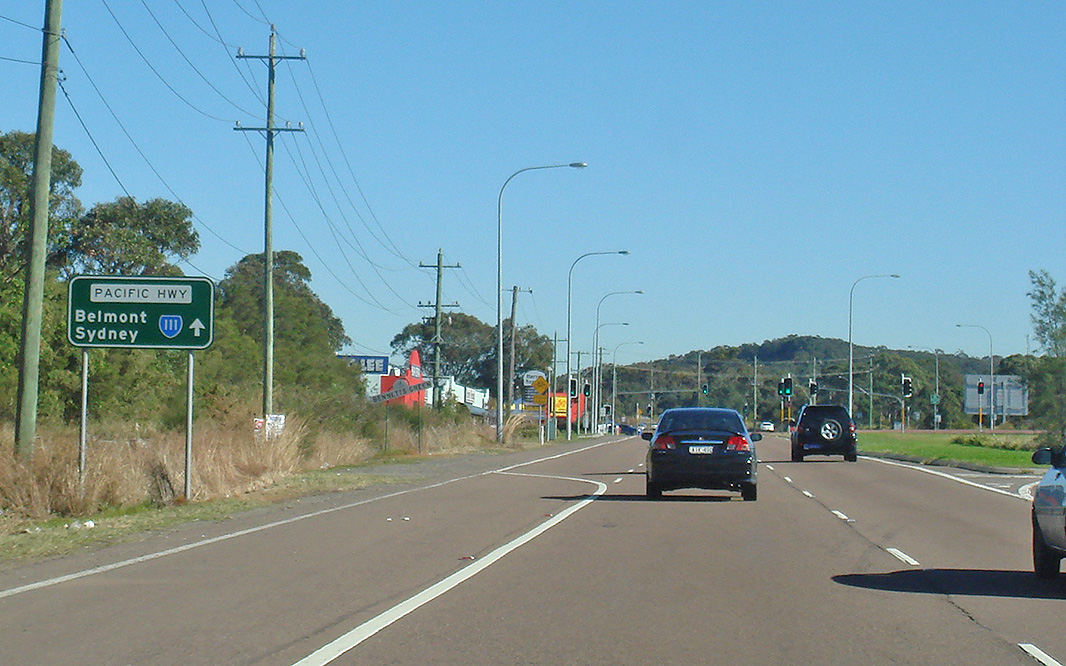
Charlestown: Pacific Hwy (SR111) as it enters the suburb of Charlestown, August 2011. Image © Paul Rands |
|
 |
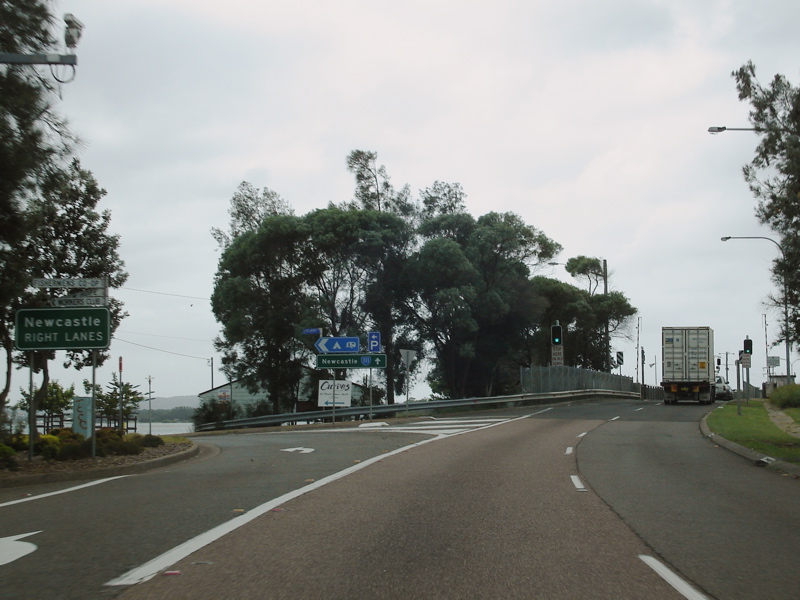
Old Pacific Hwy Interchange: Northbound through the interchange for Old Pacific Hwy at Swansea. May 2007. Image © Paul Rands |
 |
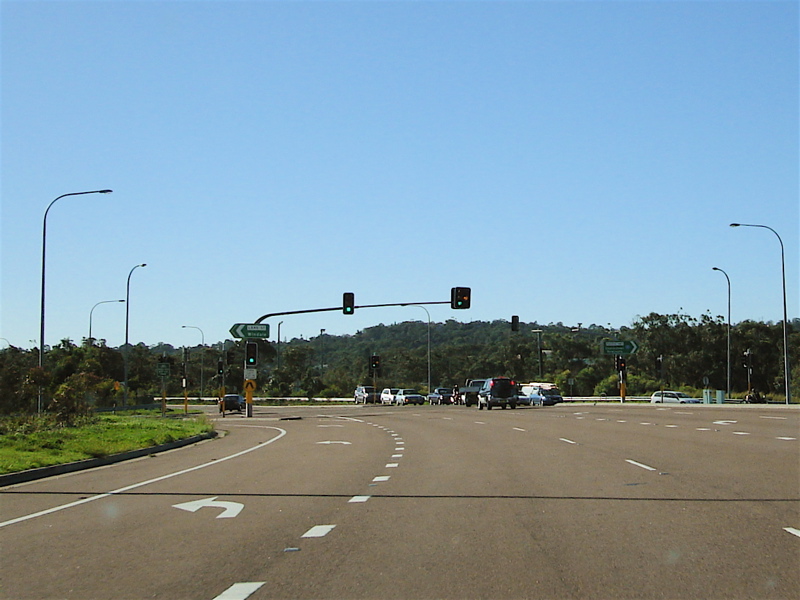
Advance Directional Sign: AD sign at Charlestown approaching Smith St and Charlestown Rd (SR123), August 2011. Image © Paul Rands |
|
 |
Distance Sign: Northbound RD sign as you approach Swansea. December 2006. Image © Paul Rands |
 |
Advance Directional Sign: AD sign at Charlestown approaching Charlestown Rd (SR123), August 2011. Image © Paul Rands |
|
 |
AD Sign: Advance directional sign as you approach the roundabout with Old Pacific Hwy and Bowman St in Swansea, December 2006. Image © Paul Rands |
 |
Smith Street: Corner of Pacific Hwy (SR111) and Smith St, Charlestown, August 2011. Image © Paul Rands |
|
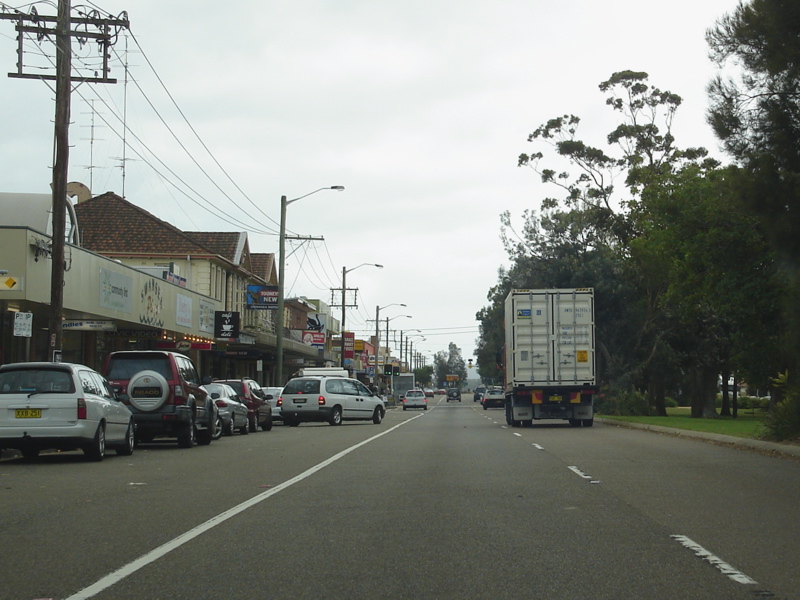 |
Swansea CBD: Northbound as you travel through the Swansea town centre, December 2006. Image © Paul Rands |
 |
Charlestown Road: Corner of Pacific Hwy (SR111) and Charlestown Rd (SR123), Charlestown, August 2011. Image © Paul Rands |
|
 |
Opening Bridge Warning Lights & Sign: Northbound at Swansea, approaching the opening bridge over the Swansea Channel. December 2006. Image © Paul Rands |
 |
Charlestown: Pacific Hwy (SR111) passing through the suburb of Charlestown, August 2011. Image © Paul Rands |
|
 |
Swansea Bridge Approach: Northbound approaching the Swansea Bridge near Belmont Street in Swansea, December 2006. Image © Paul Rands |
 |
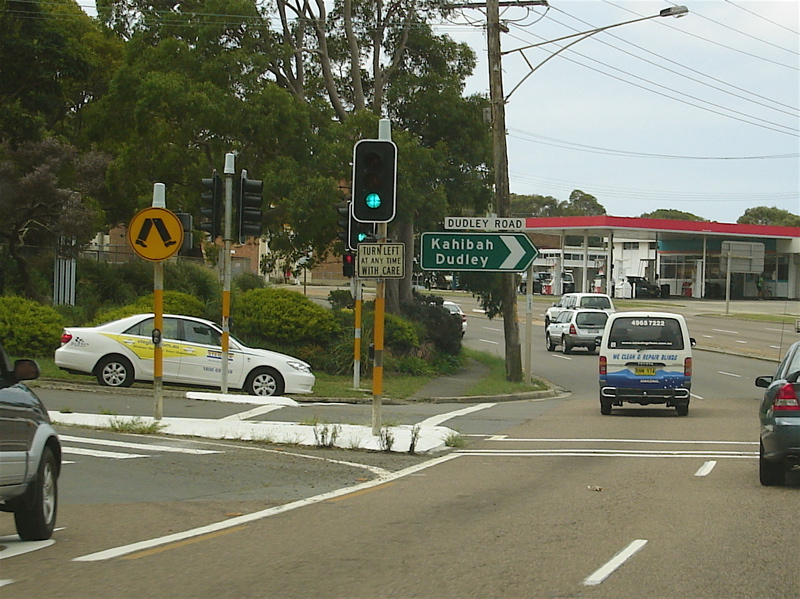
Advance Directional Sign: AD sign approaching Dudley Rd at Charlestown, August 2011. Image © Paul Rands |
|
 |
Opening Span On Swansea Bridge: Northbound crossing the Swansea Channel at the opening span of the Swansea Bridge, December 2006. Image © Paul Rands |
 |
Dudley Road: Corner of Pacific Hwy (SR111) and Dudley Rd at Charlestown, August 2011. Image © Paul Rands |
|
 |
Typical Conditions: This scene is pretty much unchanged from what it would've been in the 1980s here at Little Pelican. Northbound, December 2006. Image © Paul Rands |
 |
Dudley Road: Corner of Pacific Hwy (SR111) and Dudley Rd at Charlestown, August 2011. Image © Paul Rands |
|
 |
Belmont CBD: Northbound through Belmont at the George and High Streets intersection. The AD sign in the distance is for Macquarie Street (SR131), December 2006. Image © Paul Rands |
 |
Advance Directional Sign: AD sign at Charlestown approaching Warners Bay Rd, August 2011. Image © Paul Rands |
|
 |
Macquarie St Intersection: Northbound in Belmont at the intersection with SR131, December 2006. Image © Paul Rands |
 |
Warners Bay Road: Corner of Pacific Hwy (SR111) and Warners Bay Rd at Charlestown, August 2011. Image © Paul Rands |
|
 |
Distance Sign: Northbound RD sign approaching the Maude St intersection at Belmont, December 2006. Image © Paul Rands |
 |
Reassurance Directional Sign: Distance sign at Charlestown, August 2011. Image © Paul Rands |
|
 |
Advance Directional Sign: AD sign for the Wommara Av intersection, northbound at Belmont North. May 2007. Image © Paul Rands |
 |
Advance Directional Sign: AD sign at Gateshead approaching Lake St, August 2011. Image © Paul Rands |
|
 |
Distance Sign: Northbound RD sign as you head up the hill at Belmont North, December 2006. Image © Paul Rands |
 |
Reassurance Directional Sign: Distance sign at Gateshead, August 2011. Image © Paul Rands |
|
 |
Entering Jewells: Northbound near Dalrymple Av, with the Pacific Ocean in the background. December 2006. Image © Paul Rands |
 |
Advance Directional Sign: AD sign at Gateshead approaching Lake St, August 2011. Image © Paul Rands |
|
 |
South Street Bennetts Green: Northbound through the intersection with South Street in Bennetts Green. May 2007. Image © Paul Rands |
 |
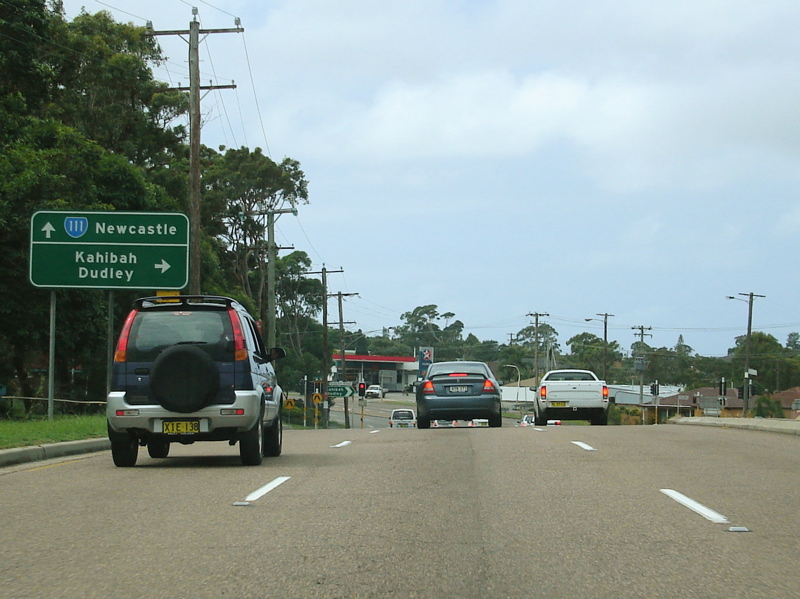
Advance Directional Sign: AD sign for Newcastle Inner City Bypass (SR123) at Bennetts Green on the slip lane onto Lake St, August 2011. Image © Paul Rands |
|
 |
AD Sign: Large diagrammatic advance directional sign approaching the intersection with Lake Road and State Highway 23, the Newcastle Inner City Bypass (SR123), a project that was once destined to be part of the old F3 alignment, December 2006. Image © Paul Rands |
 |
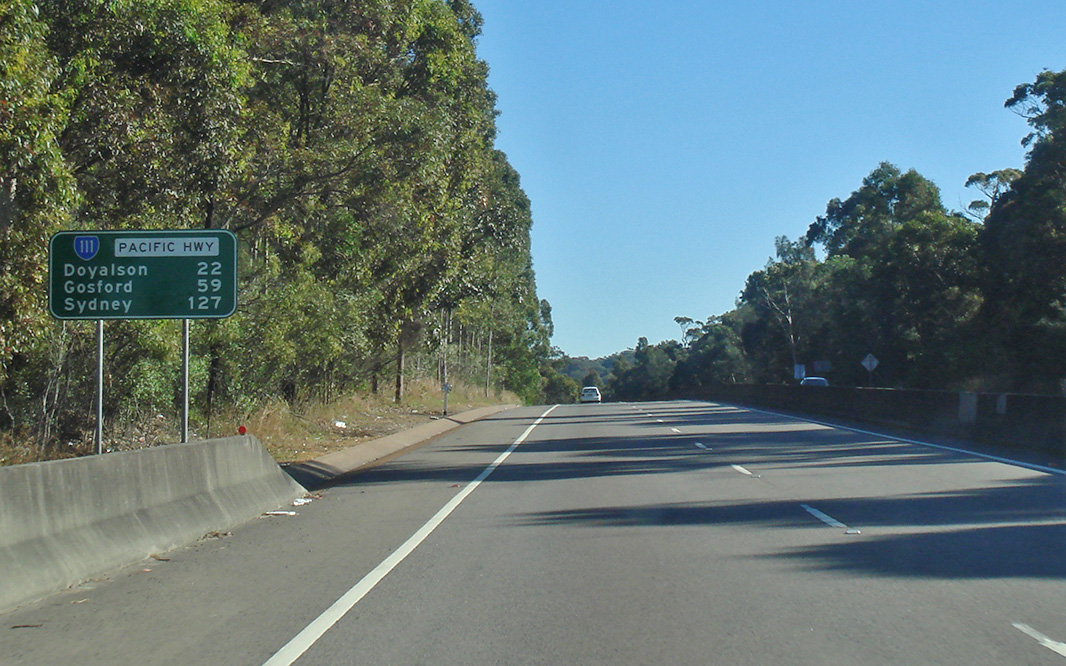
Reassurance Directional Sign: Distance sign at Bennetts Green, August 2011. Image © Paul Rands |
|
 |
Lake Road / Pacific Highway / Newcastle Inner City Bypass Junction: The intersection with Lake Road and State Highway 23, the Newcastle Inner City Bypass (SR123) at Bennetts Green, May 2007. Image © Paul Rands |
 |
Jewells: Pacific Hwy (SR111) as it enters the suburb of Jewells, August 2011. Image © Paul Rands |
|
 |
Warners Bay Rd Approach: Northbound at Charlestown approaching the Warners Bay Rd intersection. December 2006. Image © Paul Rands |
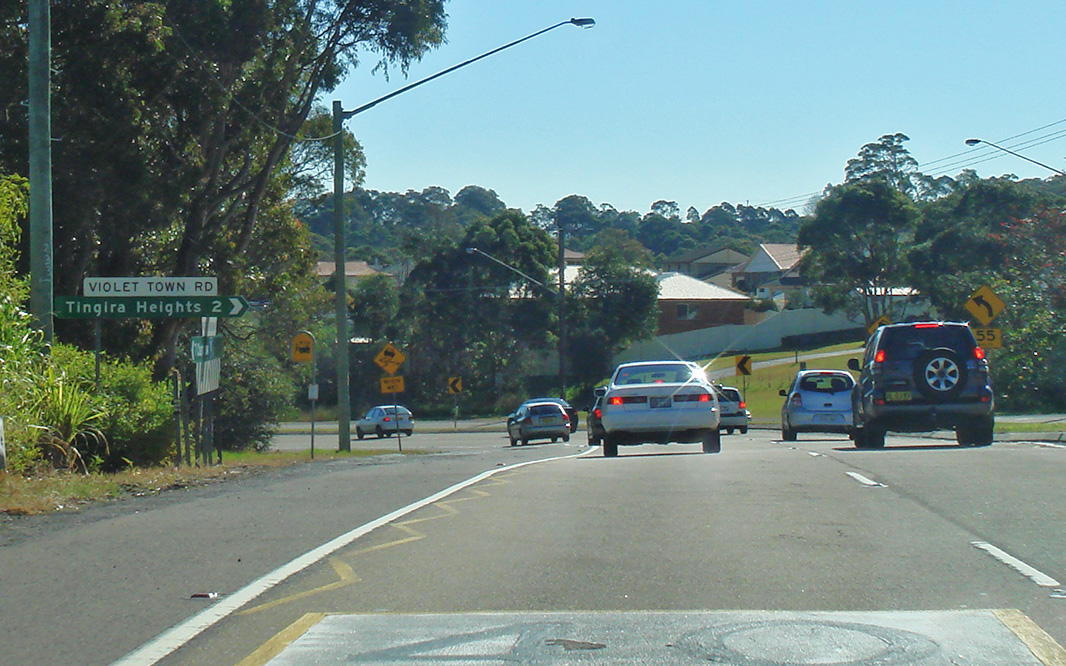 |
Violet Town Road: Corner of Pacific Hwy (SR111) and Violet Town Rd at Belmont North, August 2011. Image © Paul Rands |
|
 |
Advance Directional Sign: AD sign on the northbound carriageway of the Pacific Hwy as you approach Dudley Rd at Charlestown, December 2006. Image © Paul Rands |
 |
Advance Directional Sign: AD sign at Belmont North approaching Wommara Av, August 2011. Image © Paul Rands |
|
 |
Old Turn Left Anytime With Care Sign: Travelling on the northbound carriageway of the Pacific Hwy at the Dudley Rd junction at Charlestown is this old style Turn Left Anytime With Care Sign. This style was phased out either in the 70s or 80s, December 2006. Image © Paul Rands |
 |
Wommara Avenue: Corner of Pacific Hwy (SR111) and Wommara Av, Belmont North, August 2011. Image © Paul Rands |
|
 |
Variable Message Advance Directional Sign: Northbound AD sign with adjustable lane allocation arrows in the Charlestown CBD approaching the intersection with Charlestown Rd (former SR123, the signs here are remnants), December 2006. Image © Paul Rands |
 |
Reassurance Directional Sign: Distance sign at Belmont North, August 2011. Image © Paul Rands |
|
 |
Charlestown Road / Pacific Highway Split: The split between Charlestown Rd and Pacific Hwy at Charlestown, December 2006. Image © Paul Rands |
 |
Advance Directional Sign: AD sign at Belmont approaching Evans St, August 2011. Image © Paul Rands |
|
 |
Advance Directional Sign: AD sign on Charlestown Rd (SR123) approaching Pacific Hwy (SR111) at Charlestown, November 2010. Image © Rob Tilley |
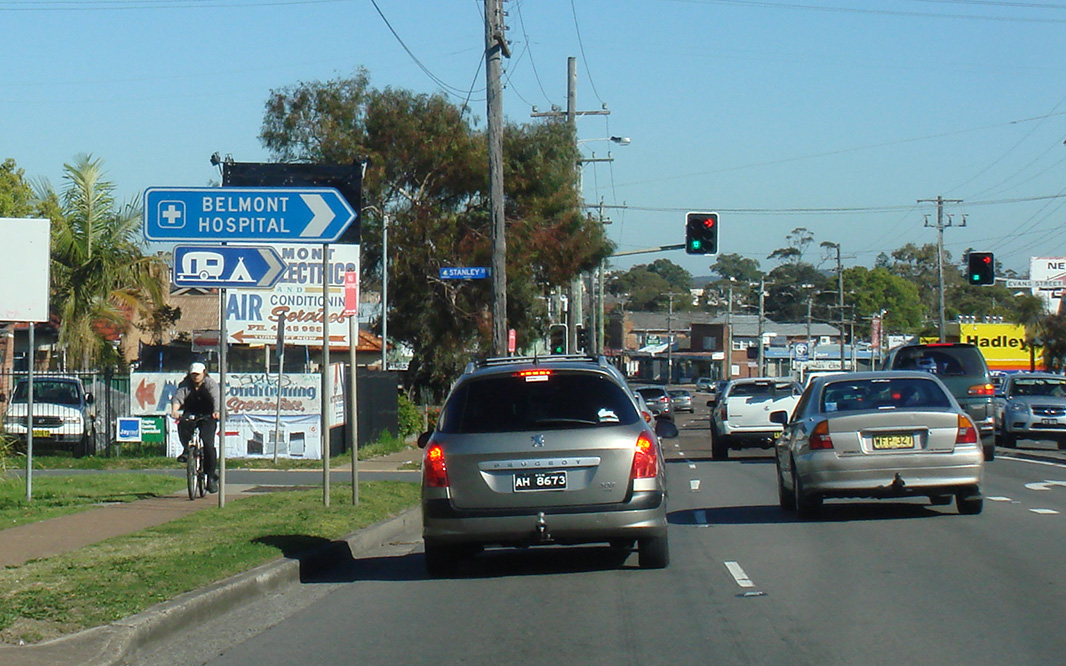 |
Evans Street: Corner of Pacific Hwy (SR111) and Evans St, Belmont, August 2011. Image © Paul Rands |
|
 |
Distance Sign: Northbound RD sign after the Charlestown Rd junction at Charlestown, December 2006. Image © Paul Rands |
 |
Reassurance Directional Sign: Distance sign at Belmont, August 2011. Image © Paul Rands |
|
 |
Marks Point: Pacific Hwy (SR111) as it enters the suburb of Marks Point, August 2011. Image © Paul Rands |
|||
 |
Blacksmiths: Pacific Hwy (SR111) as it enters the suburb of Blacksmiths, August 2011. Image © Paul Rands |
|||
 |
Gommera Street & Turea Street: Corner of Pacific Hwy (SR111), Gommera St and Turea St, Blacksmiths, August 2011. Image © Paul Rands |
|||
 |
Swansea: Pacific Hwy (SR111) as it enters the suburb of Swansea, August 2011. Image © Paul Rands |
|||
 |
Flashing Opening Bridge Sign: Flashing opening bridge sign with upsidedown warning triangle approaching Swansea Bridge over Swansea Channel between Lake Macquarie and the Pacific Ocean at Swansea, August 2011. Image © Paul Rands |
|||
 |
Flashing Opening Bridge Sign: Flashing opening bridge sign with upsidedown warning triangle approaching Swansea Bridge over Swansea Channel between Lake Macquarie and the Pacific Ocean at Swansea, August 2011. Image © Paul Rands |
|||
 |
Swansea Bridge: Pacific Hwy (SR111) as it crosses Swansea Channel between Lake Macquarie and the Pacific Ocean via Swansea Bridge at Swansea, August 2011. Image © Paul Rands |
|||
 |
Advance Directional Sign: AD sign at Swansea approaching the roundabout with Bowman St and Old Pacific Hwy, August 2011. Image © Paul Rands |
|||
 |
Intersection Directional Sign: ID sign on the roundabout with Bowman St and Old Pacific Hwy at Swansea, August 2011. Image © Paul Rands |
|||
 |
Intersection Directional Sign: ID sign on the roundabout with Bowman St and Old Pacific Hwy at Swansea, August 2011. Image © Paul Rands |
|||
 |
Reassurance Directional Sign: Distance sign at Swansea, August 2011. Image © Paul Rands |
|||
| Click here for the continuation of SR111 between Charlestown and Hexham Click here for the continuation of SR111 between Swansea and Wallarah |
||||
1 Newcastle City Council
2 Roads & Traffic Authority
3 Dept of Main Roads, Annual Report, 1956, p 62
4 Wyong Shire, Celebrating 60 Years publication, 2007
Last updated: 12-Sep-2020 16:17
This site © Paul Rands. All rights reserved. Some portions © (copyright) by their respective and credited owners. Permission must be obtained before using any images from this site. For details, please email by clicking here.