|
|
|
|
|
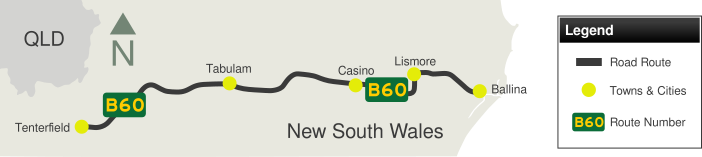
| B60 | Bruxner Highway (B60) |
Statistics:
Route Numbering:

General Information:
The Bruxner Highway is named after Michael Bruxner, member for Northern Tablelands and Tenterfield from 1920 to 1962, leader of the New South Wales Country Party for almost all that period and Deputy Premier and Minister for Transport from 1932 to 1941. Mr Bruxner grew up in the Tenterfield area.
The Bruxner Highway is the State's most northerly highway from the coast to the interior plains.
The western section from Tenterfield to Boggabilla was never officially signposted as NR44 as planned, as the route was never fully sealed at the western end, however this section is now fully sealed. Despite now being fully sealed west of Tenterfield, the route of what is now Bruxner Way, did not receive a route number, when alphanumeric routes were setup.
Multiplexes along the route include:
History:
The information outlined below covers both the eastern Bruxner Hwy (B60) and the unnumbered Bruxner Way, west of Tenterfield.
The Bruxner Highway west of Tenterfield developed as virtually a separate road from the Ballina-Tenterfield road to the east. However, like the latter, it did not evolve as a single, complete entity, but by a slow process of joining up lengths of different roads into the route of the highway as it is today. 2
Unlike the districts nearer the coast which required good roads for the transportation of the wool clip and attracted many settlers, the western areas remained backward by comparison. The great distances involved in taking wool or farming produce to market set somewhat of a limitation on the distance at which this was profitable. Although some sheep runs were established in the Ashford district and on the lower Macintyre, it became more economical to run cattle which were then driven overland to markets in Brisbane, Maitland and Sydney. The distances were not prohibitive as long as adequate feed and water could be obtained along the way. 2
The first road to the west of Tenterfield appears to be the one included on a map prepared by the Surveyor General's Office for the Post Office Department in 1858. It follows a gradual curving arc from Tenterfield to Ashford and thence to the south. It is likely that from a very early period this road was used to transport the wool clip from the Ashford district which, during the 1850s and 1860s, was the focal point for all the neighbouring stations from as far away as Texas. 2
Bonshaw, and quite likely Texas, had established tracks to Ashford by 1851, as indicated by a map of the Ashford district by Surveyor Galloway. Maidenhead and Mingoola Stations, which in the early days had established headquarters on the Queensland side of the Dumaresq, were quite likely to have been linked by a track which joined the Bonshaw-Ashford track. 2
It is not known exactly when the track from Tenterfield to Mingoola was formed or who formed it, although it is quite likely that since Tenterfield, Clifton and Mingoola Stations were all taken up by S.A. Donaldson and R.R. Mackenzie, they would have played a part in its early development. In 1878 the Government provided 750 pounds for expenditure on the road from "Tenterfield towards Bonshaw" giving the road a rather high Class 3 status (The leading thoroughfares for country districts. Initially the earth or gravel pavement without foundations was favoured. However, by 1878 the roads in this classification had been upgraded to the level of the macadam pavement.) and recording the length of the road as 50 miles. The considerable expense of the road can be attributed to the labour intensive process of breaking up granite blocks to the required size and the cartage of water that was necessary for the cementing action that takes place with the macadam pavement. Granite, while durable and resistant to weathering, was not widely used for this purpose as it is brittle and when crushed does not form shapes that are ideal for mechanical interlock. 2
The Tenterfield-Bonshaw Road carried a small amount of traffic and received little government assistance after completion. Funding for roads came from the government in Sydney up until 1906, with local contributions where possible, which was then distributed by the regional municipal body. It appears likely that the road was constructed to reinvigorate the area, with a view to the arrival of the railway at Tenterfield in 1886, by providing a durable transport route to shift produce to the railhead. However, it was many years before the road came to be used on a regular basis. A plan from 1897 gives a detailed recording of the road reserve and the immediate surrounds. The section of road still existing runs from just south of the bridge marked on the plan to the western boundary shown. 2
Texas and Bonshaw were on the main road to Ashford, the road consisting only of a track. This was one of the main stock routes from the Darling Downs but it is probable that a large amount of traffic went from New South Wales via Texas to Warwick and Brisbane. 2
The present route of the Bruxner Highway closely follows the formation as it existed in the 1880s although it has been reconstructed and realigned in many places to satisfy modern traffic requirements. 2
| West Ballina to Tenterfield | Tenterfield to West Ballina | |||
| Preview: | Description: | Preview: | Description: | |
 |
Intersection
Directional Sign: ID sign at the junction with Pacific Hwy (A1) at Uralba, September 2013. Due to upgrade works, this sign is no longer in place. Image © Peter Renshaw |
 |
Intersection
Directional Sign: ID sign at the corner of High St and New England Hwy (A15) in Tenterfield town centre, September 2013. Image © Peter Renshaw |
|
 |
Reassurance
Directional Sign: Distance sign at Uralba, April 2019. Image © Dean Sherry |
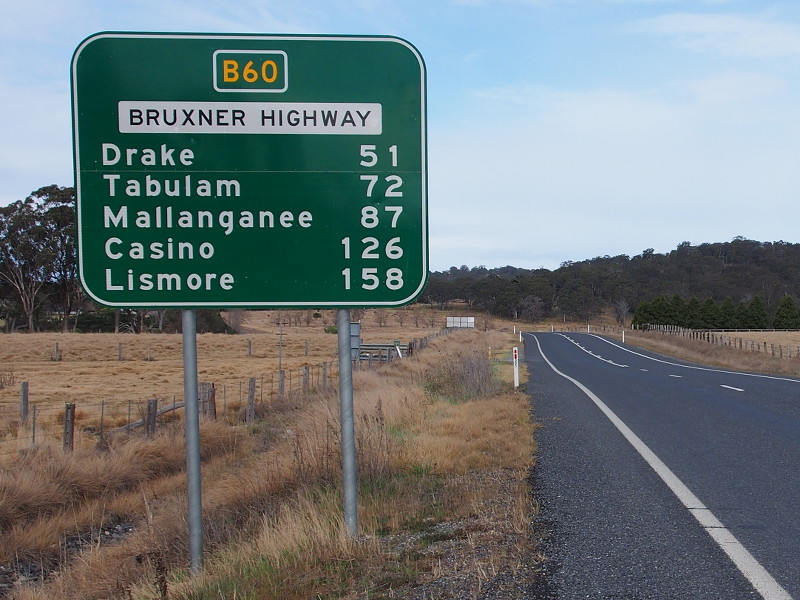 |
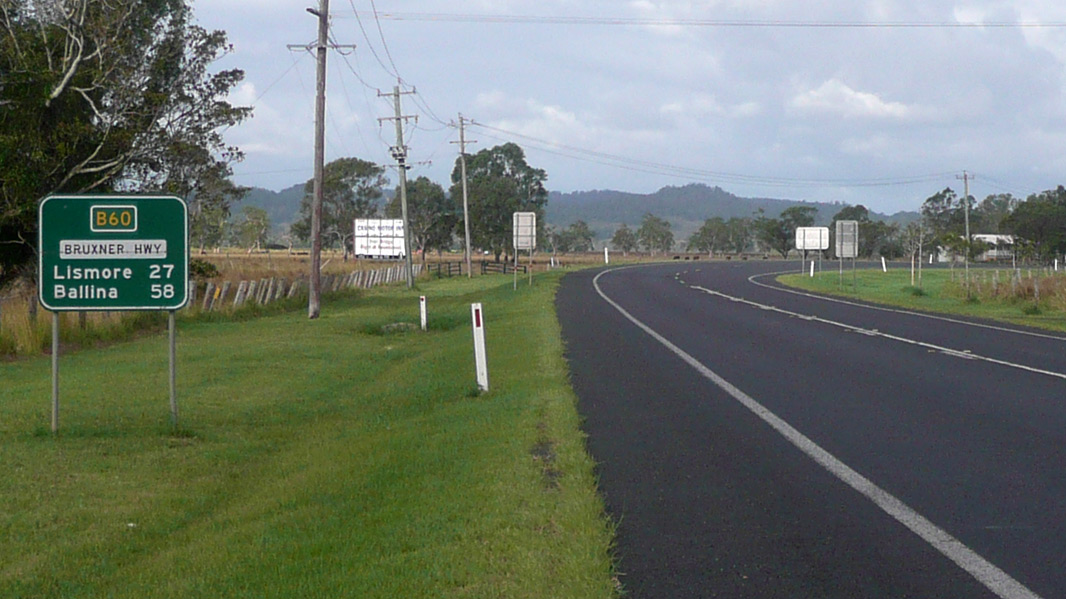
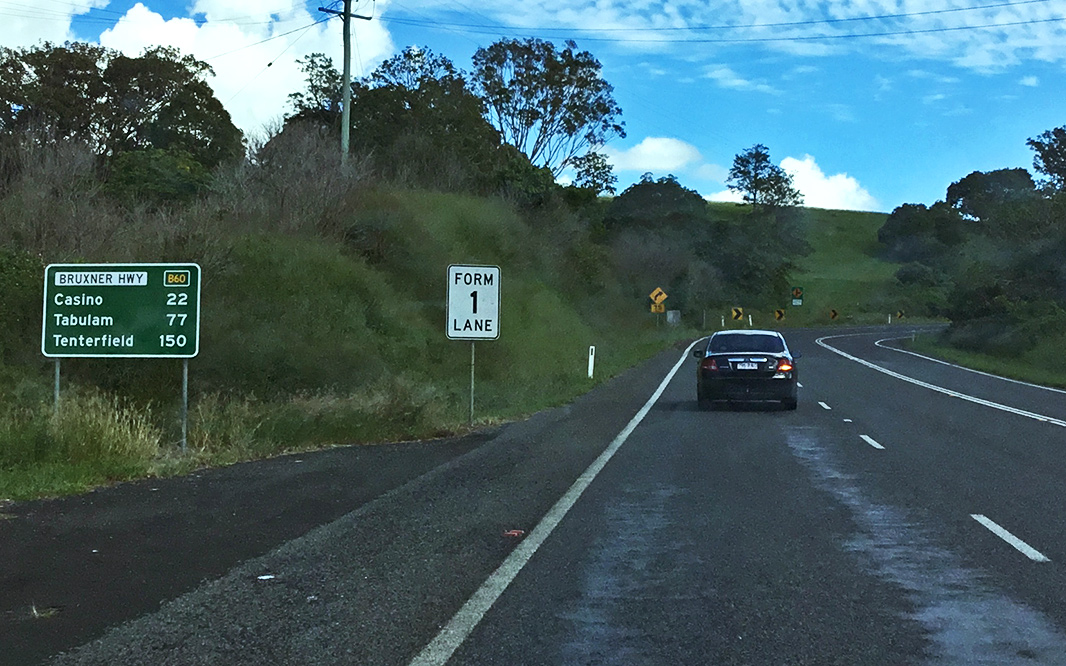
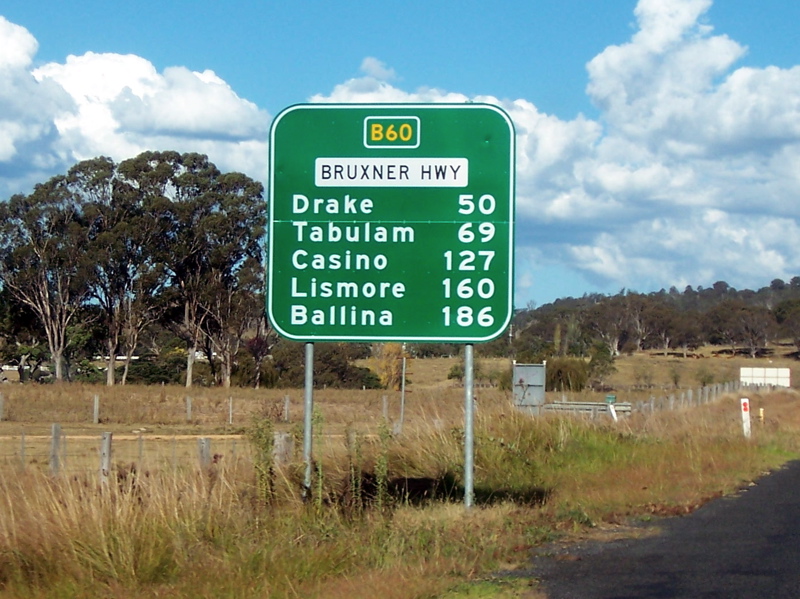
Distance
Sign: Reassurance directional sign as Bruxner Hwy (B60) leaves Tenterfield, September 2013. Click here for a photo by Michael Gill of the previous distance sign from April 2007. Image © Peter Renshaw |
|
 |
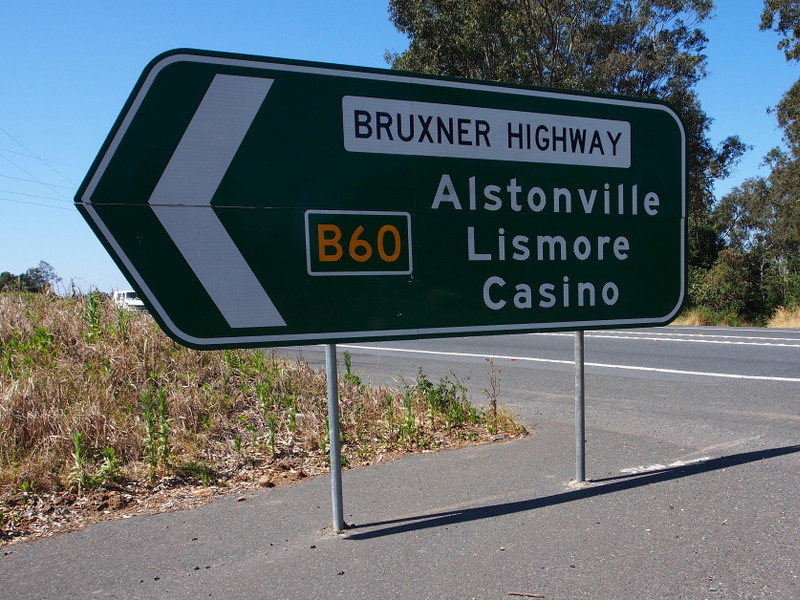
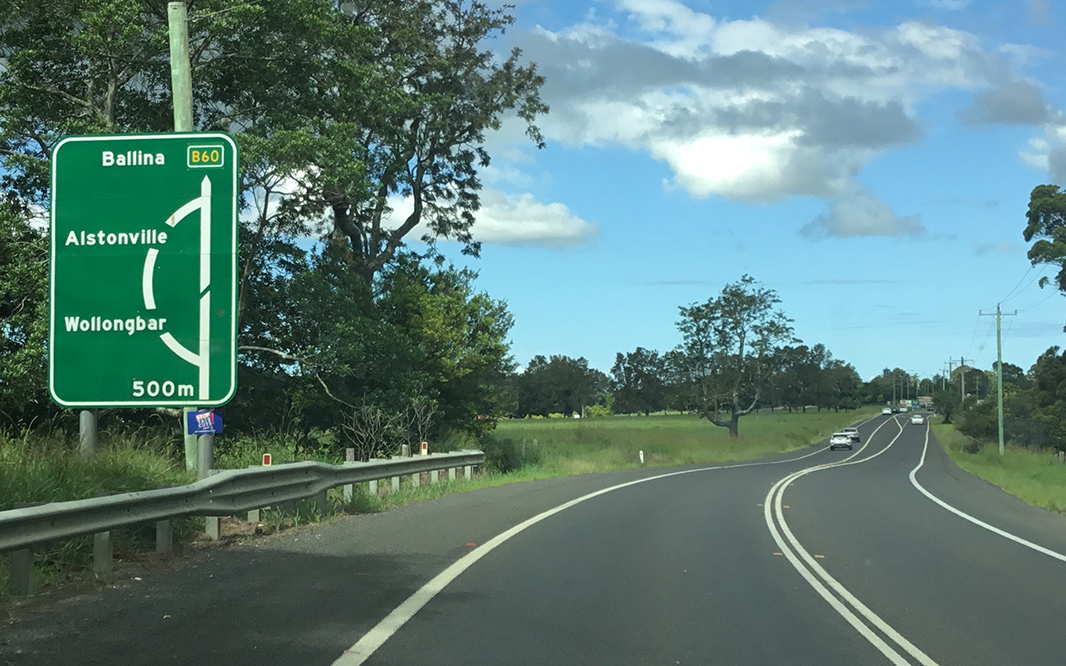
Bypassed
Town Sign: Bypassed town advance directional sign at Alstonville approaching Ballina Rd (former Bruxner Hwy), April 2019. Image © Dean Sherry |
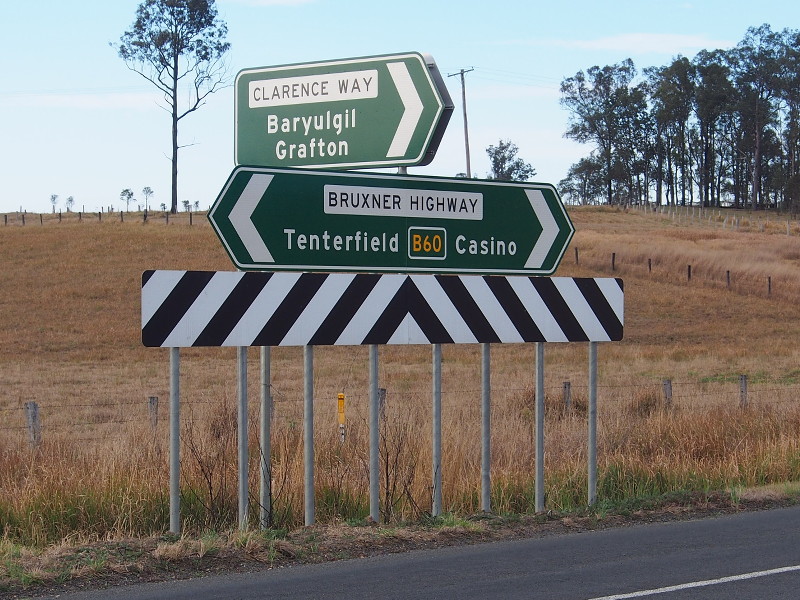 |
Intersection
Directional Sign: ID sign at Clarence Way, Tabulam, September 2013. Image © Peter Renshaw |
|
 |
Ballina
Road: AD sign approaching Ballina Rd at Alstonville, April 2019. Image © Dean Sherry |
 |
Intersection
Directional Sign: ID sign at Taylors Ln, Woodview, September 2013. Image © Peter Renshaw |
|
 |
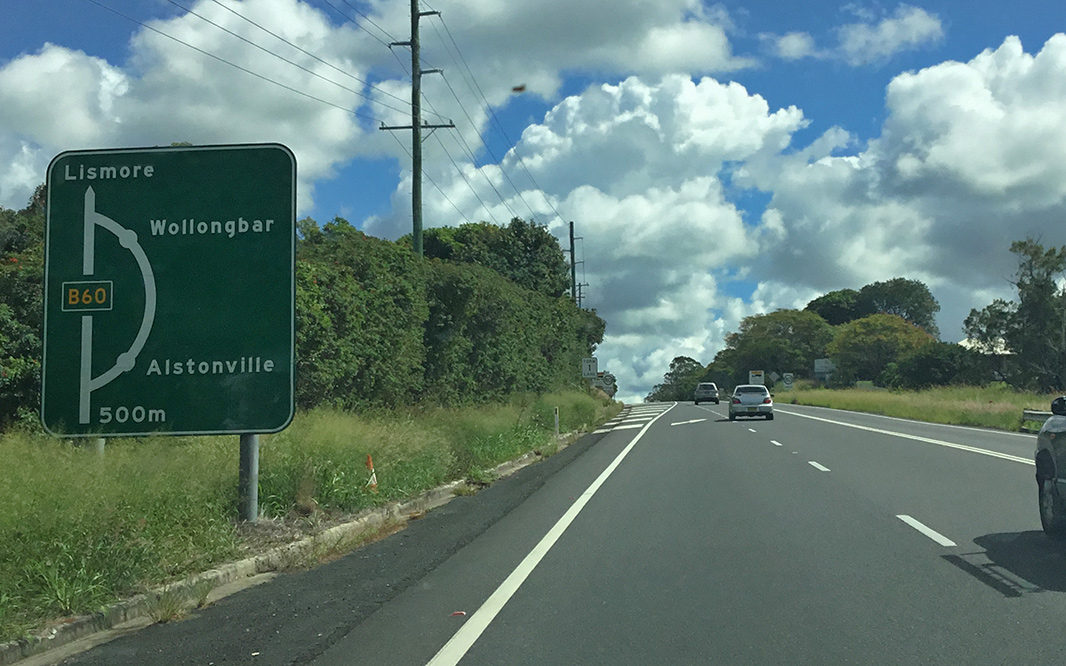
Advance
Directional Sign: AD sign on Kays Ln in Alstonville approaching the Bruxner Hwy (B60) interchange, September 2013. Image © Peter Renshaw |
 |
Advance
Directional Sign: AD sign approaching Hare St and Summerland Way (B91) at Casino, September 2013. Image © Peter Renshaw |
|
 |
reassurance
Directional Sign: Distance sign at Alstonville, April 2019. Image © Dean Sherry |
 |
Intersection
Directional Sign: ID sign in Casino at the Summerland Way (B91) junction, September 2013. Image © Peter Renshaw |
|
 |
Advance
Directional Sign: AD sign at Lindendale approaching Alphadale Rd & Cowlong Rd, April 2019. Image © Dean Sherry |
 |
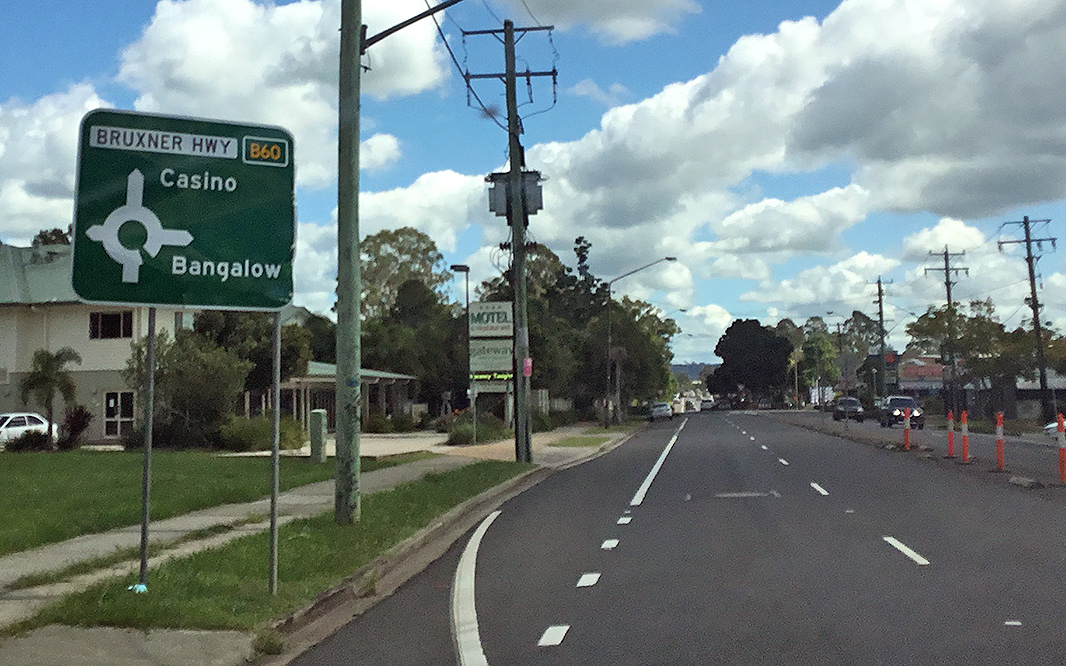
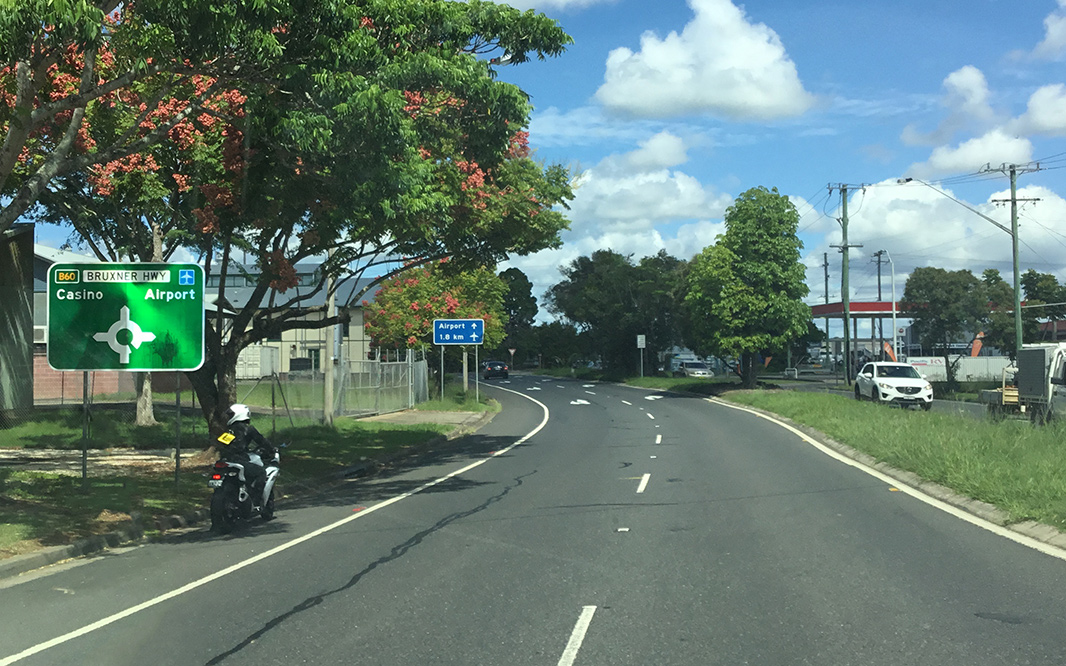
Advance
Directional Sign: AD sign on Summerland Way (B91) approaching Bruxner Hwy (B60), September 2013. B91 should be shown on the right leg of the roundabout diagram. Image © Peter Renshaw |
|
|
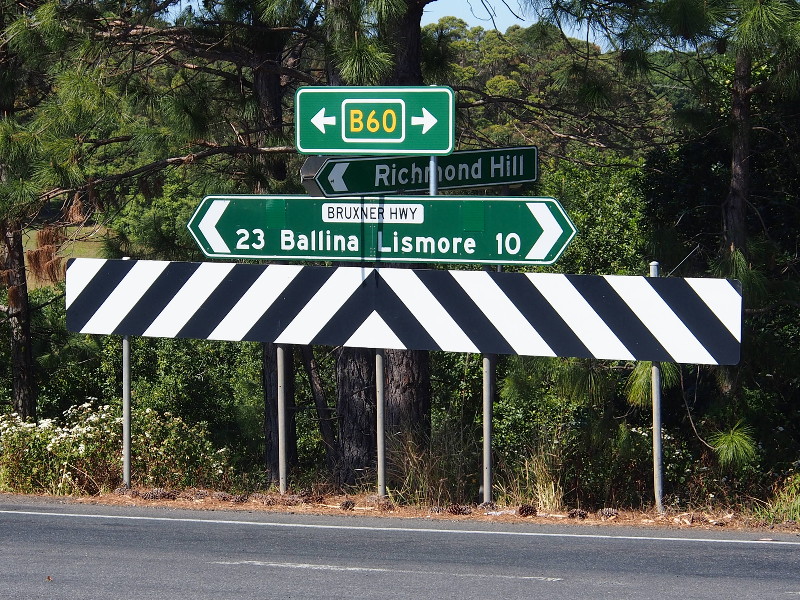
Intersection
Directional Sign: ID sign assembly at the corner of Bruxner Hwy (B60), Conroy St and Wyrallah Rd at Lismore, April 2019. Image © Dean Sherry |
 |
Intersection
Directional Sign: ID sign at the roundabout with Summerland Way (B91) at Casino, April 2019. Image © Dean Sherry |
|
 |
Intersection
Directional Sign: ID sign assembly at the corner of Bruxner Hwy (B60), Conroy St and Wyrallah Rd at Lismore, April 2019. Image © Dean Sherry |
 |
Intersection
Directional Sign: ID sign at the corner of Bruxner Hwy (B60) (Johnston St), East St and Spring Grove Rd at Casino, April 2019. Image © Dean Sherry |
|
 |
Intersection
Directional Sign: ID sign assembly at the corner of Bruxner Hwy (B60), Conroy St and Wyrallah Rd at Lismore, April 2019. Image © Dean Sherry |
 |
Reassurance
Directional Sign: Distance sign at Casino, March 2014. Image © Michael Greenslade |
|
 |
Advance
Directional Sign: AD sign at Lismore approaching Dawson St (B62 and unnumbered), April 2019. Image © Dean Sherry |
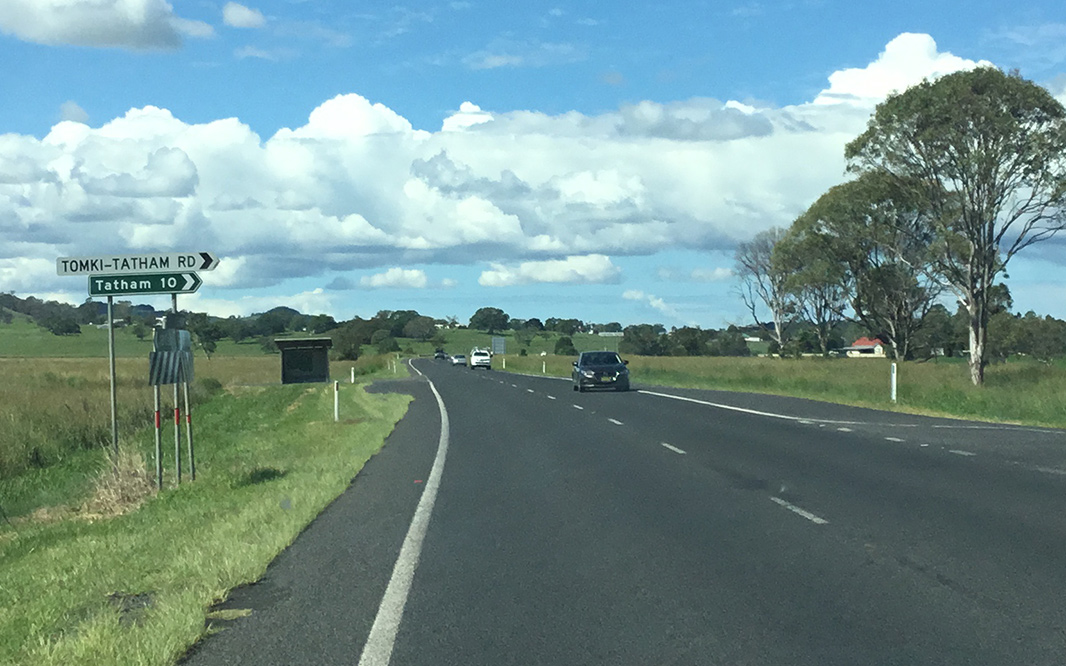 |
Tomki-Tatham
Road: Corner of Bruxner Hwy (B60) and Tomki-Tatham Rd at Tomki, April 2019. Image © Dean Sherry |
|
 |
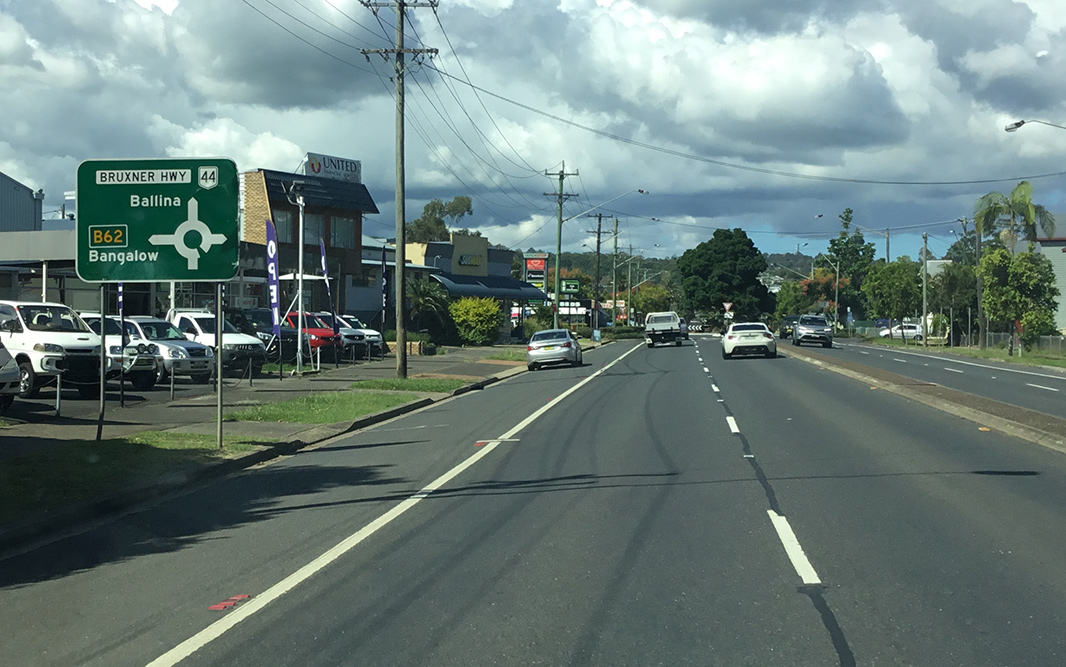
Dawson
Street: ID sign assembly at the roundabout with Dawson St (B62 and unnumbered), April 2019. Image © Dean Sherry |
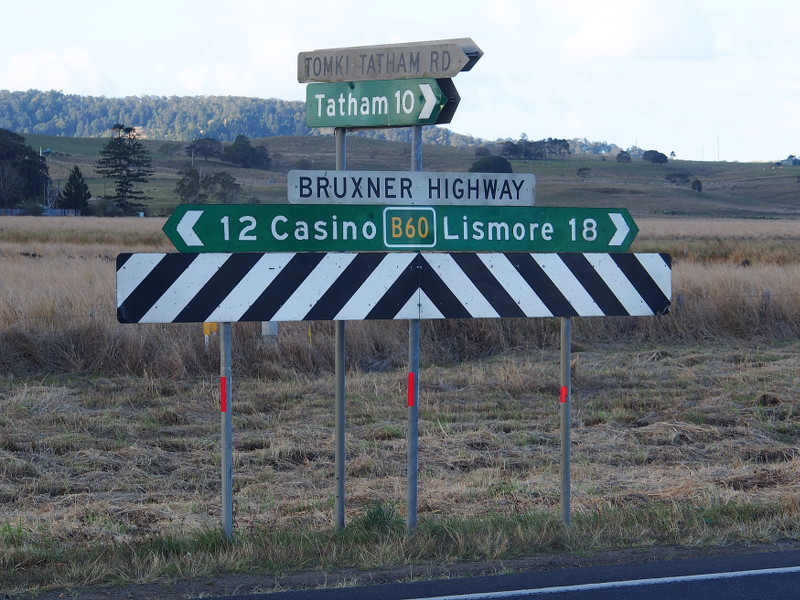 |
Intersection
Directional Sign: ID sign assembly at the Tomki-Tatham Rd in Tomki, September 2013. Image © Peter Renshaw |
|
|
|
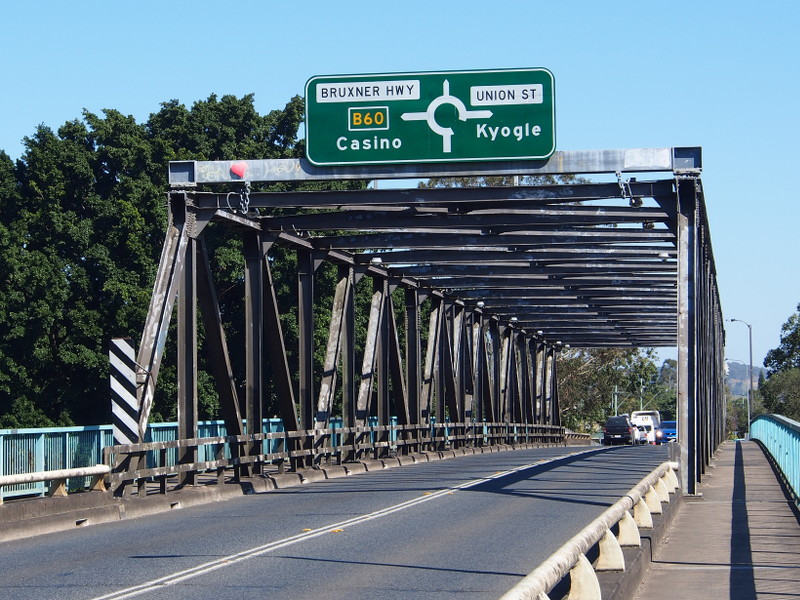
Advance
Directional Sign: AD sign mounted on the Ballina Street Bridge over Wilsons River at Lismore for the junction with Union St and Elliot Rd, September 2013. Image © Peter Renshaw |
 |
Tatham
Road: Corner of Bruxner Hwy (B60) and Tatham Rd at Sth Gundurimba, April 2019. Image © Dean Sherry |
|
 |
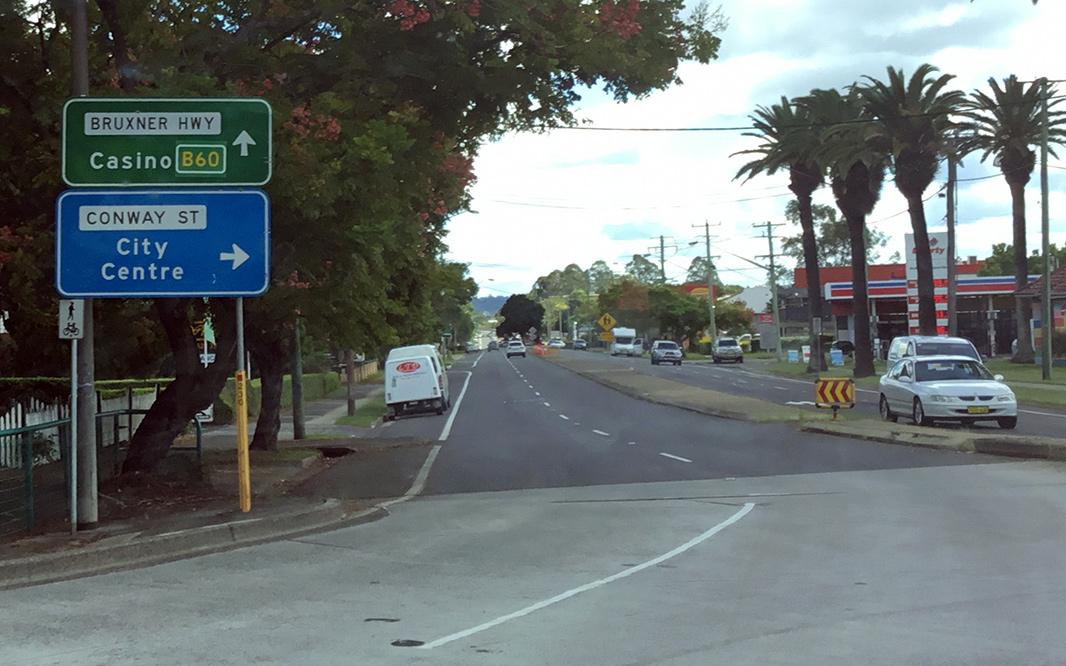
Advance
Directional Sign: AD sign at South Lismore approaching Elliott Rd and Union St, April 2019. B60 turns left at this intersection. Image © Dean Sherry |
 |
Parrots
Nest Road: Corner of Bruxner Hwy (B60) and Parrots Nest Rd at Sth Gundurimba, April 2019. Image © Dean Sherry |
|
 |
Reassurance
Directional Sign: Distance sign at South Lismore, April 2019. Image © Dean Sherry |
 |
Intersection
Directional Sign: ID sign at the roundabout of Bruxner Hwy (B60), Elliot Rd and Union St, South Lismore, April 2019. Image © Dean Sherry |
|
 |
Advance
Directional Sign: AD sign at South Gundurimba approaching Coraki Rd, April 2019. Image © Dean Sherry |
 |
Advance
Directional Sign: AD sign at Lismore approaching Dawson St (B62 and unnumbered), April 2019. Image © Dean Sherry |
|
 |
Reassurance
Directional Sign: Distance sign at South Gundurimba, April 2019. Image © Dean Sherry |
 |
Advance
Directional Sign: AD sign at Lismore approaching Conroy St & Wyrallah Rd, April 2019. Image © Dean Sherry |
|
 |
Services
Sign: Combined services and distance sign at Casino, April 2019. Image © Dean Sherry |
 |
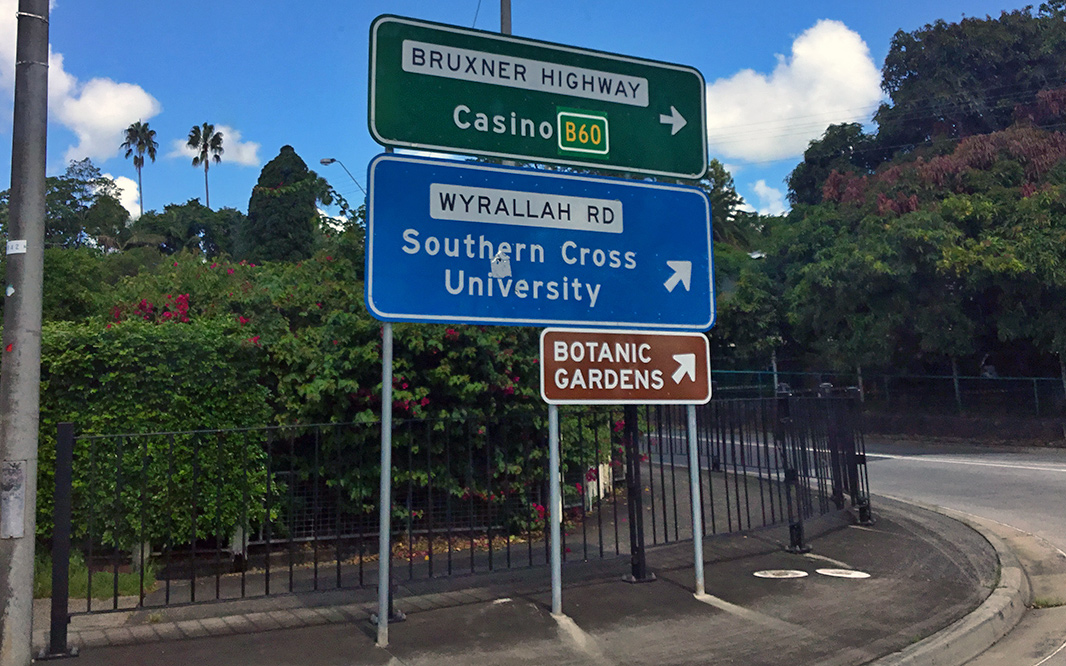
Intersection
Directional Sign: ID sign at Conroy St and Wyrallah Rd, Lismore, April 2019. Click here for a photo of this location by Peter Renshaw from September 2013. |
|
 |
Advance
Directional Sign: AD sign at Casino, approaching the roundabout with Summerland Way (B91), April 2019. Image © Dean Sherry |
 |
Advance
Directional Sign: AD sign at East Lismore approaching Rotary Dr, Kellas St and Ross St, April 2019. Image © Dean Sherry |
|
|
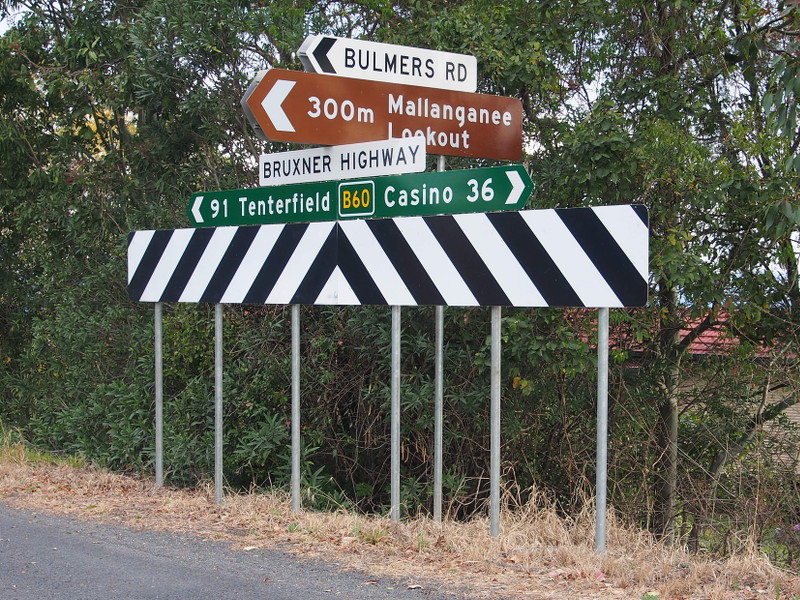
Intersection
Directional Sign: ID sign at the Bulmers Rd junction at Mallanganee, September 2013. Image © Peter Renshaw |
 |
Advance
Directional Sign: AD sign approaching Kadina St, Goonellabah, April 2019. Image © Dean Sherry |
|
 |
Advance
Directional Sign: AD sign approaching Holland St, Goonellabah, April 2019. Image © Dean Sherry |
|||
 |
Intersection
Directional Sign: ID sign facing Richmond Hill Rd at Goonellabah, September 2013. Image © Peter Renshaw |
|||
 |
Entering
Wollongbar: Bruxner Hwy (B60) as it enters the town of Wollongbar, April 2019. Image © Dean Sherry |
|||
 |
Bypassed
Town Sign: Bypassed town advance directional sign at Wollongbar approaching Sneaths Rd, April 2019. Image © Dean Sherry |
|||
 |
Advance
Directional Sign: Advance directional sign at Wollongbar approaching Sneaths Rd, April 2019. Image © Dean Sherry |
|||
 |
Sneaths
Road: Corner of Bruxner Hwy (B60) and Sneaths Rd at Wollongbar, April 2019. Image © Dean Sherry |
|||
 |
Intersection
Directional Sign: ID sign facing Sneaths Rd at Wollongbar, April 2019. Image © Dean Sherry |
|||
 |
Reassurance
Directional Sign: Distance sign at Alstonville, November 2013. Image © Michael Greenslade |
|||
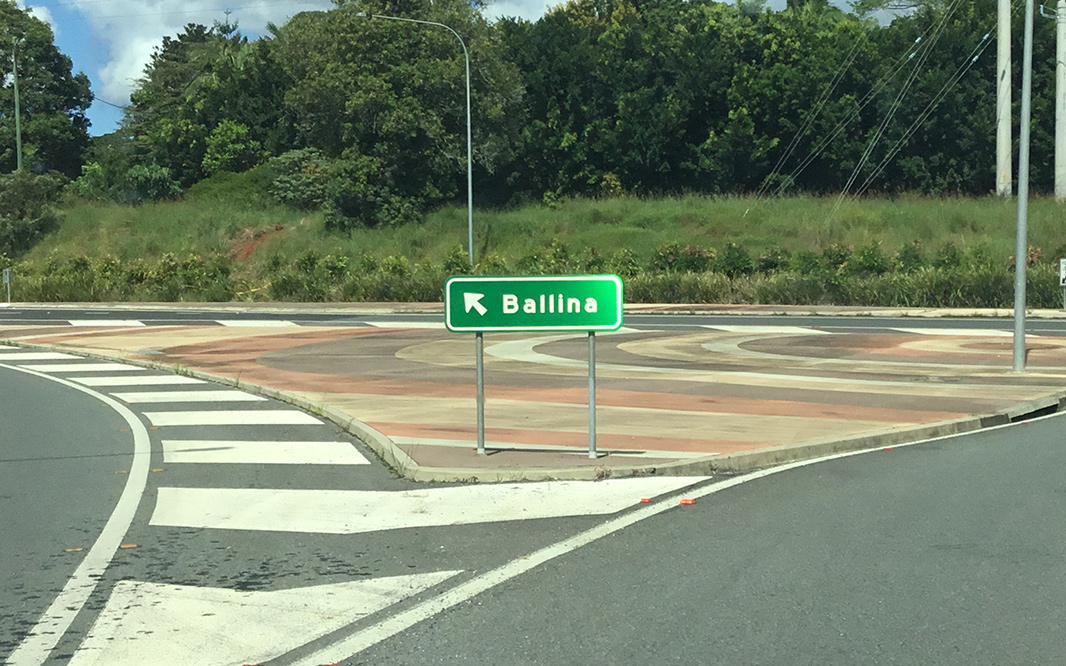 |
Ballina
Road: Corner of Bruxner Hwy (B60) and Ballina Rd (former Bruxner Hwy) at Alstonville, April 2019. Image © Dean Sherry |
|||
 |
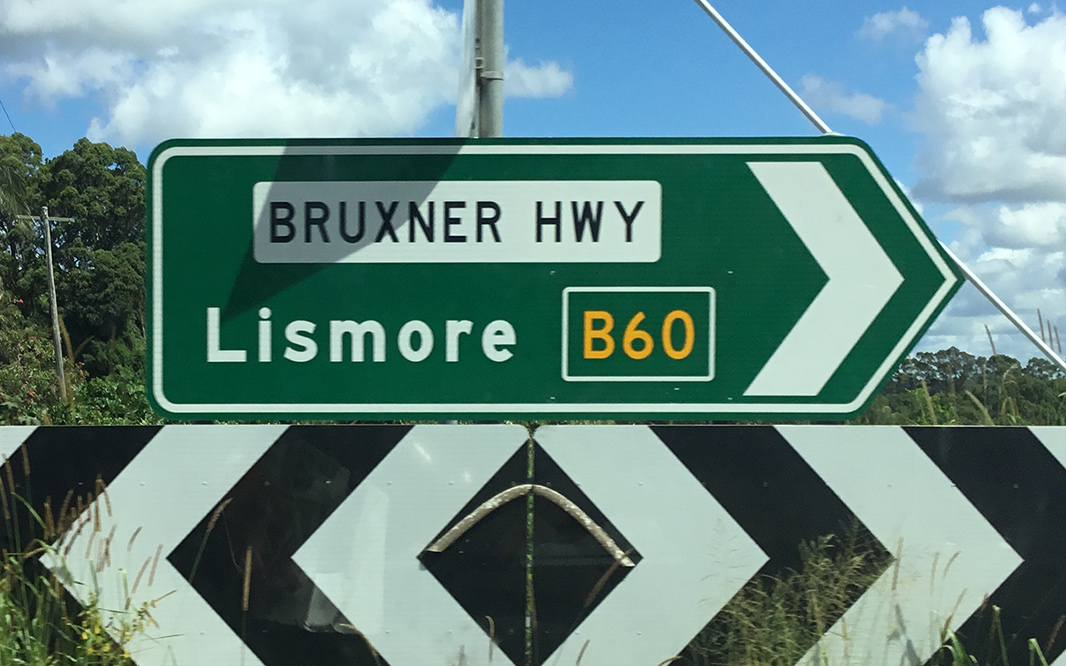
Advance
Directional Sign: AD sign on Ballina Rd approaching Bruxner Hwy (B60), Alstonville, April 2019. Image © Dean Sherry |
|||
 |
Intersection
Directional Sign: ID sign facing Ballina Rd, Alstonville, April 2019. Image © Dean Sherry |
|||
 |
Distance
Sign: Reassurance directional sign at Alstonville, September 2013. Image © Peter Renshaw |
|||
 |
Intersection
Directional Sign: ID sign facing Teven Rd, West Ballina, April 2019. Image © Dean Sherry |
|||
 |
Advance
Directional Sign: AD sign at West Ballina approaching Pacific Mwy (M1) and River St (TD30) (former Pacific Hwy), April 2019. Image © Dean Sherry |
|||
 |
Pacific
Highway & River Street: Corner of Bruxner Hwy (B60), Pacific Mwy (M1) and River St (TD30) at West Ballina, April 2019. This is the eastern terminus of B60. Image © Dean Sherry |
|||
1 Roads &
Traffic Authority, Schedule of Classified Roads (and unclassified Regional
Roads), 25 February 2008
2 The Roadmakers, A History of
Main
3 Roads & Traffic Authority,
Heritage and Conservation Register, Macadamized Road Bruxner Highway 4 Lismore
City Council, History of Lismore, 1950s and 1960s
5 Roads & Traffic Authority,
Construction and Maintenance, Regional projects, North Coast, Alstonville
Bypass
Last updated: 05-Jul-2020 17:21
This site © Paul Rands. All rights reserved. Some portions © (copyright) by their respective and credited owners. Permission must be obtained before using any images from this site. For details, please email by clicking here.