|
|
|
|
|
| A3 | Mona Vale Road, Ryde Road, Lane Cove Road, Homebush Bay Drive, Centenary Drive, Roberts Road & King Georges Road (A3) |
Statistics:
Route Numbering:


General Information:
A3 is a major arterial route in the Sydney metropolitan area, linking Sydney's northern beaches, western suburbs, and southern suburbs to the Illawarra and New South Wales south coast. It consists mostly of multi-laned arterial road standard.
A small section of the route is duplexed by a 'detour route' which is used when the M5 tunnel is closed. This duplex is marked as D5 from the M5 interchange to Stoney Creek Road at Beverly Hills.
The route has long been recognised as a major route through Sydney, being given the Ring Road 3 designation during the 1960s, and then eventually Metroad 3 in the 1990s. That said, A3 does not follow the former Ring Road 3 route in its entirety.
The route features De Burghs Bridge over the Lane Cove River. The current De Burghs Bridge is the second bridge to cross the Lane Cove River in this area. The first bridge, also called De Burghs Bridge, was designed By Ernest M De Burgh, for whom the bridge is named, in 1899. It opened on February 23, 1901. It was situated downstream from the current bridge, within metres at the southern end, and about 20 metres away from the current bridge at the northern end. The original bridge consisted of a single De Burgh timber truss which, at 50 m, was the longest timber truss span ever built in Australia. The old bridge was destroyed by bushfire in January 1994.
The bridge was replaced by a large concrete bridge, the current bridge, and it opened in December, 1967. The current bridge features a six traffic lane (3 each way) with a pedestrian walkway on either side of the bridge.
Another major bridge on Metroad 3 is Ryde Bridge, which spans the Parramatta River between Church Street in Ryde (Uhrs Point) and Concord Road in Rhodes, replacing an earlier ferry service between these two points established in the late nineteenth century. It is the only lift span bridge on Sydney Harbour and its tributaries (although the mechanism to operate the vertical lift span has been removed).1
History:

| Blakehurst to Mona Vale | Mona Vale to Blakehurst | |||
| Preview: | Description: | Preview: | Description: | |
 |
Advance Directional Sign: AD sign on Stoney Creek Rd at Beverly Hills approaching King Georges Rd (A3), August 2013. Image © Spenser Tan |
 |
Intersection Directional Sign: ID sign on the interchange of Homebush Bay Dr (A3) and Australia Av at Homebush, January 2017. Image © Spenser Tan |
|
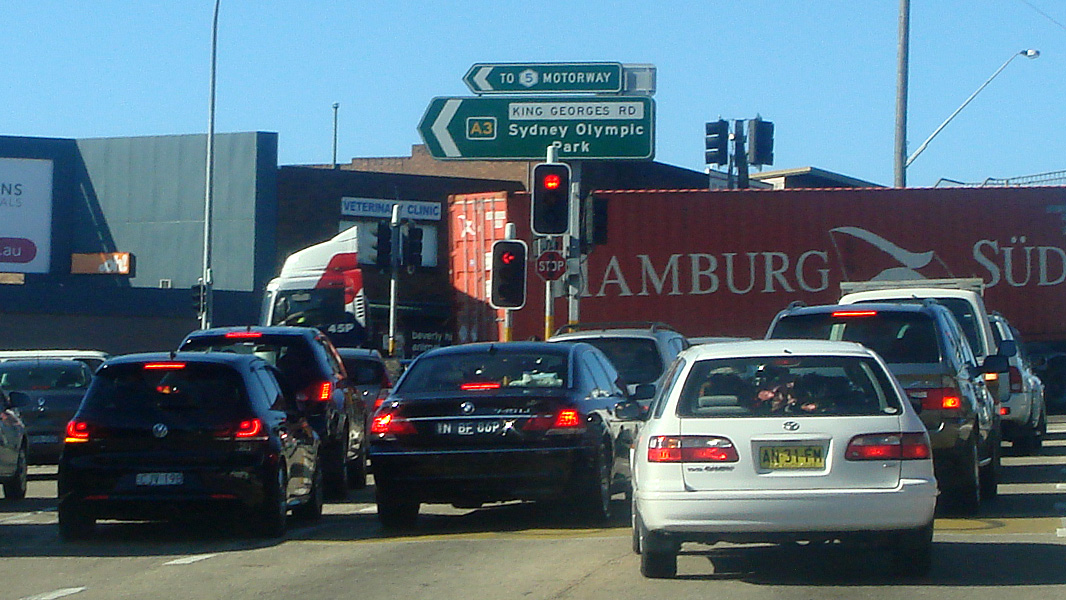 |
Intersection Directional Sign: ID sign on the corner of Stoney Creek Rd and King Georges Rd (A3) at Beverly Hills, August 2013. Image © Spenser Tan |
 |
Intesection Directional Sign: ID sign at the corner of King Georges Rd (A3) and South Western Mwy (M5) at Beverly Hills, December 2016. Image © Spenser Tan |
|
 |
Advance Directional Sign: AD sign on Roberts Rd (A3) at Greenacre approaching Juno Pde, January 2017. Image © Spenser Tan |
 |
Tooronga Terrace: Corner of King Georges Rd (A3) and Tooronga Tce at Beverly Hills, July 2017. Image © Paul Rands |
|
 |
Advance Directional Sign: AD sign at Sydney Olympic Park at the Western Mwy (M4) interchange, January 2017. Image © Spenser Tan |
 |
Intesection Directional Sign: ID sign approaching Stoney Creek Rd at Beverly Hills, December 2016. Image © Spenser Tan |
|
 |
Advance Directional Sign: AD sign on Homebush Bay Dr (A3) approaching Australia Av interchange at Sydney Olympic Park, January 2017. Image © Spenser Tan |
|||
 |
Riverside Drive: Lane Cove Rd (A3) at the junction with Riverside Dr at Macquarie Park, August 2015. Image © Paul Rands |
|||
 |
Advance Directional Sign: Lane Cove Rd (A3) at Macquarie Park at the De Burghs Bridge over Lane Cove River, approaching Lady Game Dr, August 2015. Image © Paul Rands |
|||
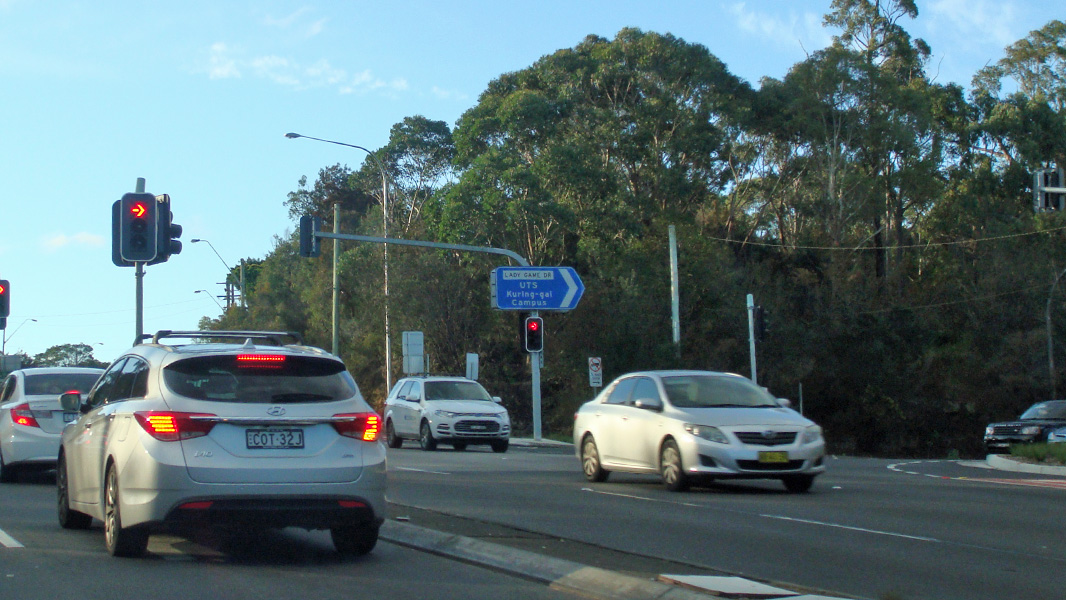 |
Lady Game Drive: Corner of Lane Cove Rd (A3) and Lady Game Dr at West Pymble, August 2015. Image © Paul Rands |
|||
1 Roads and Maritime Services
Last updated: 04-Jul-2020 8:51
This site © Paul Rands. All rights reserved. Some portions © (copyright) by their respective and credited owners. Permission must be obtained before using any images from this site. For details, please email by clicking here.